Cisco Secure Enterprise Browser extends Cisco Secure Access protections directly into managed browsers. It combines Secure Enterprise Browser controls with Browser Detection and Response capabilities to govern SaaS, GenAI, private application, and web workflows at the point where users interact with enterprise data.
Cisco Secure Access Help
Manage the Secure Browser Extension
The Cisco Secure Browser Extension is the browser security client for Cisco Secure Access. It installs as a lightweight extension that enforces security policy and collects telemetry directly within managed browsers.
The extension connects browser activity to Secure Access policy and broker services, Secure Web Gateway (SWG) proxy decisions, DLP verdicts, private access policy, and enterprise-managed configuration.
Content-agnostic browser protection is included with Cisco Secure Access packages. Content-aware protection requires the applicable DLP entitlement and is configured through a Real Time DLP rule in the Secure Access Data Loss Prevention Policy.
Install the Cisco Secure Browser Extension
Cisco Secure Browser Extension supports managed and unmanaged installation. The exact steps depend on the browser, operating system, and selected device-management or MDM platform.
Secure Browser Extension is not supported in incognito mode.
The supported installation methods include:
-
Chrome Web Store installation in Chrome, Microsoft Edge and Brave,
-
Enterprise force-install through supported browser policy,
-
Device-management or MDM deployment,
-
Browser-native managed package installation where the browser supports it,
-
Administrator-distributed CRX or package from a customer-managed site; and
-
Administrator-owned unpacked package with approved manifest configuration.
Microsoft Edge Add-ons, other Chromium extension stores, and developer-mode unpacked installation for customer development or evaluation are not supported.
Before you begin
-
Full admin access. For more information, see Manage Accounts.
-
Confirm the following:
-
the supported browser and desktop operating system selected for the deployment;
-
the approved installation source and, for managed deployment, the applicable browser or MDM policy;
-
whether organization, user, device identifier, update source, and automatic-enrollment settings will be supplied through management; and
-
that Secure Access SAML prerequisites are complete before you activate the extension.
-
Procedure
-
Choose from the following to deploy the Cisco Secure Browser Extension:
-
Managed deployment:
A managed installation can supply optional organization, user, device identifier, update source, and automatic-enrollment settings when the management platform supports them. Organization and user settings can restrict enrollment to an approved organization or user set. A device identifier helps correlate installed Secure Access modules in the dashboard.
Force-installed users cannot disable or uninstall the extension through normal browser controls. User control for an optional managed assignment follows the browser-management policy. Administrators are responsible for resolving browser, MDM, allowlist, blocklist, update, or security-policy conflicts.
For example, read more about Set Chrome app and extension policies (Windows):
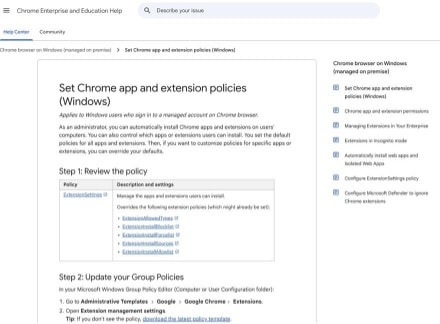
The extension-supported attributes include: orgId, emails, autoEnroll, and allowAdminControls.
-
Unmanaged and administrator-owned packages:
A store-installed user can uninstall the extension. Administrators who host or modify a package own its hosting, configuration, identity, integrity, distribution, and updates.
When organization or user hints are not supplied, you can enter an email address and continue through organization discovery and SAML authentication.
-
-
Download the extension via this link or by using this extension ID: lejnccmfdieebndebgkdckcbabbnnndm.
-
Confirm the installation:
- Open the browser’s extension-management page and confirm Cisco Secure Browser Extension is present and enabled.

- Confirm the setup screen opens.

This proves that the extension is installed, but it does not prove that registration or policy synchronization has completed.
- Open the browser’s extension-management page and confirm Cisco Secure Browser Extension is present and enabled.
Onboarding and Activation
When organization, user, and automatic-enrollment settings are available, the extension opens the configured identity provider at launch. You are still required to enter credentials, complete multifactor authentication, grant conditional access, or authorize any other identity-provider interaction when required. If a valid identity-provider session already exists, another credentials prompt may not be needed.
When automatic enrollment is disabled, you can start the setup journey before SAML authentication. If automatic enrollment is cancelled or fails, the extension falls back to the applicable user-initiated journey instead of repeatedly forcing the automatic flow:
-
With valid organization and user hints, the setup journey retains those hints and lets you restart the configured organization’s SAML flow.
-
Without complete hints, the setup journey asks for email and performs organization discovery.
When organization and user hints are unavailable, you can enter an email address. Secure Access discovers eligible organizations:
-
One eligible organization continues to its identity provider.
-
Multiple eligible organizations display an organization selector and require the user to choose one before authentication. Cancelling the selector returns to the user-initiated setup journey so selection can be retried.
-
Registration fails if no eligible organization is found or the user details are incomplete.
After successful authentication and registration, the extension receives the tokens and configuration required for its enrolled state.
Before you begin
-
You must configure the organization’s SAML identity provider and assign it to the applicable Secure Access configuration.
-
See Cisco Secure Access Prerequisites for SAML Authentication.
-
You should have:
-
the extension installed and enabled;
-
an organization-managed identity that can complete the configured SAML flow; and
-
organization or email details when they are not supplied through managed browser settings.
-
-
For more information about downloading and installing the certification, see Download the Cisco Secure Access Root Certificate.
Procedure
-
Open Cisco Secure Browser Extension from the browser toolbar.

-
On the setup screen, select the available sign-in or setup action. If managed automatic enrollment is configured, this step may begin automatically.
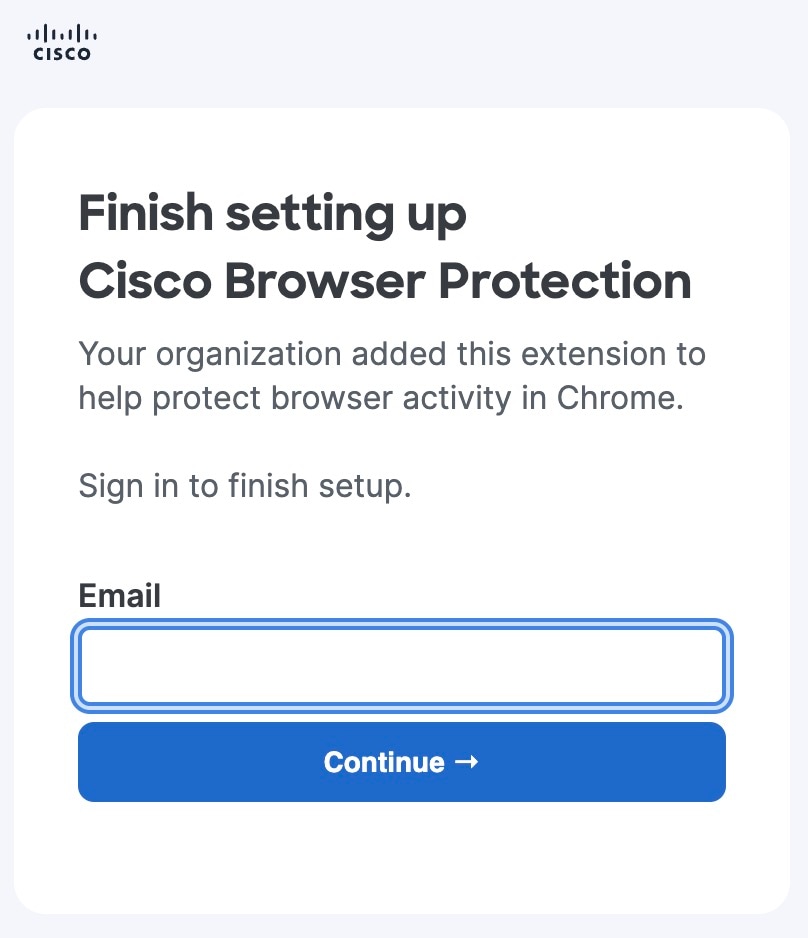
You need to re-enrol every time you close and re-open the browser.
-
Return to the extension. A waiting state can appear while authentication and registration finish.
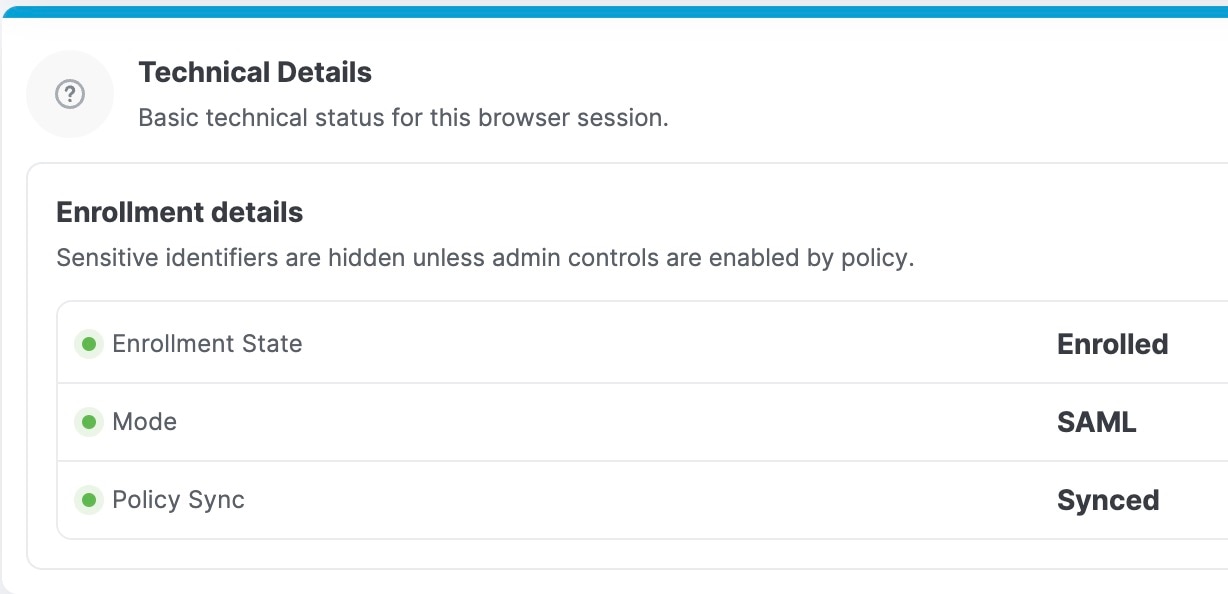
-
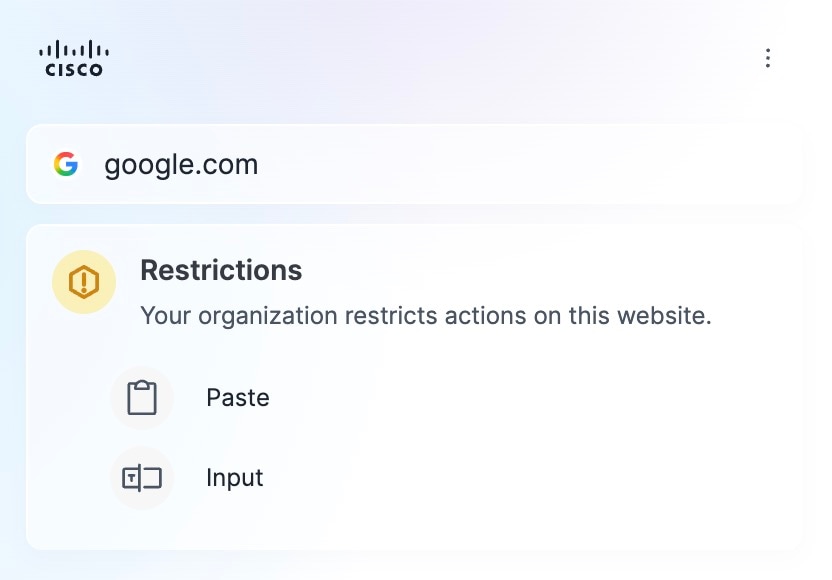
You will see the page below in the extension, with a list of the private resources you can access or the restrictions provided on an Internet page.
Private Applications:
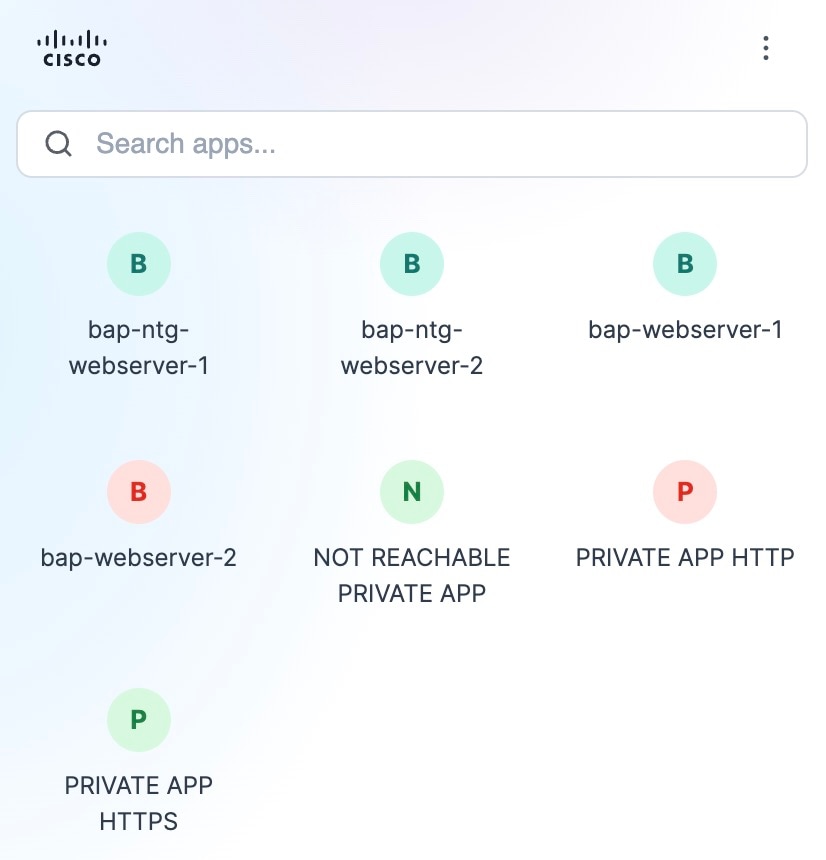
Internet Applications:
Configure Browser Policy
Before you begin
Full Admin user role. For more information, see Manage Accounts.
Procedure
-
Create a Browser Control Profile:
- Navigate to .
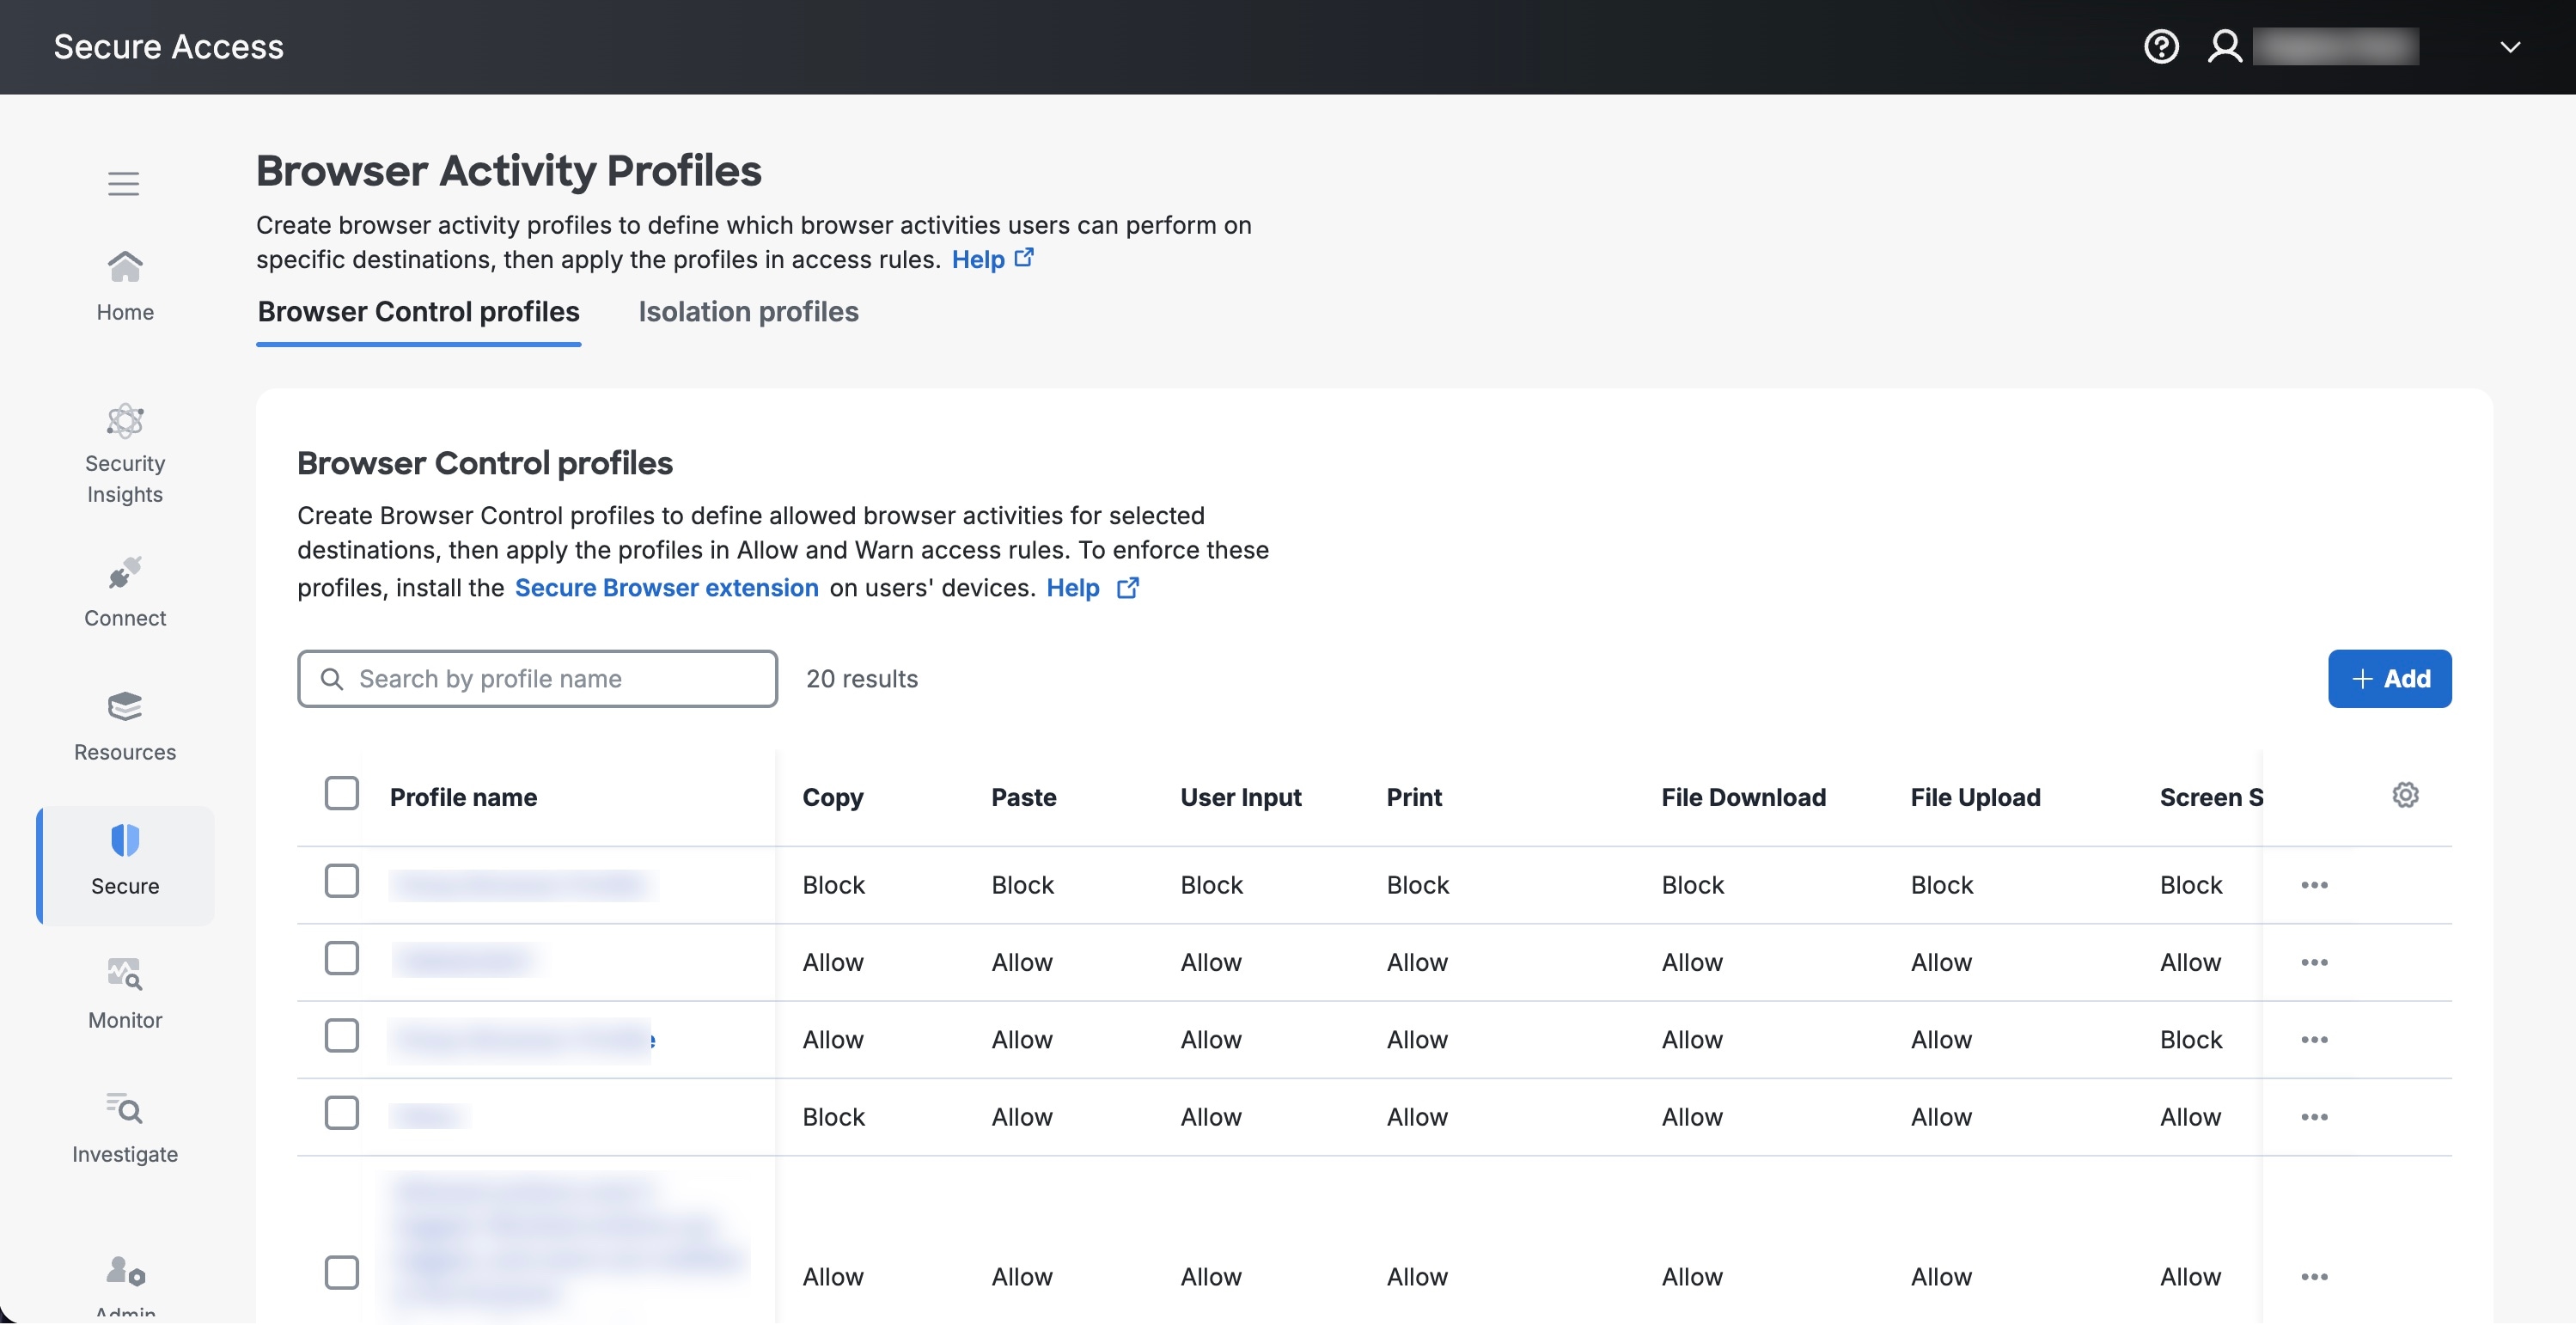
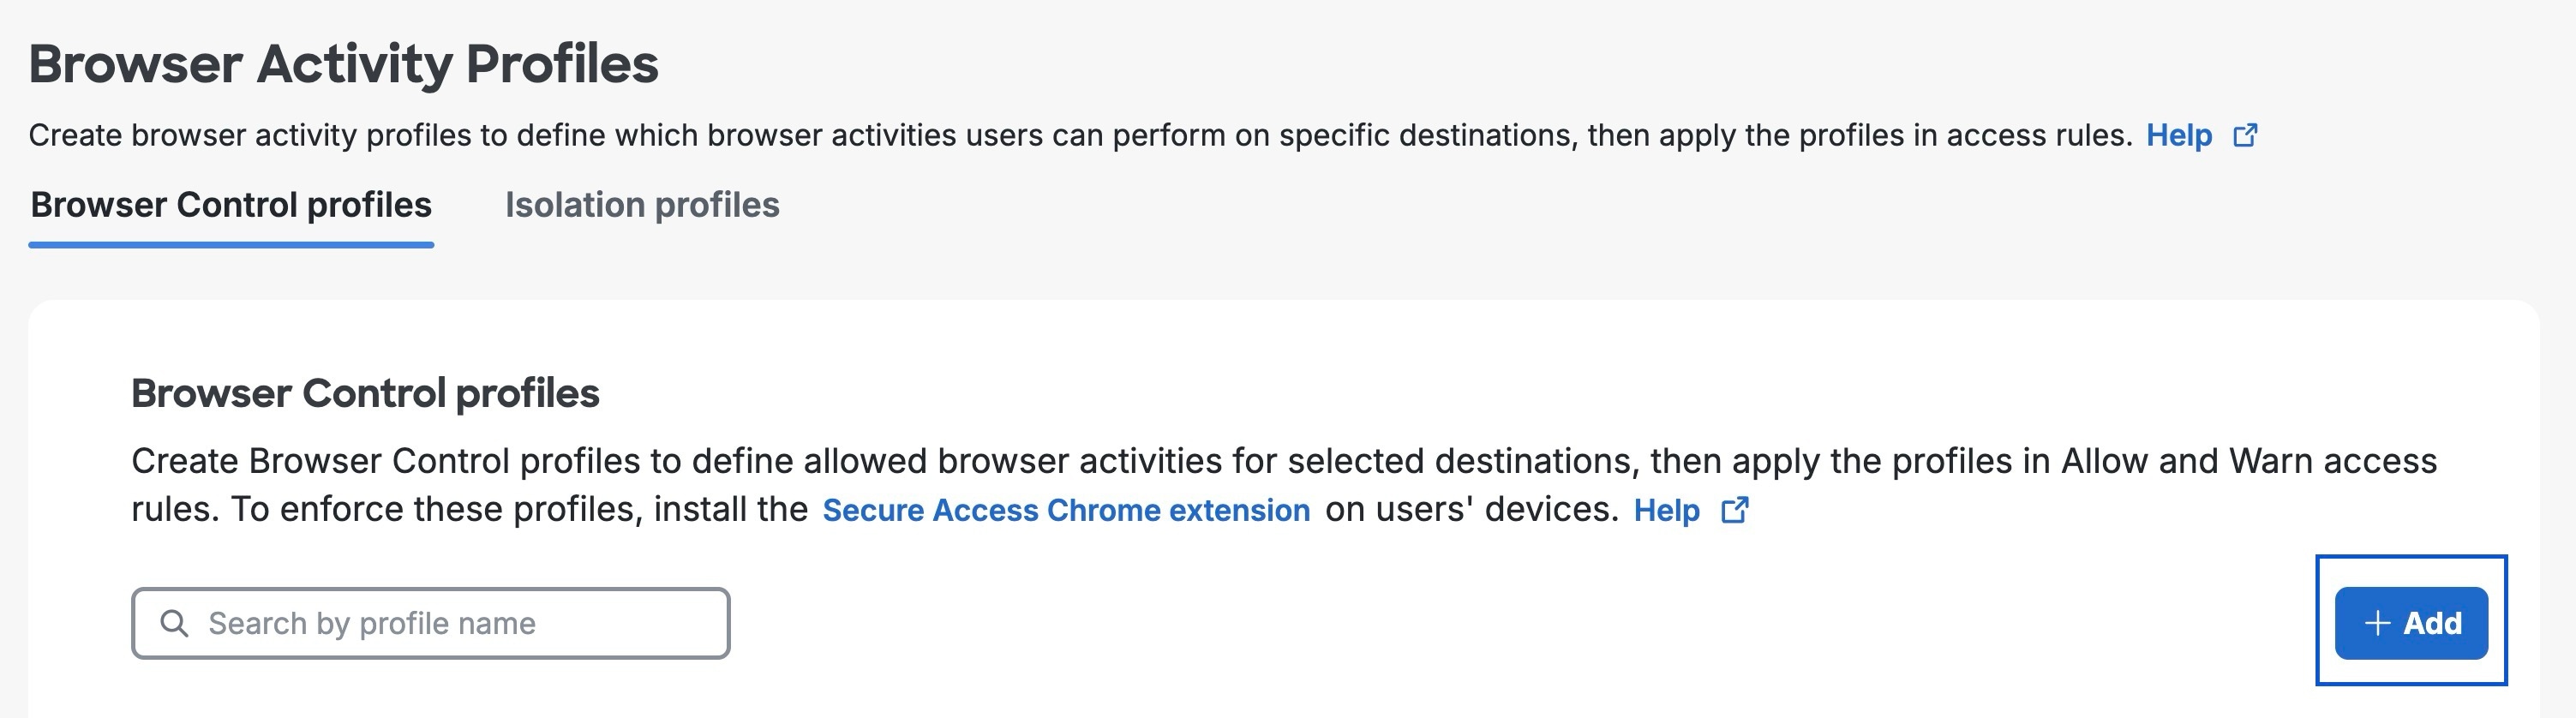
- In the Browser Control profiles tab, click the + Add button.
- Enter a profile name and optional description, then choose Allow or Block for each browser activity.
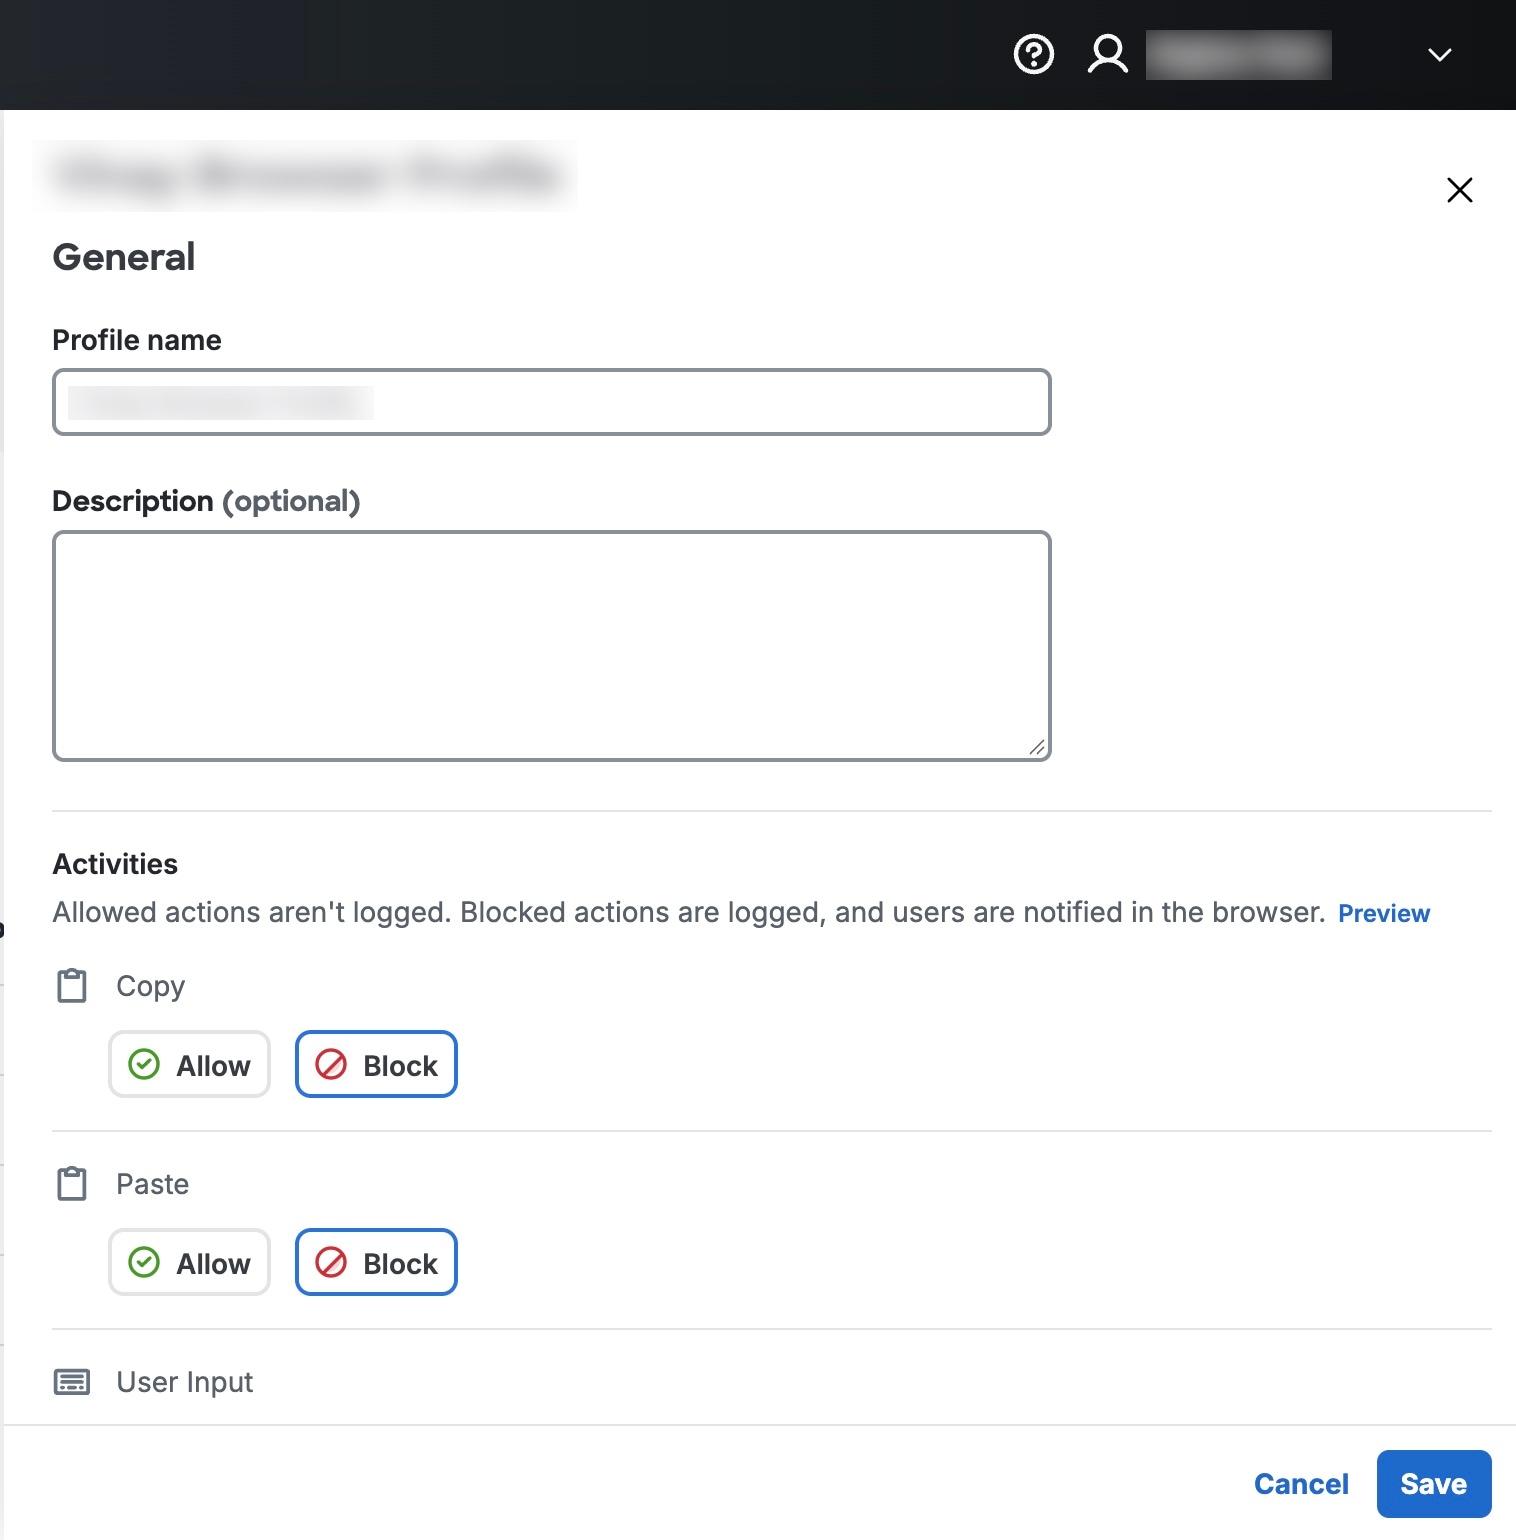
For applicable activities, the editor also provides an option to Add a mask on each page.
- Navigate to .
-
Attach the profile to an access rule:
- Configure the applicable identities and destinations, choose an Allow or Warn access action, and attach the newly created Browser Control profile.
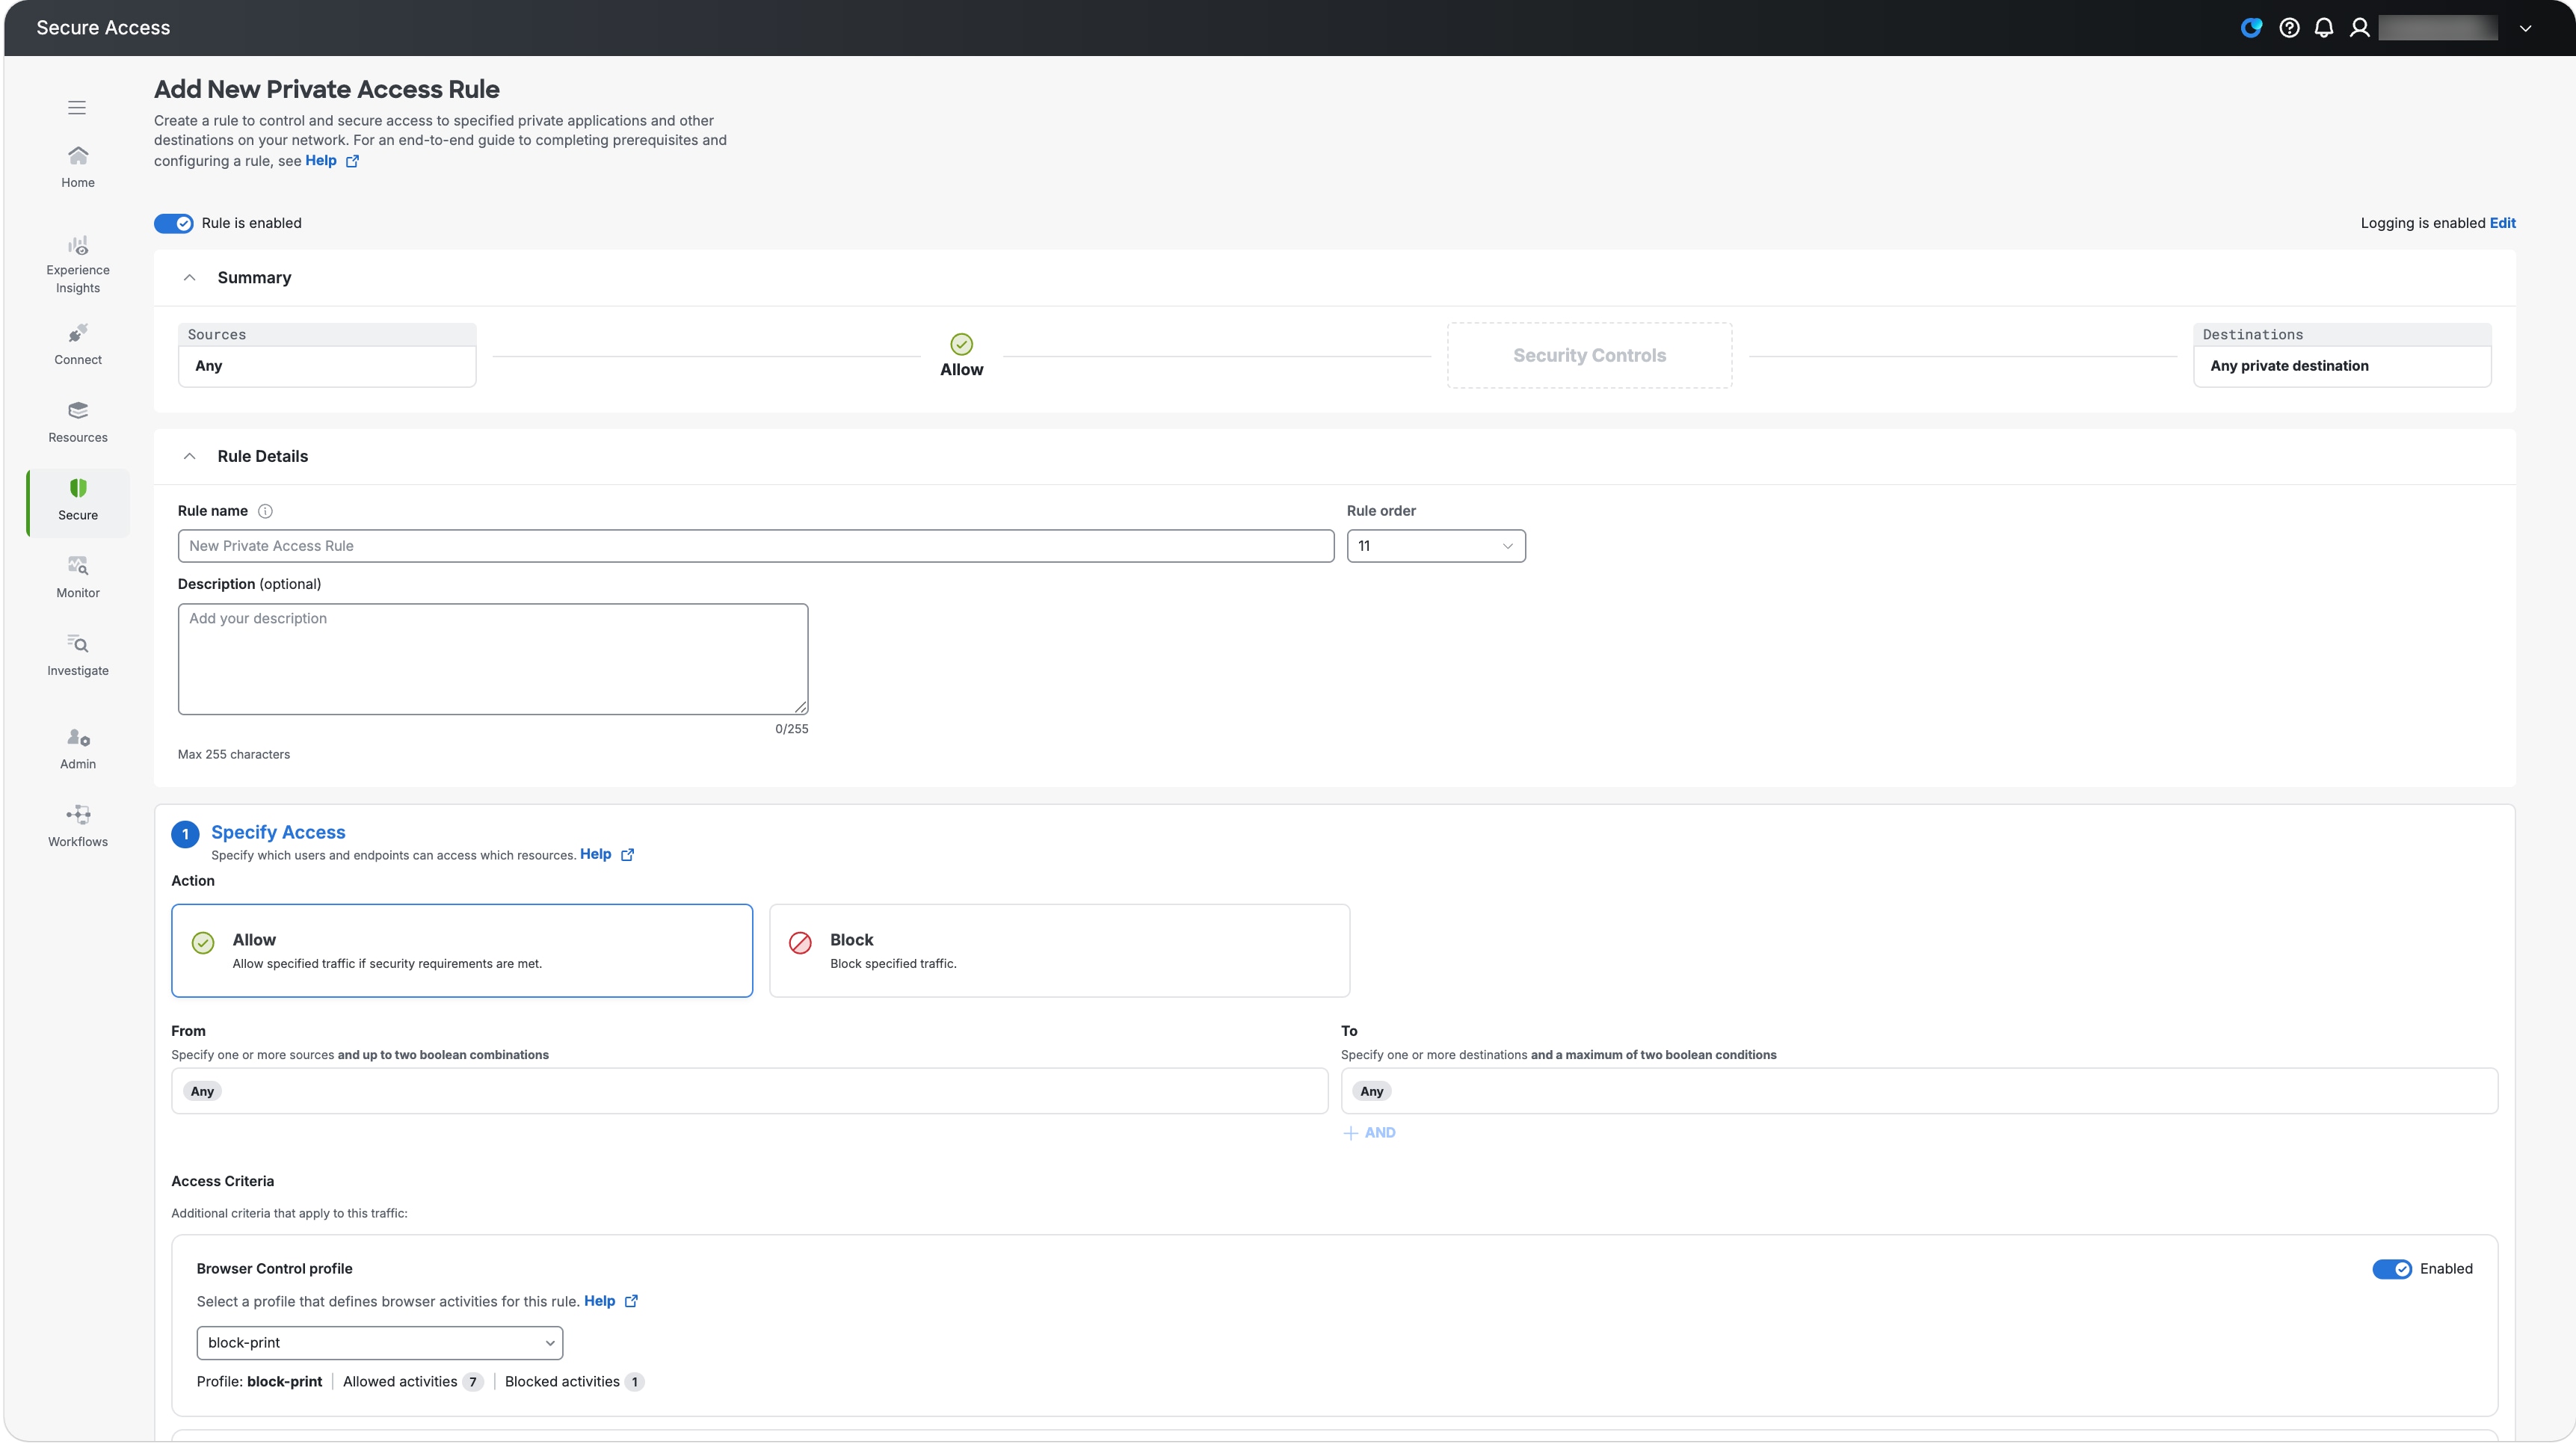
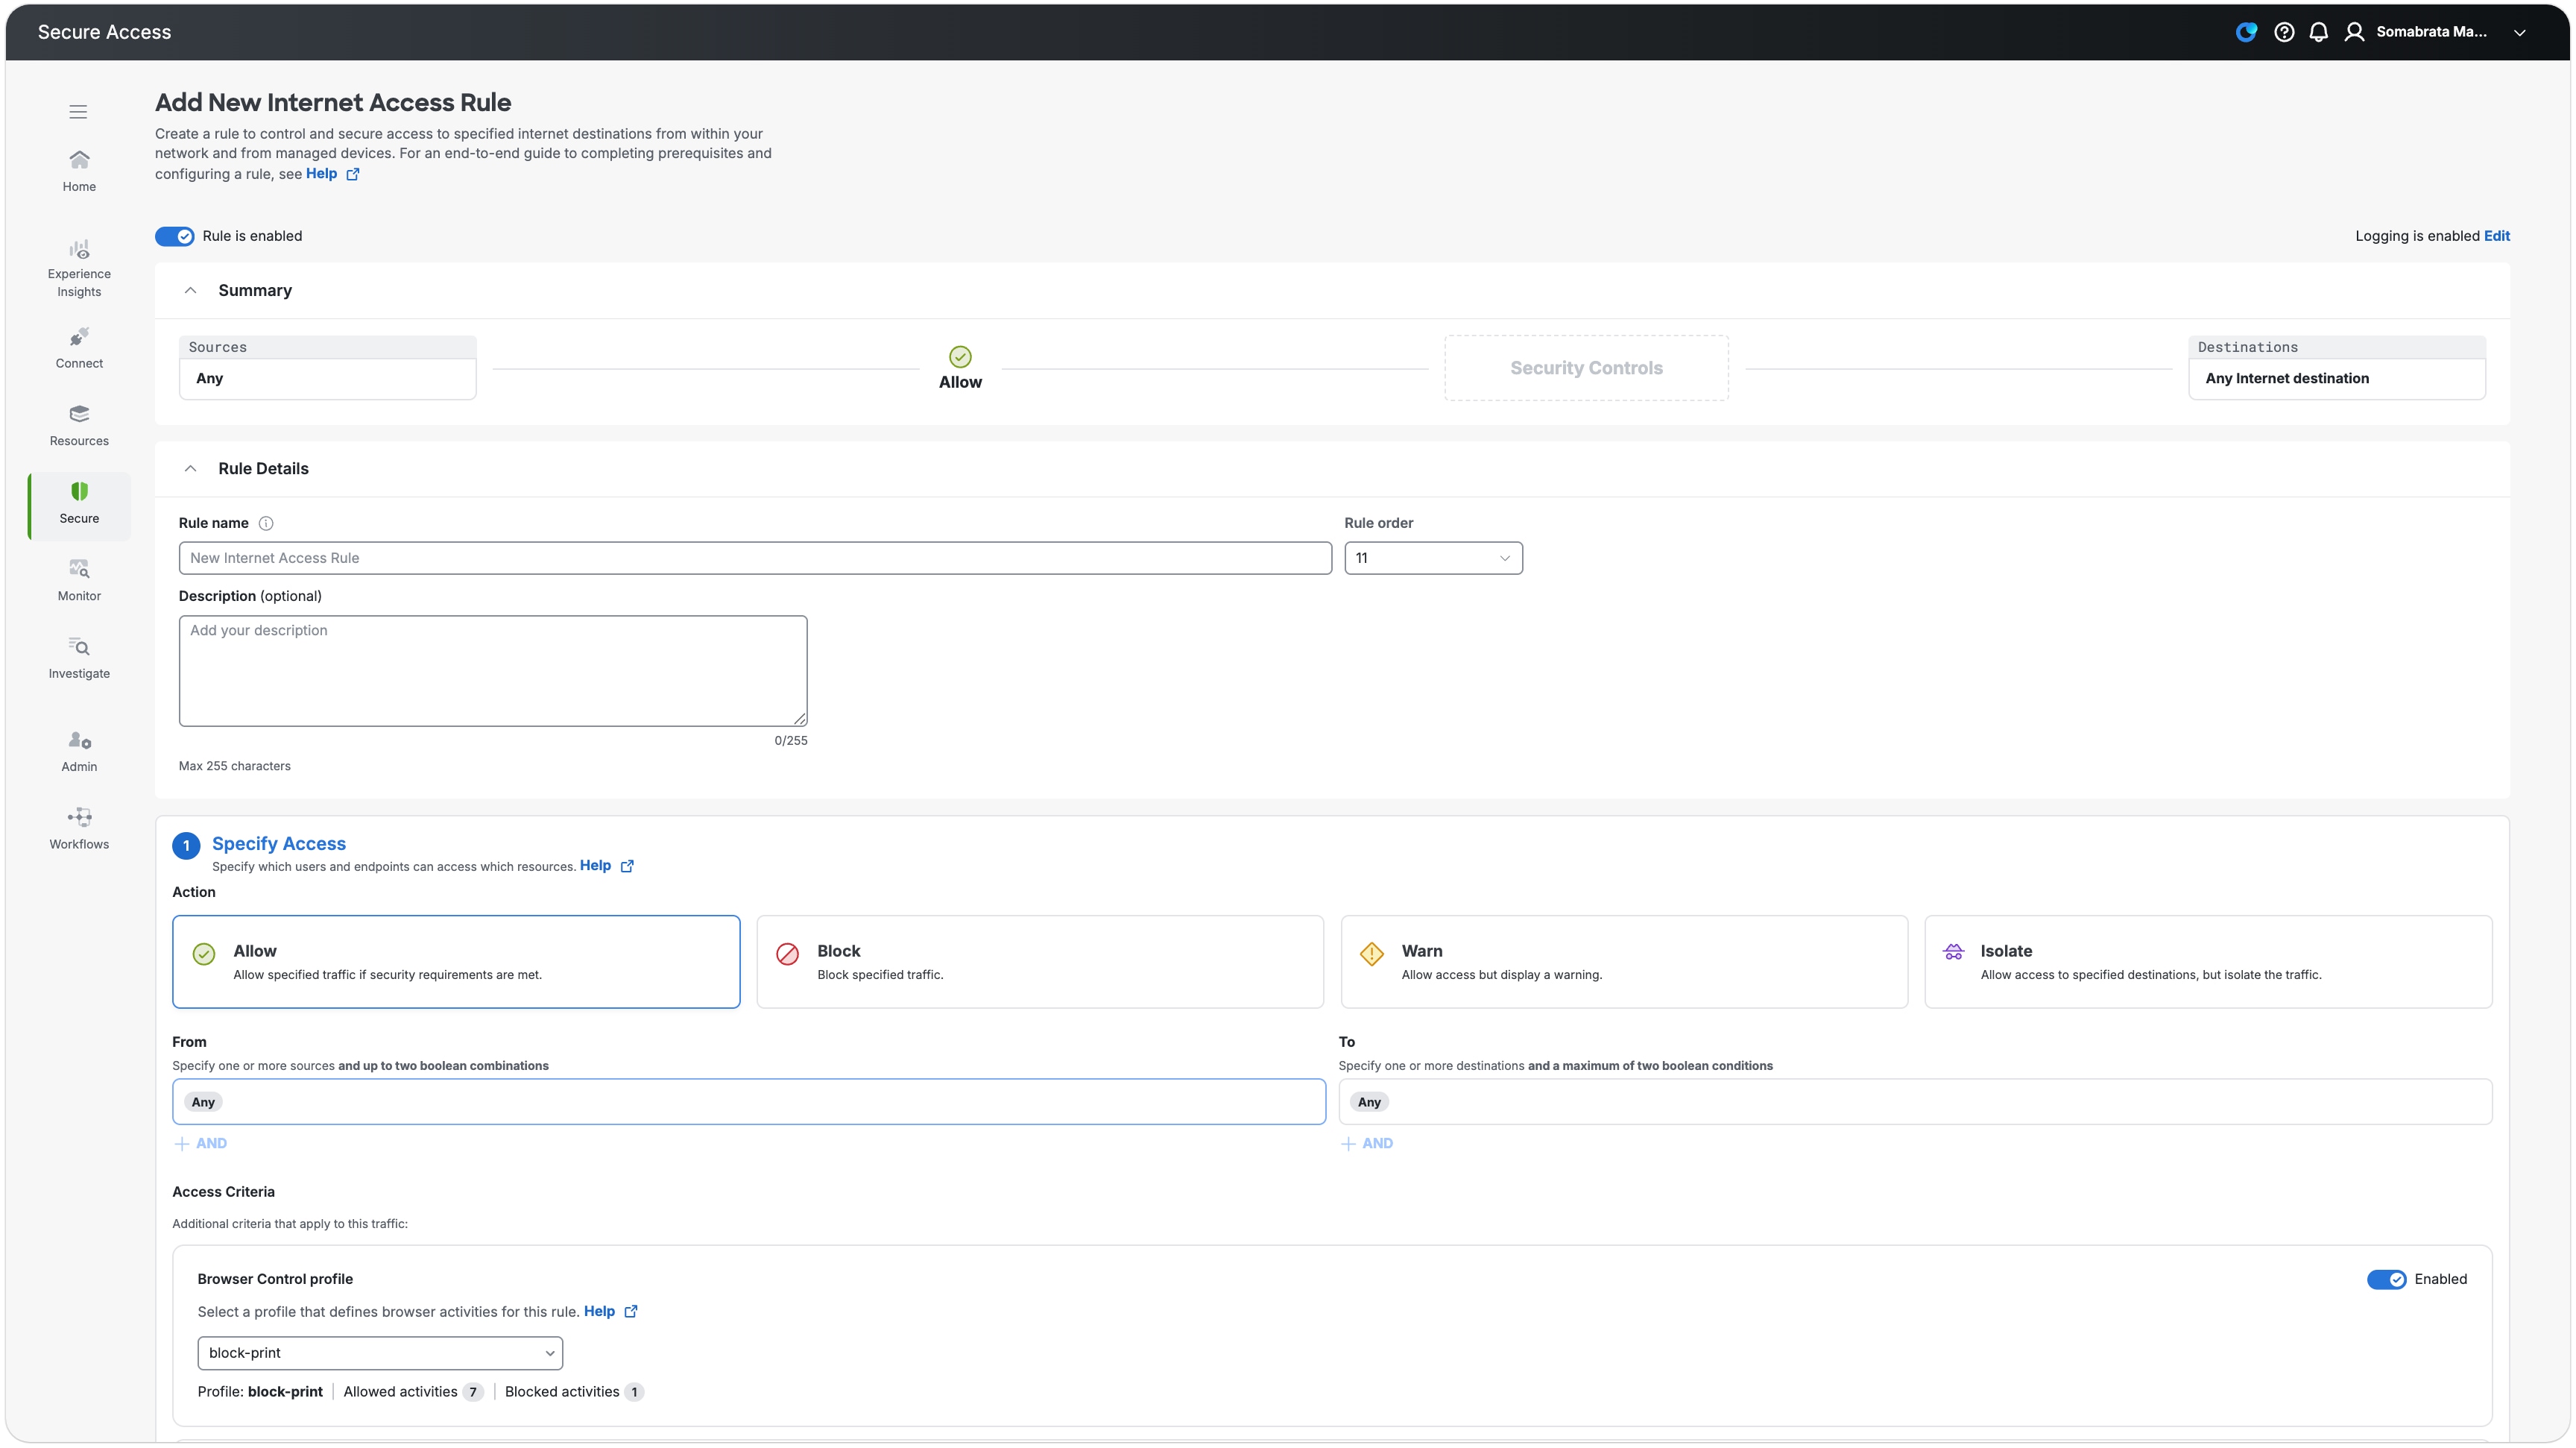
A Browser Control profile is not attached to a Block rule because the destination does not load. It is also not attached to an Isolate rule, which uses a separate proxy-based Remote Browser Isolation profile.
- Configure the applicable identities and destinations, choose an Allow or Warn access action, and attach the newly created Browser Control profile.
-
Configure content-aware Real Time DLP:
- Add a Real Time Rule to the Data Loss Prevention Policy. For more information, see Add a Real Time Rule to the Data Loss Prevention Policy.
- Provide a rule name and keep severity as Critical.
- Under , select the browser channels for Cisco Secure Browser Extension that are available in your tenant.
- Under Action, select Block or Monitor.
- Save the rule.
Content Agnostic Browser Control Profile
An administrator creates a reusable Browser Control profile and chooses the website-based outcome for each protection feature. The Browser Control profile is attached to an applicable Secure Access access policy for Internet or private-app access.
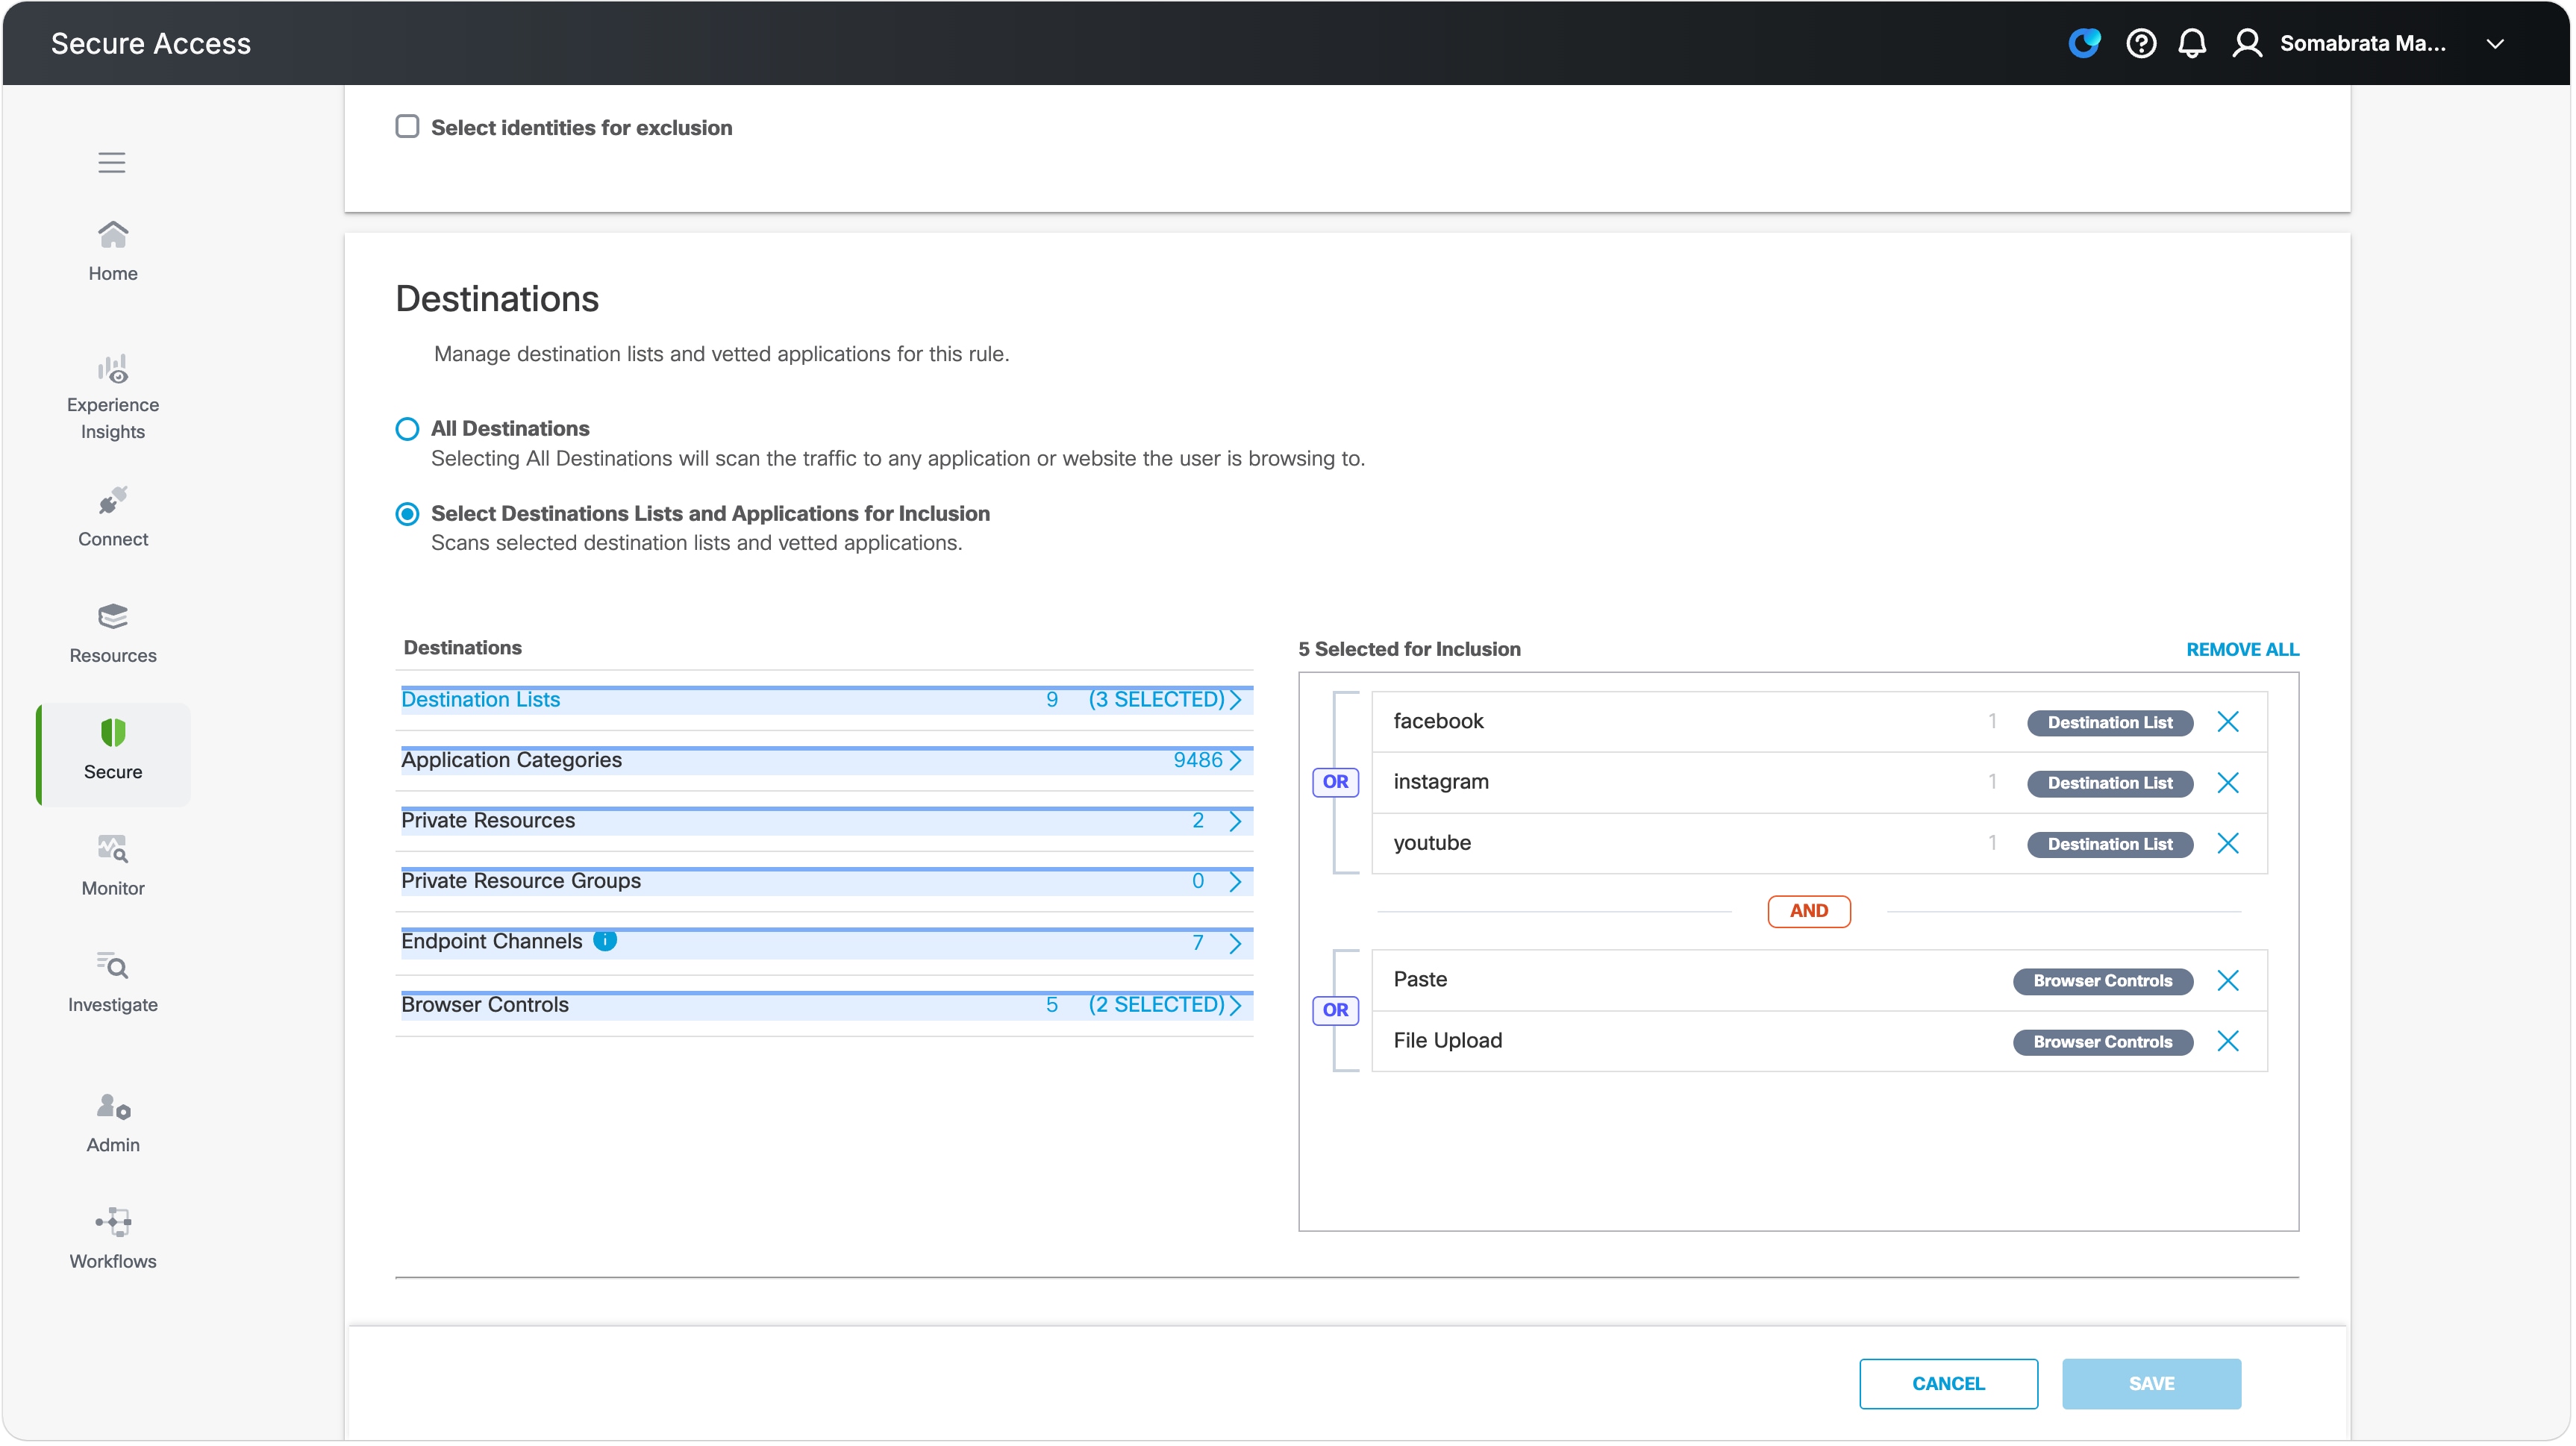
The access policy supplies source and destination matching, such as user, website, category, or app. The Browser Control profile supplies the additional browser action protection. Browser Control profiles can be attached to access policies whose action is Allow or Warn. They are not attached to Block policies, where the page does not load, or Isolate policies, which use separate proxy-based Remote Browser Isolation.
See Cisco Secure Access Manage the Access Policy for the shared access-policy workflow.
Content-Aware Real Time DLP rule
The applicable DLP entitlement is required. In the Data Loss Prevention Policy, an administrator selects supported browser endpoint channels in the existing Real Time DLP rule destinations configuration. The rest of this guide uses Real Time DLP as the short name. Supported content-aware outcomes are:
-
Block: stop the protected action.
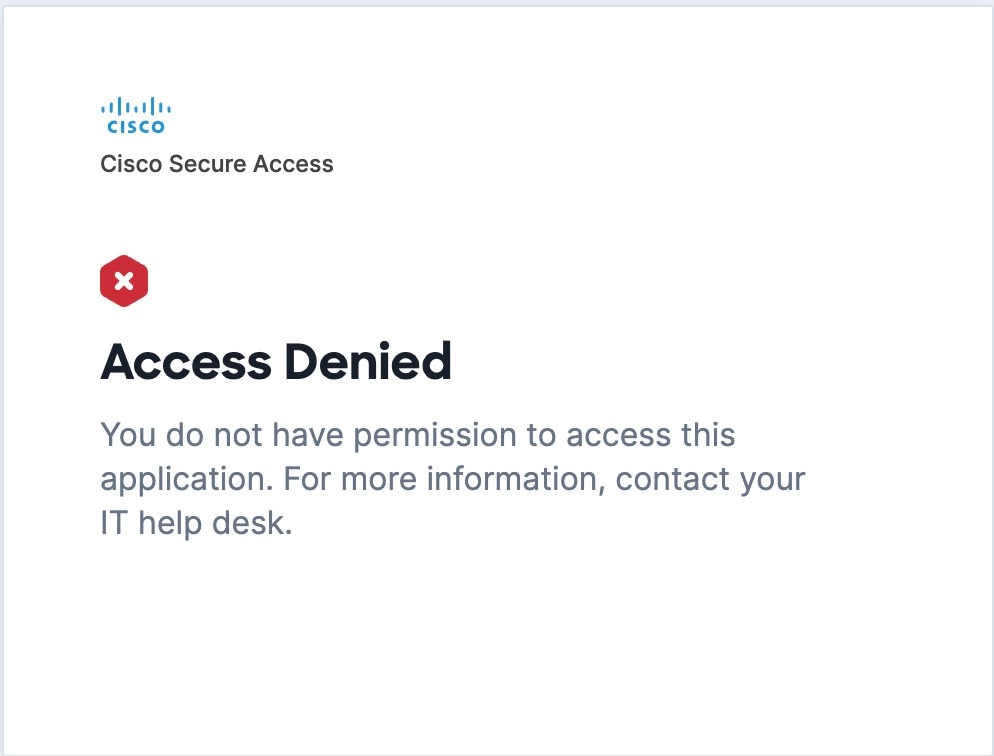
-
Monitor: allow the action, display a non-blocking warning and record the activity for administrator preview. The toast does not require acknowledgement.
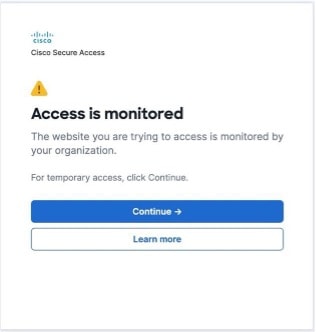
Browser Action Protection Enforcements
The Browser Action Protection Enforcements include:
-
Copy Block

-
Paste Block

Paste and input enforcements are excluded and won't be intercepted/blocked for credential like fields e.g. e-mail and password, to allow you to authenticate websites. -
Screenshare Block

Print and screenshot actions are Operating System-dependent. The system monitors pre-defined key combinations for these:
For macOS:
Print: Cmd+P
Screenshot: Cmd+Shift+3 / +4 / +5, Cmd+Shift+S, plus the Cmd+Shift prefix chord
For Windows:
Print: Ctrl+P
Screenshot: PrintScreen, Win+Shift, Ctrl+Shift+S