Cisco Secure Access Help

PDF

Cisco Secure Access Help

Manage Notification Pages

Want to summarize with AI?

Log in

Describes Manage Notification Pages in Cisco Secure Access. You can configure Cisco Secure Access to display a notification page to users that request internet destinations.


You can configure Cisco Secure Access to display a notification page to users that request internet destinations. Secure Access shows a notification page when:

  • A destination is blocked by an internet access rule that has certain configurations in a Security profile. In this case, Secure Access displays a Block page.
  • A destination matches an internet access rule that is configured with the Warn action. In this case, Secure Access displays a Warn page.

Configure Secure Access to display the default notification page or a custom notification page. You can create one or more custom notification pages to display in different situations. Each Security profile for internet access is associated with the configuration of a single notification page that includes both Block and Warn pages.

Note
The notification pages described in this section do not apply to private access rules in the Access policy. For information about private access rules, see Get Started With Private Access Rules.
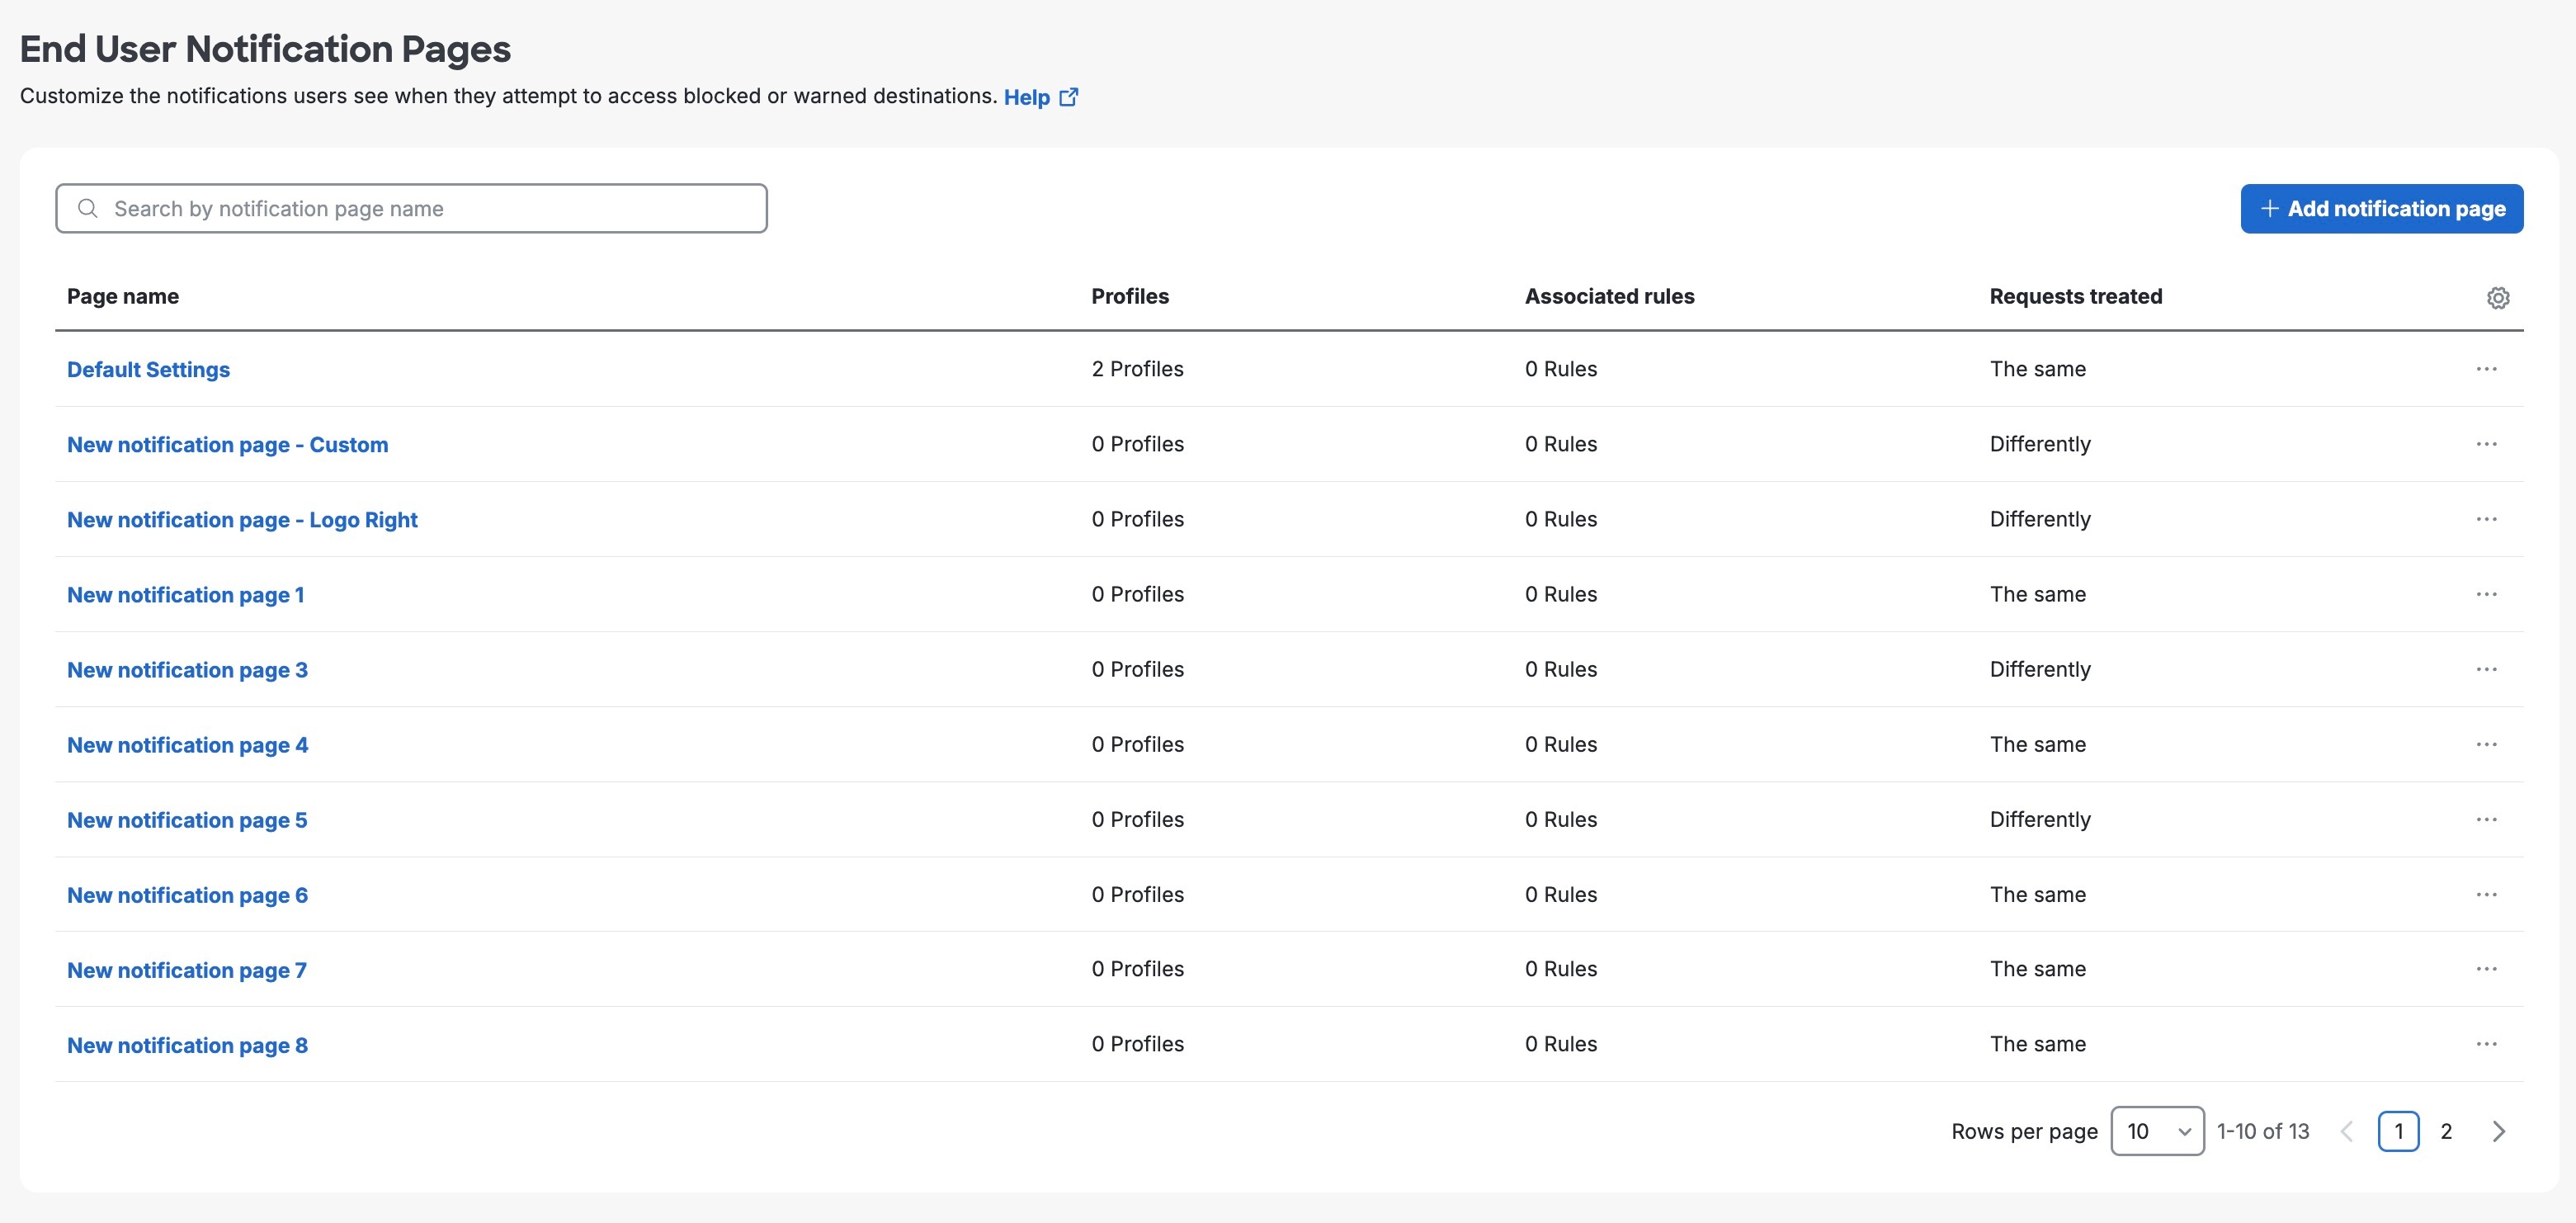
View Notification Pages Displayed to End Users

In Secure Access you can view the default notification page and any custom notification pages. For more information, see Preview Notification Pages.

Display Custom Notification Pages to End Users

  • Create custom notification pages for blocked destinations and destinations in internet access rules configured with the Warn action. For more information, see Create Custom Block and Warn Pages.
  • Configure one or more Security profiles for internet access to use custom notification pages. For more information, see Add a Security Profile for Internet Access.
  • In the default Security profile for internet access, choose to display the block and warn pages when traffic matches internet access rules that use the default profile. For more information about choosing a default Security profile for internet access, see Edit Rule Defaults and Global Settings.
  • Configure internet access rules to use the Security profiles, which you have configured to display your custom notification pages. To display a Warn page, choose the Warn action in the rule.
  • Deploy required certificates. For more information, see Certificates for Internet Decryption.

    If user devices do not have the necessary certificate, users will see the standard browser error when they try to access a blocked destination.


About Warn Pages for Internet Access Traffic

Secure Access displays a Warn page for destinations where the organization has configured internet access rules with the Warn action. The Display user input field in warning messages global setting on the Access policy determines whether a user clicks a link on the Warn notification or enters a key word before accessing the destination. For more information about the Display user input field in warning messages global settings, see Global Settings for Access Rules.

  • The Warn page includes either a link that the user must click to continue to the destination, or if configured a user input field.
  • When a user gets access to a destination, the destination is available for one hour. After one hour, Secure Access displays the Warn page again and the user must click on the link or enter Continue to access the requested destination.

Warn Page: Click Link and Continue to Destination

If an administrator has not enabled the Display user input field in warning messages global setting on the Access policy, Secure Access requires that the user click a link in the Warn notification page, and then access the requested destination.


Warn Page: Enter Key Word and Continue to Destination

If an administrator has enabled the Display user input field in warning messages global setting on the Access policy, the user input field appears on the Warn notification page.

When Secure Access displays the Warn notification page, the user must enter the key word Continue to activate the Continue button.

  1. Enter Continue.
    Note

    The value of the user input field is a case-insensitive string.


    Cisco Secure Access Warn Notification page featuring a keyword entry field to activate the Continue button
  2. Click the Continue button to reach the internet destination.
    Cisco Secure Access Warn Notification page displaying the Continue button

Preview Notification Pages

Cisco Secure Access displays notification pages to users when an internet access rule blocks or warns about a connection. You can preview these pages from two locations:

  • A security profile for internet access.

  • The Secure > Settings > Notification Pages page.

This procedure describes how to preview notification pages from a security profile for internet access.

Note
The system-provided notification page that a user actually sees depends on the rule configuration and the user's connection method. In most cases, users see the Secure Web Gateway (SWG) proxy block page, but some rule configurations cause the firewall block page to appear instead. For details, refer to System-Provided Notification Pages for Firewall and Secure Web Gateway.

Before you begin

Before you begin, verify the following:

  • You have the Full Admin user role. For more information, see Manage Accounts.

  • Your organization's DNS resolves to the Secure Access DNS servers.

Procedure

  1. In the Secure Access dashboard, navigate to Secure > Security Profiles.

  2. Open a security profile for internet access.

    • To preview pages in an existing profile, click the profile name.
    • To preview pages in a new profile, click Add Profile > Internet Access.
  3. Scroll to End-User Notifications and click Edit.

  4. Preview a system-provided notification page.

    1. Select System-provided Notification Pages.
    2. Click the Preview link next to the Block page or the Warn page.
      Notification Pages panel showing Preview links for the Block and Warn system-provided pages.
    3. Review the page that opens in a new browser tab.
  5. Preview a custom notification page.

    1. Select Custom Notification Pages.
    2. Click Choose an existing appearance and select the notification page design that you want to preview.
    3. Click the Preview link next to the Block page or the Warn page.
      Notification Pages panel showing Preview links for the Block and Warn custom pages.
    4. Review the page that opens in a new browser tab.

You have previewed the selected notification pages. If the page content or appearance needs to change, edit the custom notification page design or contact your administrator to update the system-provided page text.


System-Provided Notification Pages for Firewall and Secure Web Gateway

Default behavior

By default, Secure Access displays the SWG proxy block page when an internet access rule blocks a user's connection. This is the notification page that users see in most scenarios.

Figure 1. SWG proxy block page (default)

Secure Web Gateway proxy block page shown by default when an internet access rule blocks a connection.

Exception: When the firewall block page appears

Secure Access displays the firewall block page instead of the SWG proxy block page when all of the following conditions are true:

  • An internet access rule uses a combined destination that includes both of the following:

    • An application list, Destination list, Content category list, internet application, or application category.

    • A network object or group, or a service object or group.

  • The rule action is set to Block.

  • The user connects to Secure Access through one of the following methods:

    • A network tunnel group IPsec tunnel.

    • A remote access VPN tunnel.

    • Client-based zero trust access.

    • A trusted network.

Under these conditions, the user sees the generic firewall block page hosted at accessdenied.sse.cisco.com rather than the SWG proxy block page.

Figure 2. Firewall block page

Firewall block page shown when an internet access rule combines an application destination with a network or service object and the user connects through a tunnel, VPN, zero trust access, or trusted network.
Note
This behavior results from the combined-destination rule logic introduced for internet access rules. For details about how combined destinations are evaluated, see Combining Multiple Destinations in a Rule (Boolean Logic).

Notification pages at a glance

Table 1. Notification page shown by rule configuration and connection method
Rule Configuration Connection Method Notification Page Displayed

Any blocking rule that does not combine destination Lists, Application Lists or Content Category Lists with a network or service object.

Any supported connection method, including devices managed by Cisco Secure Client with the Umbrella Roaming Security module or configured with a PAC file. SWG proxy block page (default).
Blocking rule that combines an application list, Destination list, Content category list, internet application, or application category with a network or service object or group. Network tunnel group IPsec tunnel, remote access VPN tunnel, client-based zero trust access, or a trusted network. Firewall block page.

Related information


Create Custom Block and Warn Pages

Instead of showing end users the default block or warn message with the Secure Access logo, you can display your own logo, custom Block and Warn messages, and an option to contact an administrator. You can also display different pages depending on the reason for the block.

You can create a custom Block page and a custom Warn page as a set, and then choose them in security profiles for internet access.

Prerequisites

  • Full Admin user role. For more information, see Manage Accounts.

  • Gather your logo, help desk email address, and any other information you want to provide.

  • If you use a custom logo, Secure Access notification pages support PNG and JPEG. Images larger than 125x70 pixels will be cropped and resized.


Create Custom Block and Warn Pages

Procedure

  1. Navigate to Secure > Settings > Notification Pages.

  2. Click +Add, or expand the setting you want to edit.

    The settings on the page are optional.


    Notification Pages page with option to add notifications
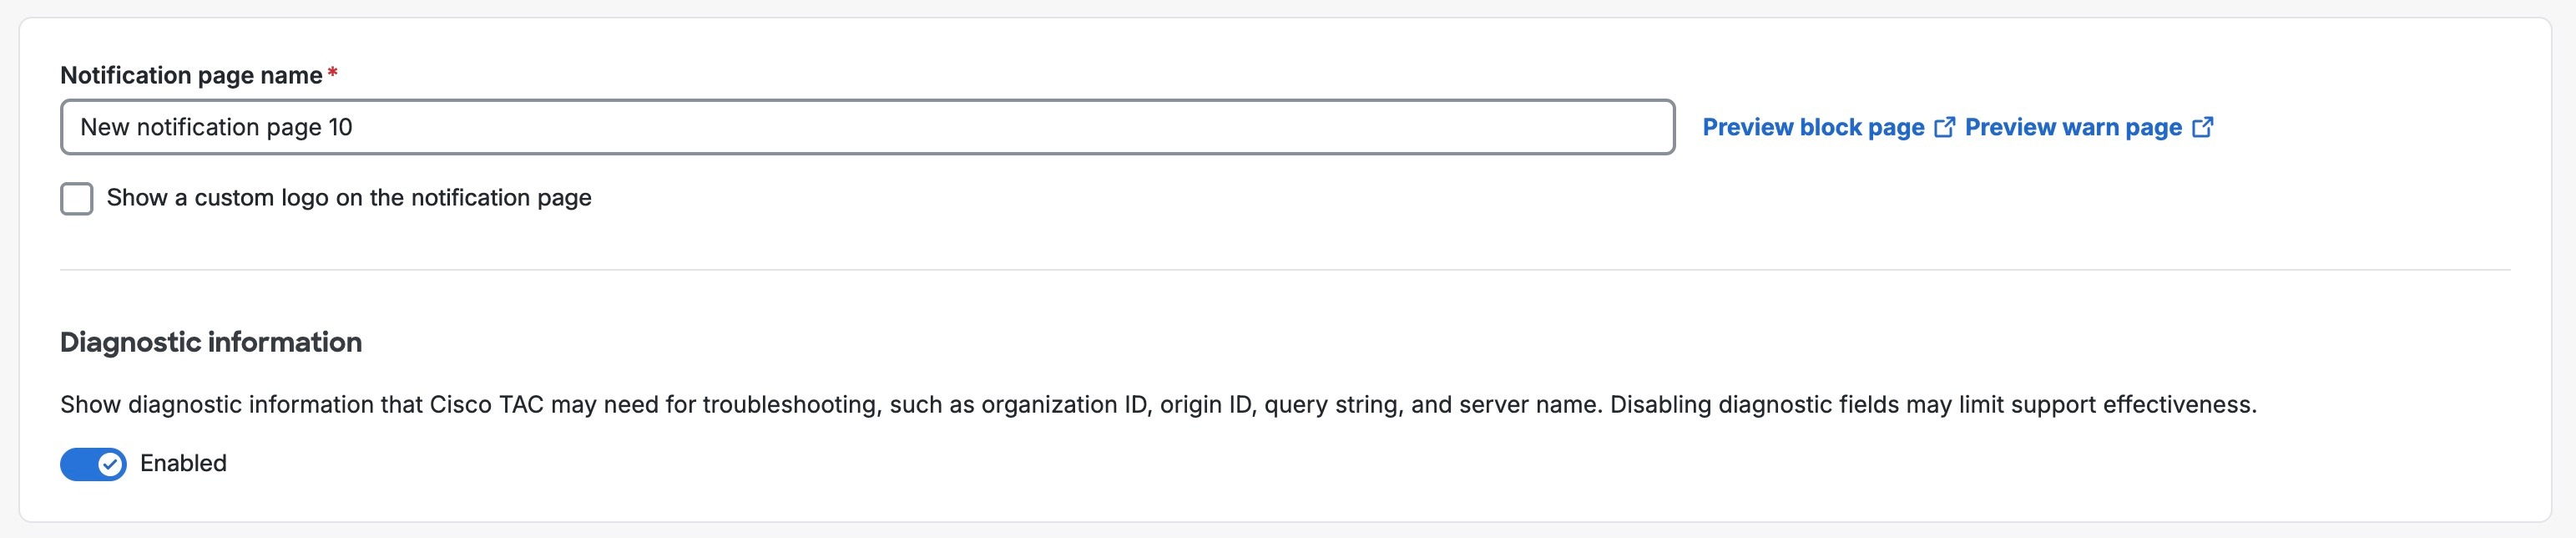
  3. If this is a new configuration, name this set of notification pages.


    Add New Block Page Appearance page displaying fields to configure the block page appearance
  4. Click Allow blocked users to contact an admin from the block page.

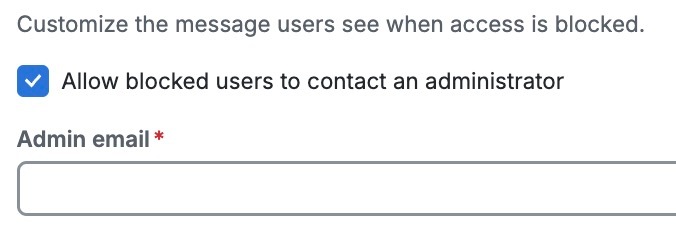
    If you want to allow end users to contact an administrator from a block message, provide the email address that will be used to forward user messages.

    For more information, see Allow Users to Contact an Administrator.

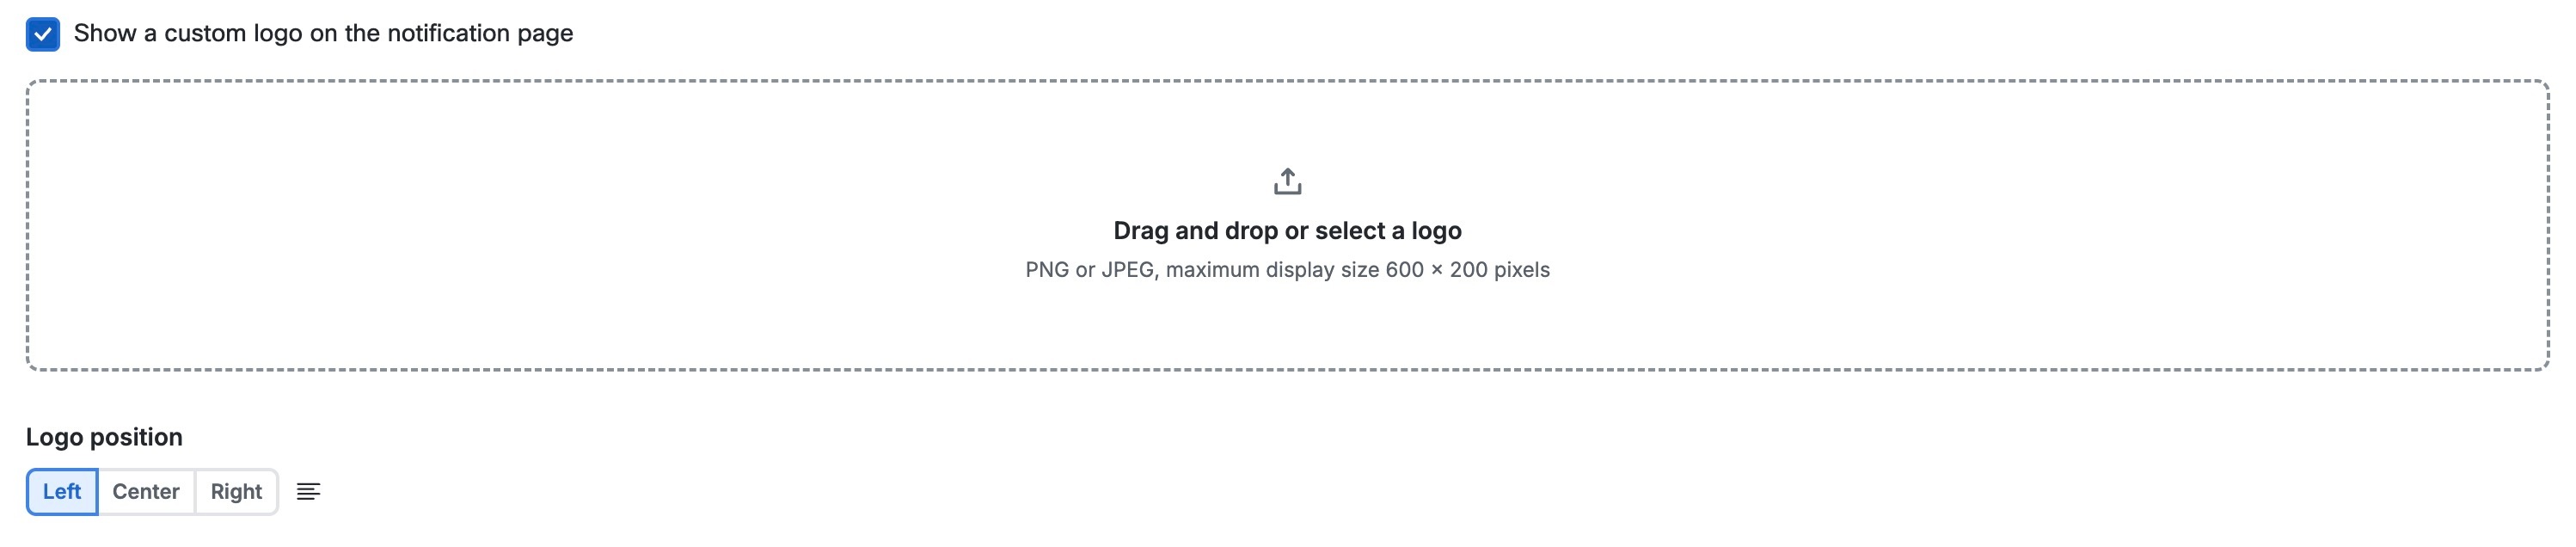
  5. Click Show a custom logo on the block page.

    Secure Access notification pages support PNG and JPEG. Images larger than 125 x 70 pixels will be cropped and resized.


    Popup with an option to upload a custom logo file
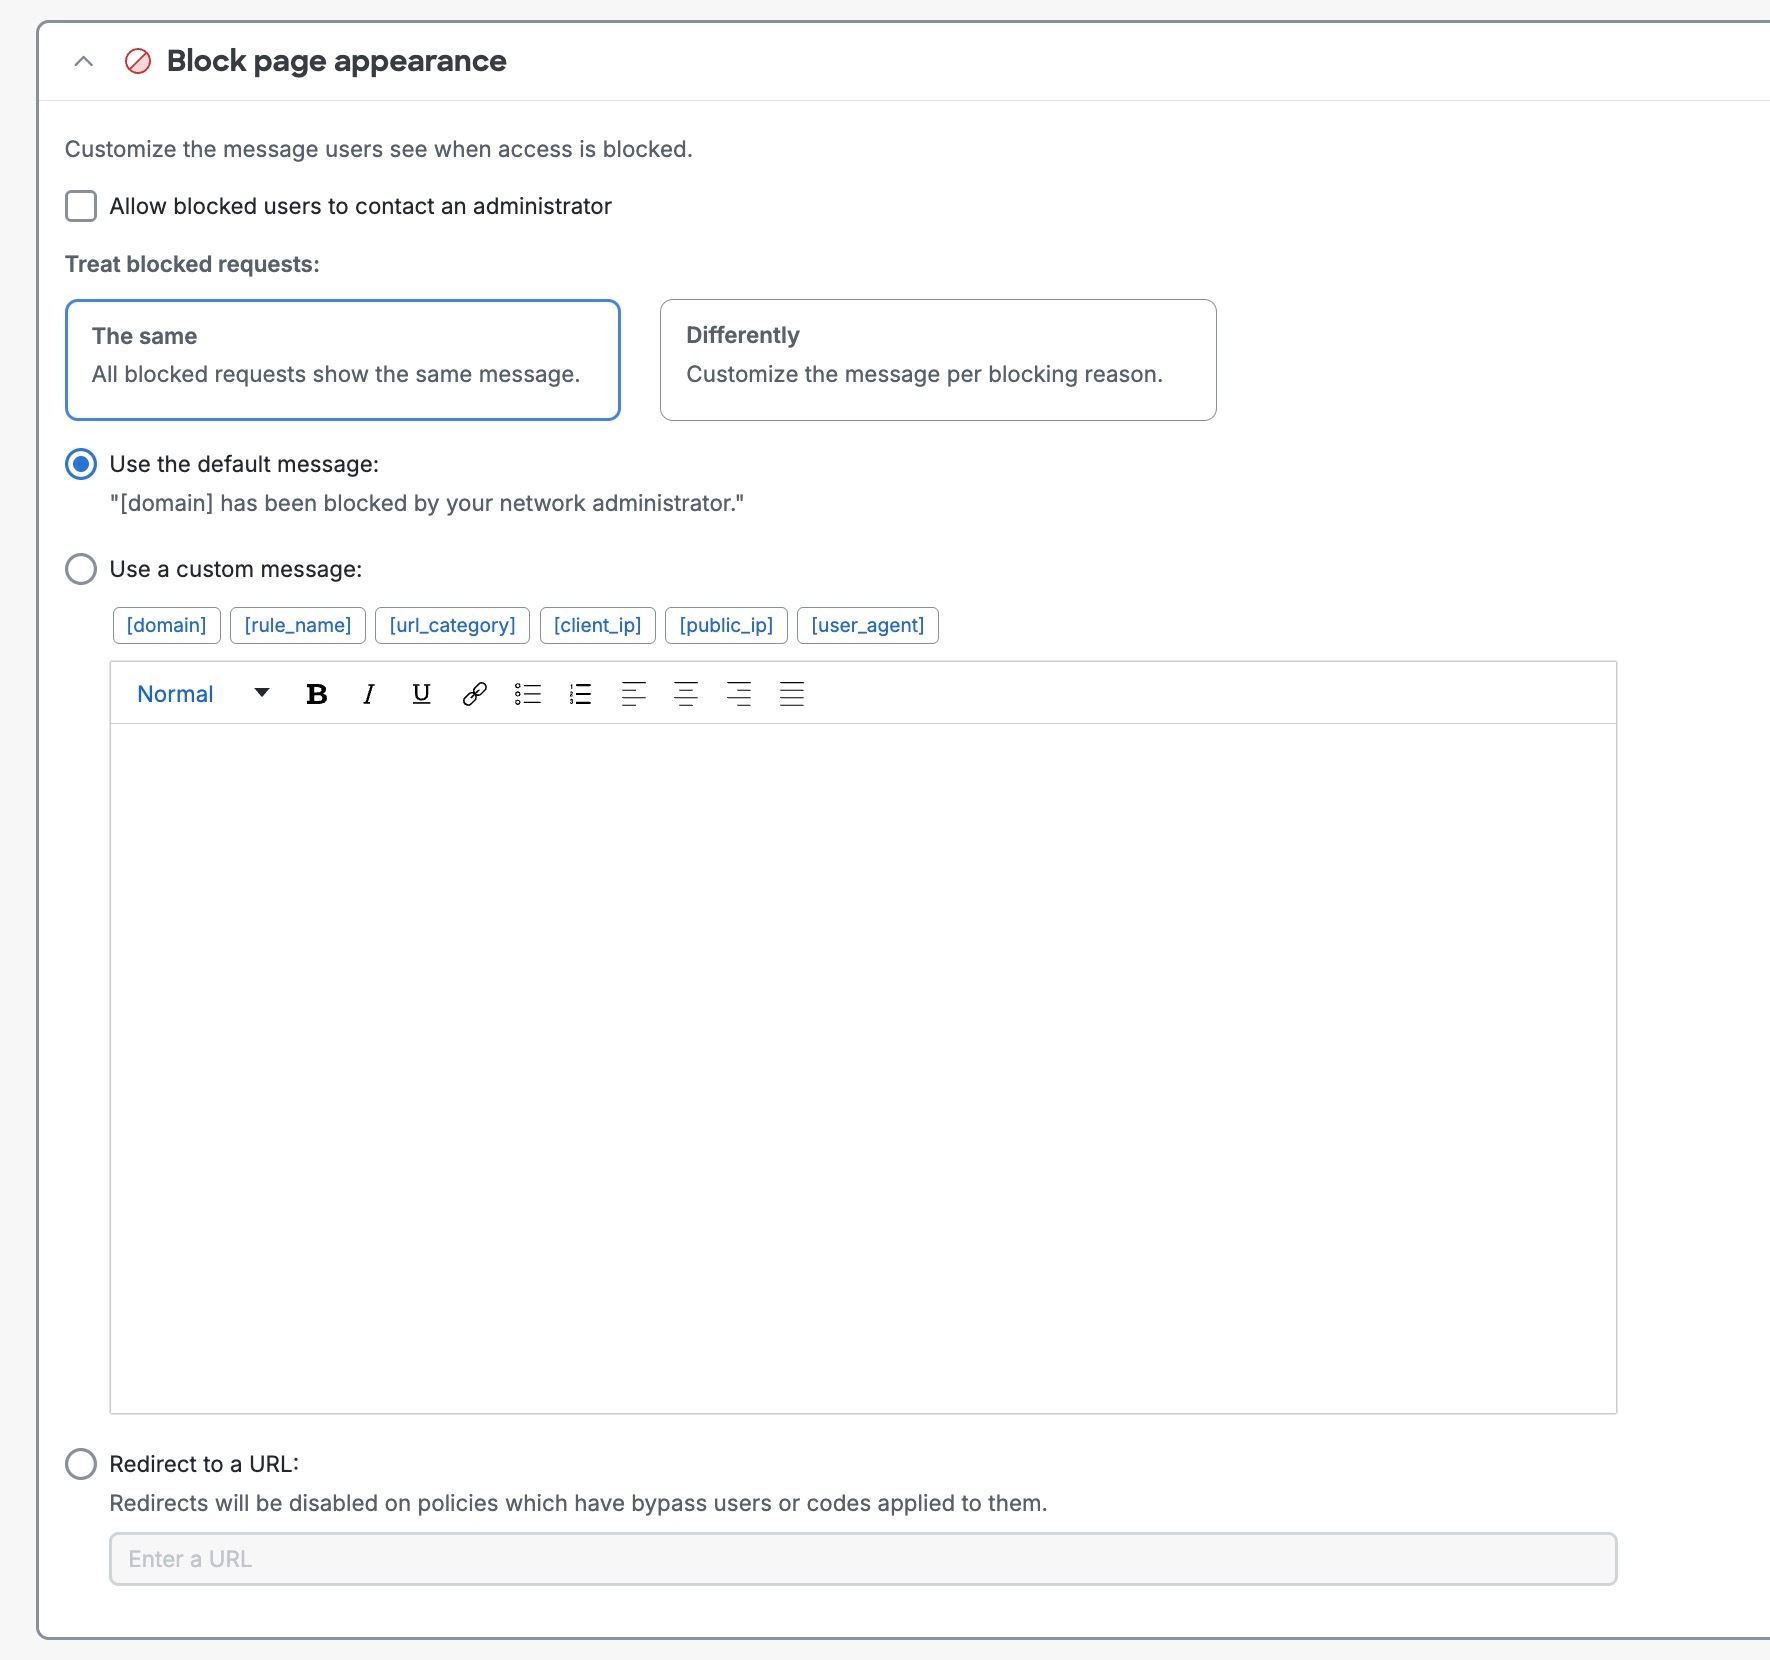
  6. Expand Block Page Appearance.

    1. If you want to display a unique message based on the reason for the block, click Differently and click a Block reason.

    2. Click Show a block page with a custom message.

    3. Specify your custom message.

      You can adjust the size of text, as well as bold, italicize, underline, or strikethrough it. You can also add hyperlinks, numbered lists, and bulleted lists.

      You can also use the following variables within your message.

      • [domain]—Substitutes the domain name that the end-user tried to browse to.

      • [client_ip]—Substitutes the external IP address of the client that is hitting the block page.

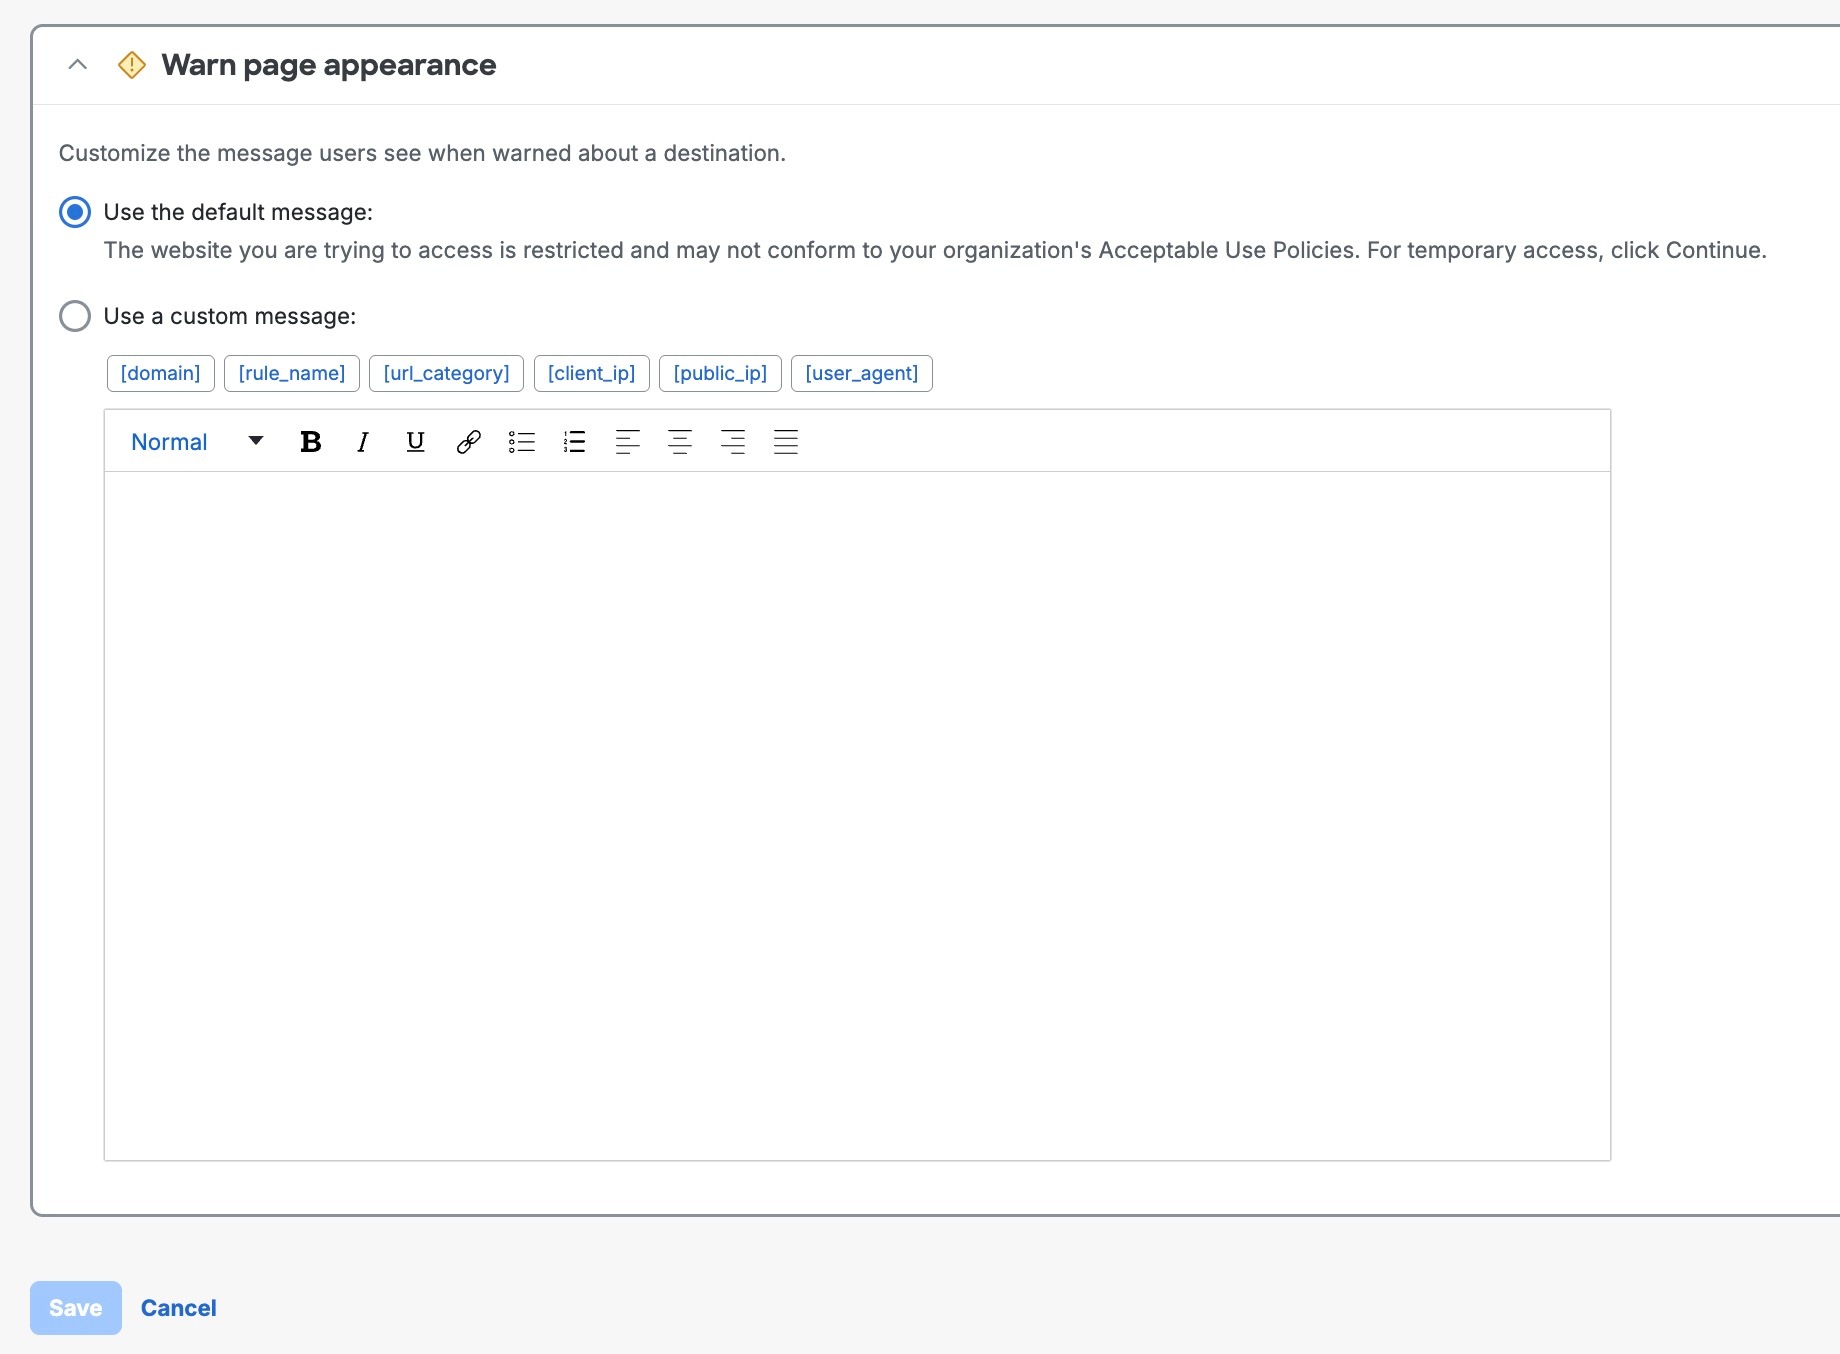
  7. Expand Warn Page Appearance.

    1. Click Show a warn page with a custom message.

    2. Enter your custom message, using the same guidelines as for a custom block message.

  8. Preview your notification pages:

    1. Scroll to the top of your configuration.

    2. Click the Preview Block Page or Preview Warn Page links.


      Add new Block Page Appearance page with options to preview notification pages
  9. Click Save.


Allow Users to Contact an Administrator

If you configure Secure Access to allow end users to contact an administrator from the block page, users can notify you if they feel a website should not be blocked. When end users attempt to access blocked sites, Secure Access includes a contact form at the bottom of block notifications:


Cisco Secure Access page displaying a contact form for end users

After the end user submits the form, Secure Access sends an email message to the administrator address you provided, including the user's message and diagnostic information that helps you determine whether to allow access to the site.

Tip
Assistance With Allowing Websites

If you are unsure if a website should be allowed or have questions about a domain classification, contact Support.


Procedure for Allowing Users to Contact an Administrator

Before you begin

Procedure

  1. Navigate to Secure > Settings > Notification Pages.

  2. Navigate to a notification page and expand the setting.


    Notification Pages page displaying settings for configuring notifications
  3. Select Allow blocked users to contact an admin from the block page to allow end-users to contact an administrator from your organization. You can only add one email.


    Configuration section for allowing blocked users to contact the administrator from the block page
  4. Click Save.

What to do next

The following is an example of an email sent to an administrator when a user sent a message from a block page:


Notification email sent to an administrator after a user submits a message from a block page

Block Page IP Addresses

When Secure Access blocks a domain or URL, the Secure Access DNS servers display a block page instead of the requested page. Secure Access provides different types of block pages depending on the security event.

IP Addresses for Secure Access Block Pages

The following table describes the types of block pages, DNS record types, and Anycast IP addresses for the Secure Access servers.

Block Page Type Record Type IP Address
Domain List A 146.112.61.113
Domain List AAAA 2620:119:18::115
Command and Control Callback A 146.112.61.114
Command and Control Callback AAAA 2620:119:18::114
Content Category or Application A 146.112.61.115
Content Category or Application AAAA 2620:119:18::115
Malware A 146.112.61.116
Malware AAAA 2620:119:18::116
Phishing A 146.112.61.117
Phishing AAAA 2620:119:18::117
Security Integrations, Newly Seen Domains, DNS Tunneling VPN, Potentially Harmful, and Dynamic DNS A 146.112.61.119
Security Integrations, Newly Seen Domains, DNS Tunneling VPN, Potentially Harmful, and Dynamic DNS AAAA 2620:119:18::119

Domains for Secure Access Block Pages

Secure Access displays block pages on these domains:

  • block.sse.cisco.com
  • phishing.block.sse.cisco.com
  • malware.block.sse.cisco.com