Outlines the process for creating demands and configuring demand meshes.
Create a demand
Use this task to add a new demand to your network plan via the Network Design page.
Before you begin
All selections and entries are optional except for identifying the source and destination.
Procedure
| 1. | Open the plan file (refer to Open plan files). It opens in the Network Design page. From the toolbar, choose . Alternatively, in the Network Summary panel on the right side, click |
|
| 2. | Enter the demand name. |
|
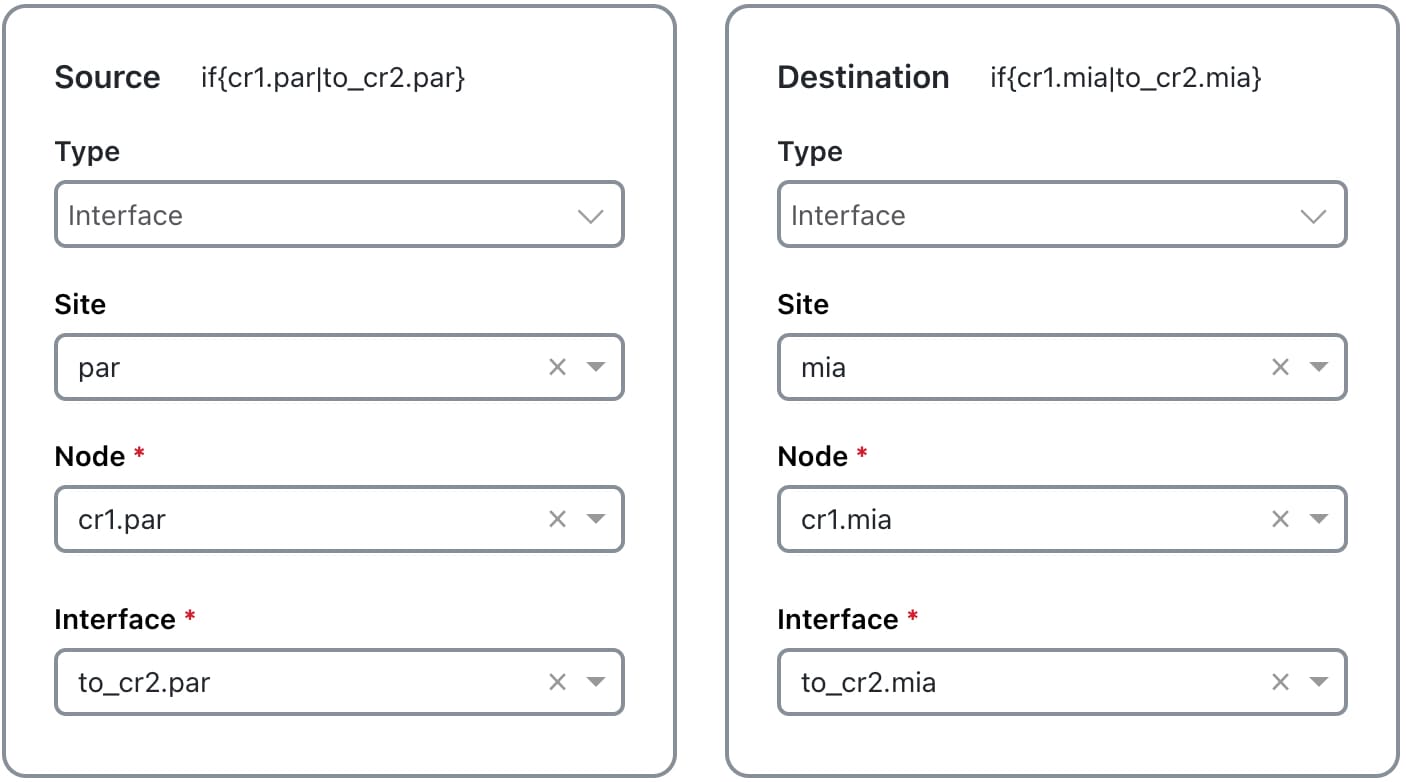
| 3. | Specify the type of source and destination (node, interface, external AS, or external endpoint). Select additional Source and Destination details as needed.
|
|
| 4. | Select a service class. If there are no service classes, create a new service class and select it. For instructions on creating a new service class, refer to Create service classes. |
|
| 5. | Enter a value for the latency bound. |
|
| 6. | Choose a topology to restrict the demand routes only to interfaces or LSPs belonging to that topology. The default is unrestricted routing. |
|
| 7. | Retain the Active default to include the demand in Cisco Crosswork Planning simulations, or uncheck Active to exclude this demand from simulations. |
|
| 8. | For each traffic level, click Edit to specify the amount of traffic. You can also leave it empty for the Demand deduction tool to complete. Specify the growth rate you want to use for forecasting purposes. For more information, refer to Evaluate Impact of Traffic Growth. |
|
| 9. | Click Add to create the demand. |
Create a demand mesh
Complete these steps to add a demand mesh to your network plan via the Network Design page.
Procedure
| 1. | Open the plan file (refer to Open plan files). It opens in the Network Design page. |
|
| 2. | From the toolbar, choose . Alternatively, in the Network Summary panel on the right side, click the Demands tab, and then click |
|
| 3. | In the Demand mesh details panel:
|
|
| 4. | In the Source panel: Select one or more sources from the Source check boxes. Options include Nodes, External ASes, and External Endpoints. By default, all options are selected. Also, all available nodes, external ASes, and external endpoints are selected. To customize your selection, use the Edit button next to each option. |
|
| 5. | In the Destination panel:
|
|
| 6. | Expand the Other options panel and make the required changes.
|
|
| 7. | Save the changes. |
Create demands for LSPs
Use this task to add demands for LSPs in a plan file.
Procedure
| 1. | Open the plan file (refer to Open plan files). It opens in the Network Design page. |
|
| 2. | In the Network Summary panel on the right side, click the LSPs tab. |
|
| 3. | Click |
|
| 4. | Select the LSPs over which you want to run the demands. |
|
| 5. | Select the service class for the resulting demands. |
|
| 6. | Select the traffic for the newly created demands.
|
|
| 7. | To remove the restriction of setting these demands to only these LSPs, uncheck Mark LSPs as private. If you do not uncheck this check box, the LSPs will use only the resulting demands. |
|
| 8. | Submit your changes. |
Set demand latency bounds
Use this task to set fixed latency bounds for demands within a network plan to control traffic latency and support performance objectives.
Use the Edit Demands page to set demand latency bounds to fixed values. All values are in milliseconds (ms).
Procedure
| 1. | Open the plan file (refer to Open plan files). It opens in the Network Design page. |
|
| 2. | In the Network Summary panel on the right side, select one or more demands from the Demands table. |
|
| 3. | Click
|
|
| 4. | To set a fixed value for the latency bound, enter a value in the Latency bound field. To delete a latency bound, delete the text in this field. |
|
| 5. | Save your changes. |