Configuration Guide for Cisco Optical Site Manager, IOS XR Release 26.x.x

PDF

Configuration Guide for Cisco Optical Site Manager, IOS XR Release 26.x.x

Import a Cisco Optical Network Planner configuration file

Want to summarize with AI?

Log in

Use this procedure to import a Cisco Optical Network Planner configuration file. This task helps you complete the required configuration, verification, or management action in Cisco Optical Site Manager.


Use this task to import a Cisco Optical Network Planner NETCONF file (.xml) into Cisco Optical Site Manager to configure device parameters automatically.

Table 1. Feature History

Feature Name

Release Information

Description

Download Device-Specific Configuration

Cisco IOS XR Release 26.1.1

The COSM Setup now includes a Custom Download button, enabling you to download configuration details for a specific device.

This feature provides quick access to targeted configuration data, improving efficiency when retrieving device-specific information.

If you have a NETCONF file (.xml) exported from Cisco Optical Network Planner (Cisco ONP), you can import it to Cisco Optical Site Manager. This file includes:

  • Node, shelf, card type, and port information, including wavelength

  • Pluggable Port Module (PPM), OTN, and FEC parameters

  • Degree, IPC, and link-related information

  • Fiber attributes and other network parameters

Note

While you will typically upload a Cisco ONP-generated file, there are cases where you must upload the 'golden XML' file provided to you.
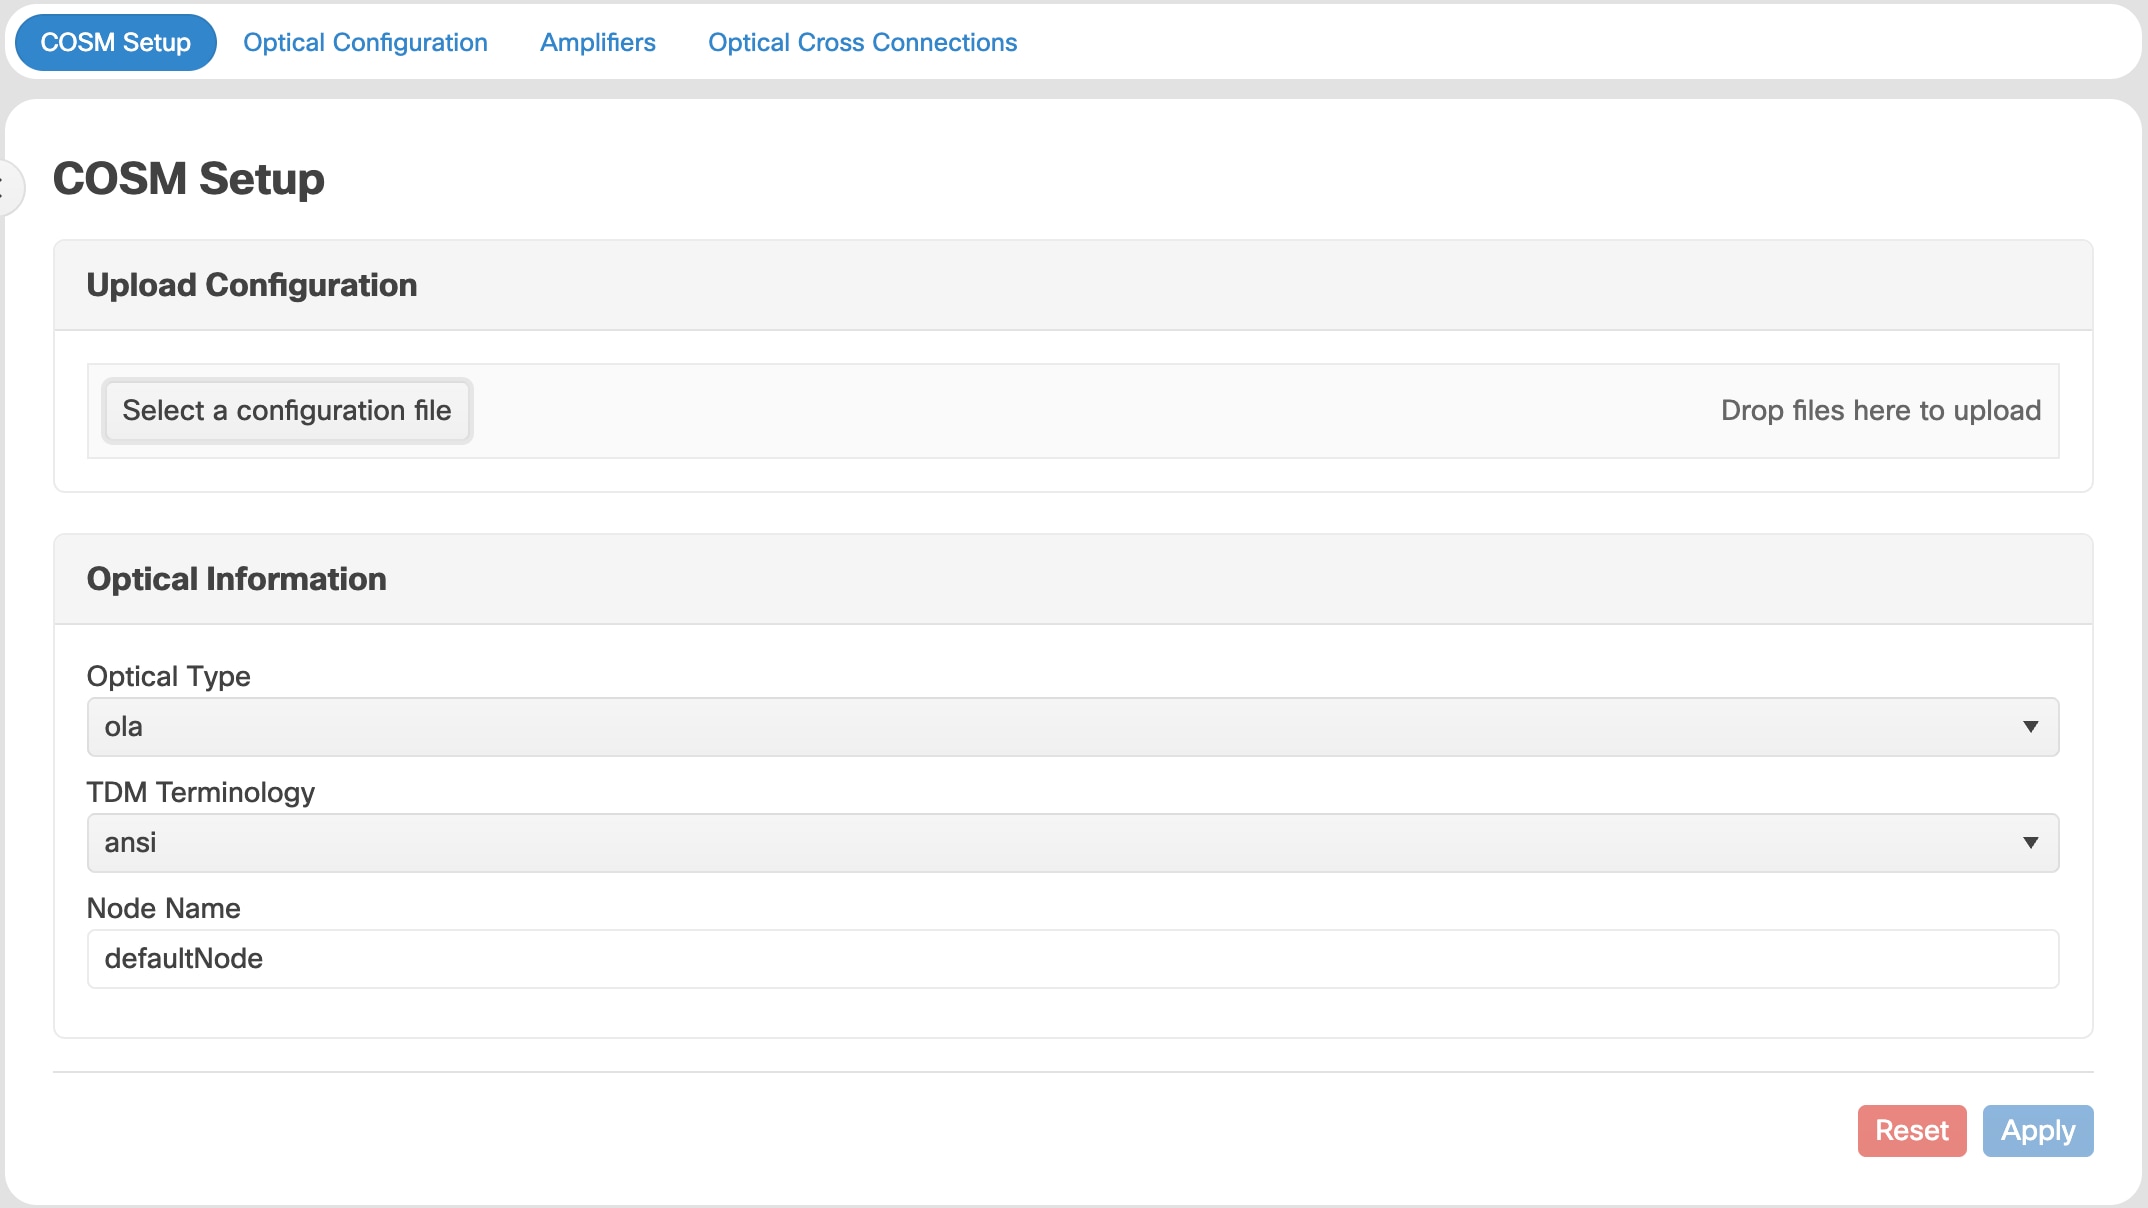
Figure 1. Upload Configuration

Before you begin

Ensure that:
  • The NETCONF file (.xml) contains these parameters available on Cisco Optical Site Manager:

    • device name

    • uid

    • rack id

    • chassis/passive unit id

  • Ensure the Cisco Optical Site Manager site name (in the CONP XML file or any other location) does not contain the string IP. If this string appears in the site name, network discovery in Cisco Optical Network Controller does not work correctly.

  • Cisco Optical Site Manager is newly activated with no devices added to it.

  • The Cisco Optical Network Planner configuration file does not include any Optical Cross-Connects.

  • Log into Cisco Optical Site Manager.

Procedure

  1. Click Optical Setup in the left panel.

  2. Click the Node Setup tab.

  3. In the Upload Configuration section, click Select a configuration file.

    1. Navigate to the location where the NETCONF file (.xml) is present and select it.
    2. Click Yes.
    3. Click Upload.
      A confirmation message appears after the upload is complete.
  4. Verify these configuration before adding a device:

    1. Click Optical Setup.
    2. In the Optical Configuration and ANS Parameters tabs, verify the successful configuration of CONP XML data onto the device.
    • Confirm that the physical cabling on the device matches the Cisco Optical Site Manager Node Functional View.

    • Verify that the rack positioning, degree, IPC and NFV views are aligned with the designed network of Cisco Optical Network Planner.

  5. (Optional) To download the device configuration details in an XML file, follow one of these steps:

    • You can download all device configuration details in an XML file by clicking Download Configuration.

    • To download the configuration details of a specific device, click Custom Download, enter the XPath and click Download.
    Note

    We highly recommend not to directly reuse the downloaded XML file for uploading.

  6. Create an authorization group for the device added through the imported XML. For details, see Create or edit an authorization group

  7. Edit the device details:

    1. Click Devices in the left panel.
    2. In the Devices tab, click the Devices section to expand it.
    3. Select the device and update its IP Address, SSH Port, Netconf Port, and Auth Group.
    4. Click Apply.
    5. Wait until Sync Status shows sync-completed, and alarm-synchronized.
      Note

      You can edit the details of multiple devices before clicking Apply. However, it may take a few retries for all devices to achieve the sync-completed, and alarm-synchronized states.

What to do next

  1. Verify that the file uploads without errors. If an error occurs, correct the file and upload it again.

    Note

    Partial uploads are not supported. Cisco Optical Site Manager uploads the complete configuration in a single operation. If the file contains an error, the entire configuration is rolled back.