Use this procedure to set up permission mapping. The task helps you map roles and permissions so users receive the correct access in Cisco Optical Network Controller.
Use this procedure to set up permission mapping in Cisco Optical Network Controller. Complete this task when you need to configure, verify, or manage the related network operation.
Cisco Optical Network Controller offers different permission levels for user access. Specific permissions can be granted to a user or group of users using this option. Follow these steps to set up permission mapping.
Before you begin
You need administrative user privileges to access Cisco Optical Network Controller.
Follow these steps to set up permission mapping:
Procedure
-
Click Save.
Figure 1. Permission Mapping 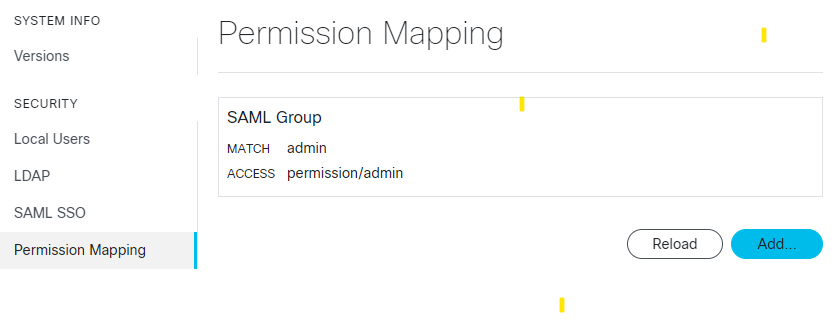
Figure 2. Add Permission Mapping 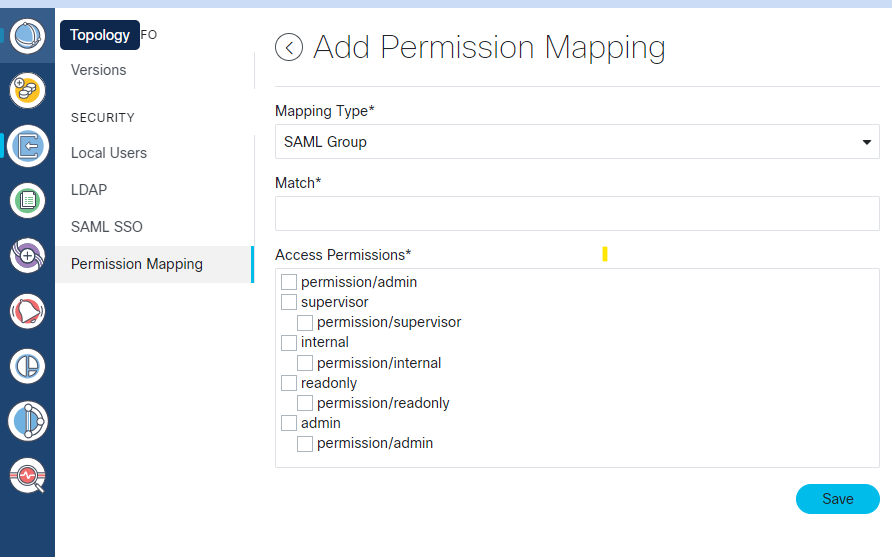
The set up permission mapping task is complete.