Cisco Optical Automation Solution for NCS 2000 Networks, Release 26.1.1

PDF

Cisco Optical Automation Solution for NCS 2000 Networks, Release 26.1.1

Install and configure SVO cards

Want to summarize with AI?

Log in

Install and initialize SVO cards on prepared NCS 2000 ROADM nodes so they can host Cisco Optical Site Manager instances in later workflows.


Use this topic to install and configure SVO cards on prepared NCS 2000 ROADM nodes. Complete physical installation, initialize the cards, verify Admin Plane access, and prepare the cards to host Cisco Optical Site Manager instances.

SVO card installation requirements

This workflow includes the physical installation and initial configuration of SVO cards on NCS 2000 ROADM nodes. The objective is to prepare the SVO card to host Cisco Optical Site Manager instances in later workflows. These activities are performed:

  • Physical installation of SVO cards

  • Initial configuration using the Cisco Optical Site Manager Installation Tool

  • Access verification to the Admin Plane web UI

Install SVO cards in an NCS 2000 chassis

Install the SVO card in the NCS 2000 chassis.
Note

The SVO card does not boot if the node is running release 11.x or remains in the factory-default state. The card may appear with status Ldg without impacting functionality.

Follow these steps to install SVO cards in an NCS 2000 chassis.

Procedure

  1. Verify that the NCS 2000 node has been upgraded to 26.x.

  2. Insert the SVO card into the chassis slot.

  3. Connect all required cables according to the deployment design.

  4. If geo HA is required, install the second SVO card on the peer node.

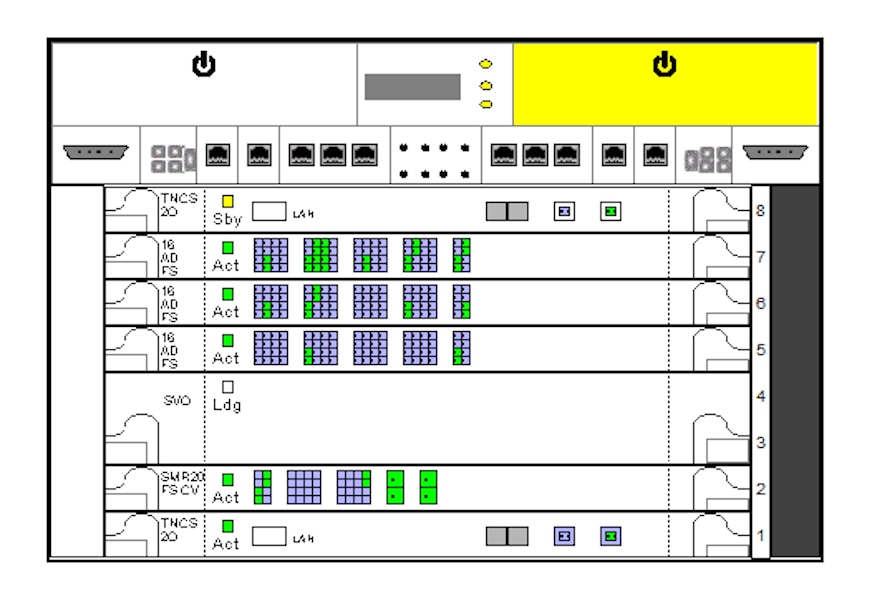
The SVO card is visible in CTC as a double-slot line card.

Figure 1. SVO card CTC shelf view

Configure SVO cards

Configure the SVO card using the Cisco Optical Site Manager Installation Tool, which is embedded in the SVO card software.

Before you begin

  • The SVO card is installed.

  • The network YAML file is available.

Note

The YAML file must match the network design. The SVO card username and password can match or differ from other credentials based on the customer policy.

Follow these steps to configure SVO cards.

Procedure

  1. Connect a PC to the CRAFT port of the SVO card.

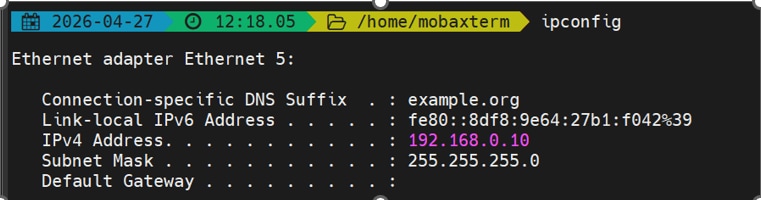
  2. Configure the PC network interface to use DHCP.

  3. The PC receives an IP address automatically.

    Figure 2. PC local network interface configuration
  4. Open http://192.168.0.66 in a browser to upload the initial YAML configuration file.

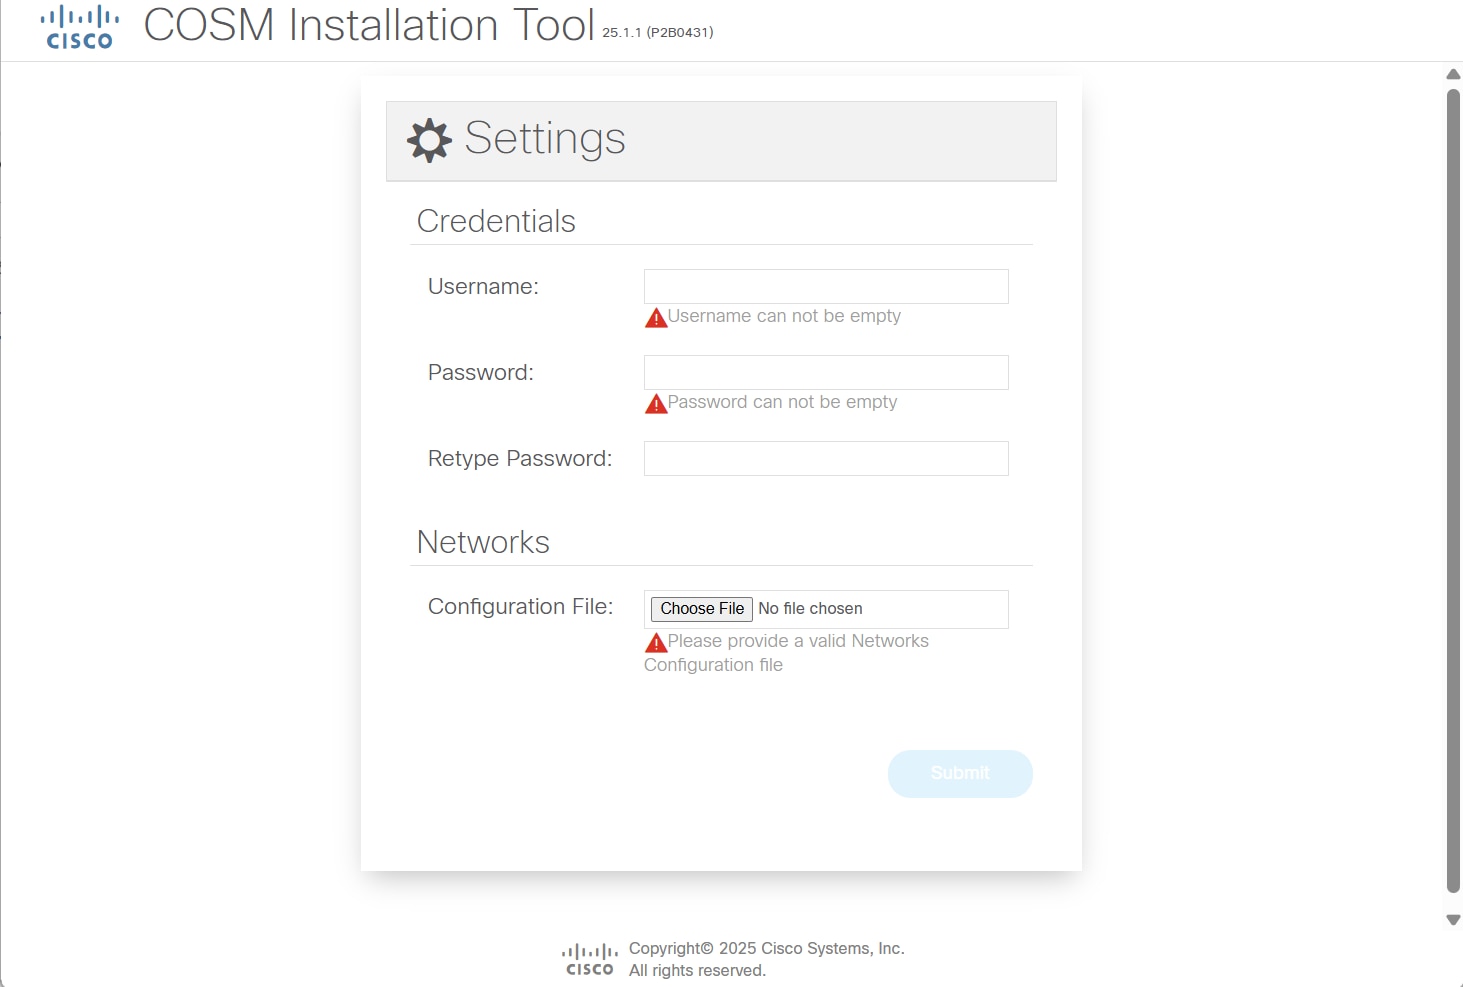
  5. Access the Cisco Optical Site Manager Installation Tool.

  6. The Cisco Optical Site Manager Installation Tool page is displayed.

  7. Enter the administrator credentials that were created on the SVO card during this procedure.

  8. Upload the network YAML configuration file.

  9. Apply the configuration. The process of installation is complete when the screen goes blank.

    Figure 3. Cisco Optical Site Manager installation tool interface

The SVO card is configured and ready to host Cisco Optical Site Manager instances.

What to do next

  • Repeat the procedure on both cards in HA deployments.

  • Use the SVO card credentials to connect to the Cisco Optical Site Manager Admin Plane in the next workflow.


Access the Admin Plane web UI

Verify access to the Admin Plane web UI.

Follow these steps to access the Admin Plane web UI.

Procedure

  1. Open a web browser.

  2. Connect to: https://<ADMIN_PLANE_IP>.

  3. Enter credentials.

  4. Click Login.

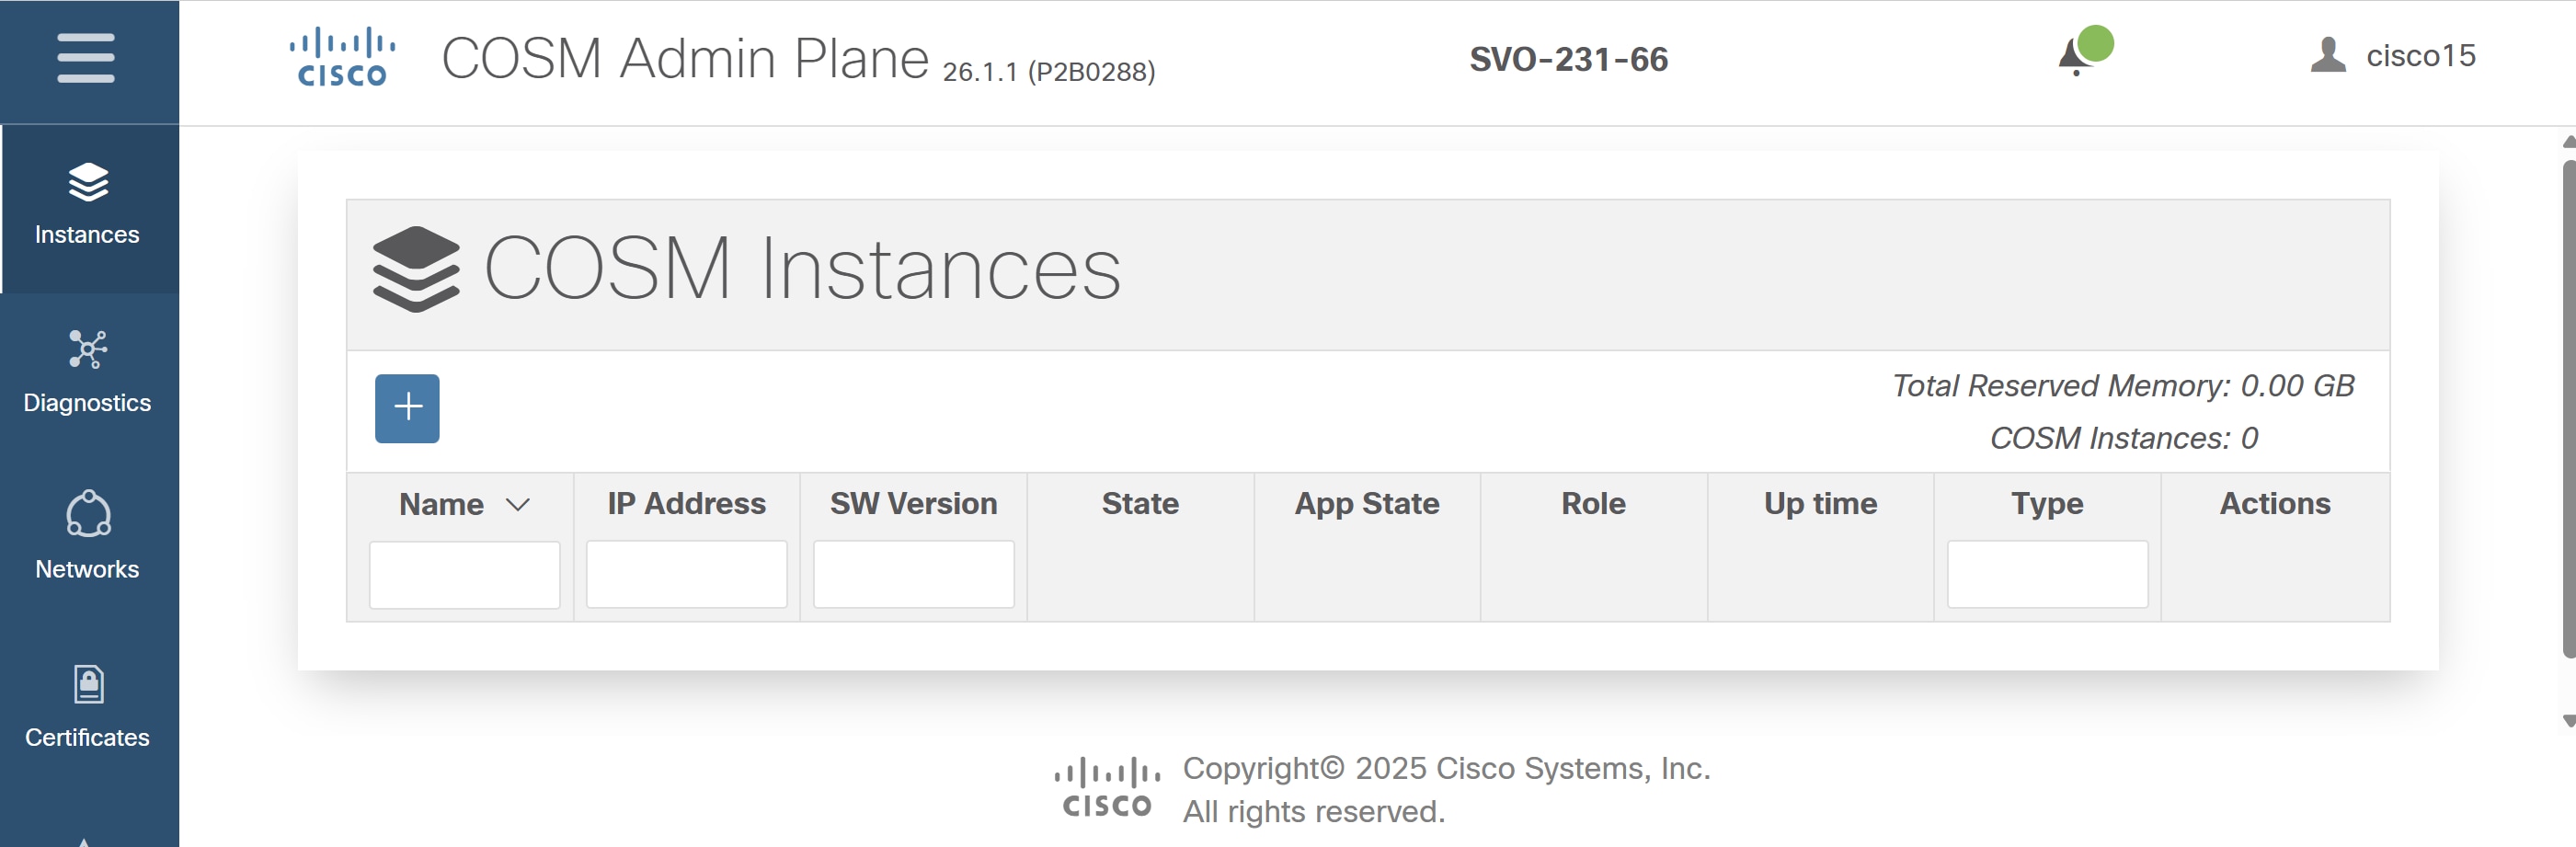
    Figure 4. Cisco Optical Site Manager Admin Plane login

The Admin Plane web UI is accessible, and the Instances panel is displayed.

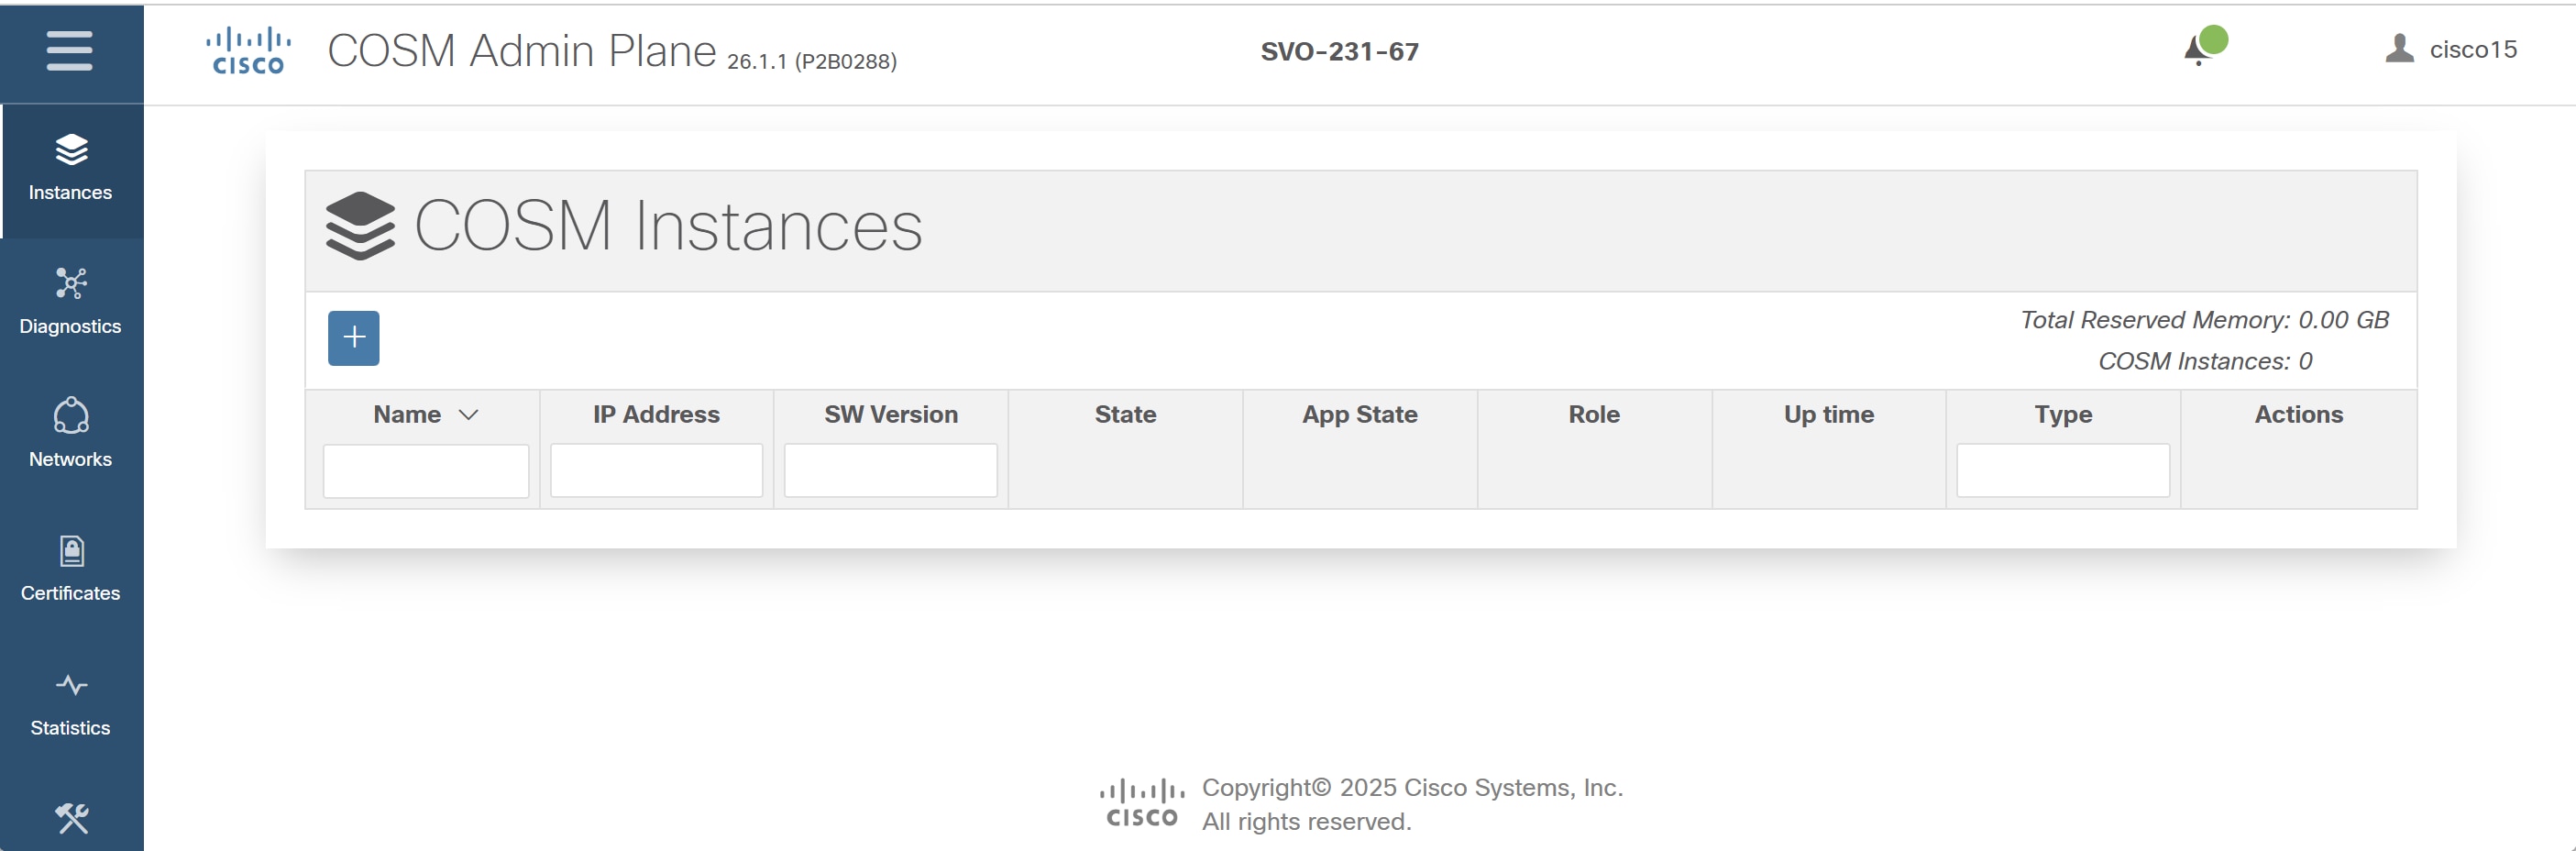
At first access, the list of Cisco Optical Site Manager Instances is empty.

Check both Admin pane instances in HA

The HA icon should be green, if it is any other color, please troubleshoot and fix the issue.

Note

In HA deployments, each SVO card has its own IP address. The Admin Plane IP address is the same as the SVO card management IP address.

Figure 5. Admin Plane first access with no SVO instances

What to do next

Use either SVO card instance for the initial setup.


Verify SVO card installation

Before proceeding to the next workflow, verify the SVO card installation.

Follow these steps to verify SVO card installation.

Procedure

  1. SVO cards are correctly installed and visible in CTC.

  2. All required cabling is completed.

  3. SVO cards are reachable via management IP.

  4. Cisco Optical Site Manager Installation Tool configuration has been successfully applied.

  5. Admin Plane web UI is accessible.

  6. HA connection is successfully established between the two SVO cards.

  7. No critical alarms are present on the hosting nodes.

What to do next

Create a temporary Cisco Optical Site Manager instance to upgrade the controller card and the Admin Plane if the SVO cards are running a release that is different from the expected release.