Configure a Proxy
You can set up a proxy to connect the Connector to Cisco Spaces, if the infrastructure hosting the Connector is behind a proxy. Without this proxy configuration, the Connector is unable to communicate with Cisco Spaces
To configure proxy on the Connector, you must do the following:
Procedure
|
Step 1 |
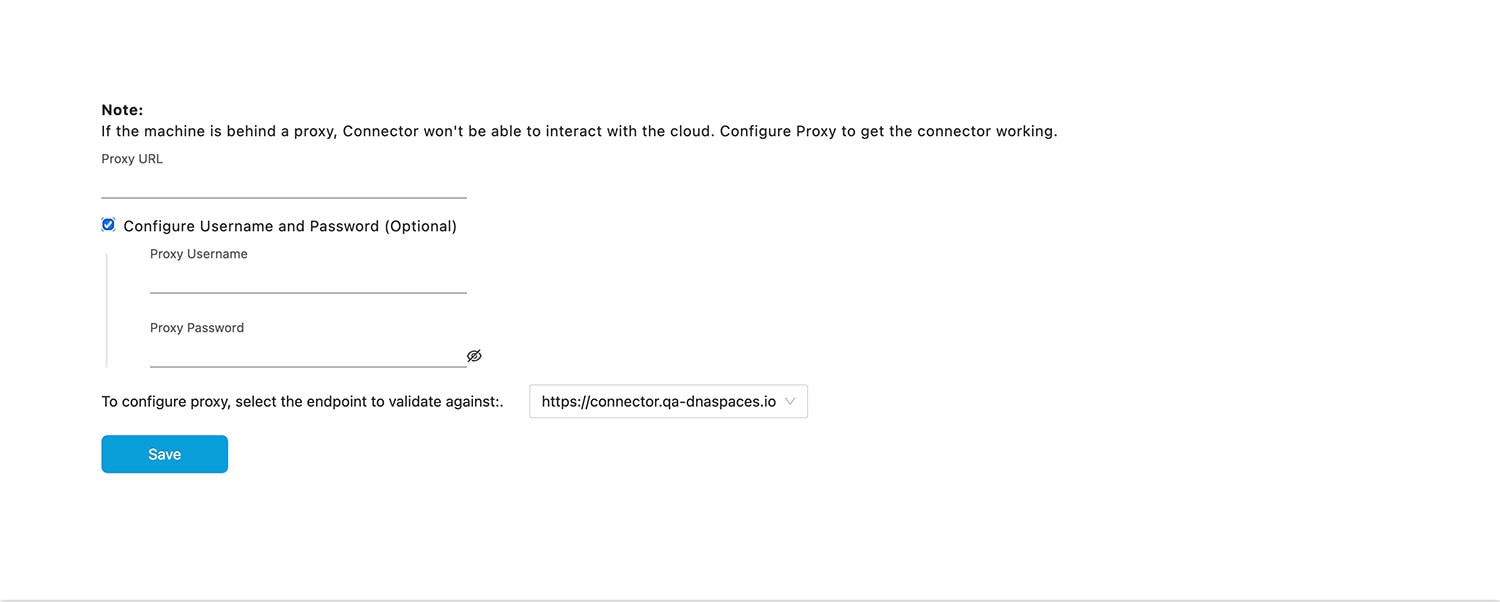
In the Connector GUI left navigation pane, click Configure HTTP Proxy. Enter your proxy address in the dialog box that is displayed. 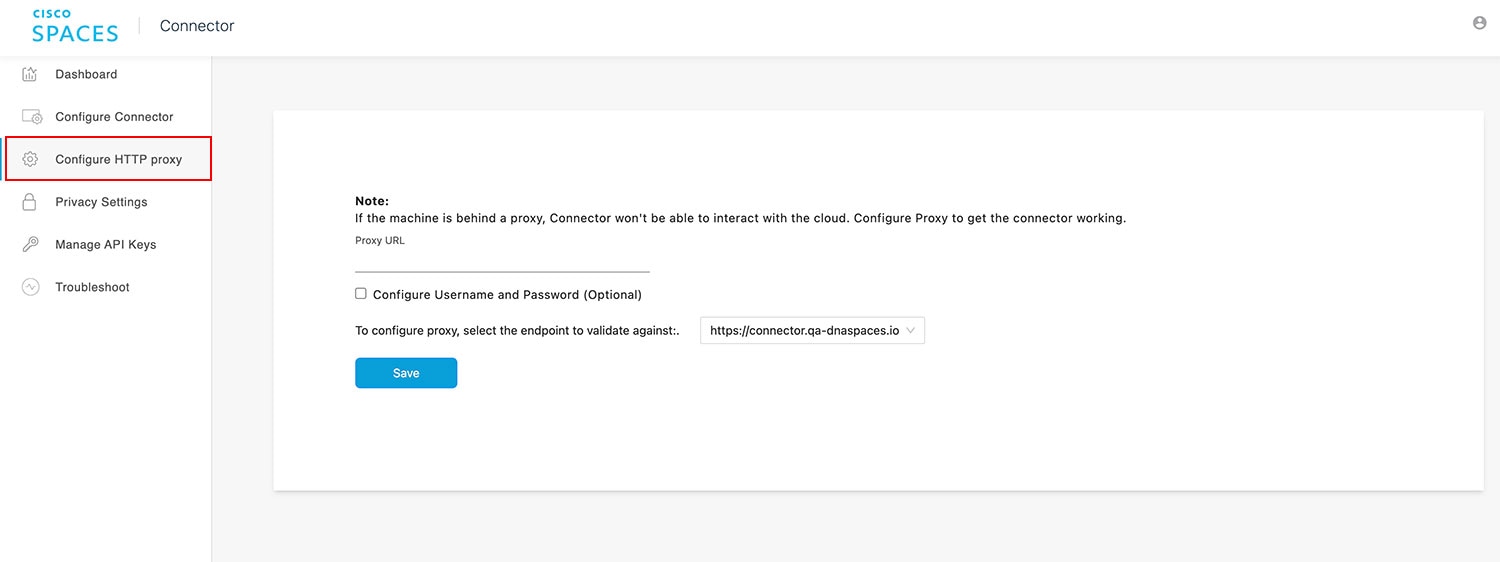
To configure the proxy's basic authentication credentials, click Configure Username and Password. |
||
|
Step 2 |
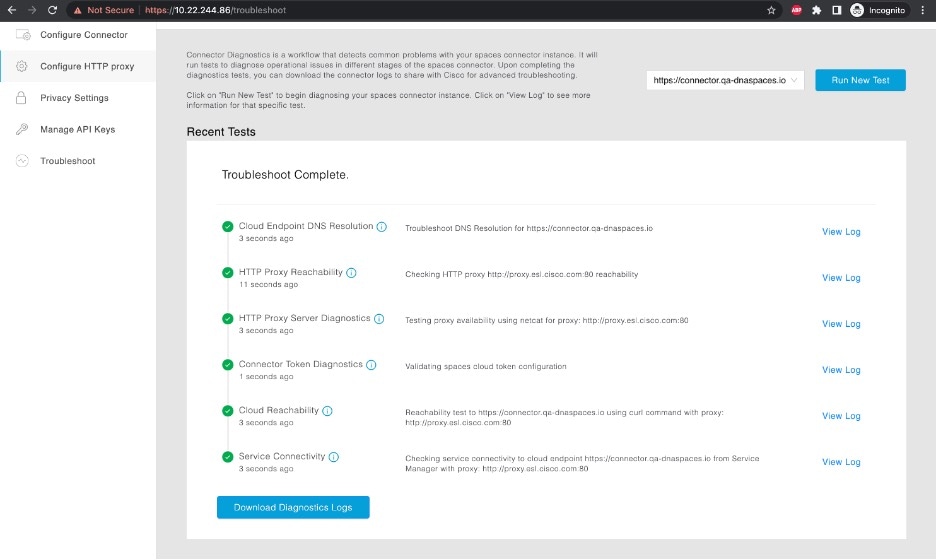
You can troubleshoot any issues in proxy configuration. Click Troubleshoot and select the Cisco Spaces URL. 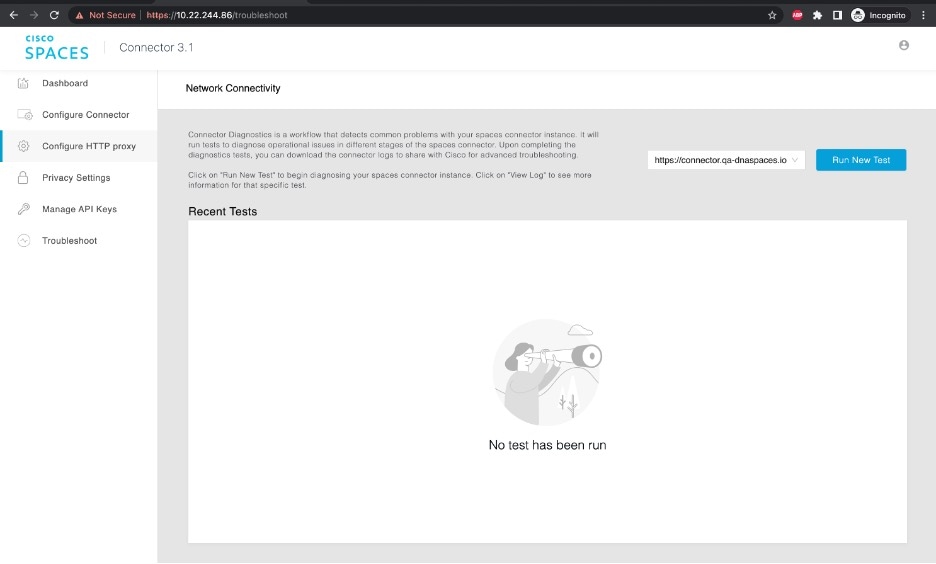
|
 Feedback