Cisco Spaces: Connector Azure VMware
 Note |
This Azure VMware solution is not supported and we recommend following the Cisco Spaces: Connector VM on Azure Environment guide. |
The chapter shows you how to install a connector on Azure VMware. To do this, you must understand the various components of this solution.
-
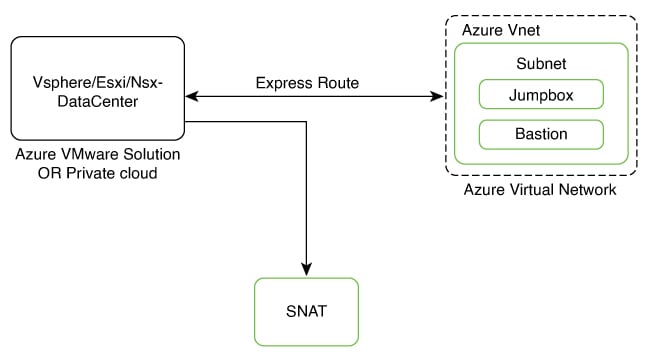
The Azure VMware Solution (AVS) or Private Cloud is a service offered by Microsoft Azure in collaboration with VMware. It enables organizations to run and manage VMware workloads natively on Azure infrastructure. You can host services such as Cisco Spaces: Connector or wireless controllers.
-
Azure Virtual Network (VNet) is a building block in Microsoft Azure that enables you to securely connect and isolate Azure resources. It provides a way to create private, isolated, and highly available networks in the Azure cloud. You can deploy some of these services on this VNet:
-
Azure Bastion is a service provided by Microsoft Azure for secure and seamless Remote Desktop Protocol (RDP) and Secure Shell (SSH) access to virtual machines (VMs) in the Azure cloud. It acts as a secure gateway, eliminating the need to expose VMs on the Private Cloud to the public internet, and reducing the attack surface. With Azure Bastion, you can connect to your VMs directly from the Azure portal using a web browser, without the need for a public IP address or a VPN connection.
-
Jumpbox (or Jump Server): Jumpbox, or jump server, is a security measure used in networking environments. It's a system that sits between an internal network and external networks (such as the internet) and is a single point of entry for administrators. Instead of allowing administrators to connect directly to critical systems such as connector on the Private Cloud, they connect first to the jumpbox, which acts as a gateway to access other systems. This adds an additional layer of security and control over who can access sensitive systems.
-
-
Source Network Address Translation (SNAT): SNAT refers to a type of network address translation that translates the source IP address of outgoing traffic. SNAT is commonly used in scenarios where multiple private IP addresses from a local network need to access resources on the internet or another network.
To deploy a connector on Azure VMware, you have to do the following:
-
Creating an Azure VMware solution (or Private Cloud) and deploying the connector OVA on it.
-
Creating an Azure Virtual Network. You can then allow administrators and users to access the connector through this VNet.
Creating an Azure VMware solution (or Private Cloud)
This chapter provides information about how to download and deploy the Cisco Spaces: Connector and obtain the URL for the connector GUI.
Before you begin
-
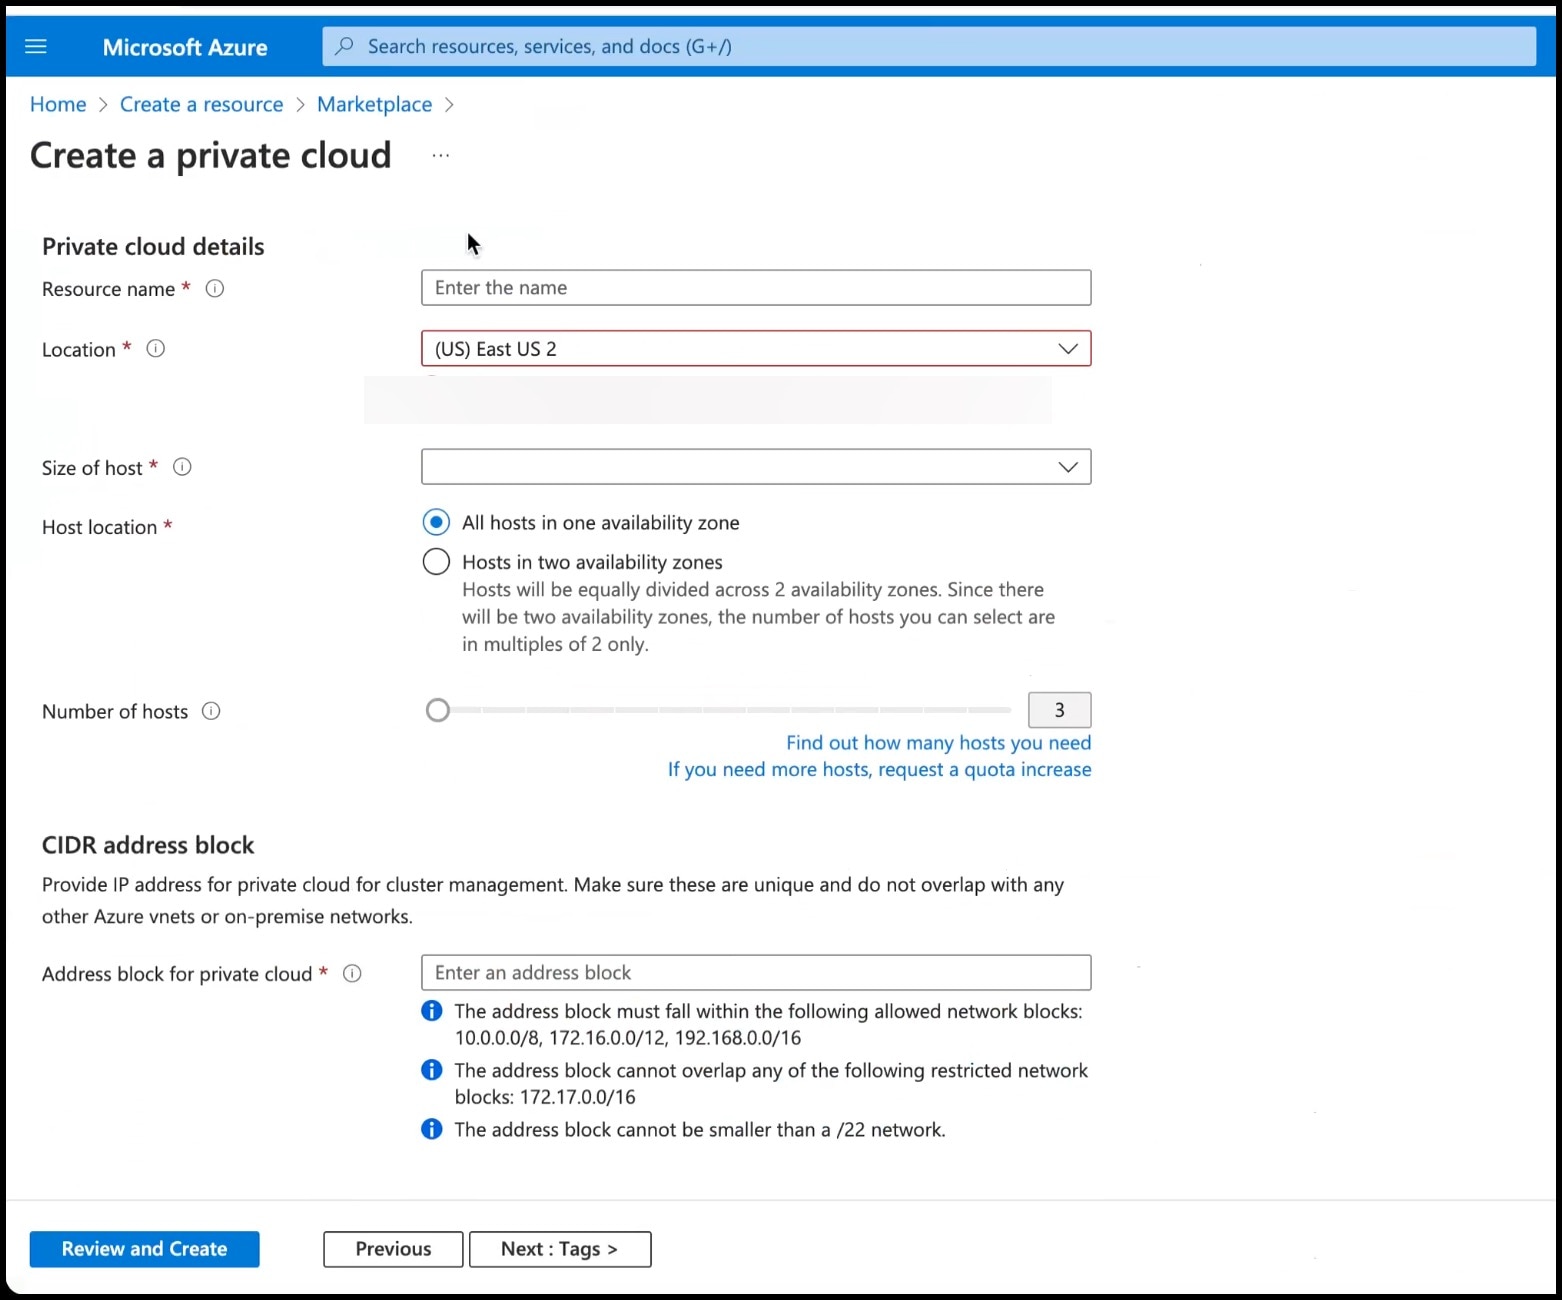
Identify the subscription you plan to use for the Azure VMware solution.
-
Identify the Size Hosts. This requires you to raise a case with Azure customer support.
-
Identify the address range and subnet for the private cloud. All your VMware resources including connector are hosted in this IP range.
SUMMARY STEPS
- Log in to portal.azure.com.
- Create a Resource.
- Choose the Azure VMware Solution service.
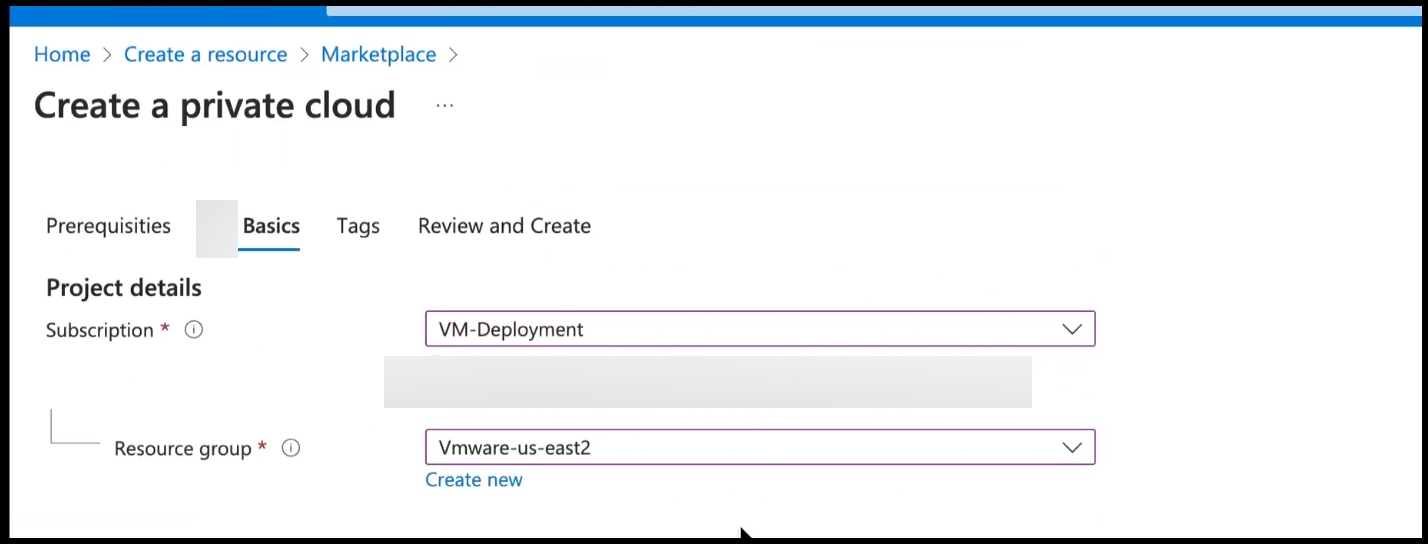
- In the Create a private cloud window that appears, fill the required details.
- Configure a segment for the private cloud.
- Specify the DHCP range to be used for this segment.
- Specify a DNS from the left-navigation pane or while installing the connector later.
- You can use a public DNS while deploying the connector.
- You can configure an internal DNS from the left-navigation pane.
- Provide internet connectivity using SNAT. From the left-navigation pane, click Internet Connectivity > Connect using SNAT. This enables outbound internet access for this private cloud.
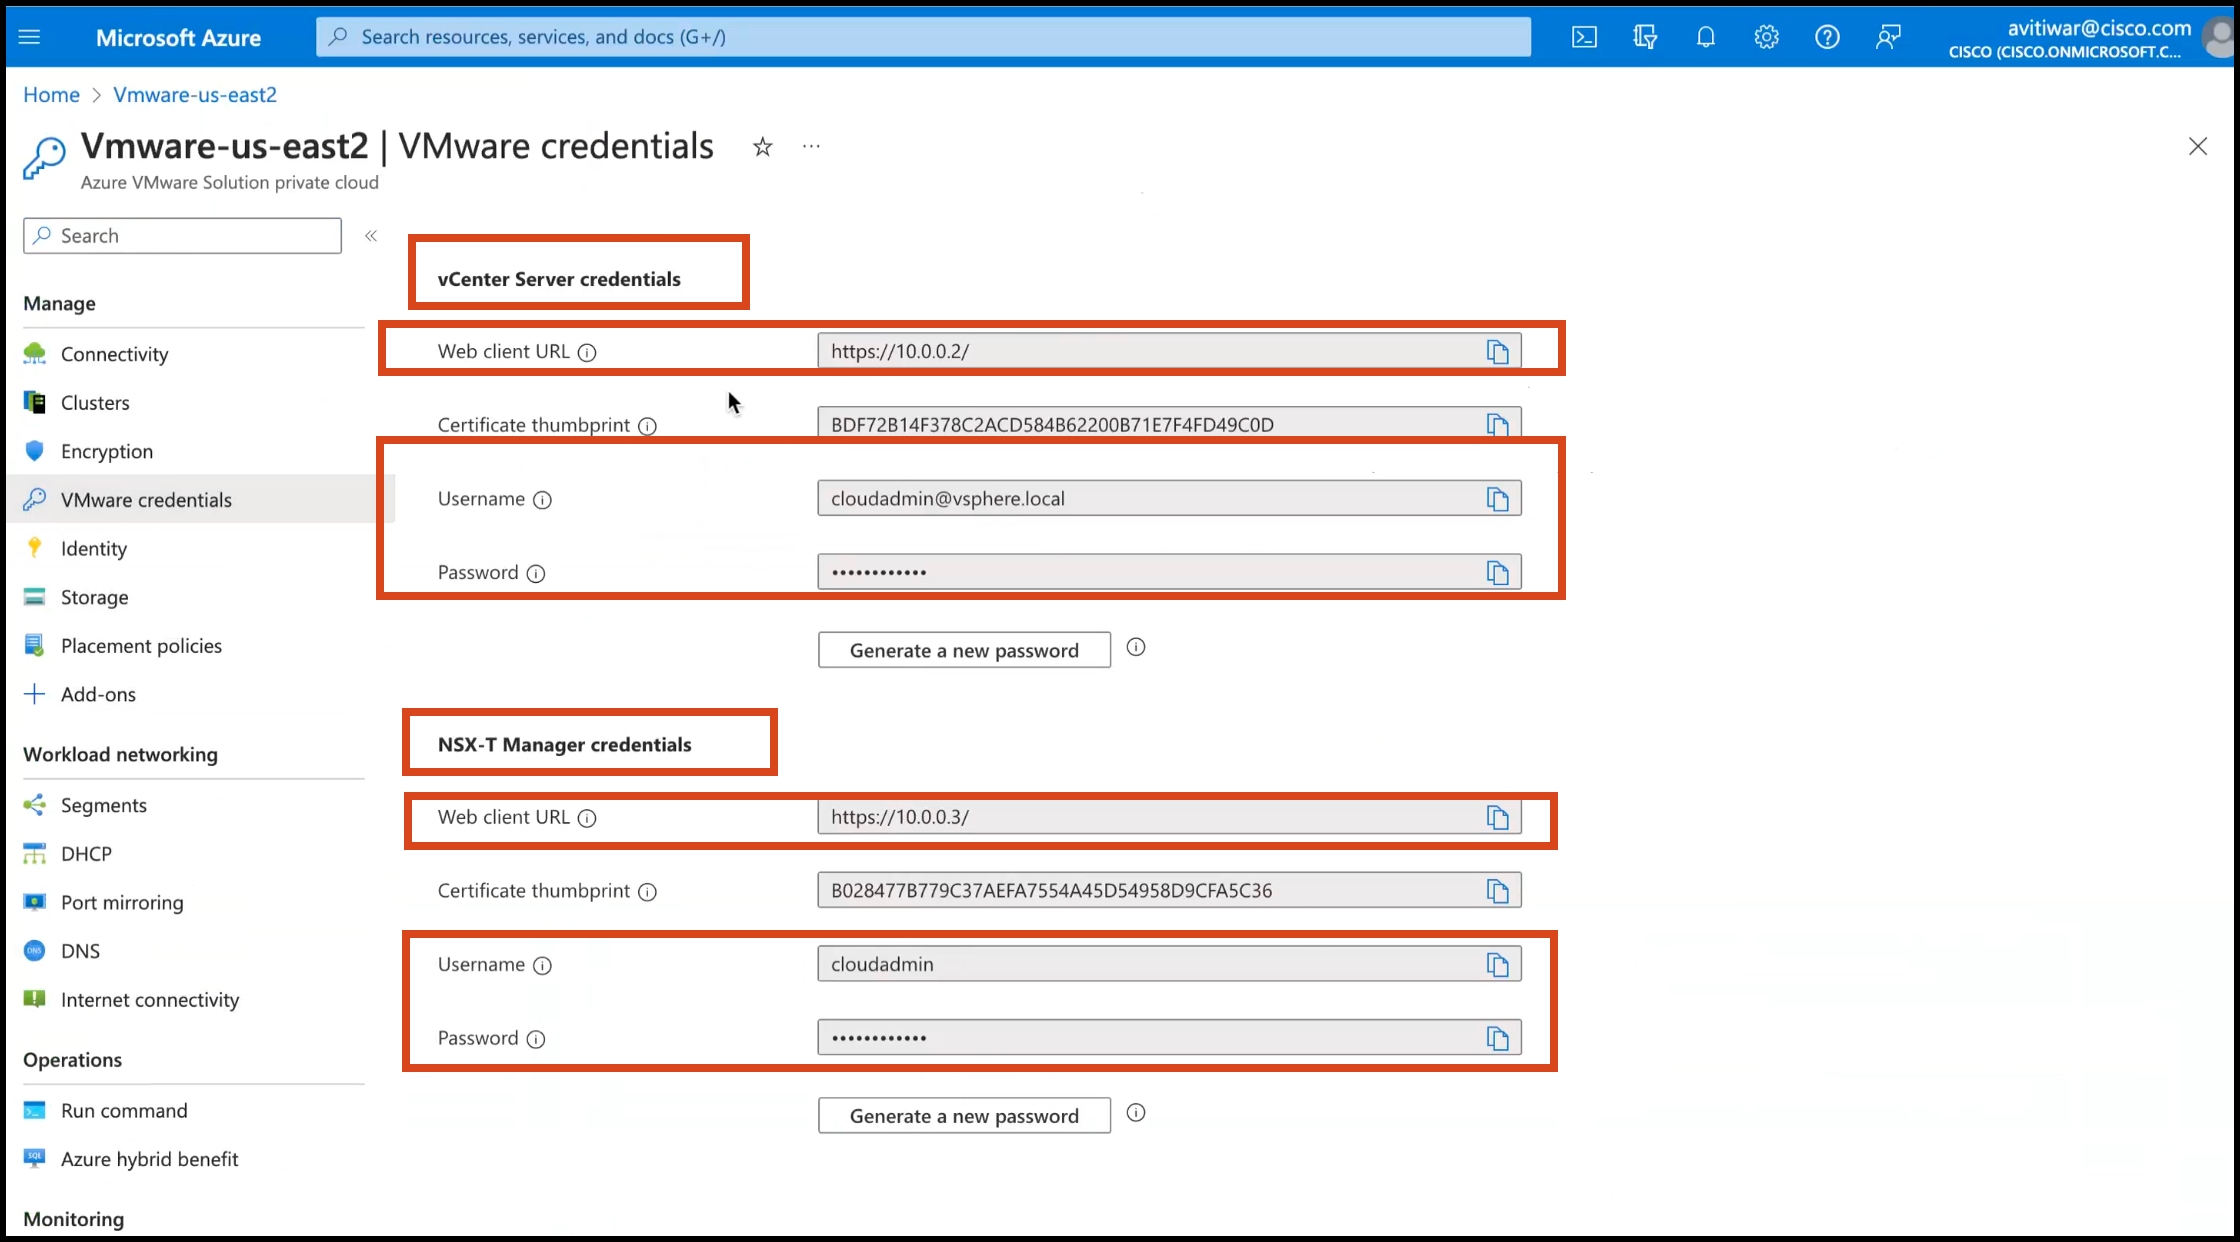
- Find the credentials of this private cloud. From the private-cloud left pane, click VMware credentials. You can observe the credentials of various components of the private cloud. Make a note of these credentials for later use.
DETAILED STEPS
|
Step 1 |
Log in to portal.azure.com. |
||
|
Step 2 |
Create a Resource. From the left-navigation pane, click Create a Resource. 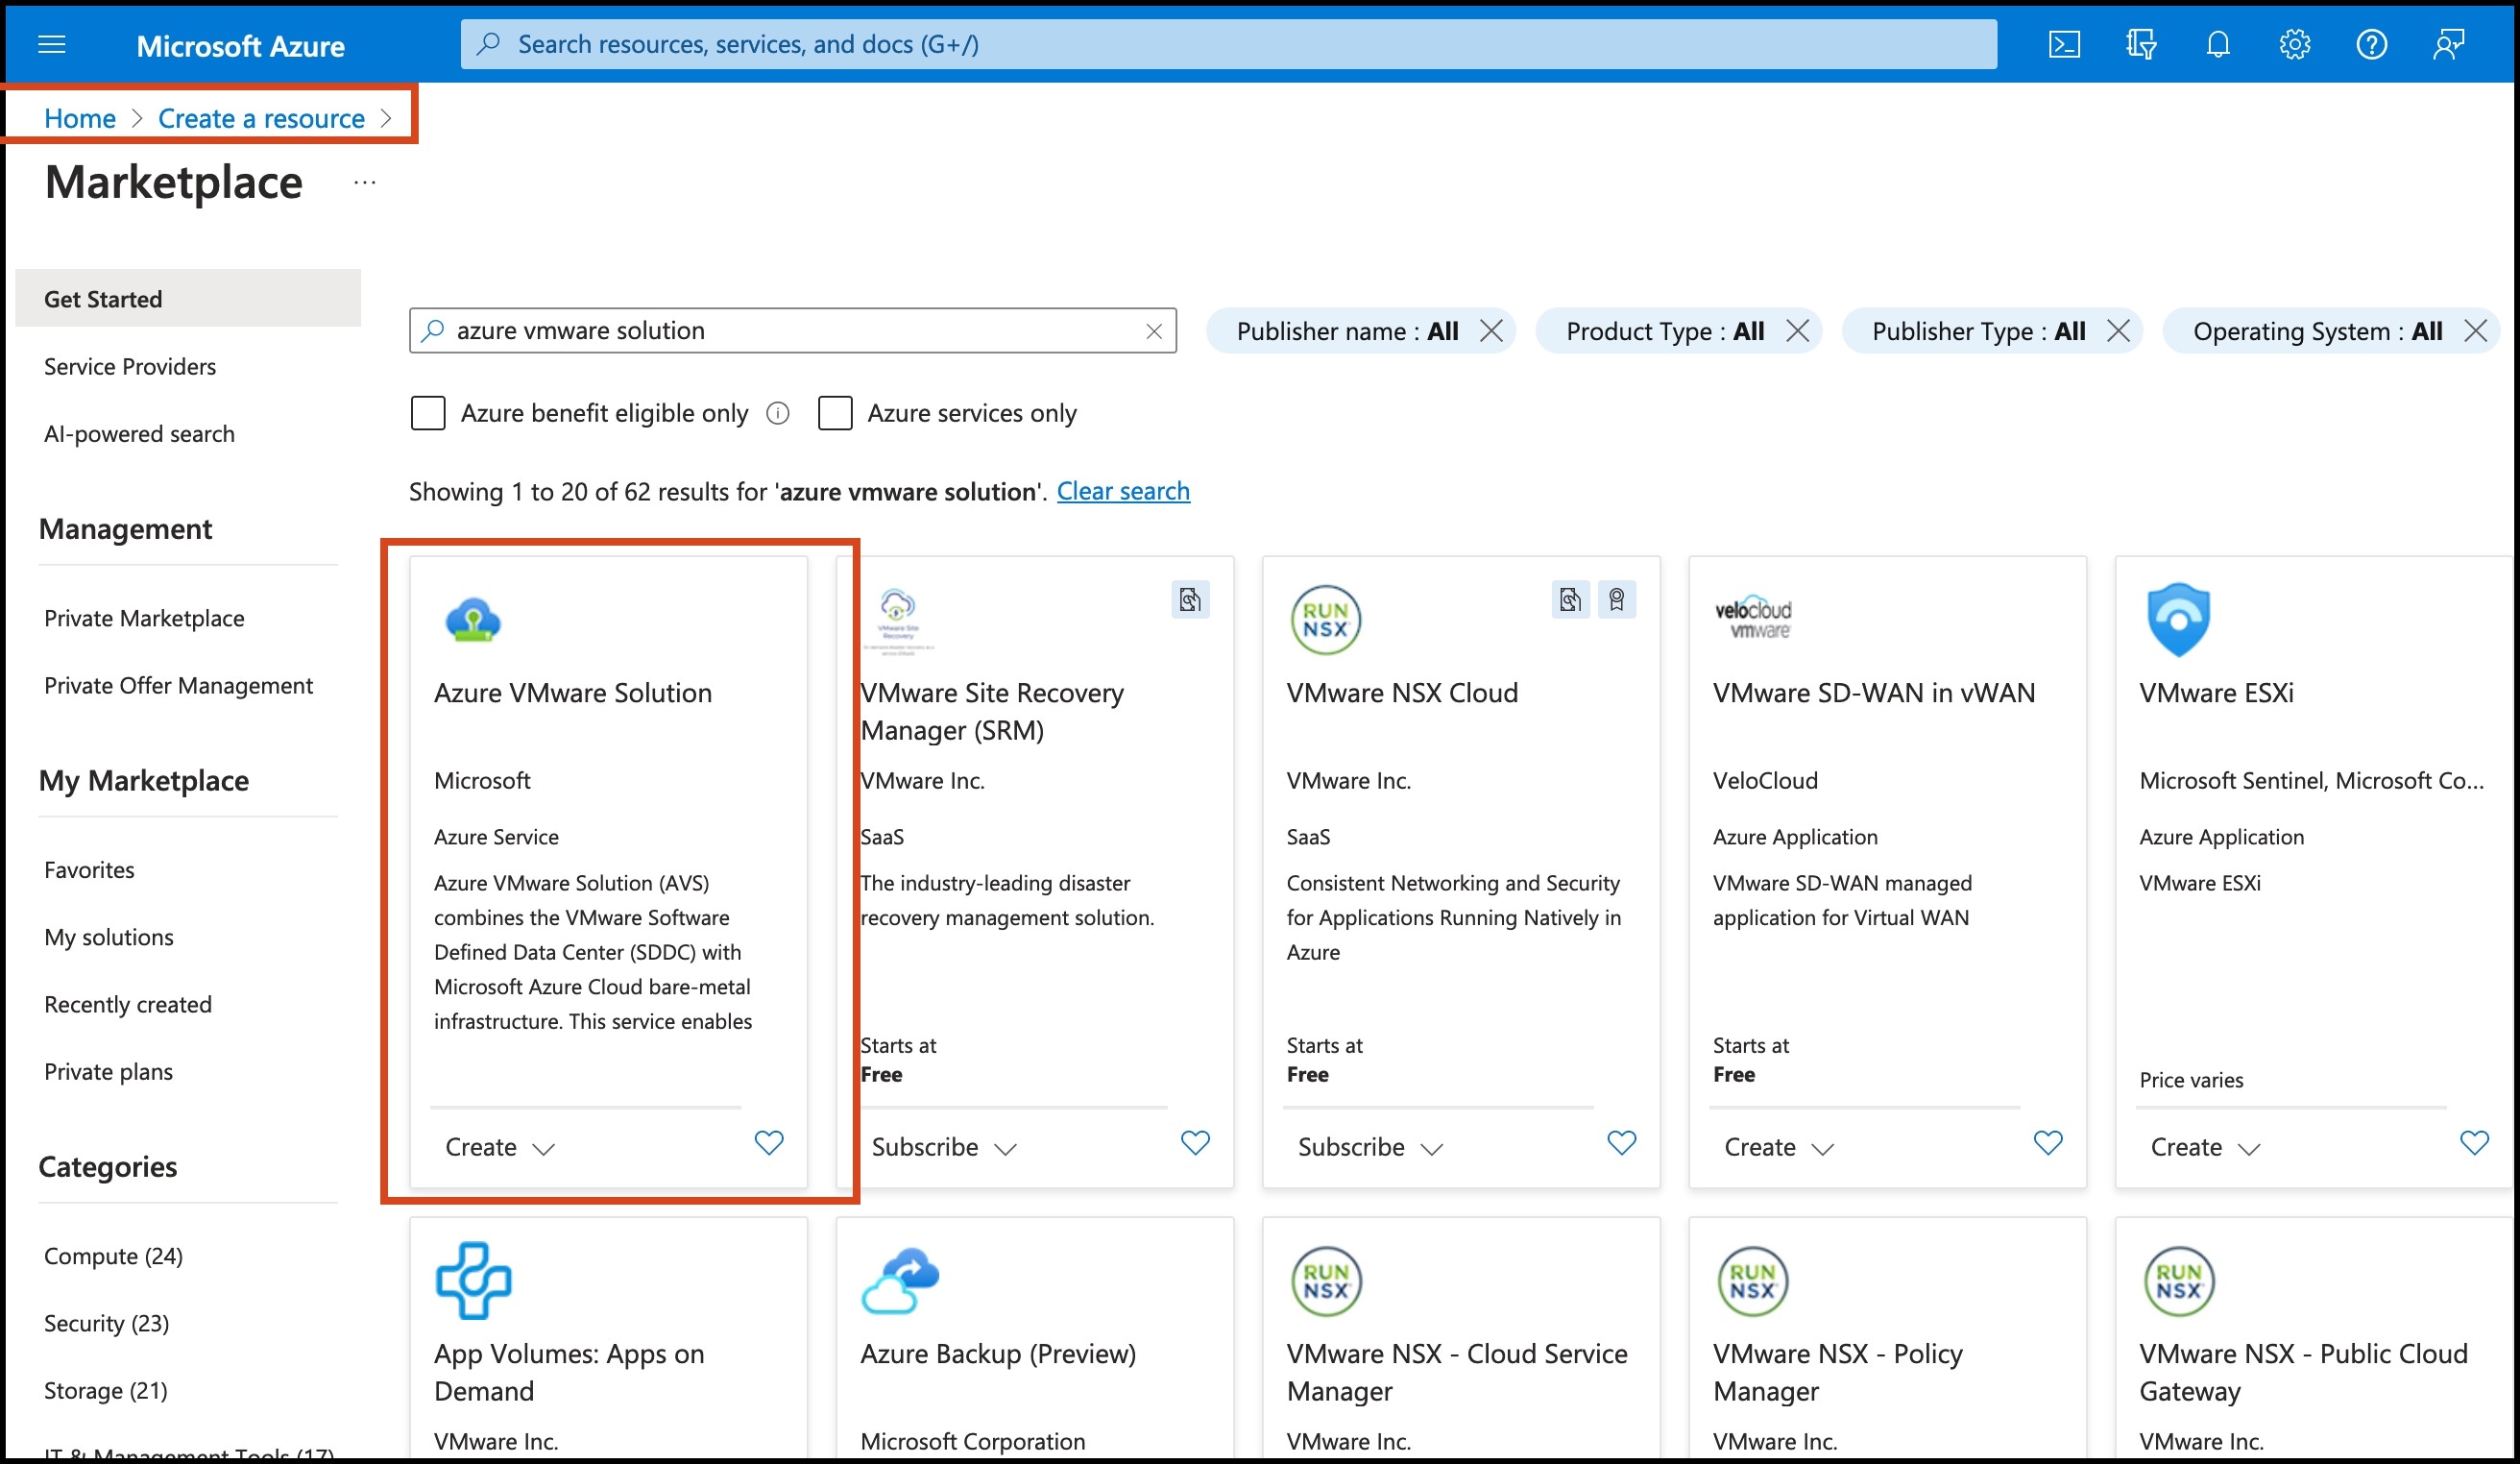
|
||
|
Step 3 |
Choose the Azure VMware Solution service.
|
||
|
Step 4 |
In the Create a private cloud window that appears, fill the required details.
|
||
|
Step 5 |
Configure a segment for the private cloud.
|
||
|
Step 6 |
Specify the DHCP range to be used for this segment.
|
||
|
Step 7 |
Specify a DNS from the left-navigation pane or while installing the connector later.
|
||
|
Step 8 |
Provide internet connectivity using SNAT. From the left-navigation pane, click Internet Connectivity > Connect using SNAT. This enables outbound internet access for this private cloud. |
||
|
Step 9 |
Find the credentials of this private cloud. From the private-cloud left pane, click VMware credentials. You can observe the credentials of various components of the private cloud. Make a note of these credentials for later use.
|
Creating an Azure Virtual Network
Before you begin
Procedure
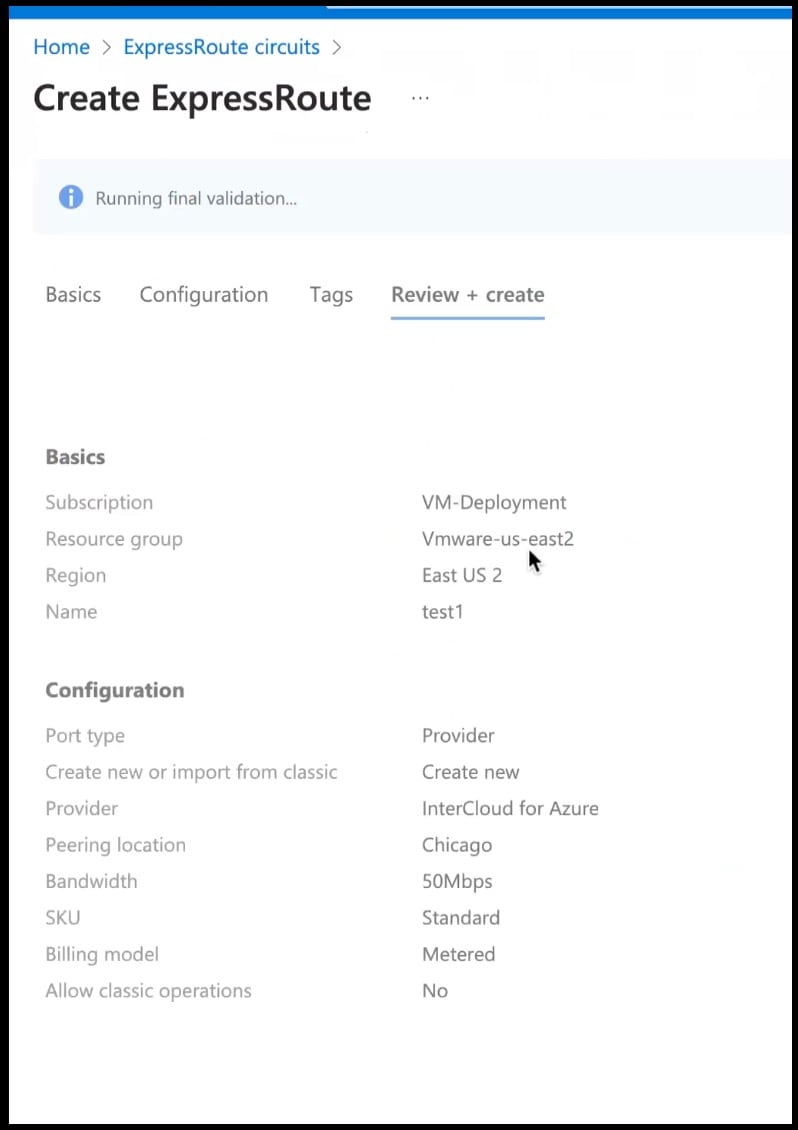
|
Step 1 |
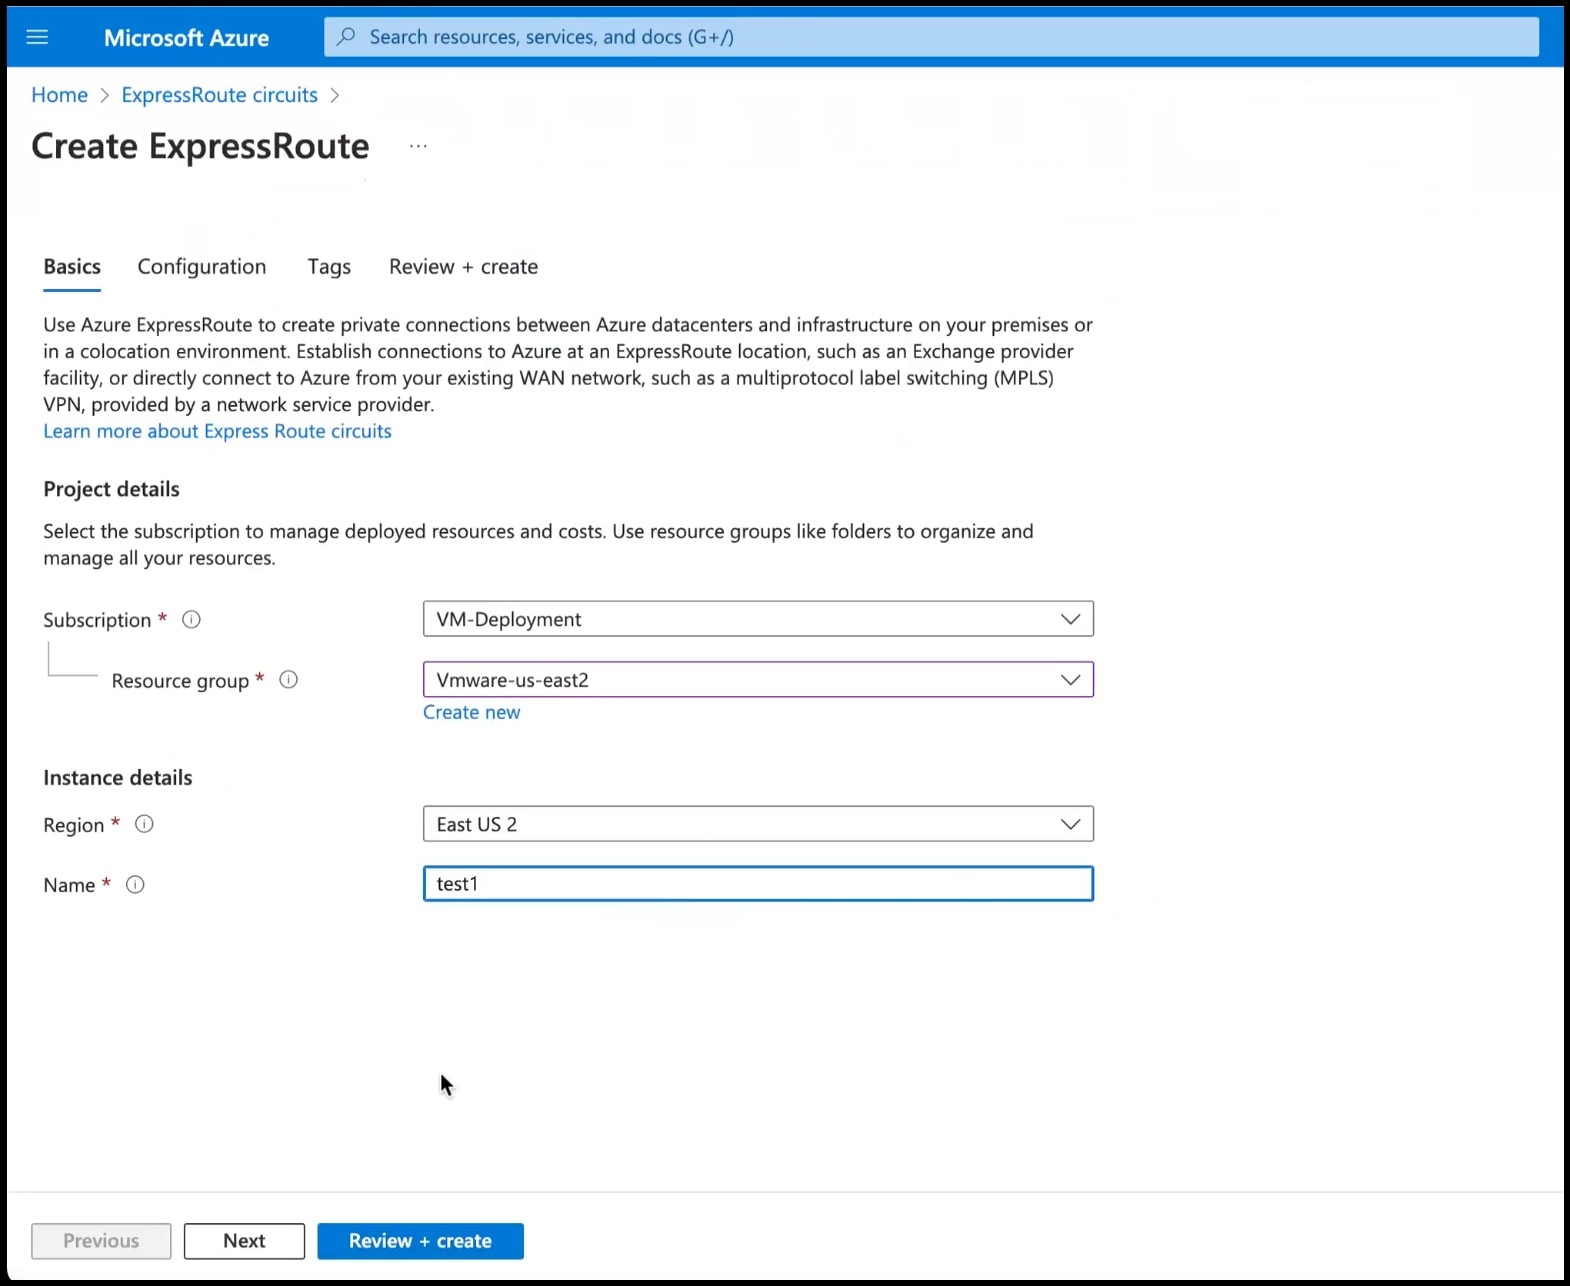
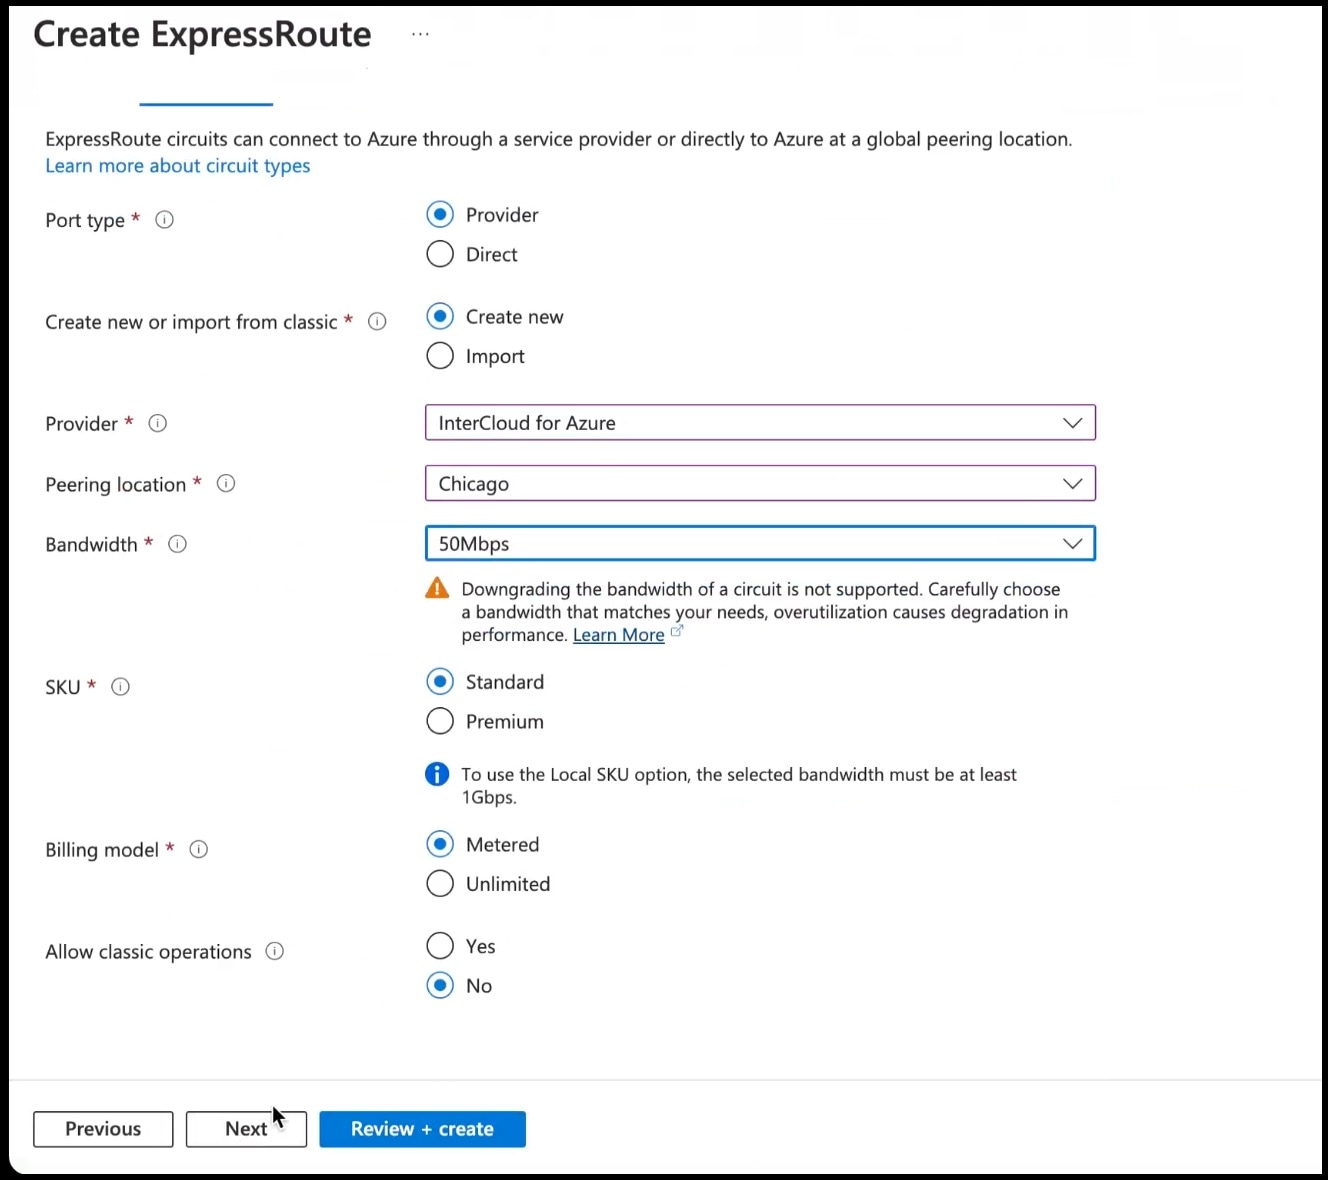
Create an ExpressRoute.
|
||
|
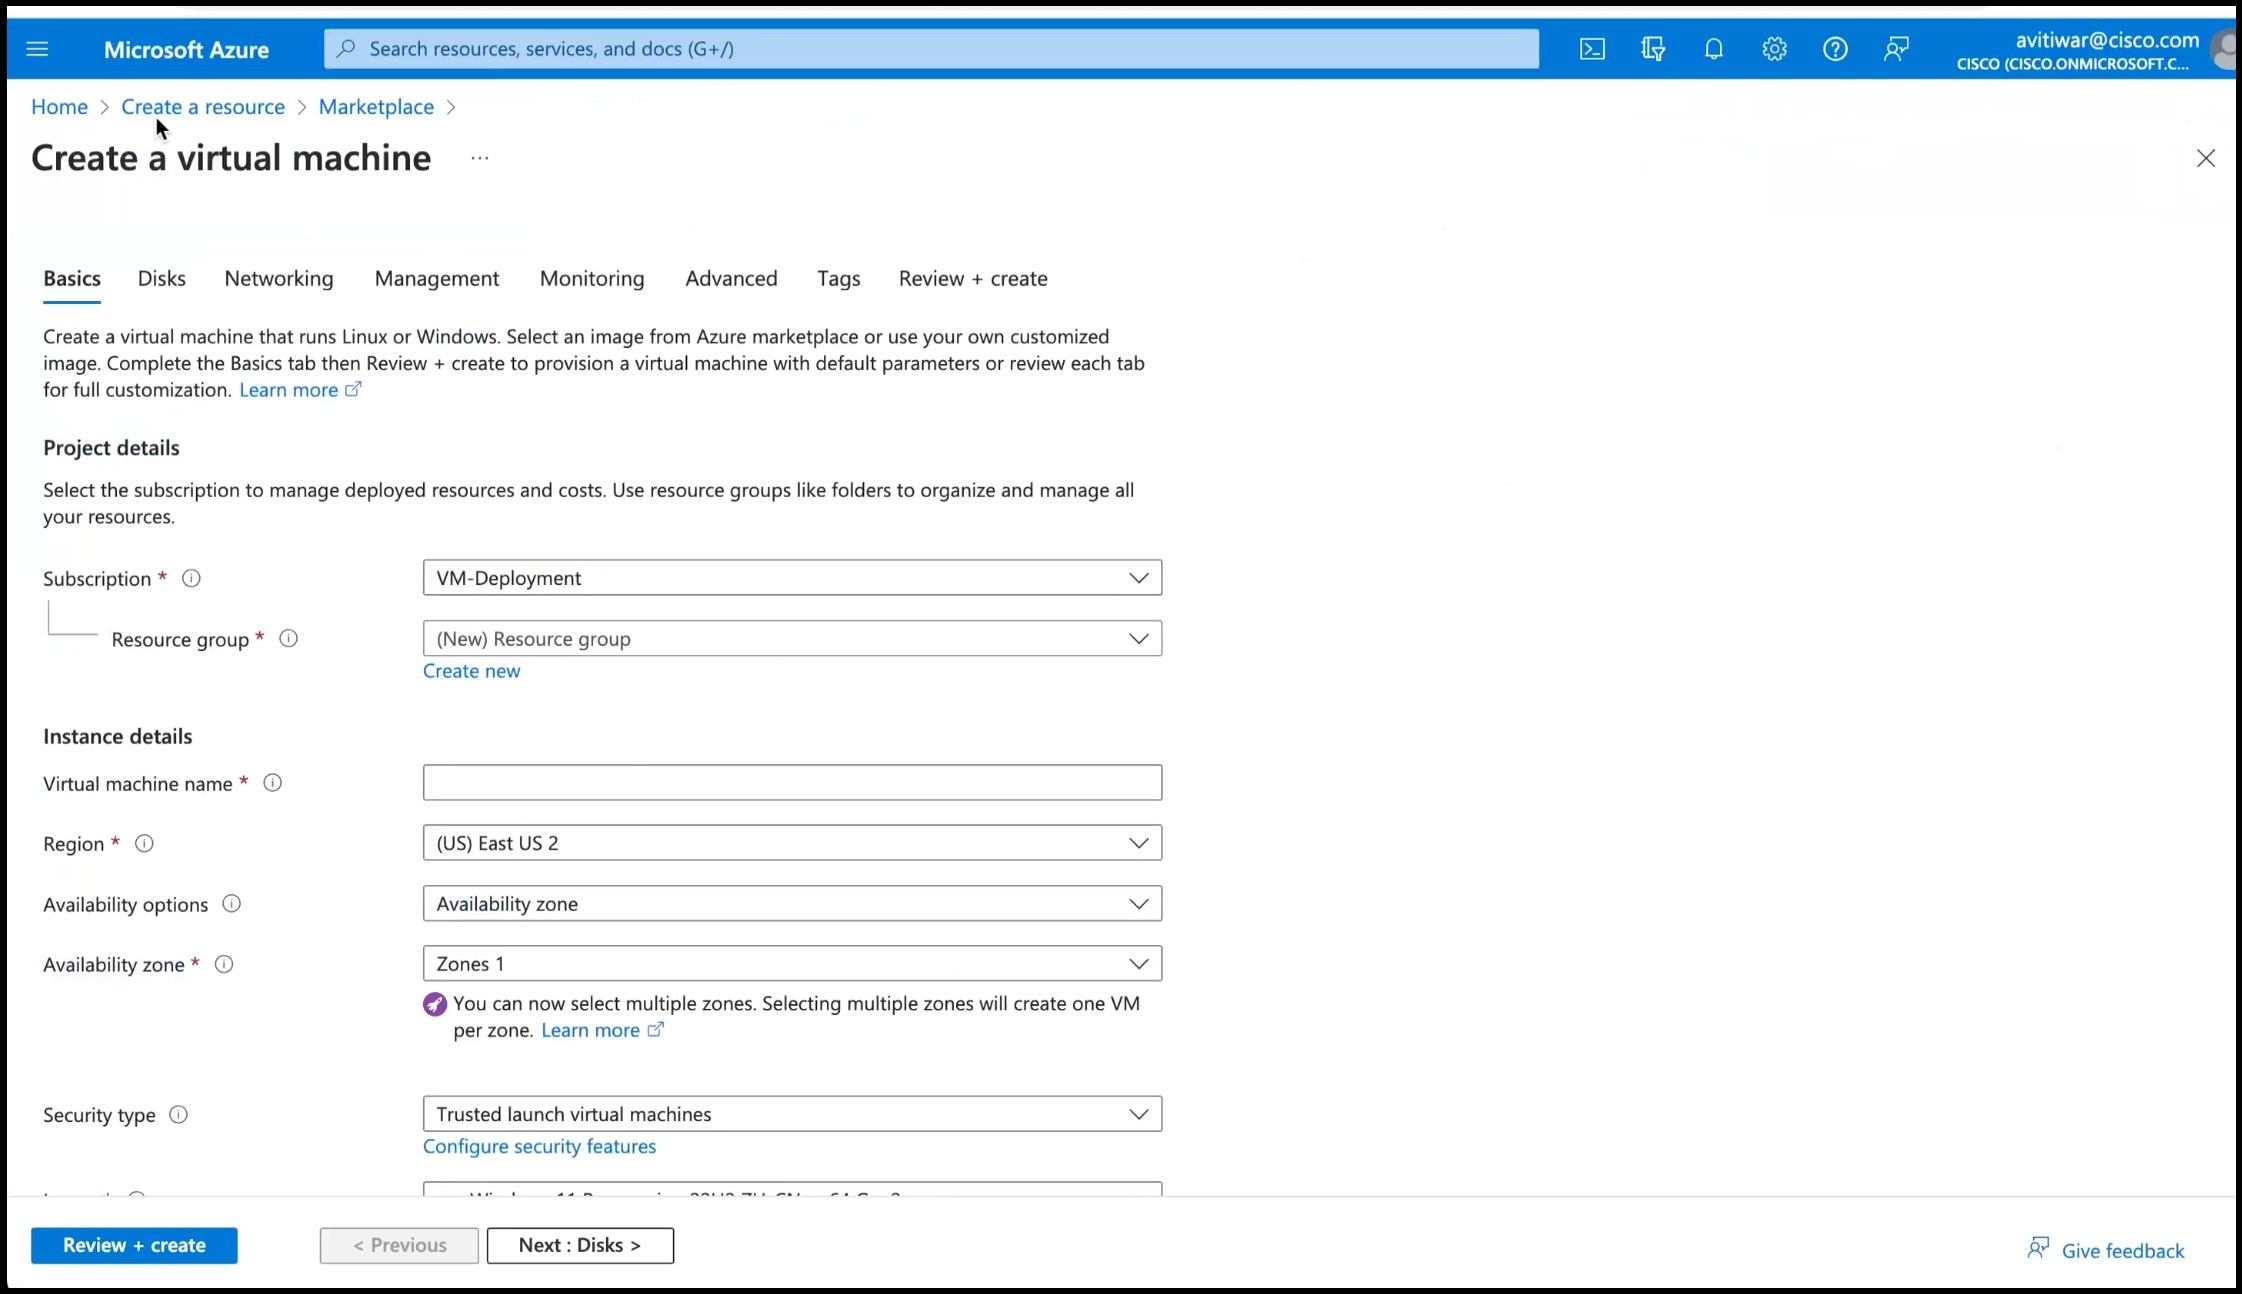
Step 2 |
From the created Virtual Network, do the following.
|
||
|
Step 3 |
Deploy a Windows Machine as a virtual machine. You can use this as a Jumpbox to access vSphere or NSXT-Manager.
|
||
|
Step 4 |
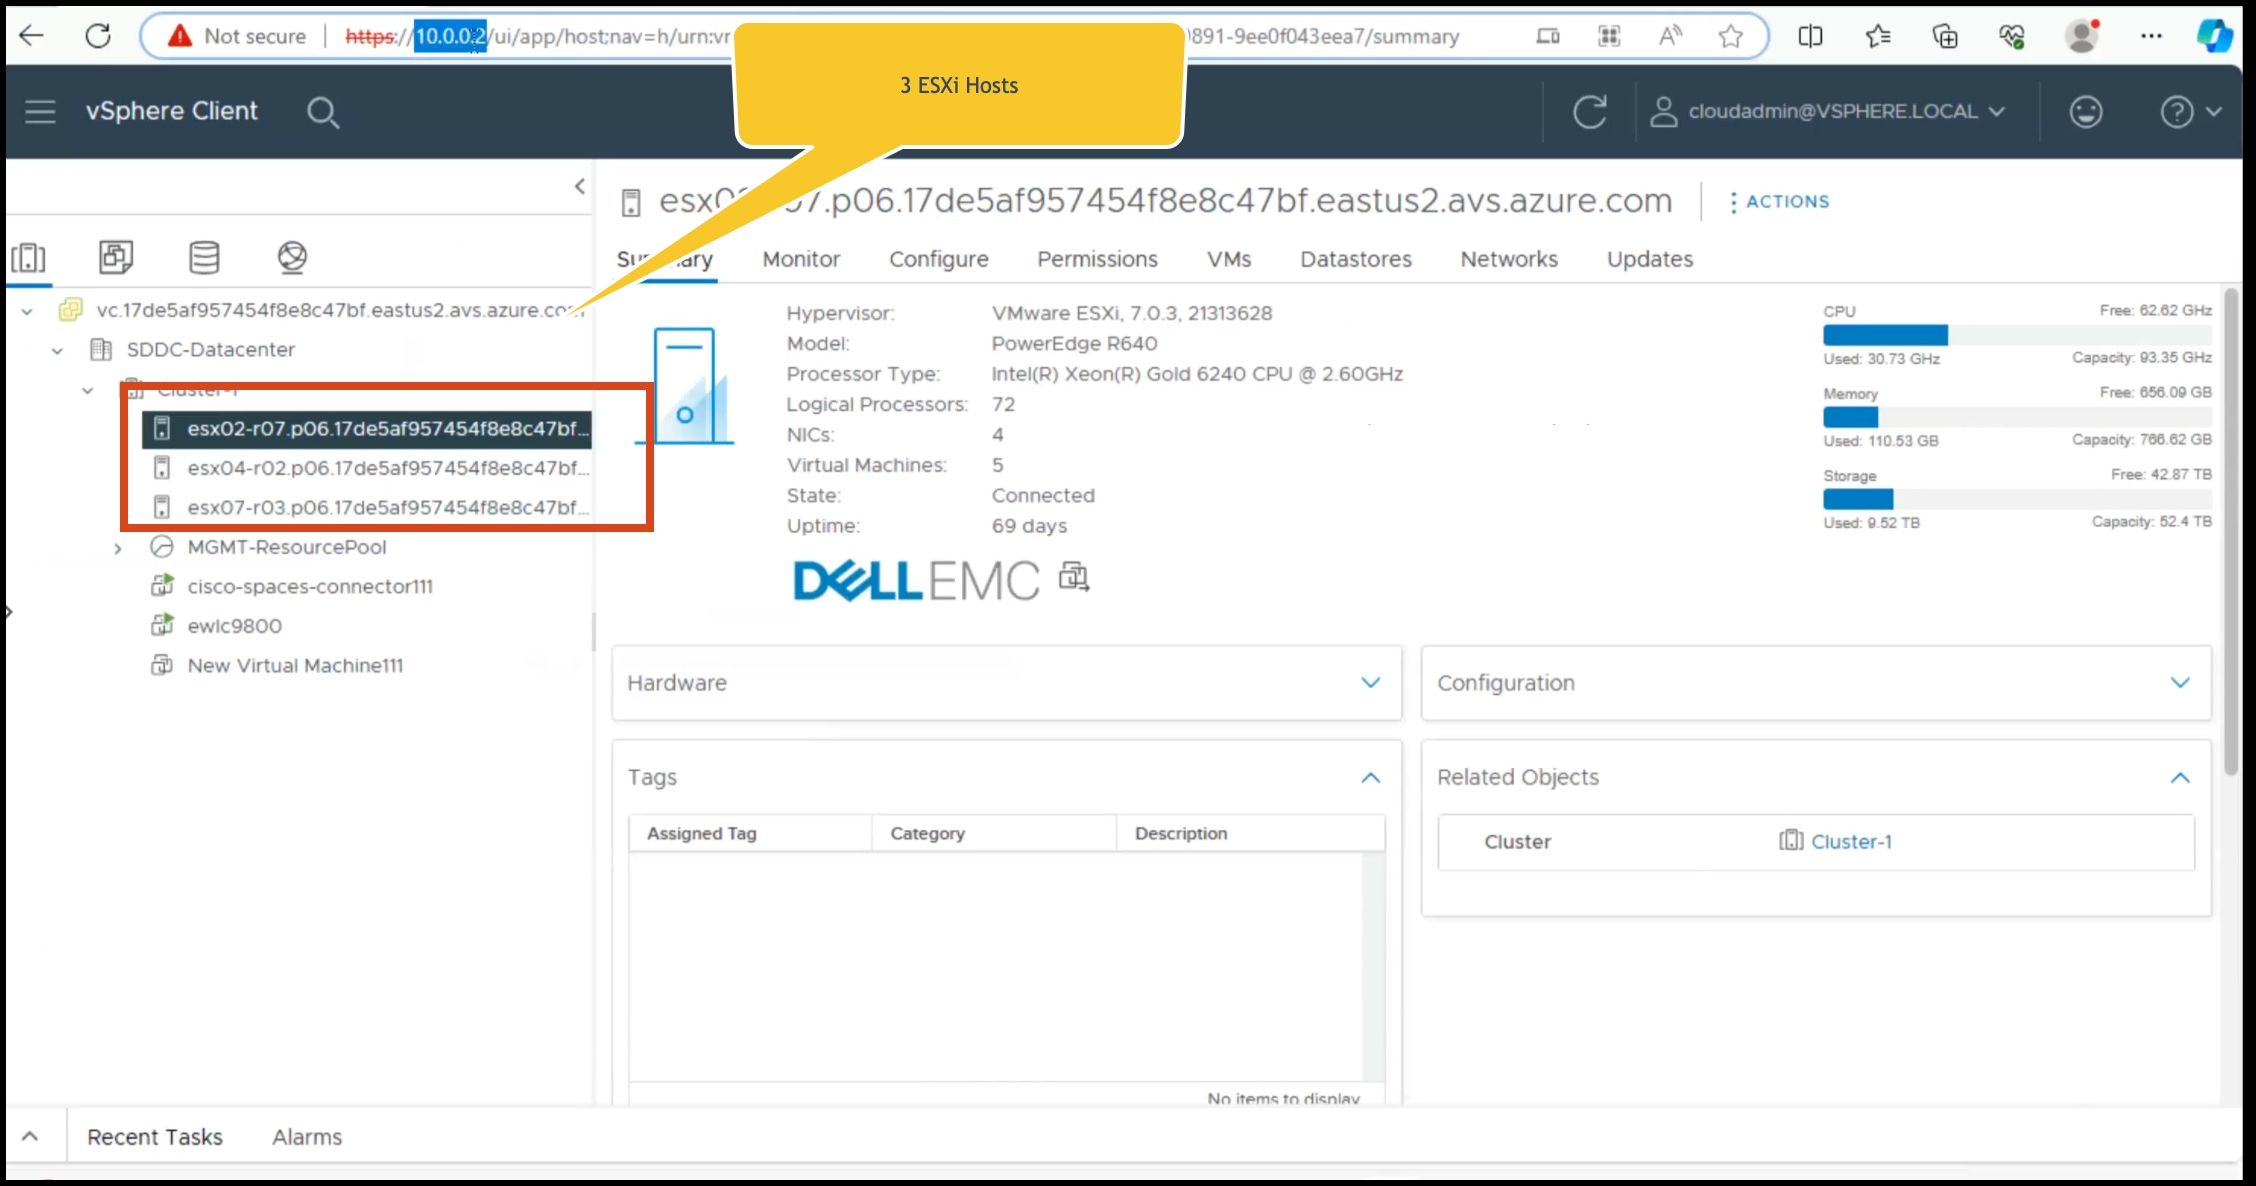
You can login to the vSphere service. Use the credentials retreived when creating the private cloud, from the VMware Credentials > vCenter Server credentials section.
|
||
|
Step 5 |
Deploy the OVA on one of the hosted ESXi. See Deploying the Connector 3 OVA (Single Interface) |
 Feedback