Launch Connector 3 as an EC2 Instance from AMI
This chapter provides information about how to launch a connector 3 as an EC2 instance from Amazon Machine Images (AMI), configure the connector 3 instance, and finally obtain a URL to log in to the connector connector and CLI.
Procedure
|
Step 1 |
Log in to your Amazon Web Services account and navigate to the EC2 Dashboard. In the left-navigation pane, choose Images > AMI Catalog. |
||||
|
Step 2 |
In the AMIs search area, click AWS MarketPlace AMIs and enter DNA Spaces Connector. Press Enter. 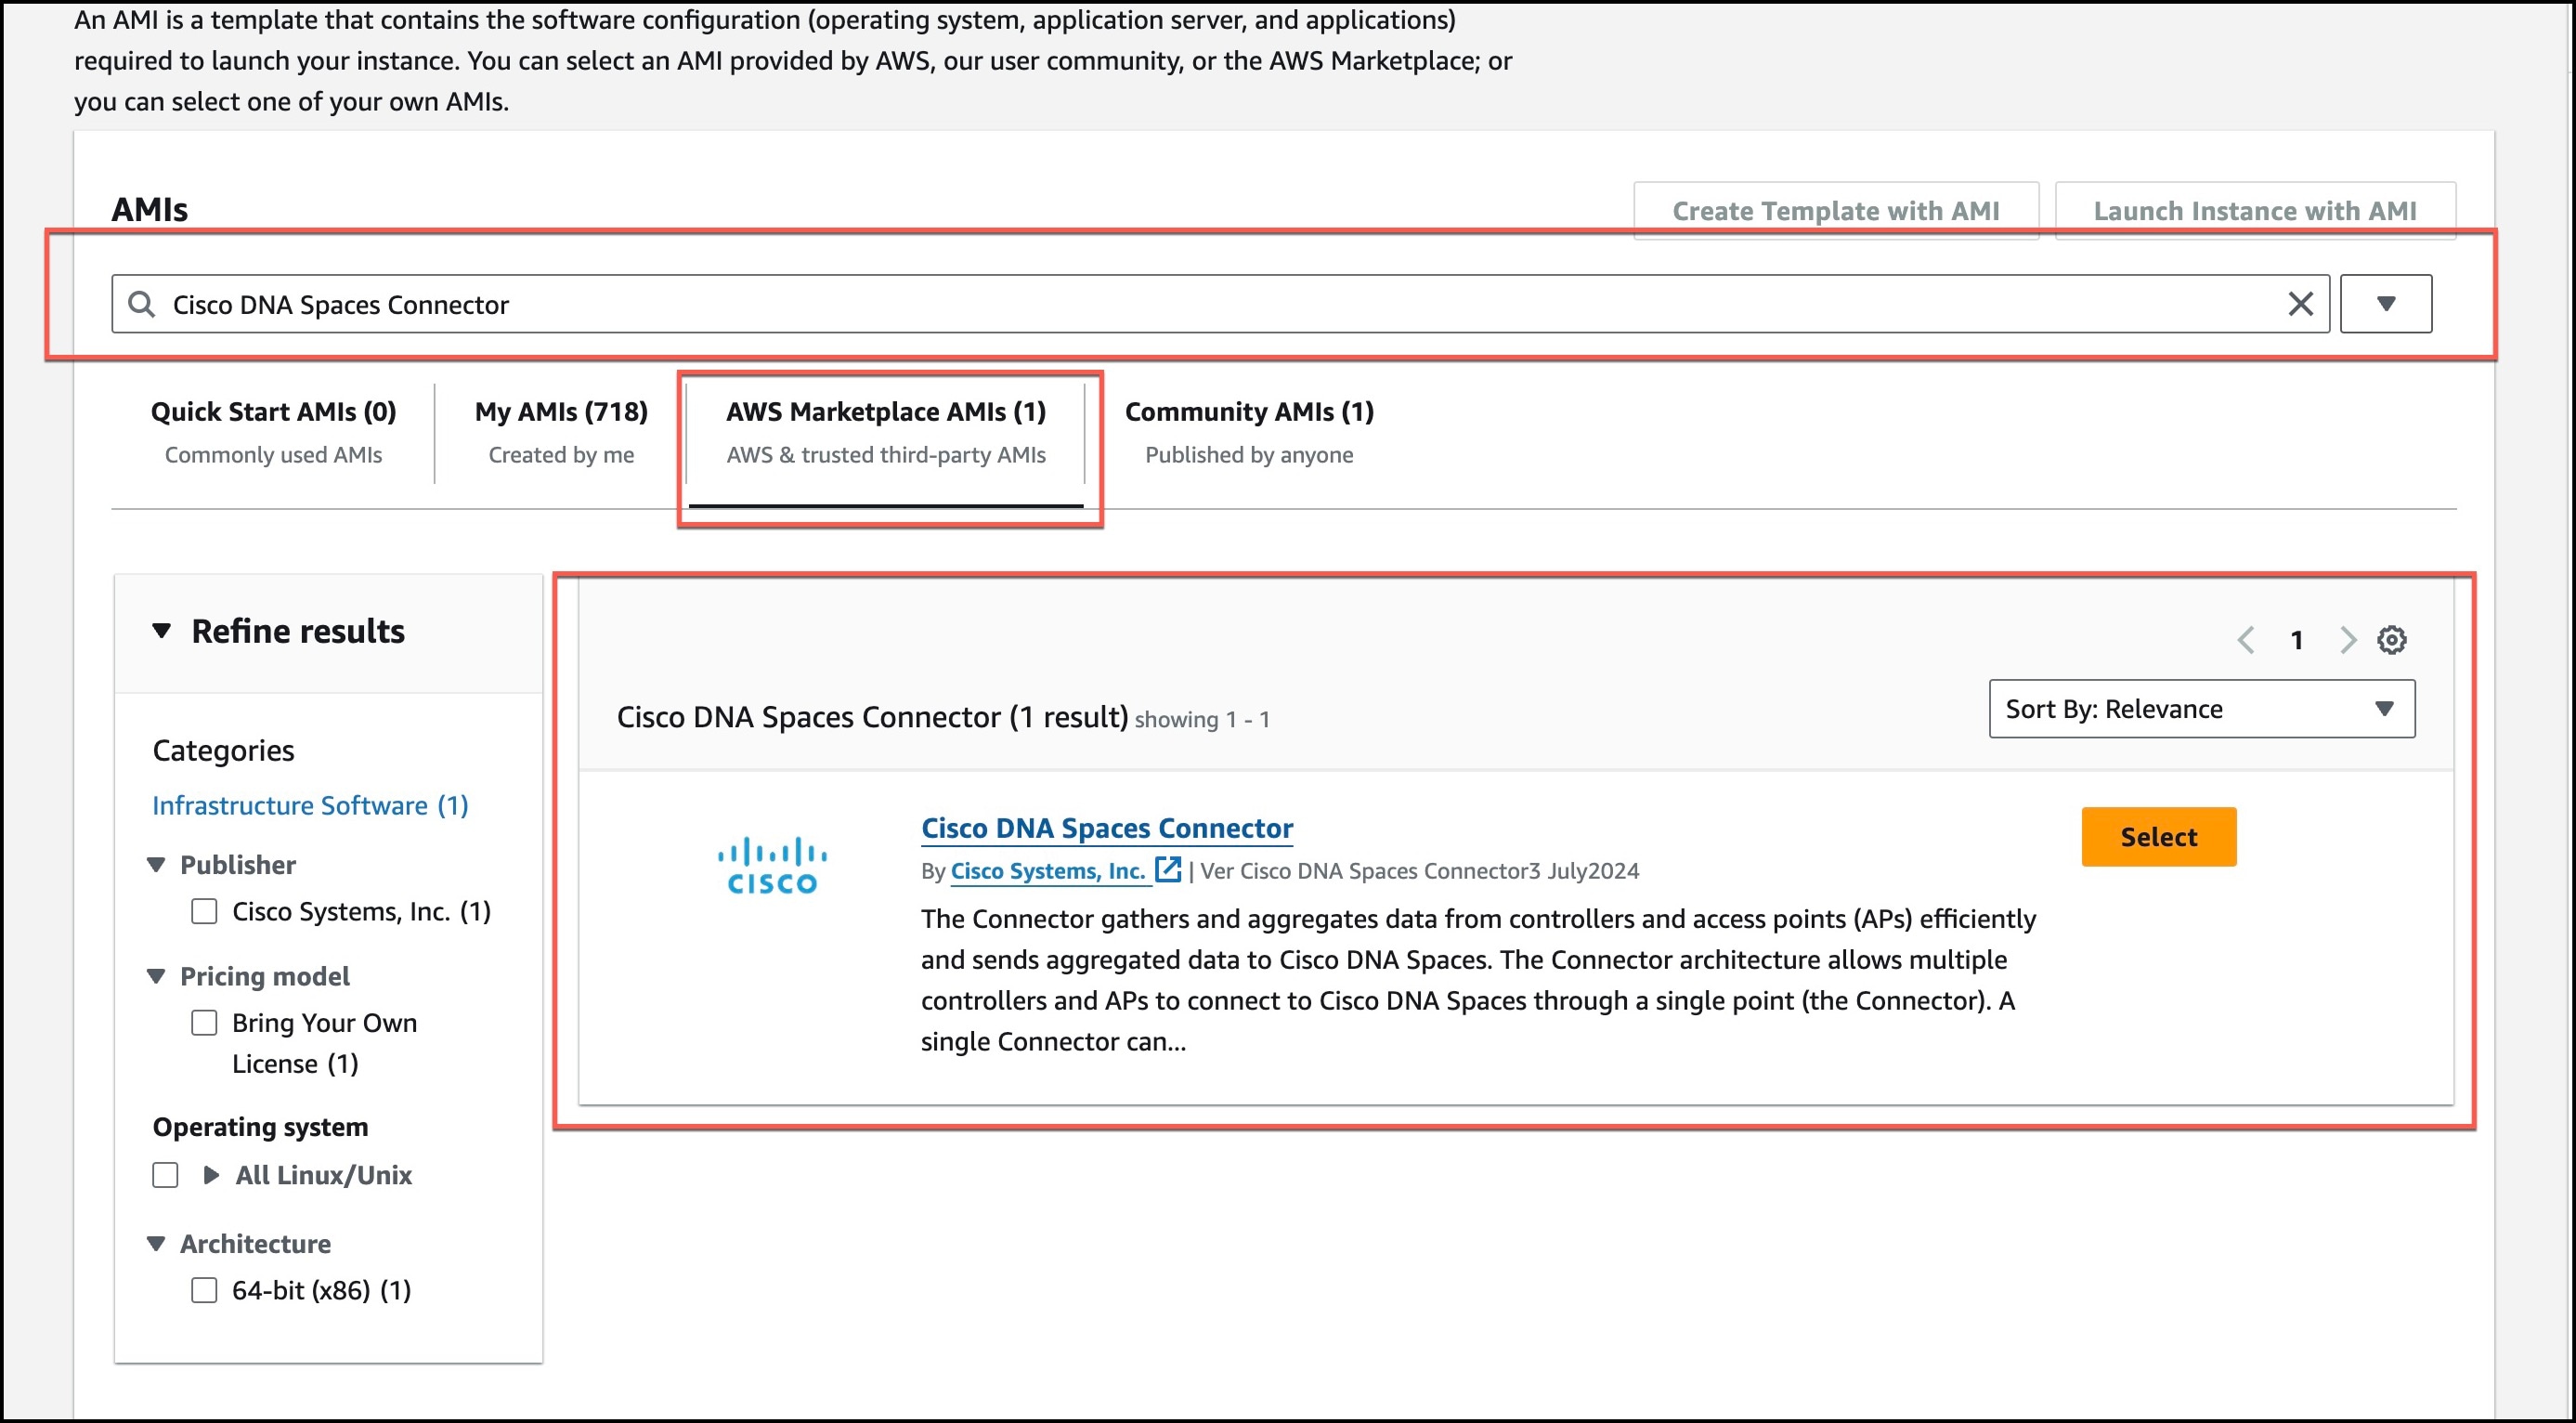
|
||||
|
Step 3 |
Click the displayed image and click Select. |
||||
|
Step 4 |
In the Cisco DNA Spaces Connector window displayed, click Continue. 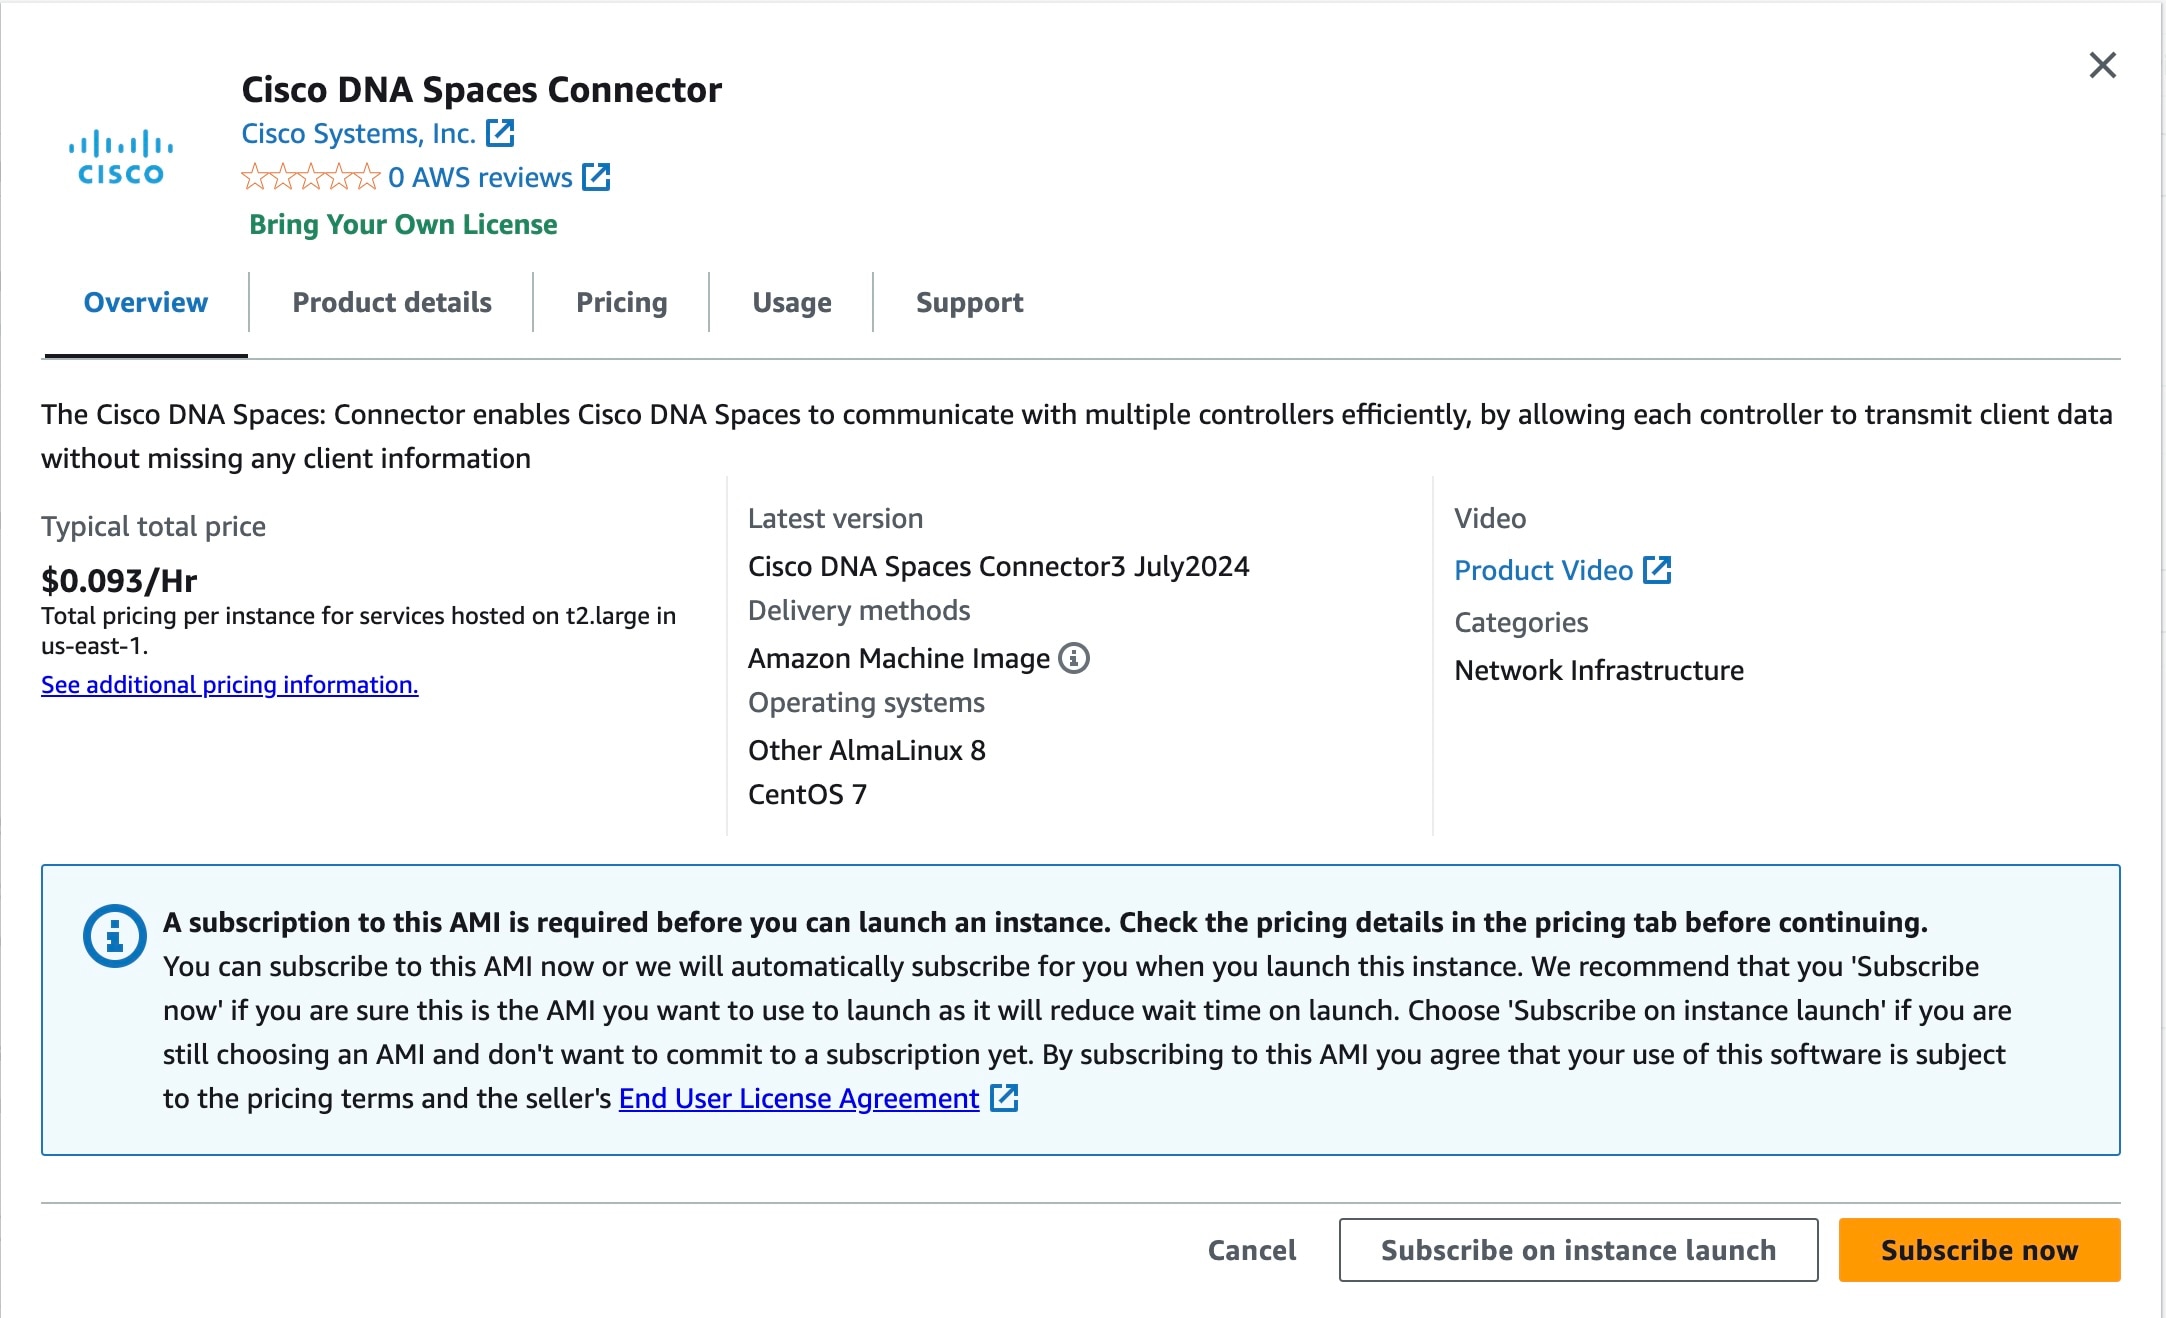
|
||||
|
Step 5 |
In the Image Summary window displayed, click Launch Instance from AMI 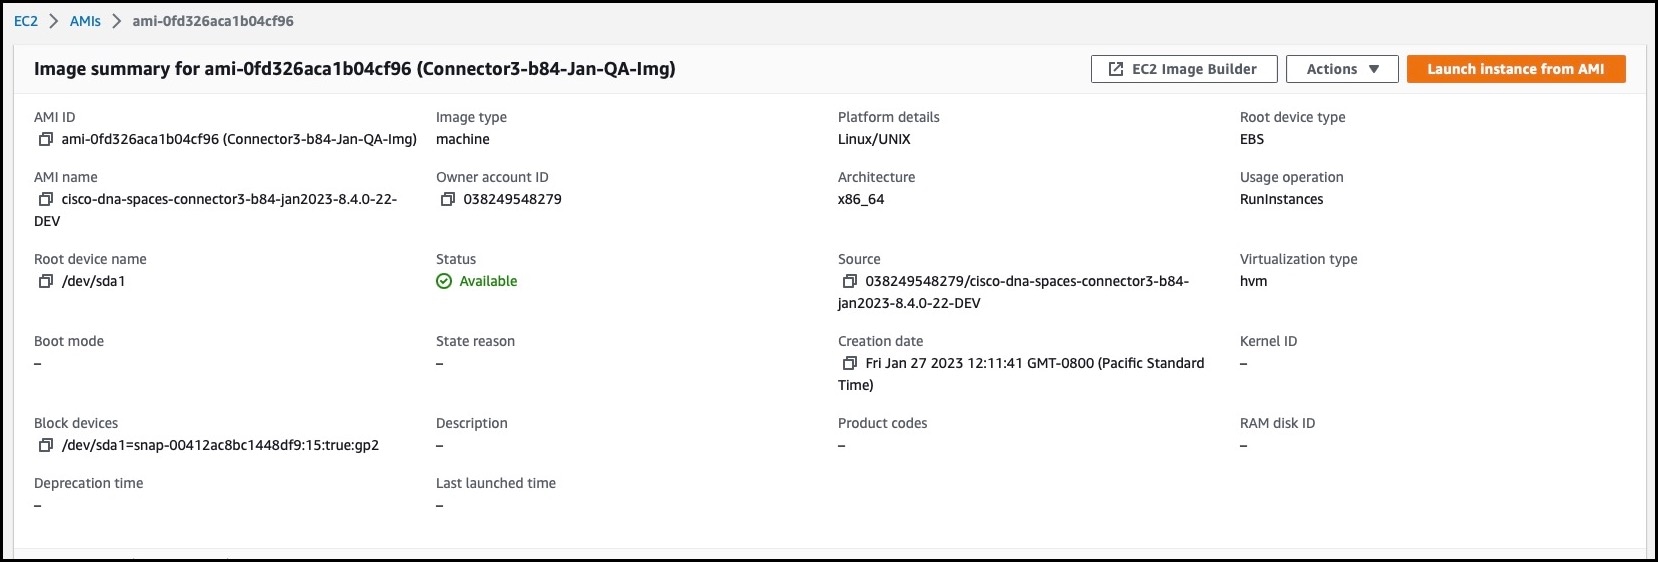
|
||||
|
Step 6 |
In the Launch an Instance window displayed, enter an instance name, and add any additional labels for your instance by clicking the Add Additional tags button. 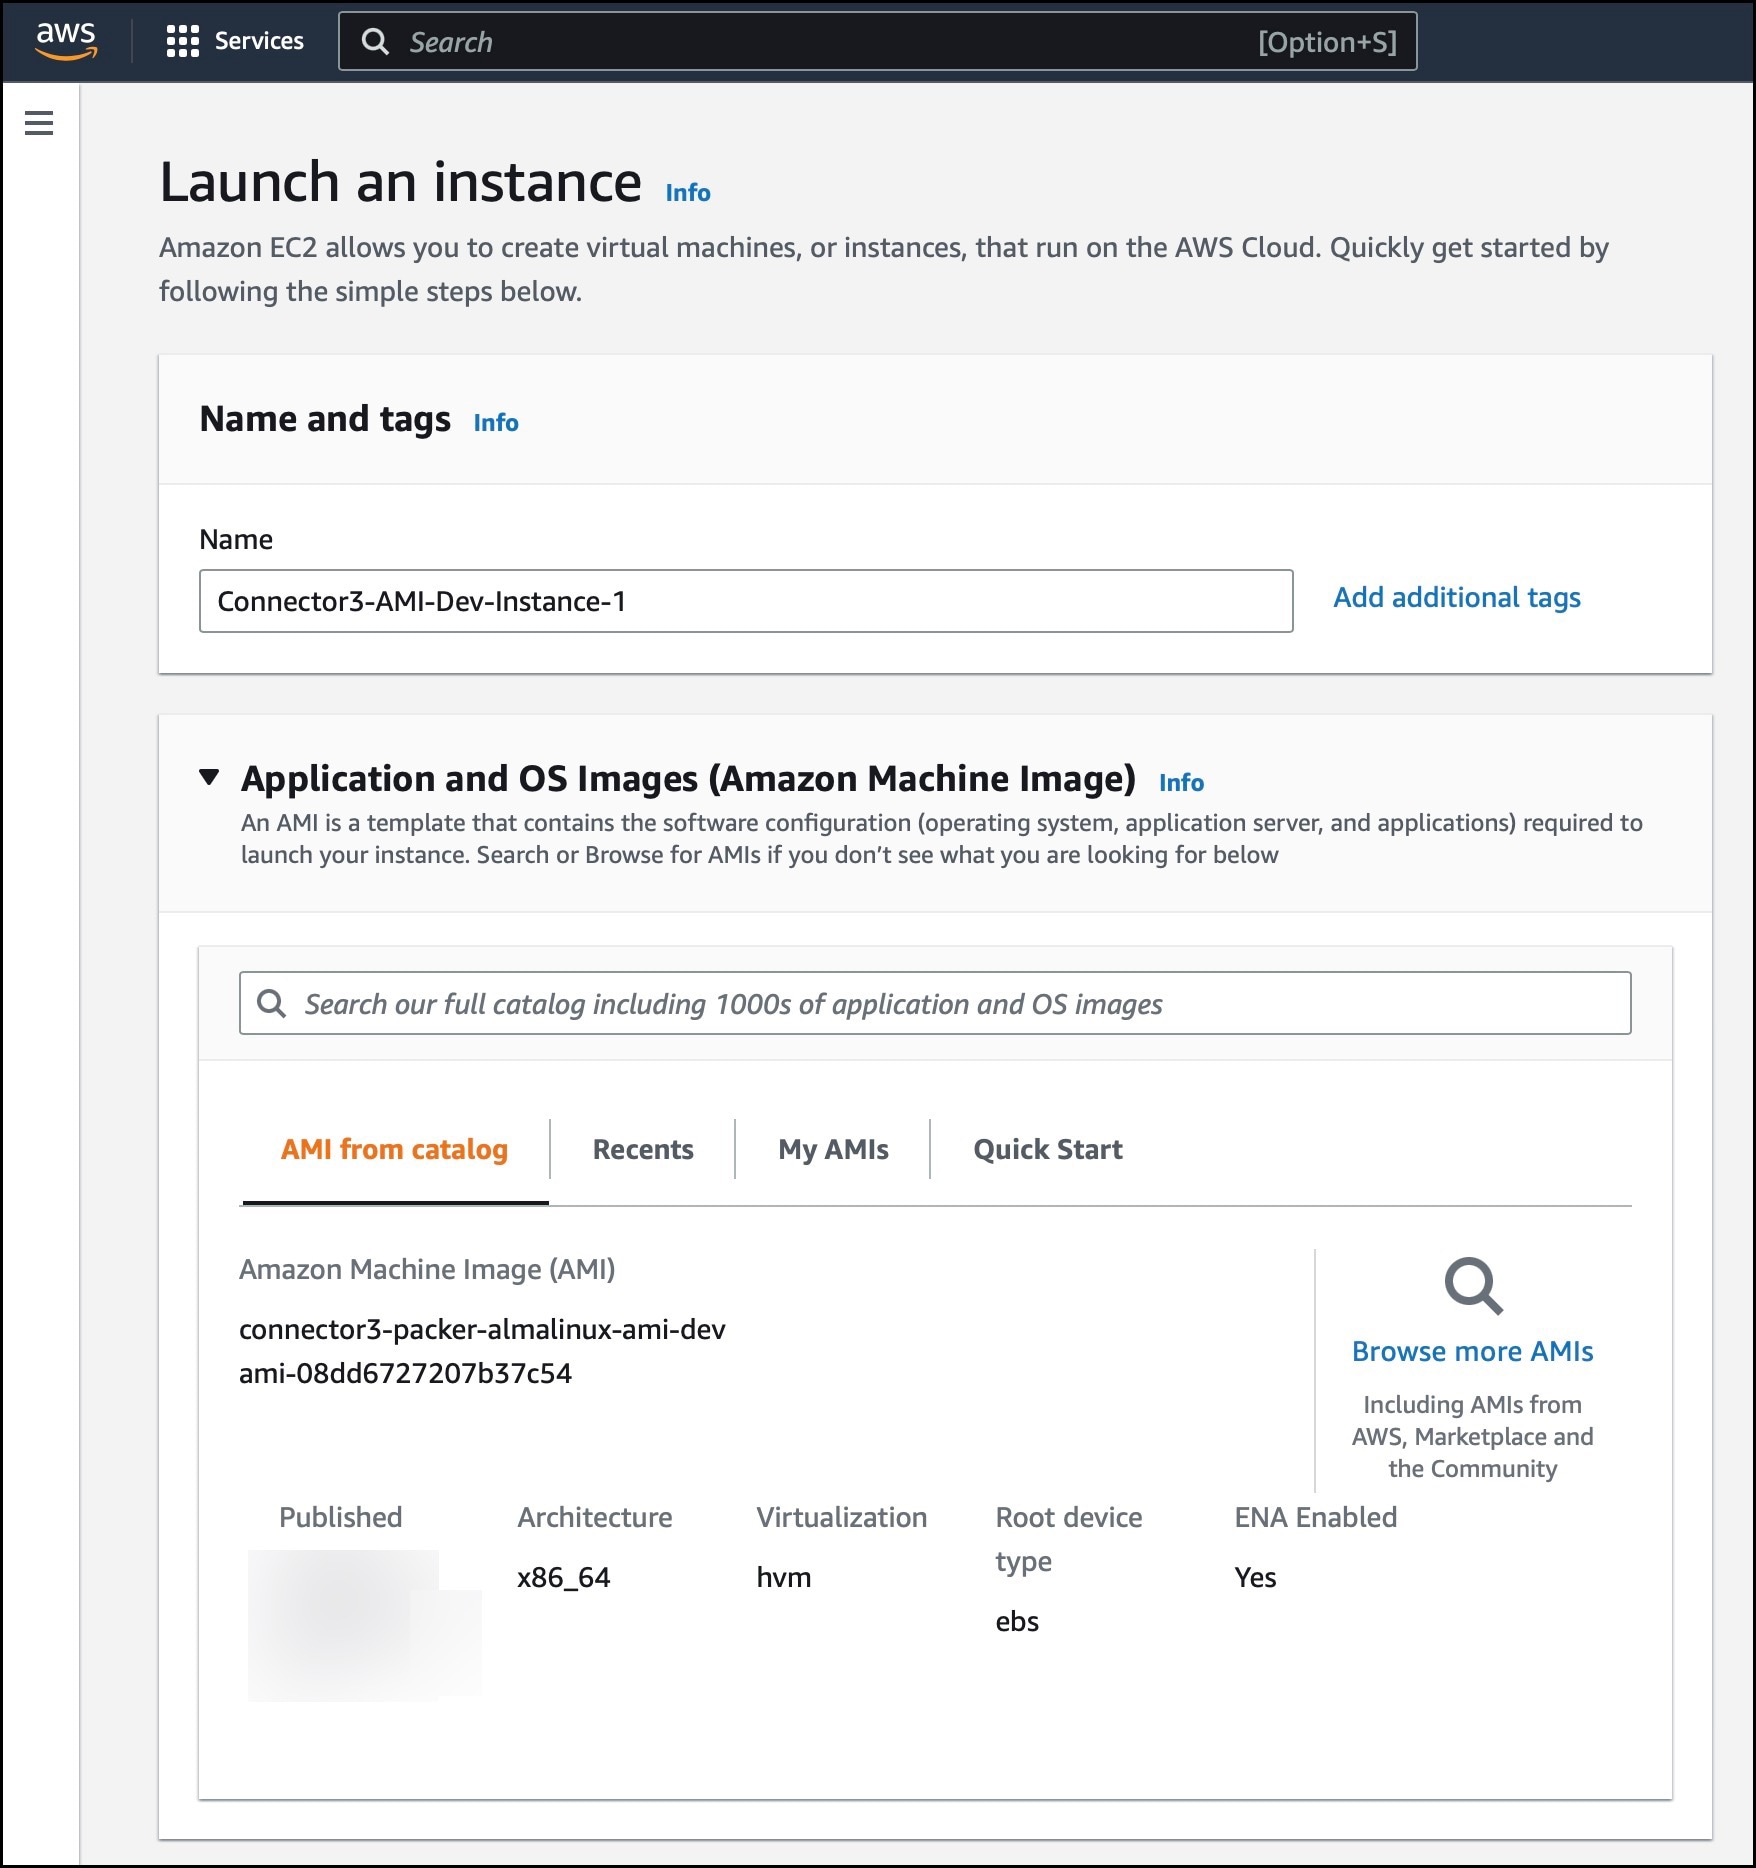
|
||||
|
Step 7 |
Choose any EC2 instance that has a minimum of 2 vCPU and 4GB Memory. Click Next: Configure Instance Details. 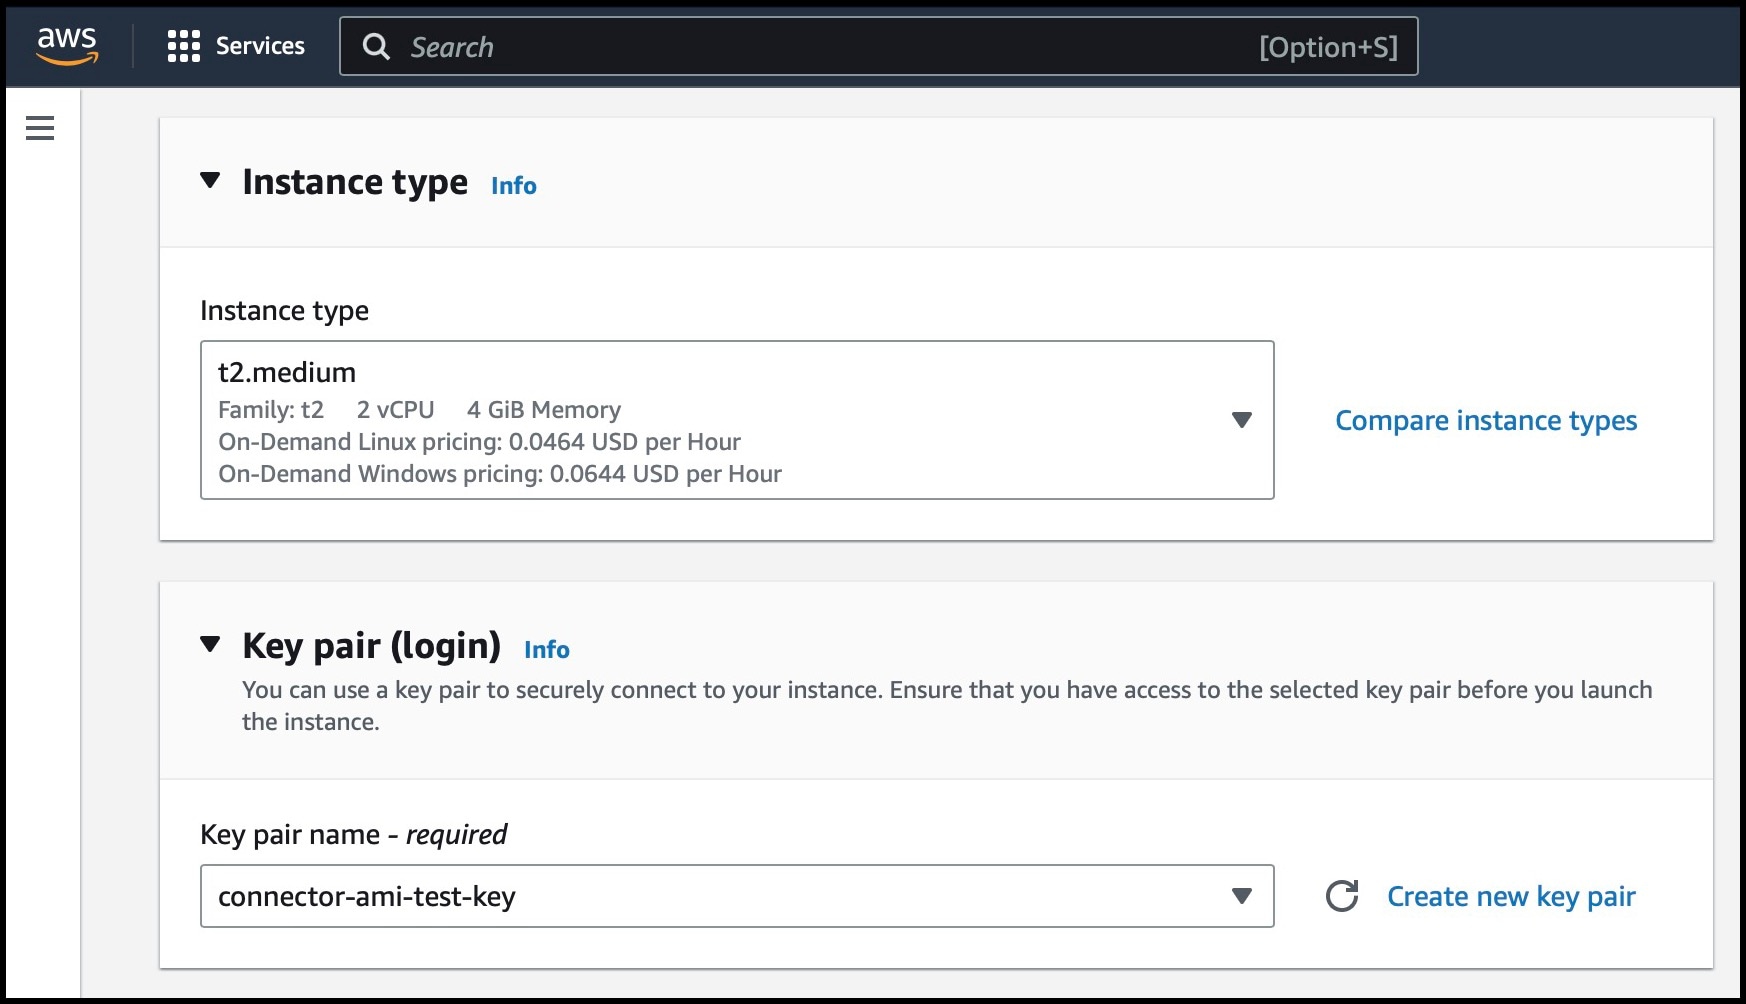
|
||||
|
Step 8 |
Choose a Network and a Subnet. Click Next: Add Storage. 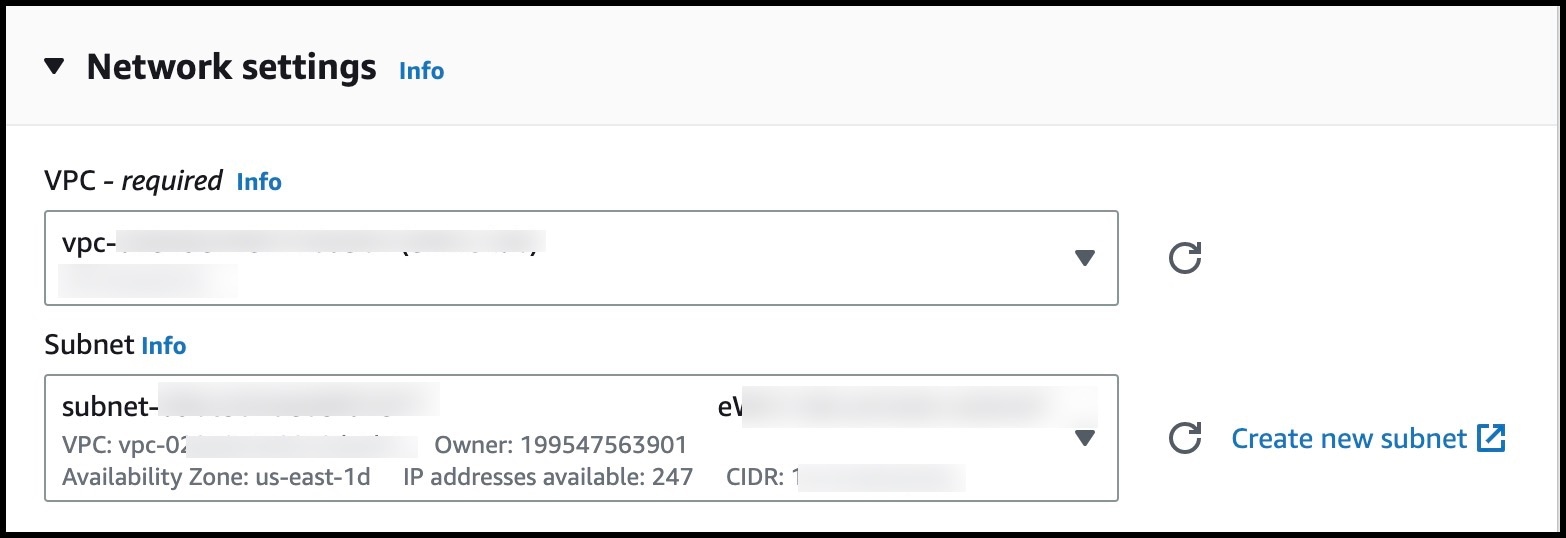
|
||||
|
Step 9 |
Enter the value of Size(GB) as 120. Click Next: Configure Security Group. 
|
||||
|
Step 10 |
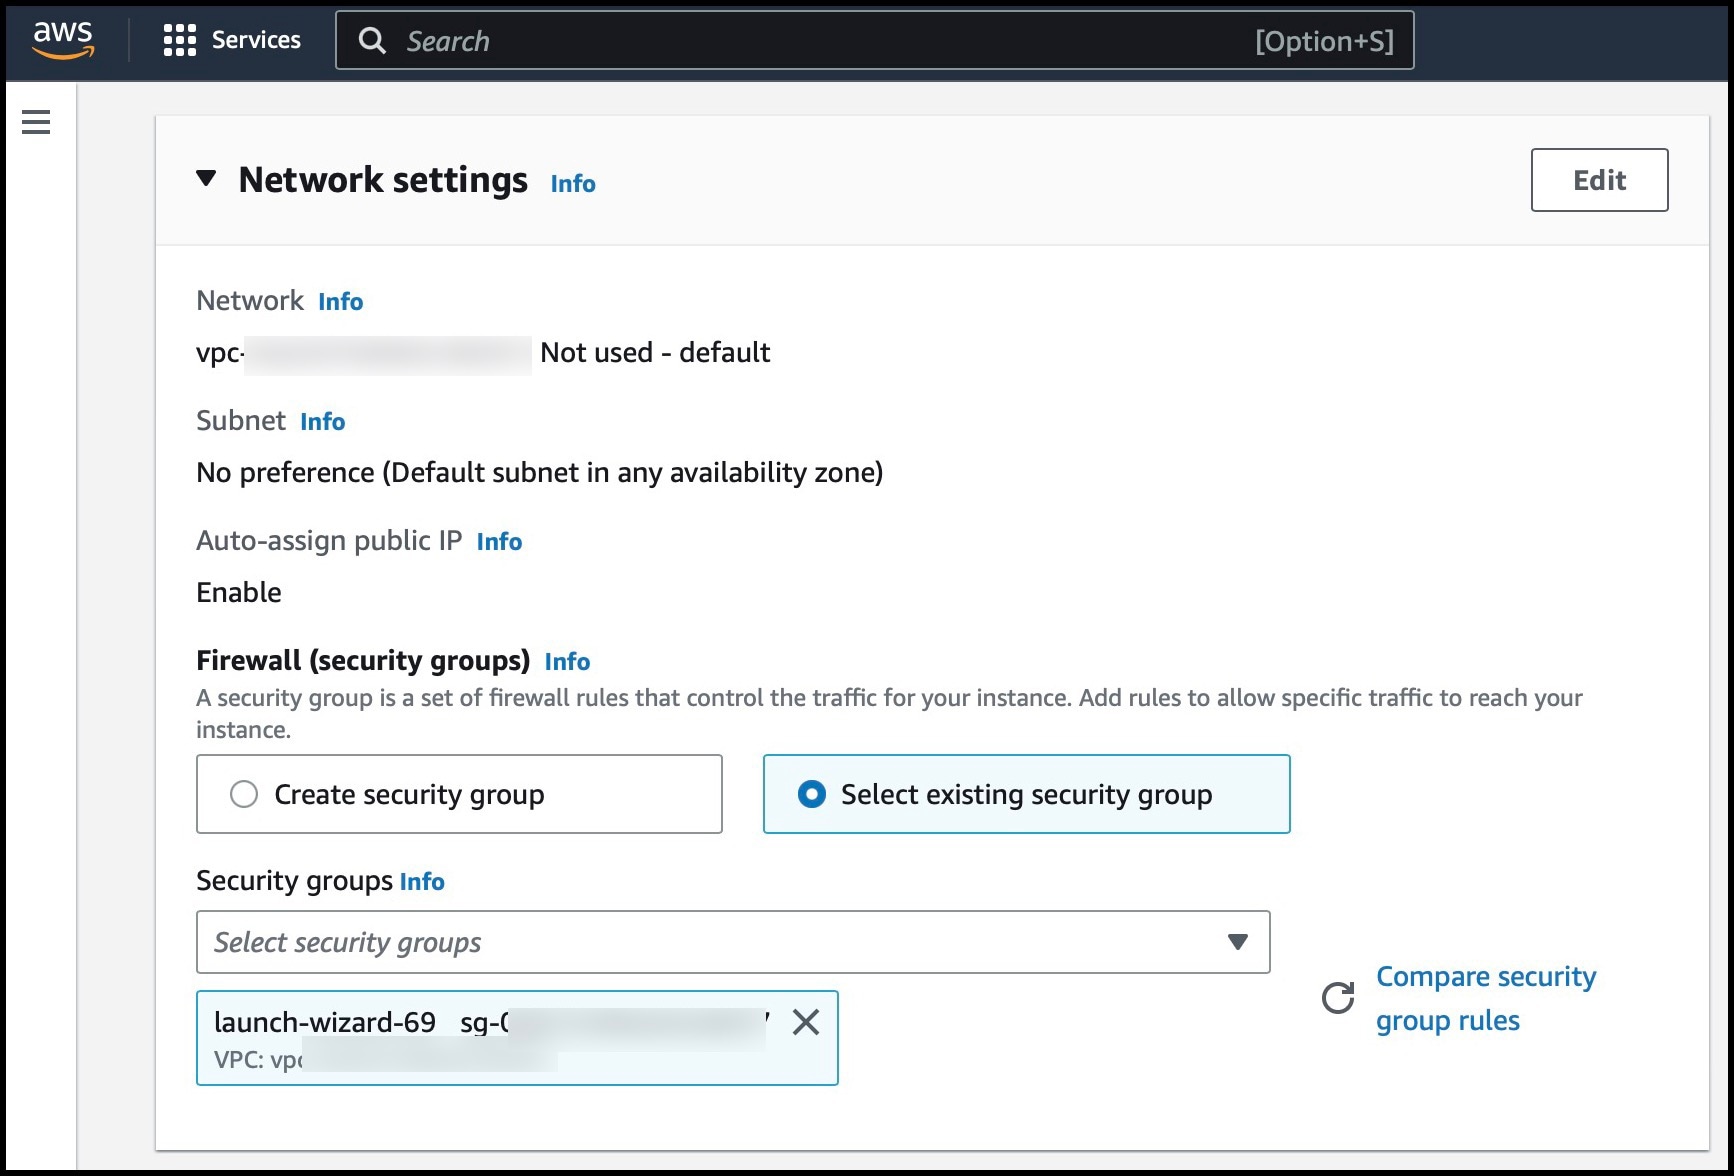
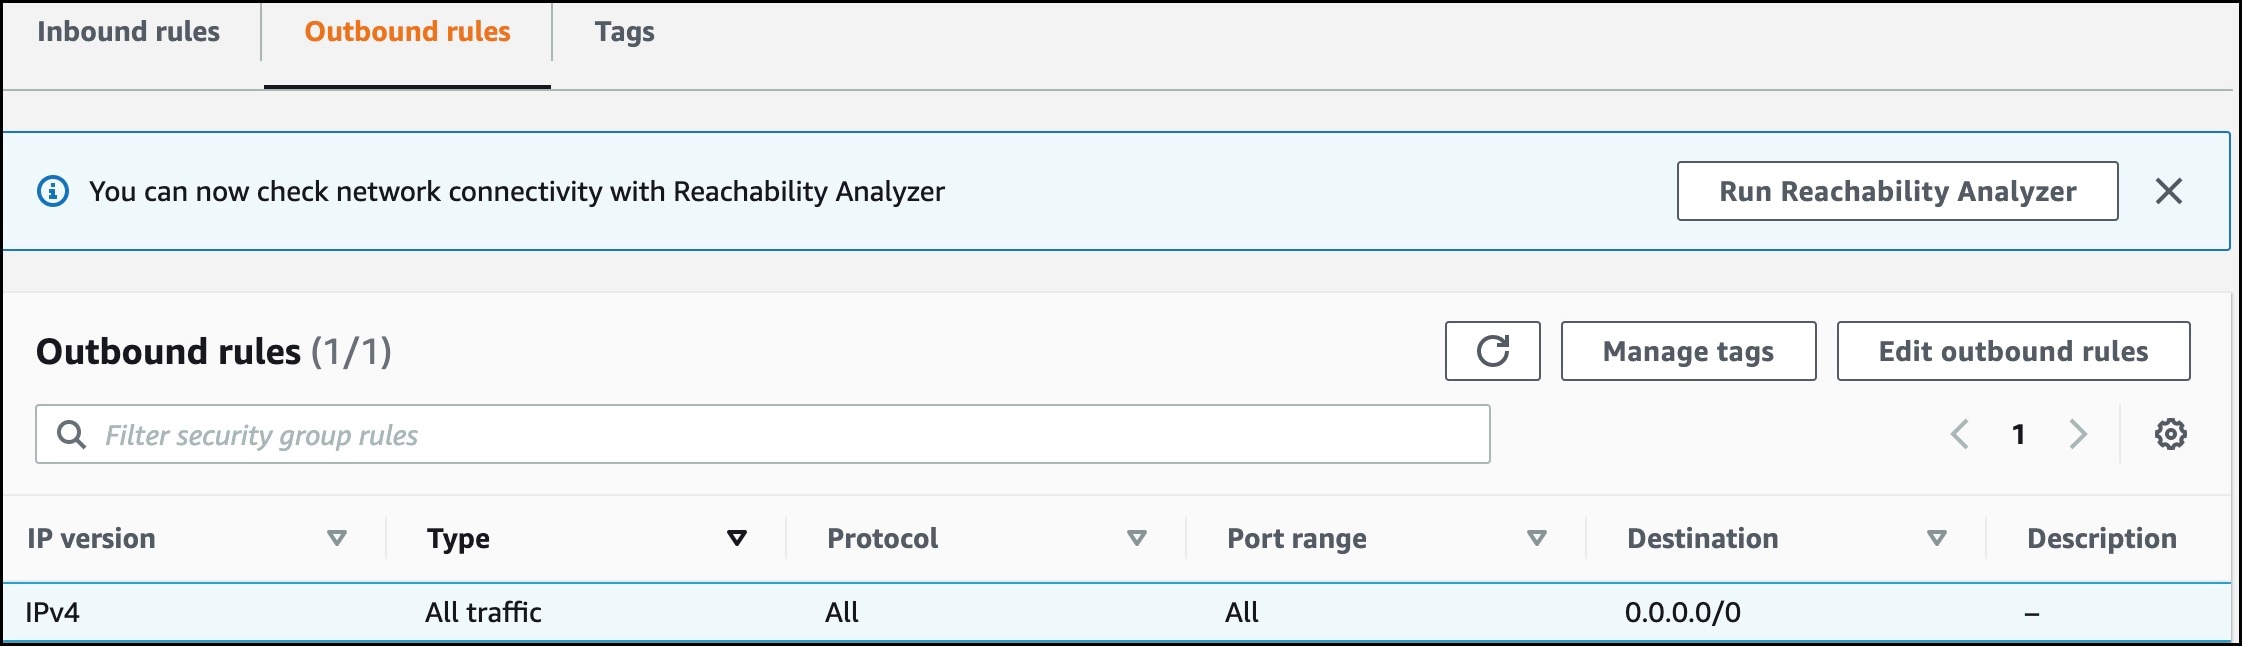
Configure a security group by following these steps:
|
||||
|
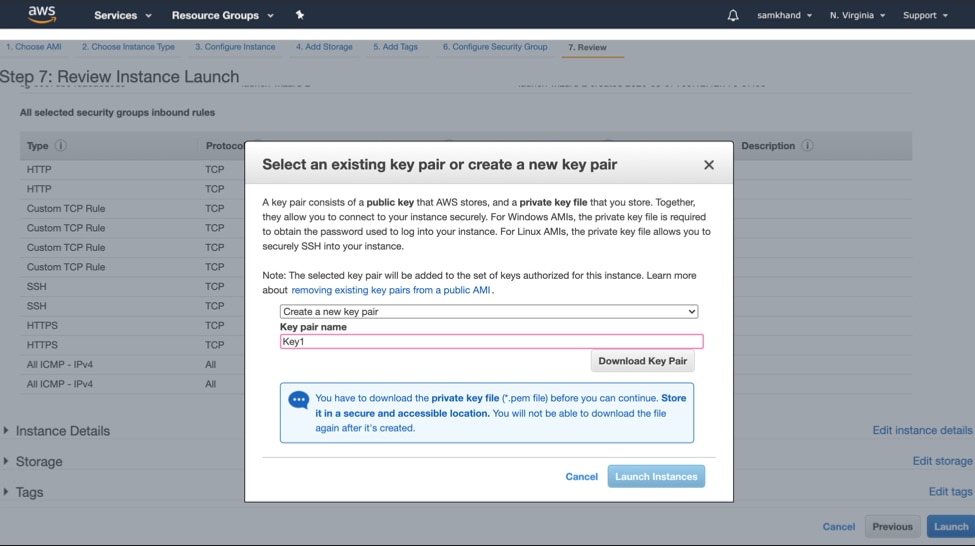
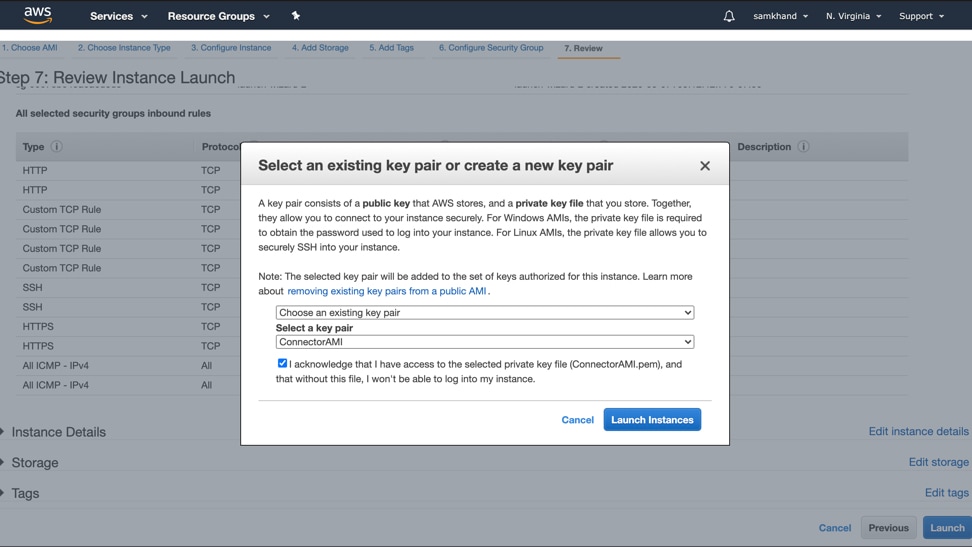
Step 11 |
In the displayed Select an existing key pair or create a new key pair dialog box, do either of the following:
|
||||
|
Step 12 |
After you have downloaded the key pair (.pem) file to your system, navigate to the file location. Configure appropriate permissions for the .PEM file using the chmod command. |
||||
|
Step 13 |
Review the instance and click Launch. 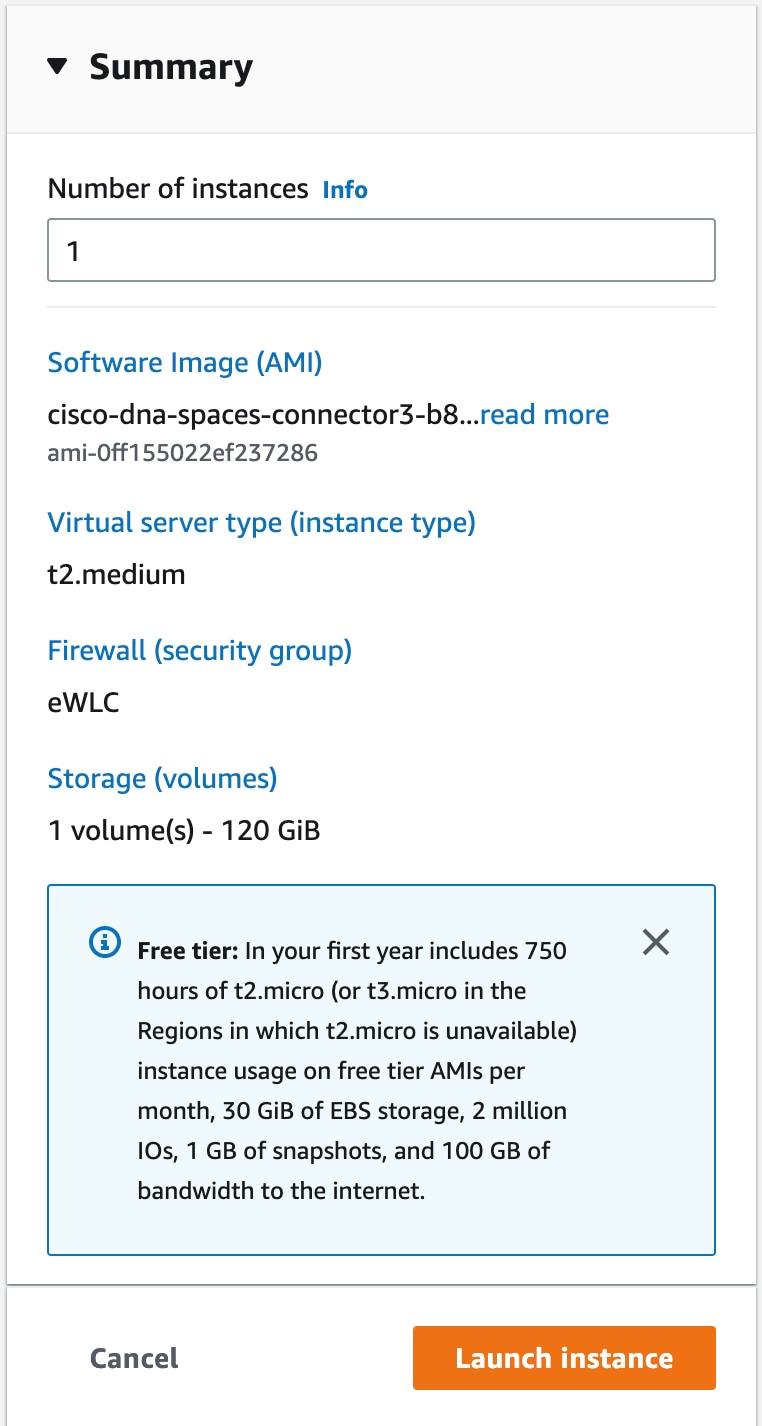
|
||||
|
Step 14 |
On the EC2 dashboard, wait for the instance to finish launching and the status to change to Running. Alternatively, you can see the running instances on the Instances page. Click the instance to obtain the IPv4 address of the instance.  |
||||
|
Step 15 |
Perform initial setup to configure a hostname, and change passwords for spacesadmin and root users. |
||||
|
Step 16 |
Log in to the connector and configure the connector further. Do one of the following using the public IPv4 address from the previous step (step 15):
|

 Feedback