Use this procedure to recover a Cisco APIC cluster after a disaster by promoting a Warm Standby APIC node to APIC 1, restoring the fabric, and synchronizing data across newly initialized APIC nodes.
Use this procedure to recover a Cisco APIC cluster after a disaster that results in data loss, by promoting a Warm Standby APIC node and restoring the fabric.
As explained in the “Warm Standby” section, one of the use cases of Warm Standby APIC is to rebuild the APIC cluster even when some or all the database information (shard) is lost along with the active APIC nodes. See the Warm standby for a Cisco APIC cluster section for details of the data loss scenarios that need recovery with a Warm Standby APIC.
To rebuild the APIC cluster to restore the fabric from a disastrous event that caused the data loss in the APIC cluster, you can access the GUI or REST API of one of the Warm Standby APIC nodes and follow the procedure shown below.
The procedure in this section will promote the Warm Standby APIC node to APIC 1 using the database information in the standby node itself. Once the Warm Standby APIC node is successfully promoted to APIC 1, initialize the remaining active and/or standby APIC nodes and discover them as new active APIC 2, APIC 3 and so on. As the new APIC nodes are discovered, the data stored in APIC 1, which used to be the Warm Standby APIC node will be distributed to those new nodes as the new replica of each shard.
When the Warm Standby APIC node is promoted to APIC 1, the standby APIC node shuts down the infra interfaces on the remaining active or Standby APICs that are still reachable to ensure that the ACI switches can only see the standby node, soon to be new APIC 1, to avoid any conflict with the remaining active APIC nodes
Complete this procedure to setup the Cisco APIC Disaster Recovery for Cisco APIC.
Before you begin
-
Confirm you have administrator credentials for the Warm Standby APIC node.
-
Identify which APIC nodes are available and which have been lost.
Procedure
| 1. | Login into one of the Warm Standby APIC by accessing |
|
| 2. | Click Promote to start re-building the APIC cluster by promoting the Warm Standby APIC to APIC 1.
|
|
| 3. | The Initiation Progress status is displayed. If successful, the active Cisco APIC is displayed. The GUI will transition to the regular APIC GUI with the former standby node as new APIC 1. You will use this GUI to add a new APIC 2, APIC 3 and so on in the following steps. 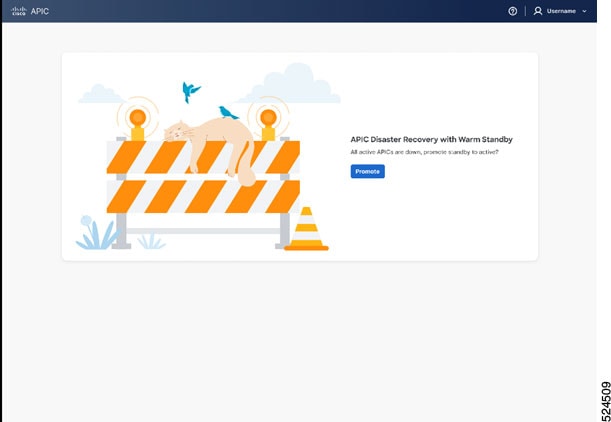
|
|
| 4. | Initialize the remaining APIC nodes with acidiag touch setup then acidiag reboot via the CLI on each node. |
|
| 5. | Add the initialized APIC nodes as the new APIC 2, APIC 3, and so on via the APIC GUI on the new APIC 1. See Expand the APIC cluster using the add node option for details. |
After rebuilding, the promoted Warm Standby node serves as APIC 1. Additional nodes join as APIC 2, APIC 3, and synchronize data. The fabric is restored.