Crosswork Data Gateway interactive console
When you log in to the Crosswork Data Gateway, an interactive console is launched. It provides a command-line interface for managing and troubleshooting the system.
The console presents a main menu upon successful login.
Main menu overview and role-based access
The main menu displays various options based on the user's role and privileges. Options differ for the Administrator (dg-admin) and the Operator (dg-oper) roles. Here is an example of the main menu as seen by the dg-admin user:
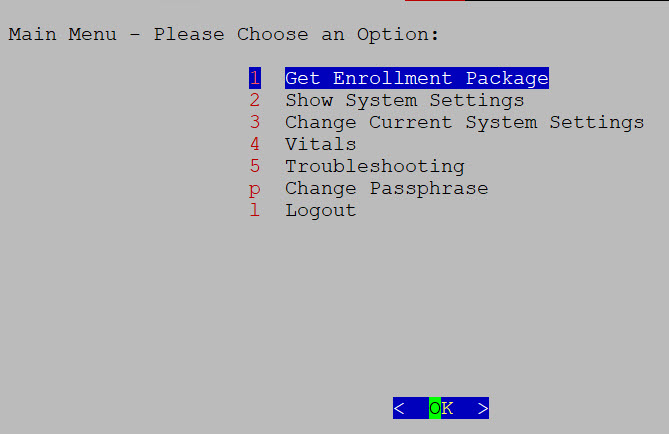
The main menu presents these options:
-
Get Enrollment Package
-
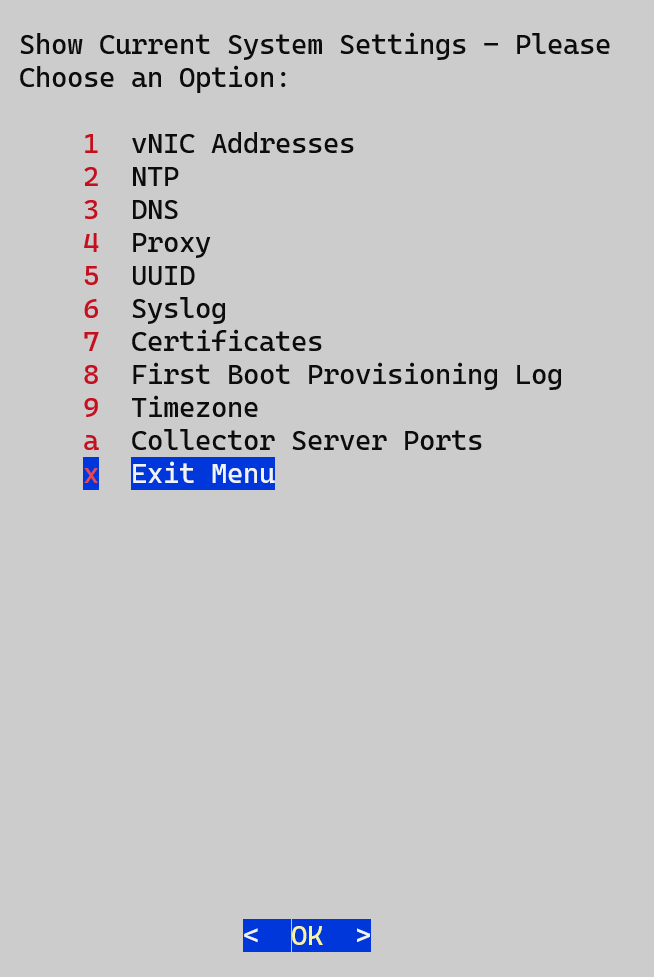
Show System Settings
-
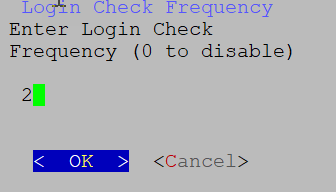
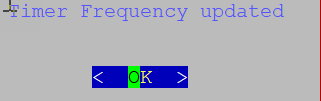
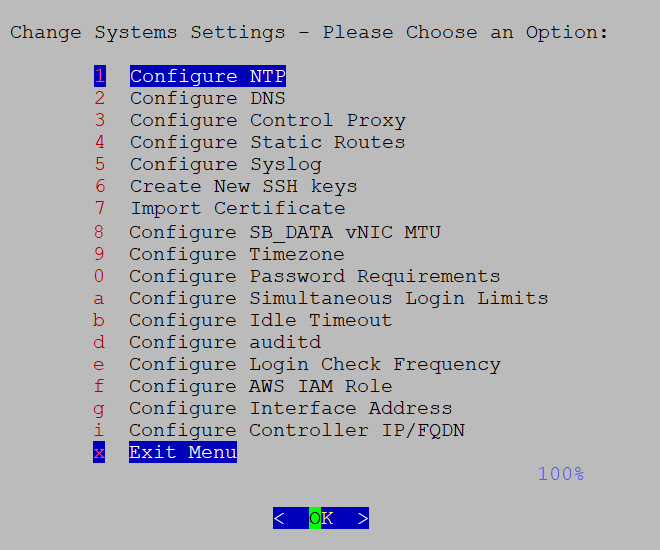
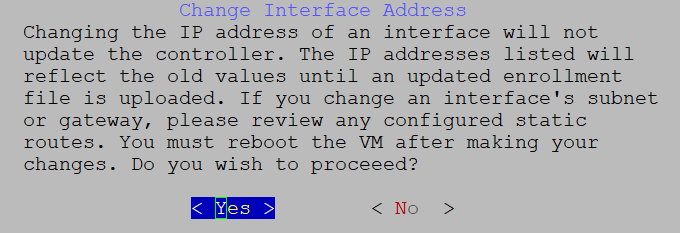
Change Current System Settings
-
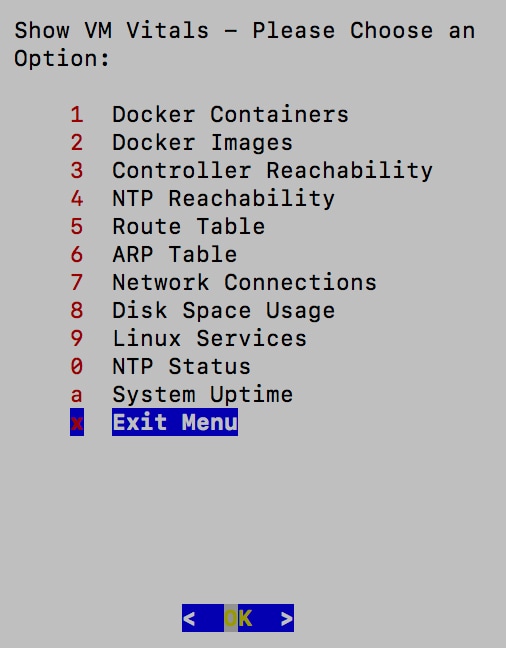
Vitals
-
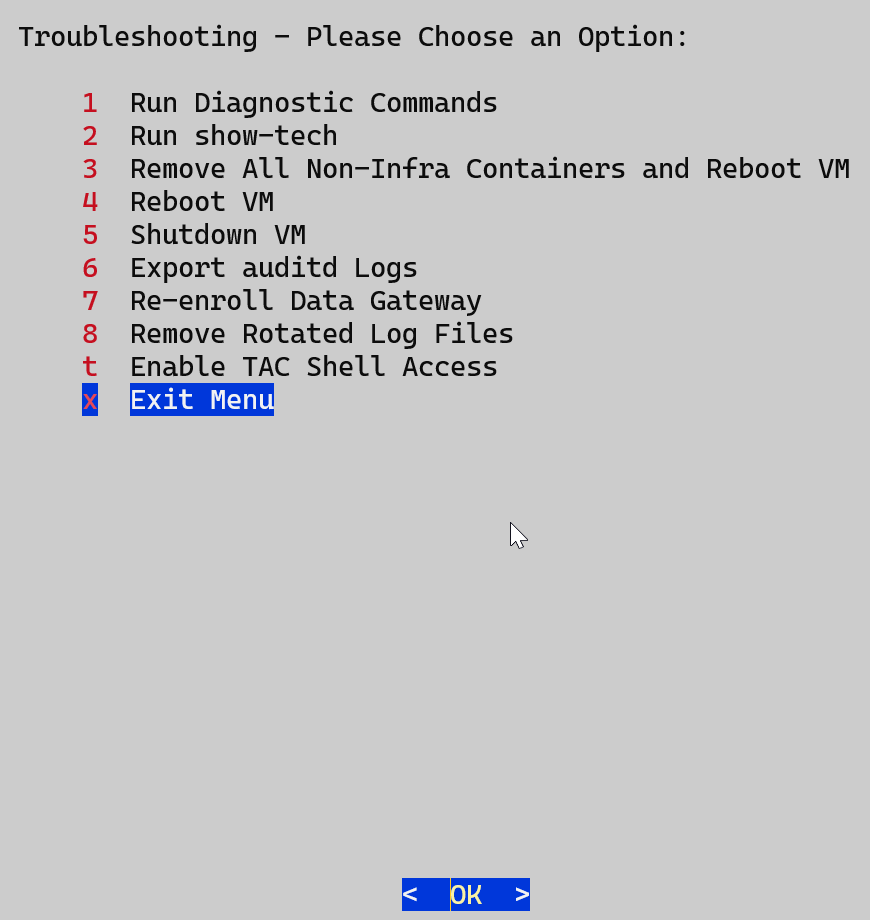
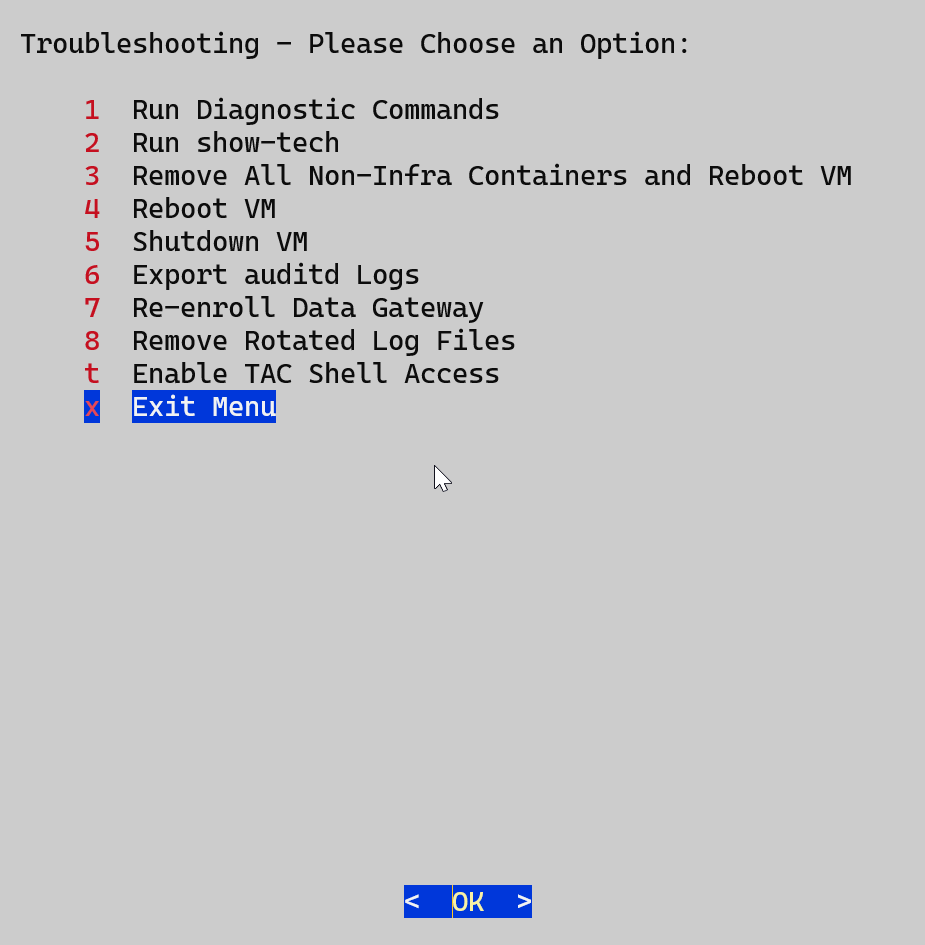
Troubleshooting
-
Change Passphrase
-
Log out
User roles and configuration guidelines
-
The main menu for the dg-oper user differs, as the operator has more limited access compared to the administrator. Refer to the Role-based permissions table for a detailed breakdown of user roles and their associated privileges.
-
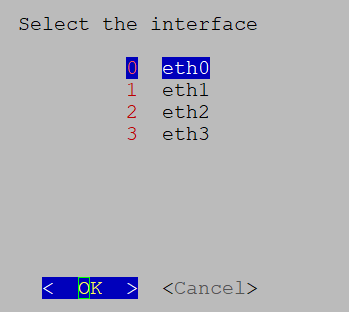
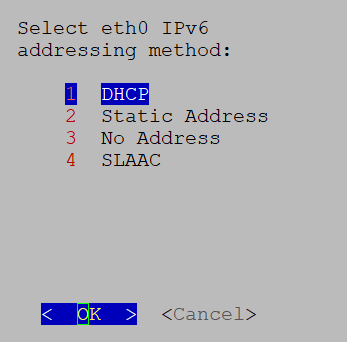
When using an IPv6 address for any configuration, enclose it in square brackets, as in ([1::1]).


 Feedback