Wired

Wired Gateways

A wired gateway is a type of network device that

  • installs an IOx application on Cisco Catalyst switches

  • discovers and collects telemetry data from supported wired sensors, and

  • transmits sensor data to Cisco Spaces: Connector for aggregation and IoT monitoring.

Configure wired gateways

Set up and maintain wired gateways using Cisco Spaces, including managing gateway applications, viewing detailed gateway information, tracking deployment history, and exporting gateway activity.

This task is used to manage IoT gateways within Cisco Spaces, enabling support for applications, monitoring device and energy information, and performing bulk operations such as installation, uninstallation, and exporting gateway history for auditing.

Before you begin

Verify that relevant access points (APs) are registered and available in the Wired Gateways list. Confirm you have the necessary permissions to manage IOx applications and gateway data.

Procedure


Step 1

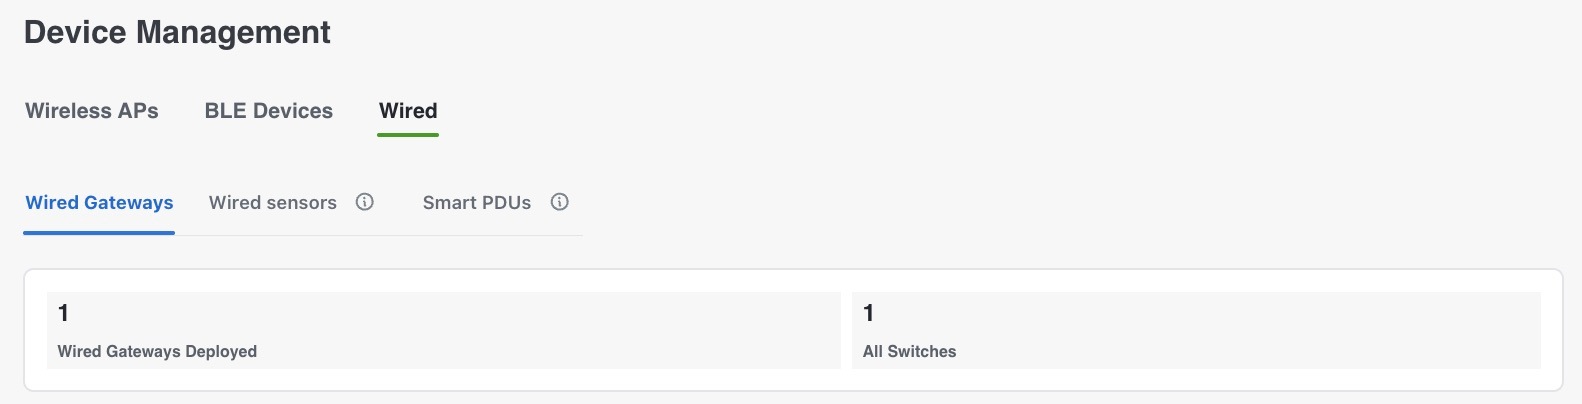
From the Cisco Spaces dashboard, navigate to IoT Services > Manage > Wired > Wired Gateways.

Figure 1. Wired Gateways tab

Step 2

Click the MAC address of the AP to open the detailed Wired Gateways page. The Wired Gateways tab appears.
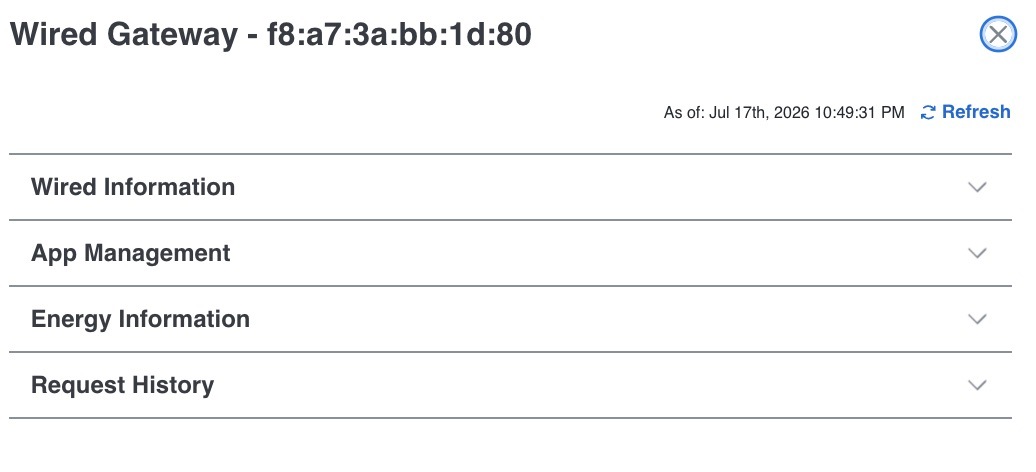
Figure 2. Wired Gateways tab

Step 3

Click the Wired Information panel to view details such as MAC Address, AP Name, Status, IP Address, Location, IOx App Name, IOx App Version etc.
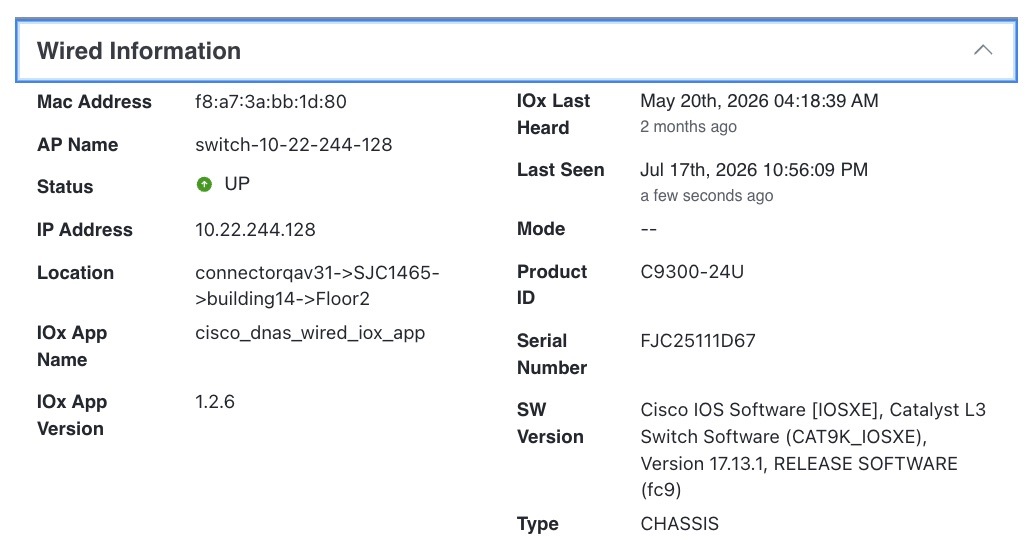
Figure 3. Wired Information tab

Step 4

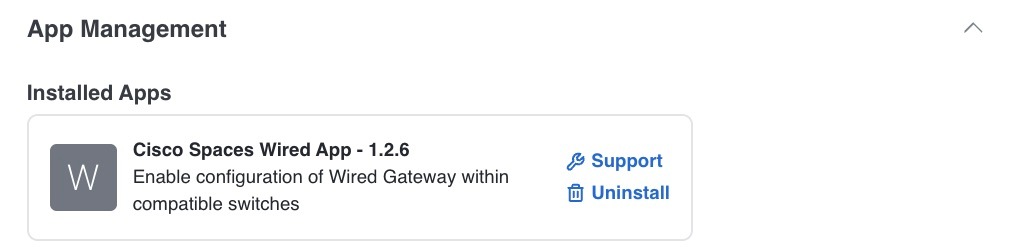
Click the App Management panel to support or uninstall an IOx Application on a gateway. Do one of these:

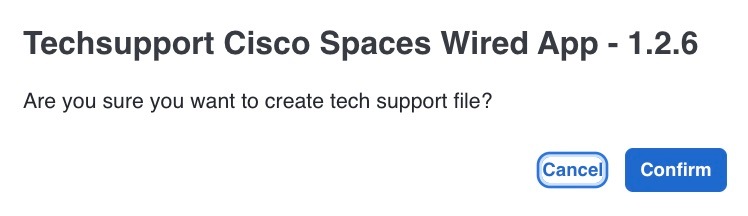
  • To support, click the support icon near Cisco Spaces Wired App. Click support to confirm or cancel the request.
  • Figure 4. Support icon
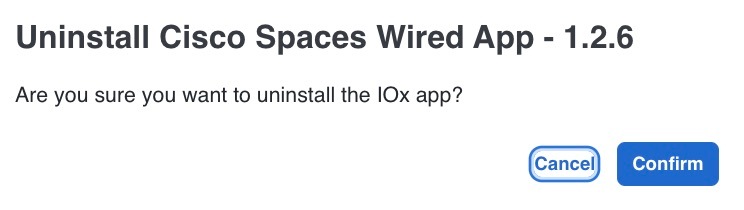
  • To uninstall, click the uninstall icon near Cisco Spaces Wired App. Click uninstall to confirm or cancel the request.
  • Figure 5. Uninstall icon

Step 5

Click the Energy Information panel to view details such as Device, Event, Address, Module, Module Energy etc.
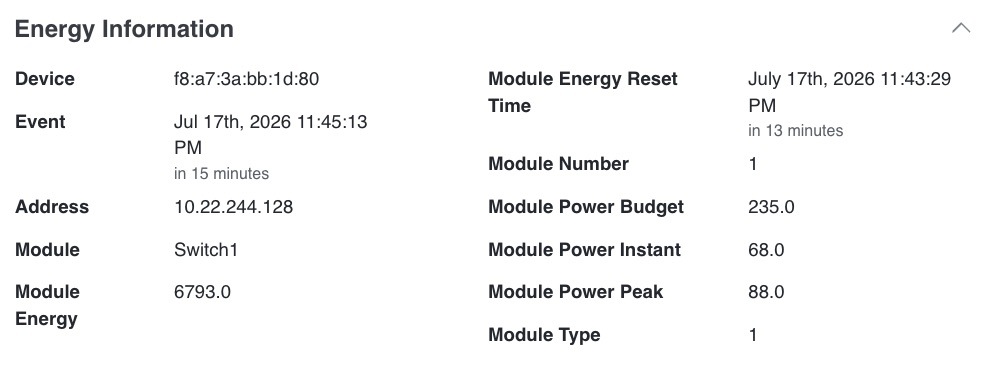
Figure 6. Energy Information tab
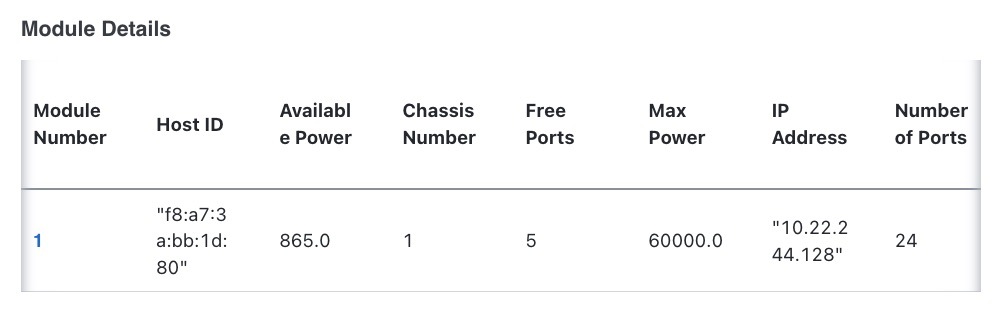
  1. The Energy Information panel also displays the Module Details table consisting of columns such as Module Number, Host ID, Available Power etc.

    Figure 7. Module details tab
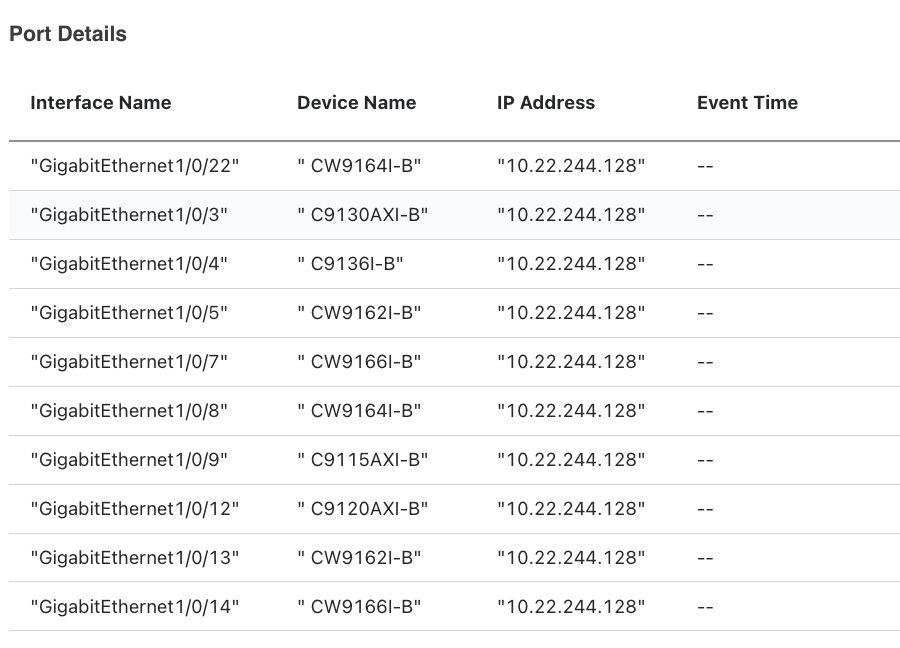
  2. The Energy Information panel also displays the Port Details table consisting of columns such as Interface Name, Device Name, IP Address, Event Time etc.

    Figure 8. Port details tab

Step 6

Click on the Request History panel to check the status of deployment. The Status column shows the status of install, uninstall or upgrade on each AP.
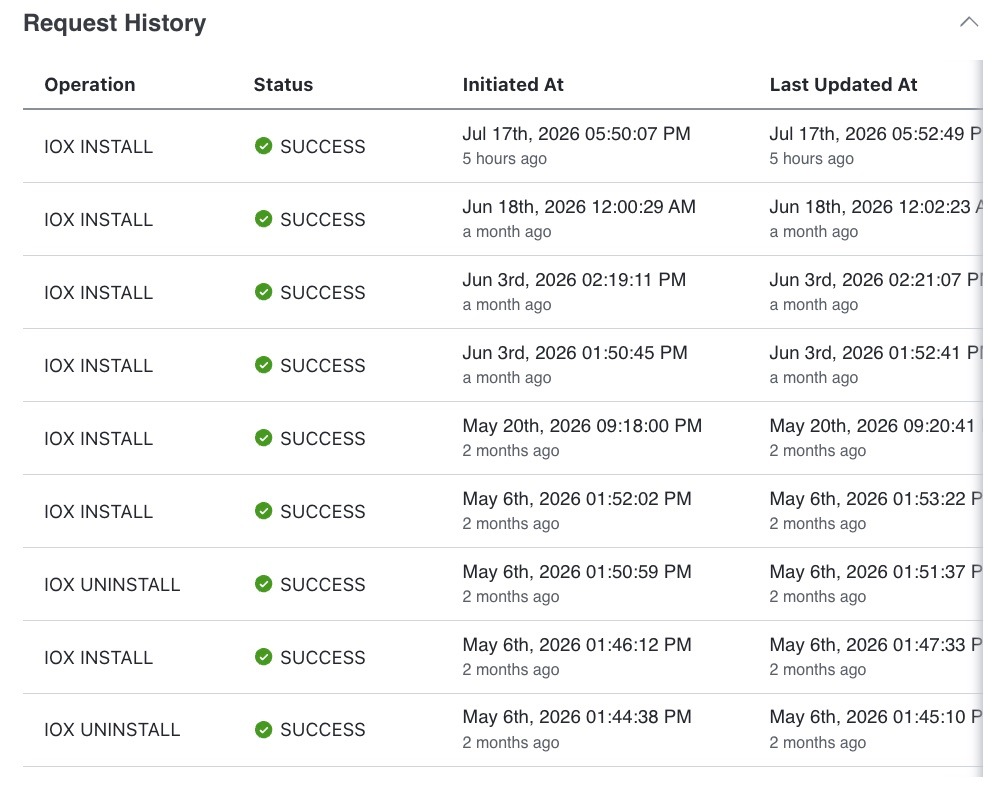
  1. SUCCESS: The application was uninstalled or upgraded successfully on the AP.

  2. FAILURE: The application uninstall or upgrade on the AP failed.

  3. IN PROGRESS: The application is currently being uninstalled or upgraded on the AP.

Figure 9. Request History tab

Step 7

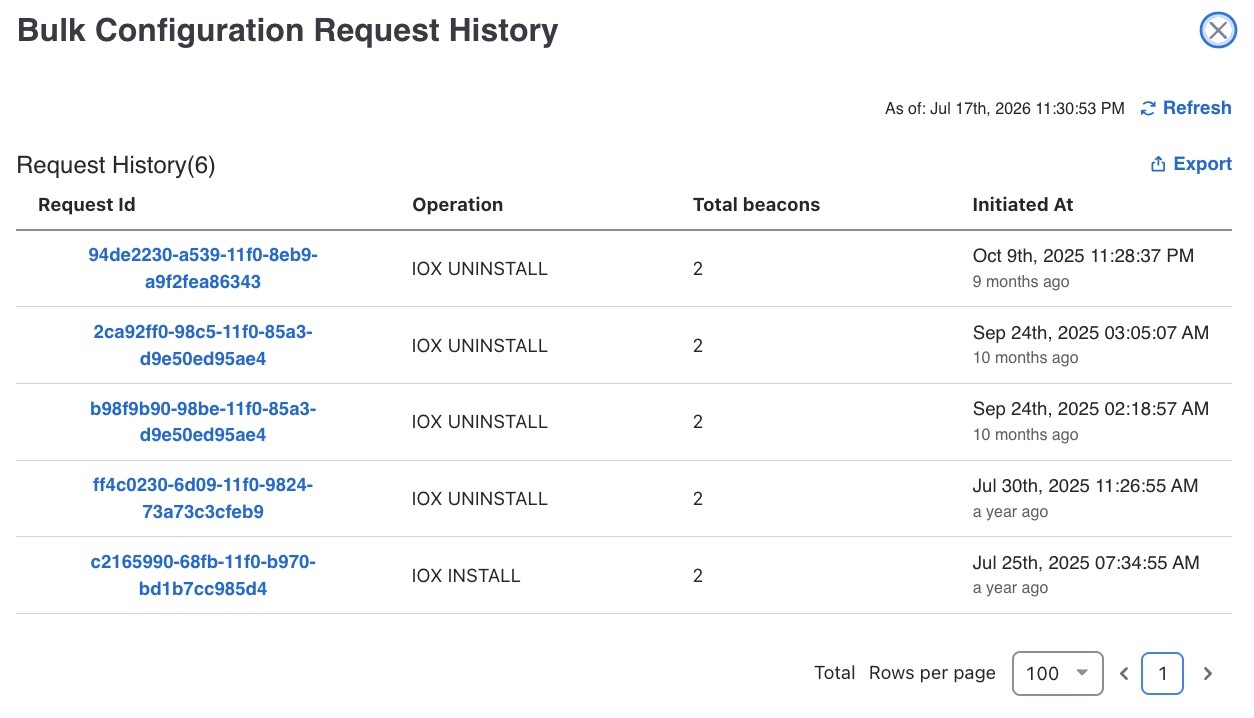
Click the MAC address of the desired AP in the tab and then click the Bulk Request History button to check the bulk configuration request history. Click on the Export button and Refresh button to download as a .csv file to your local system and refresh the screen.

Step 8

Click the MAC address of the desired AP in the tab and then click the Action button.

  1. Manage IOx app: Either install or uninstall IOx app.

  2. Delete: Delete the IOx app.


Wired Sensors

A wired sensor is an IoT device that

  • connects to the network through a Cisco switch configured as a wired gateway

  • collects presence and environmental telemetry such as temperature, humidity, carbon dioxide (CO₂), and air quality, and

  • enables centralized monitoring and management through Cisco Spaces IoT Services, which displays sensor details, telemetry, connectivity, and location.

Configure wired sensors

Enable detailed monitoring and management of wired sensor devices connected to access points.

Wired sensors provide occupancy, environmental, and location data for spaces. Management includes editing device labels, updating sensor information, and controlling app group assignment.

Before you begin

Verify that the APs and sensors are registered and online.

Procedure


Step 1

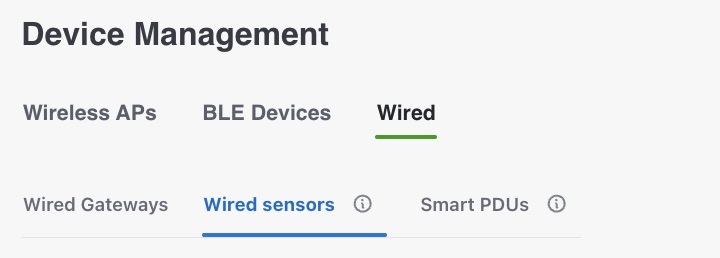
From the Cisco Spaces dashboard, navigate to IoT Services > Manage > Wired > Wired Sensors.

Figure 10. Wired Sensors tab

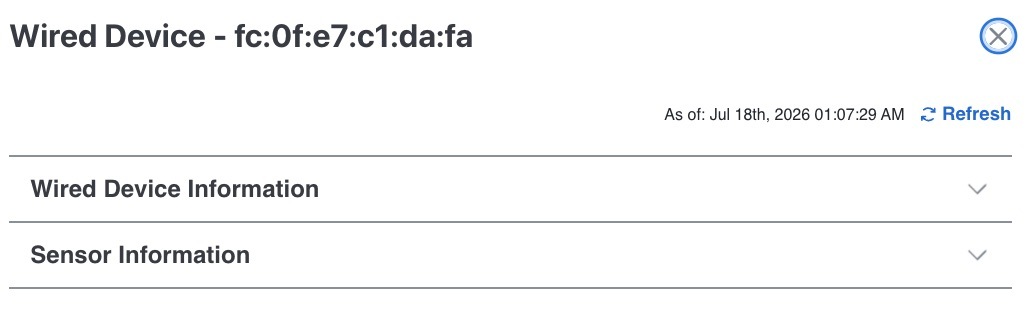
Step 2

Click the MAC address of the AP to open the detailed Wired Device page. The Wired Device tab appears.

Figure 11. Wired Device tab

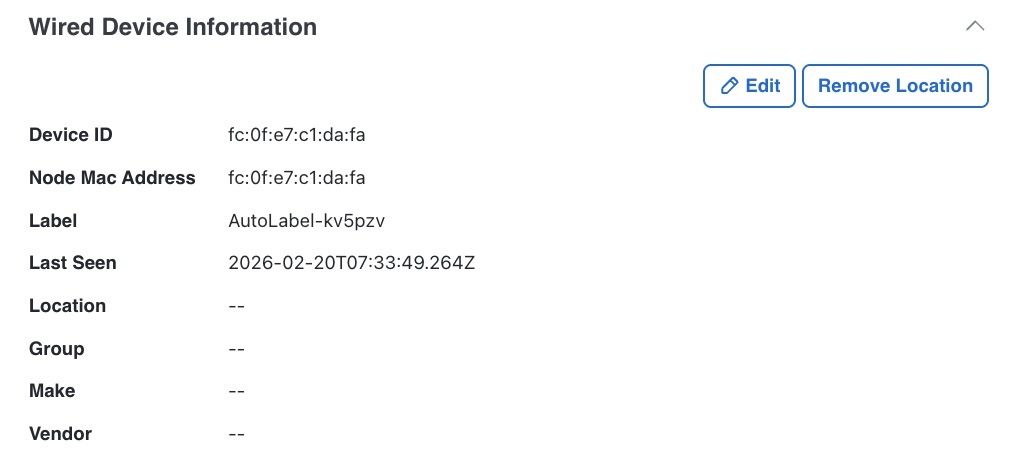
Step 3

Click the Wired Device Information panel to view details such as Device ID, Node Mac Address, Label, Last Seen, Location, Group, Make and Vendor.

Figure 12. Wired Device Information tab
  1. Click on the Edit button to edit the device label.

  2. Click on the Remove Location button to remove the location.

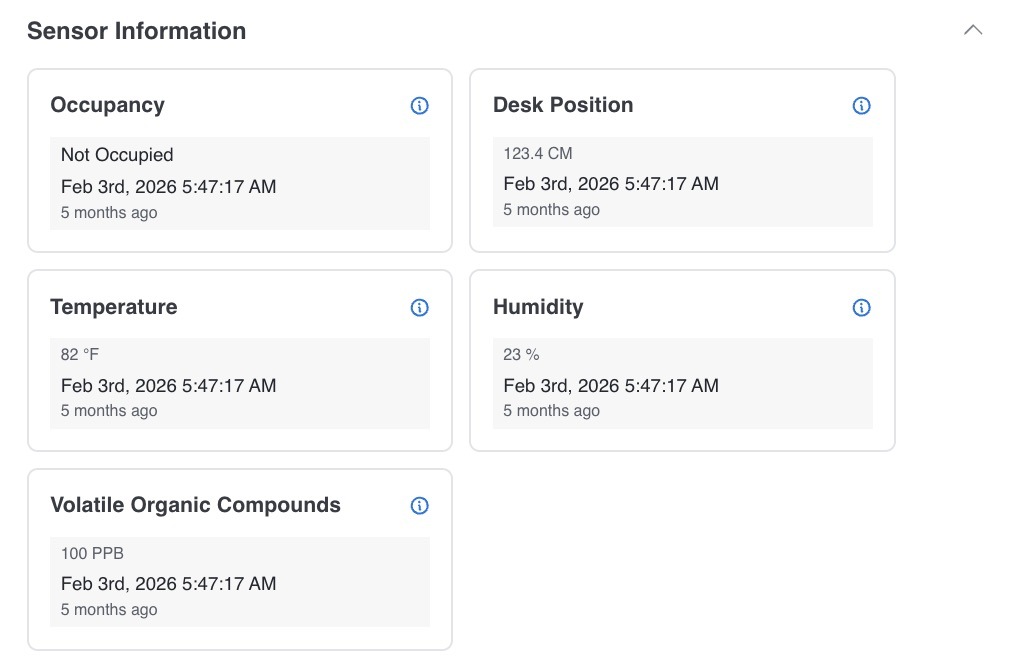
Step 4

Click the Sensor Information panel to view details such as Occupancy, Desk Position, Temperature, Humidity etc.

Figure 13. Sensor Information tab

Step 5

Click the MAC address of the desired AP in the tab and then click the Action button.

  1. Remove from Group: Remove the IOx app from the group.

  2. Delete: Delete the IOx app.


Smart PDUs

A smart power distribution unit (PDU) is an energy management device that

  • provides visibility into the power and energy consumption of connected infrastructure

  • enables onboarding into Cisco Spaces through the Cisco Spaces: Connector using SNMP, and

  • supplies operational and energy-usage data for monitoring and efficiency improvement.

Configure smart PDUs

Set up and manage smart PDUs for networked access points using Cisco Spaces IoT Services.

Use this task to configure smart PDUs including setting properties and viewing energy information through Cisco Spaces. This enables efficient power management and monitoring for connected devices.

Before you begin

Know the MAC addresses of the APs you intend to manage. Have SNMP credentials and Smart PDU IP address available.

Procedure


Step 1

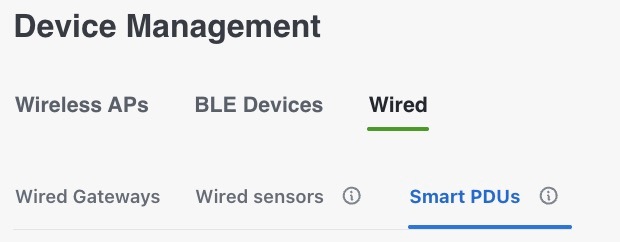
From the Cisco Spaces dashboard, navigate to IoT Services > Manage > Wired > Smart PDUs.

Figure 14. Smart PDUs tab

Step 2

Click the MAC address of the AP to open the detailed Smart PDUs page. The Smart PDUs tab appears.

Figure 15. Smart PDUs tab

Step 3

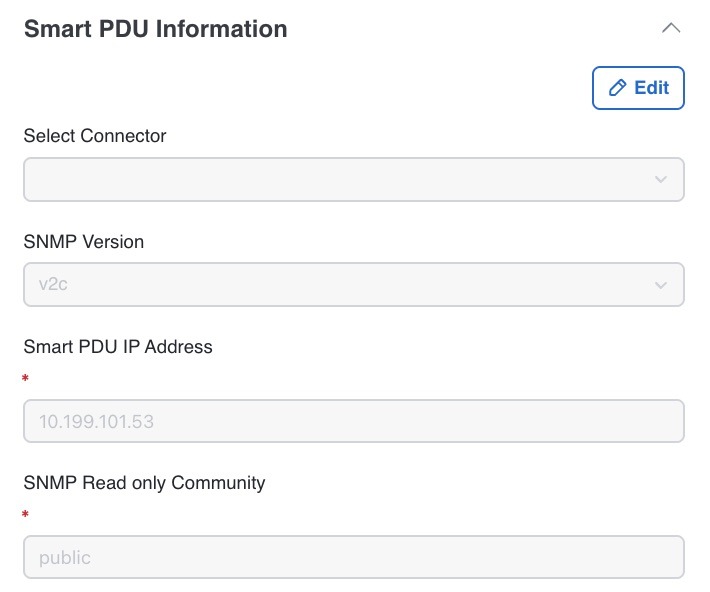
Click the Smart PDUs Information panel to view details such as Select Connector, SNMP Version, Smart PDU IP Address and SNMP Read only Community.

Figure 16. Smart PDUs Information tab
  1. Select Connector: Select the connector from the drop-down list.

  2. SNMP Version: Select the SNMP version from the drop-down list.

  3. Smart PDU IP Address: Enter the smart PDU IP address.

  4. SNMP Read only Community: Choose the SNMP read only community option.

Step 4

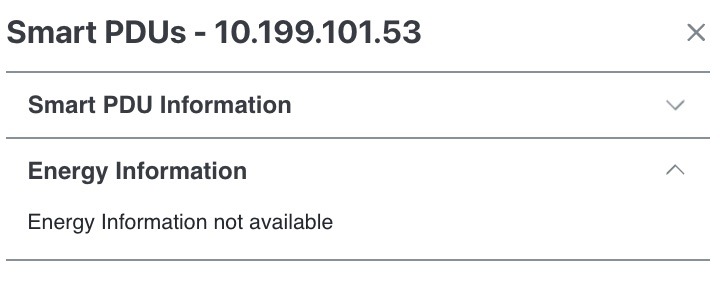
Click the Energy Information panel to view details.

Figure 17. Energy Information tab

Step 5

Click the MAC address of the desired AP in the tab and then click the Action button.

  1. Delete: Delete the IOx app.