Cisco Catalyst Center (formerly known as Cisco DNA Center) Integration

This chapter provides information on the integration of Cisco Spaces with Catalyst Center.

Overview

Cisco Spaces enables you to integrate with Cisco Catalyst Center (formerly known as Cisco DNA Center) so that you can monitor the Catalyst Center sites using Cisco Spaces.


Note


The Catalyst Center and Cisco Spaces integration is currently limited to only automatic map exports and synchronization for the location hierarchy. The integration does not support captive portal-based authentication features.


For more information, refer to "About Cisco Spaces Integration" in the Catalyst Center User Guide at:

https://www.cisco.com/c/en/us/support/cloud-systems-management/dna-center/products-user-guide-list.html

Prerequisites

  • Catalyst Center, Release 2.1.2.3 or higher.

  • Catalyst Center must be able to connect to https://spaces-gov.cisco/ for the initial activation.

  • You must connect your wireless network to Cisco Spaces using Cisco Spaces: Connector. To connect, log in to the Cisco Spaces dashboard and choose Setup > Wireless Networks.

  • Catalyst Center checks SSL/TLS certificate revocation status using OCSP/CRL. TCP 80 is port used by Catalyst Center for outbound communication to device and other systems. To successfully verify the certificate revocation status, these URLs must be reachable both directly and through the proxy server that's configured for Catalyst Center. Otherwise, certificate revocation check will be skipped when Catalyst Center connects to cisco.com.

    http://validation.identrust.com

    http://commercial.ocsp.identrust.com

    For more information, refer to "Communication ports" in the Cisco Catalyst Center Security Best Practices Guide.
Integrate Cisco Spaces with Catalyst Center

To integrate Cisco Spaces with Catalyst Center, perform the following steps:

Procedure


Step 1

Log in to Cisco Spaces.

Step 2

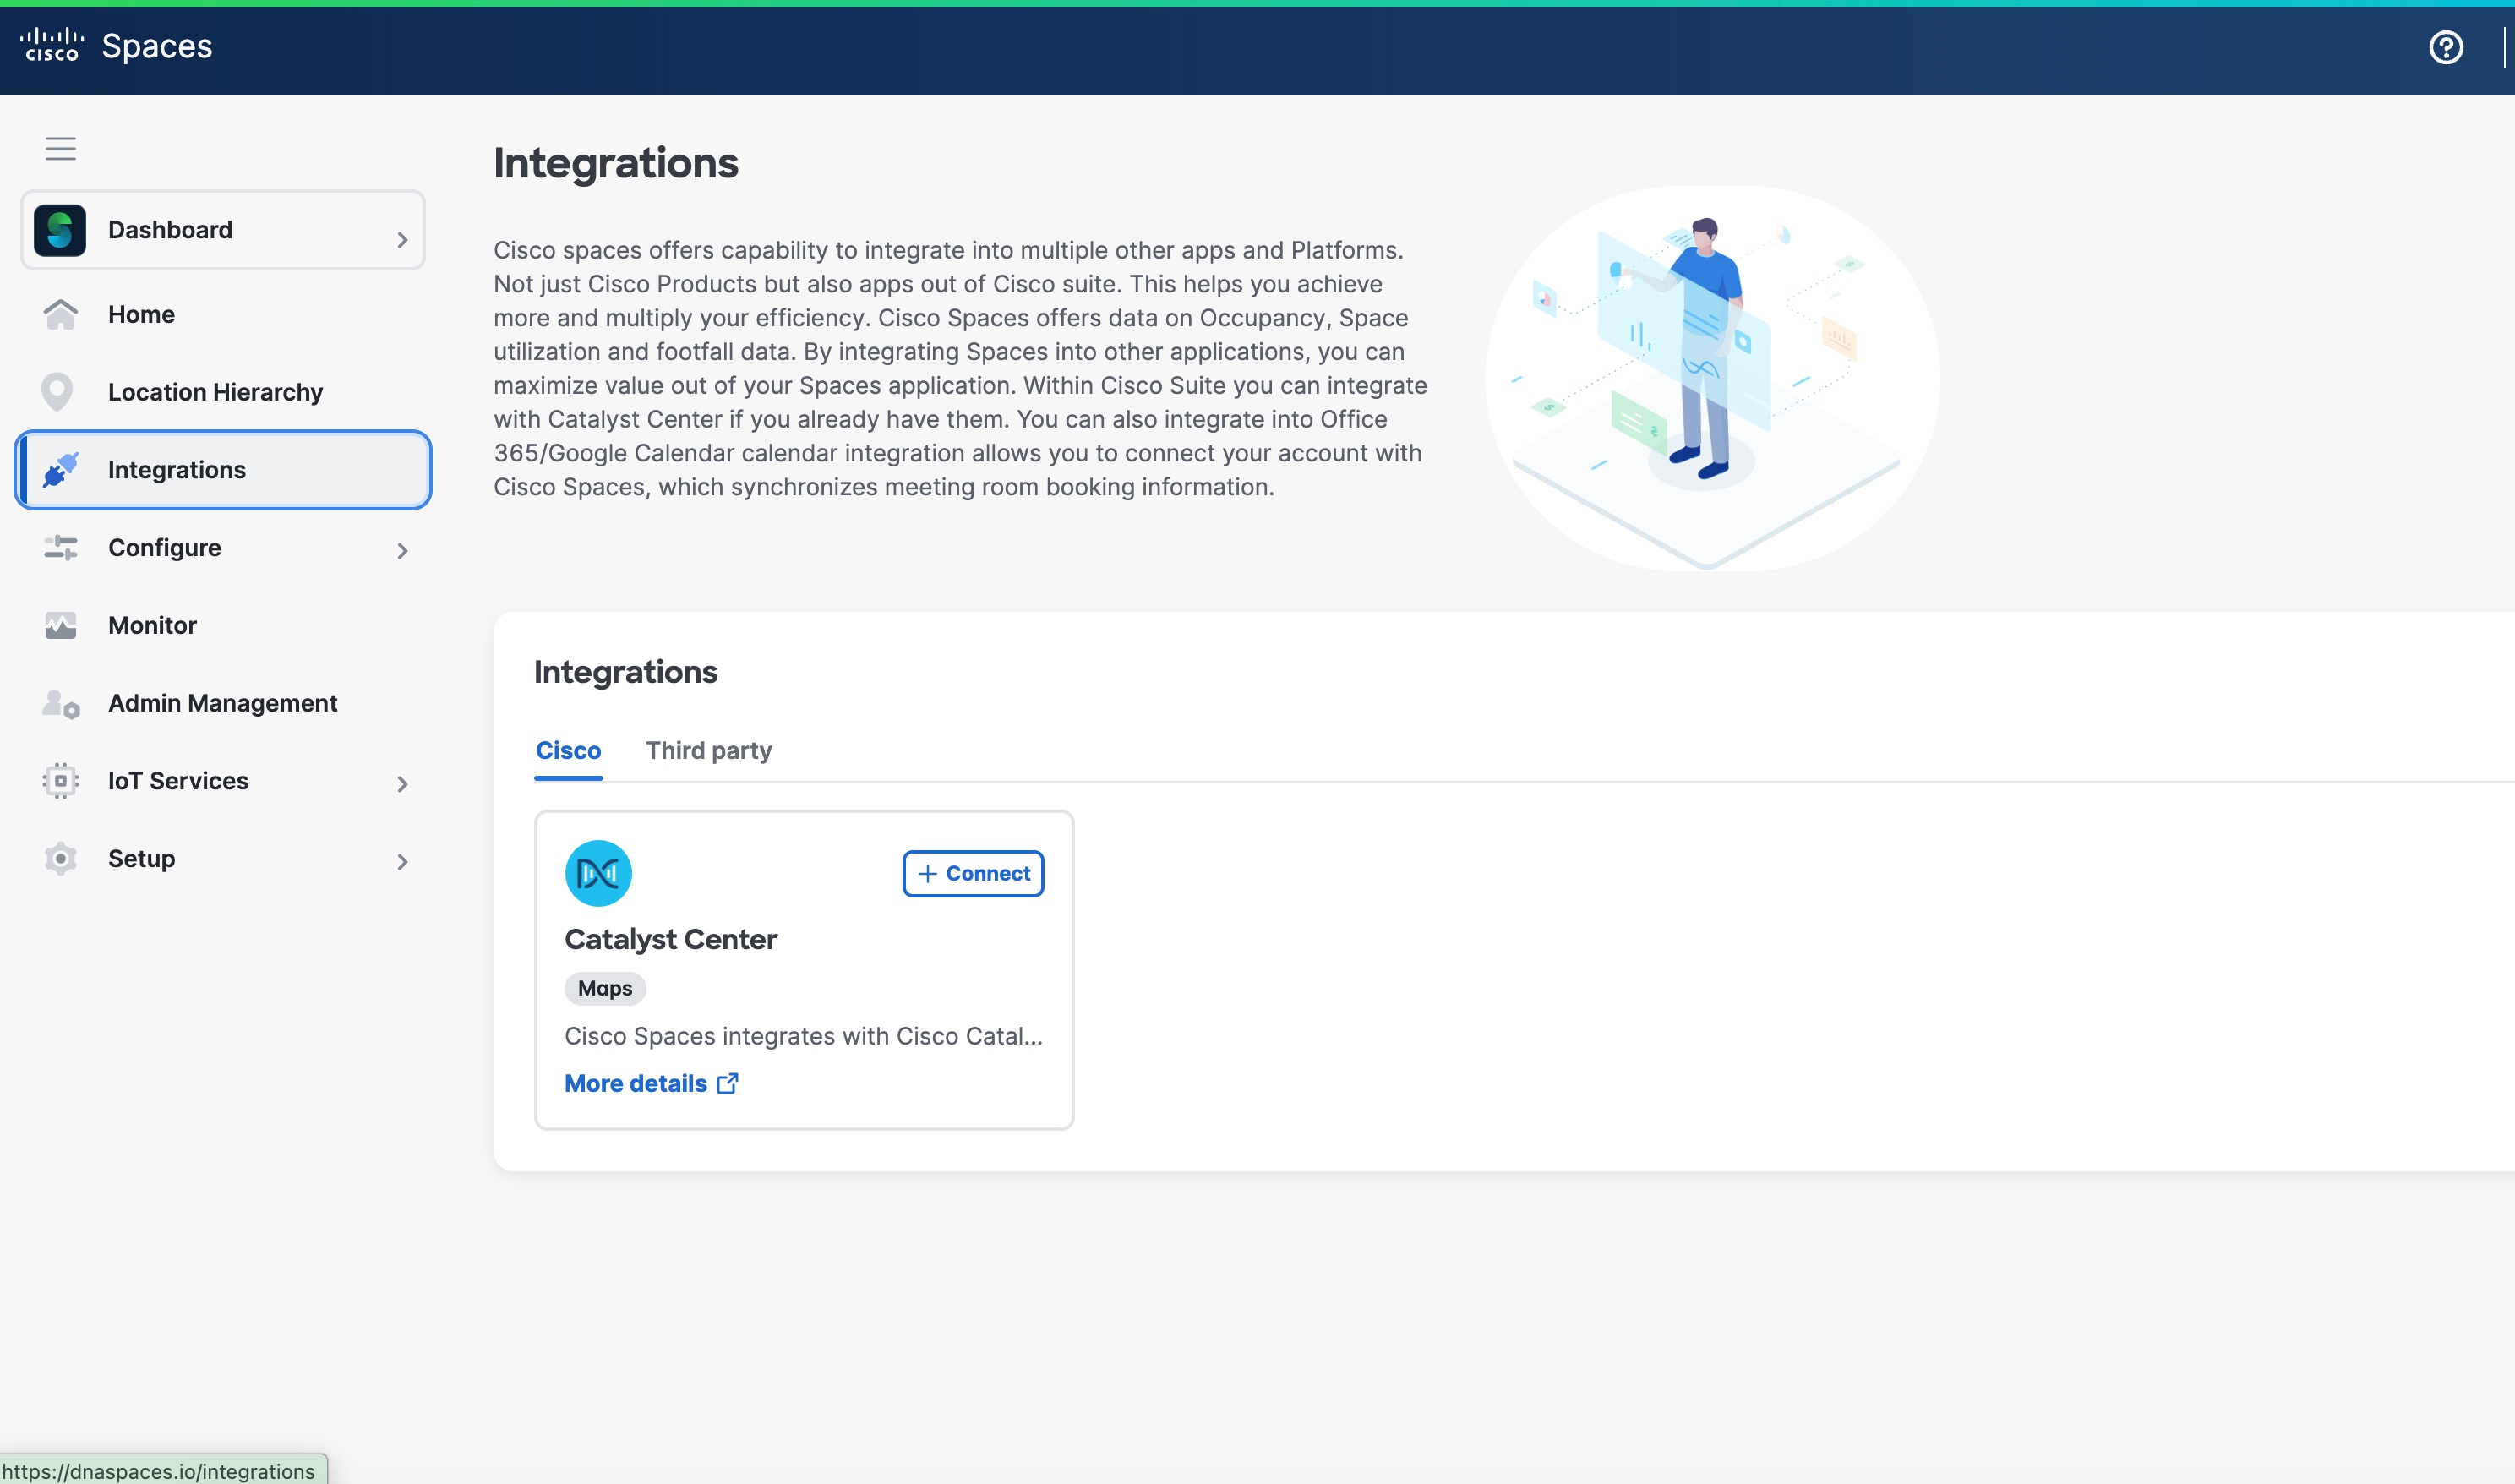
In the left navigation panel, choose Integrations.

The Integrations window is displayed

Step 3

Under Integrations.

In the Cisco tab, Catalyst Center is displayed.

In the Third party tab, Google Calendar, Office 365, and Hamina are displayed.

Figure 1. Integrations

Step 4

In the Catalyst Center, click Connect.

The Cisco Catalyst Center Integration window is displayed.

Step 5

Click Add Instance.

Step 6

In the Create new token pop-up window, enter the Catalyst Center instance name and click Generate.

A success message confirms that the new token is created and displays the token in the window. Copy the token.

Note


The new token remains valid for five minutes (5 min). If it expires, you can regenerate another token.

Step 7

Click Done.

Step 8

(Optional) In the Token column, click View token and use this tenant token in Catalyst Center.

A success message confirms that the new token is created and displays the token in the window. Copy the token.

Note


The new token remains valid for five minutes (5 min). If it expires, you can regenerate another token.

Step 9

(Optional) Click Done.

Step 10

Log in to Catalyst Center.

Step 11

Click the Menu icon () and choose System > Settings.

Step 12

Click CMX Servers/Cisco Spaces.

Step 13

In the CMX Servers/Cisco Spaces window, under the Cisco Spaces section, click Activate.

Step 14

In the Integrate Cisco Spaces pop-up window, paste the tenant token and click Connect.

After the integration is complete with Cisco Spaces, the following success message is displayed: This cluster is integrated with Cisco Spaces successfully. The status is displayed as Activated.

After activating the Cisco Spaces token, you can assign Cisco Spaces to Catalyst Center sites and begin to monitor those sites. For more information, refer to the Catalyst Center User Guide.