Overview
Available Languages
Contents
Overview
This guide provides phone operating instructions and feature descriptions for the Cisco IP Phone multiline models 8941 and 8945. The Cisco Unified IP Phone 8941 has two lines and the 8945 has four lines.
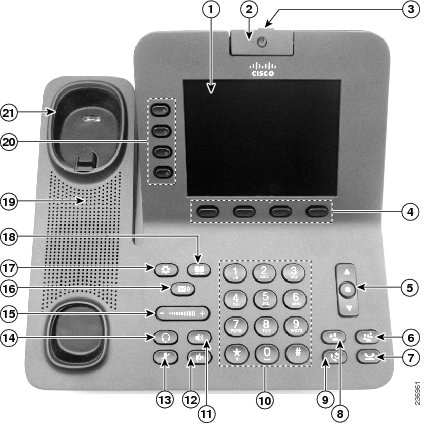
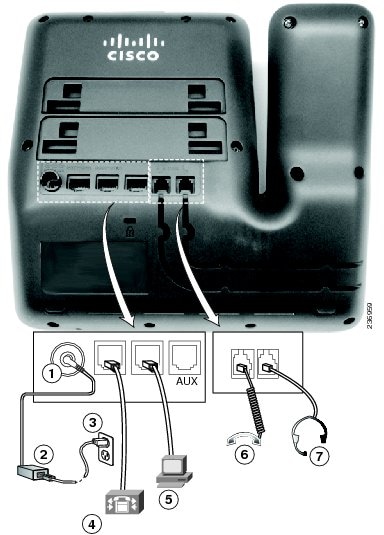
Physical Description of Cisco Unified IP Phone 8941 and 8945
Your phone provides quick access to your phone lines, features, and call sessions. The Programmable Feature buttons (Line buttons) are used to view calls on a line or access features such as speed dial or All Calls.
Phone Screen
The way that your system administrator sets up your phone determines what is displayed on your phone screen.
Phone with a Single Line
1
Line label
Displays the line phone information.
2
Header
Displays the date, time, and information (such as phone number) about the selected line.
(If you are on a call and highlight the header instead of a call, the soft keys that display are the same as those that display when the phone is idle. This is useful, for example, if you want to access the Forward All or NewCall soft keys while you are on a call.)
3
Session button label (for connected call)
Displays information (such as phone number and duration) about a connected call on the line.
The timer counts the call duration in minutes and seconds (MM:SS) until the call exceeds 60 minutes. Then the timer counts hours and minutes (HH:MM).
4
Session button label (for held call)
Displays information (such as phone number and duration) about a held call on the line.
Pressing the corresponding session button resumes the held call.
The timer counts the call duration in minutes and seconds (MM:SS) until the call exceeds 60 minutes. Then the timer counts hours and minutes (HH:MM).
5
Soft keys
Soft key options for the selected (highlighted) call only.
If you select a different call (by pressing a feature button or the Navigation pad, or by answering a ringing call), the soft key options may change.
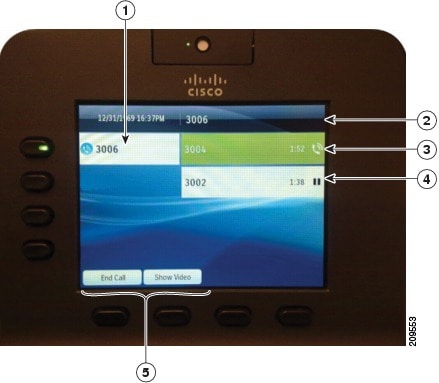
Phone with Multiple Lines
If you have multiple lines, it is recommended that you use the All Calls button to view all calls on all lines.
If you handle many calls at one time, it is recommended that you use the Answer button to answer the oldest incoming call without having to scroll down the call list and select the call. Consult your system administrator for more information.

1
Primary line label
Displays information about the primary phone line.
Look for the blue icon on the line label to see which line is selected. In this case, the primary line is selected and the information displayed is for the primary line only.
2
Header
Displays the date, time, and information (such as phone number) about the selected line.
(If you are on a call and highlight the header instead of a call, the soft keys that display are the same as those that display when the phone is idle. This is useful, for example, if you want to access the Forward All or NewCall soft keys while you are on a call.)
3
Session label (with Connected Call icon)
Displays information (such as call status and duration) about a connected call associated with the selected line.
4
Session labels (with Held Call icons)
Display information (such as call status and duration) about held calls associated with the selected line.
Calls are displayed on the right side of the phone screen from the oldest (at the top) to the newest.
Pressing the Session button next to a Held Call icon resumes the held call for that session.
5
Soft keys
Soft key options for the selected call only.
If you select a different call (by pressing a feature button or the Navigation pad, or by answering a ringing call), the soft key options may change.
Power-Save Mode
Depending on how your system administrator sets up your phone, the phone display may go into a power-save mode (the phone screen appears blank and the Select button is lit white).
To turn on the phone display, press any button or pick up the handset.
Footstand
If your phone is placed on a table or desk, the footstand can be connected to the back of the phone for a higher or lower viewing angle, depending on your preference.
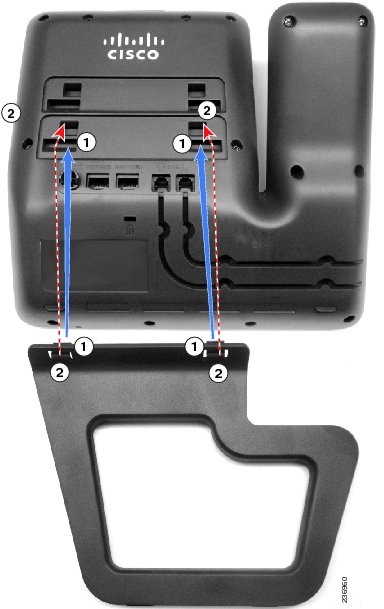
1
Insert the curved connectors into the lower slots.
2
Lift the footstand until the connectors snap into the upper slots.
Note
Connecting and disconnecting the footstand may require a little more force than you expect.
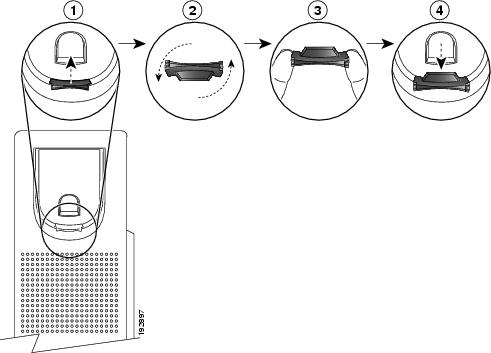
Adjusting the Handset Rest
ProcedureYou can adjust the handset rest of a wall-mounted phone so that the receiver does not slip out of the cradle.


 Feedback
Contact Cisco
- Open a Support Case

- (Requires a Cisco Service Contract)
This Document Applies to These Products
- Collaboration Endpoints - Retired Products
- Conferencing - Retired Products
- Contact Center - Retired Products
- Optical Networking - Retired Products
- Routers - Retired Products
- Security - Retired Products
- Servers - Unified Computing (UCS) Retired Products
- Storage Networking Retired Products
- Switches - Retired Products
- Video - Retired Products
- Wireless - Retired Products