Use this procedure to upgrade a standalone or high-availability deployment to geo-redundant mode, including eastbound and northbound network setup and worker and arbitrator node bringup.
Upgrade a standalone deployment or a high-availability deployment to a geo-redundant deployment. Cisco Optical Network Controller supports upgrades to a new release from previous releases. The required upgrade path depends on your current version.
For more details about the upgrade path, see Supported Upgrade Paths.
These instructions explain how to upgrade a standalone deployment from an older release as well as configuring necessary networks for geo-redundant supercluster communication.
-
Cisco Optical Network Controller does not support direct downgrades to older releases.
-
To revert to a previous version, you must first create a database backup using the SWIMU application before upgrading. Then, install the desired older version using its OVA file, and finally, restore the database.
-
Refer to the Backup and Restore Database documentation for detailed instructions.
Before you begin
-
Backup Creation: Verify that a full system backup is created. For details about creating a backup, see Backup and Restore Database or use the sedo backup create full command and export the backup for recovery if needed. Use this backup to revert to the older version if your upgrade fails.
Example:
root@conc-1:~# sedo backup  create full
Creating backup, this may take a while...
Done creating backup
root@conc-1:~# sedo backup  list
┌───────────────────────────────┬─────────────────────────────────────────┬─────────────────────────────┬──────┬────────────┬──────────────────┐
│ NAME                          │ TIME        │ SIZE                        │ TYPE │ HOSTNAME   │ POSTGRES VERSION │
├───────────────────────────────┼─────────────────────────────────────────┼─────────────────────────────┼──────┼────────────┼──────────────────┤
│ base_0000000E000000010000009E │ 2025-03-11 04:11:47.733980894 +0000 UTC │ 87 MB (838 MB Uncompressed) │ full │ postgres-0 │ 150008           │
└───────────────────────────────┴─────────────────────────────────────────┴─────────────────────────────┴──────┴────────────┴──────────────────┘

root@conc-1:~# cd /data
root@conc-1:/data# sedo backup download base_0000000E000000010000009E
Downloading Backup       ...  [.....<#>...............] [63.03MB in 9.200973s]
Finished downloading backup to "/data/nxf-backup-3.2-1741666307.tar.gz"

root@conc-1:/data# scp /data/nxf-backup-3.0-1736872559.tar.gz <remote location>
-
Use /data for all file operations such as collecting, staging, copying, extracting, uploading, or downloading logs, backups, system-pack files, service-pack files, and software images. Do not use /home/nxf as a landing or staging directory. The /home/nxf directory is on the root file system and has limited capacity. Adding data to this directory can cause disk pressure and upgrade failure.
-
Before starting the upgrade, verify that /home/nxf does not contain user-generated logs, backups, image files, tar files, or extracted bundles. Move required files to /data or external storage and remove only unneeded user-generated files from /home/nxf.
-
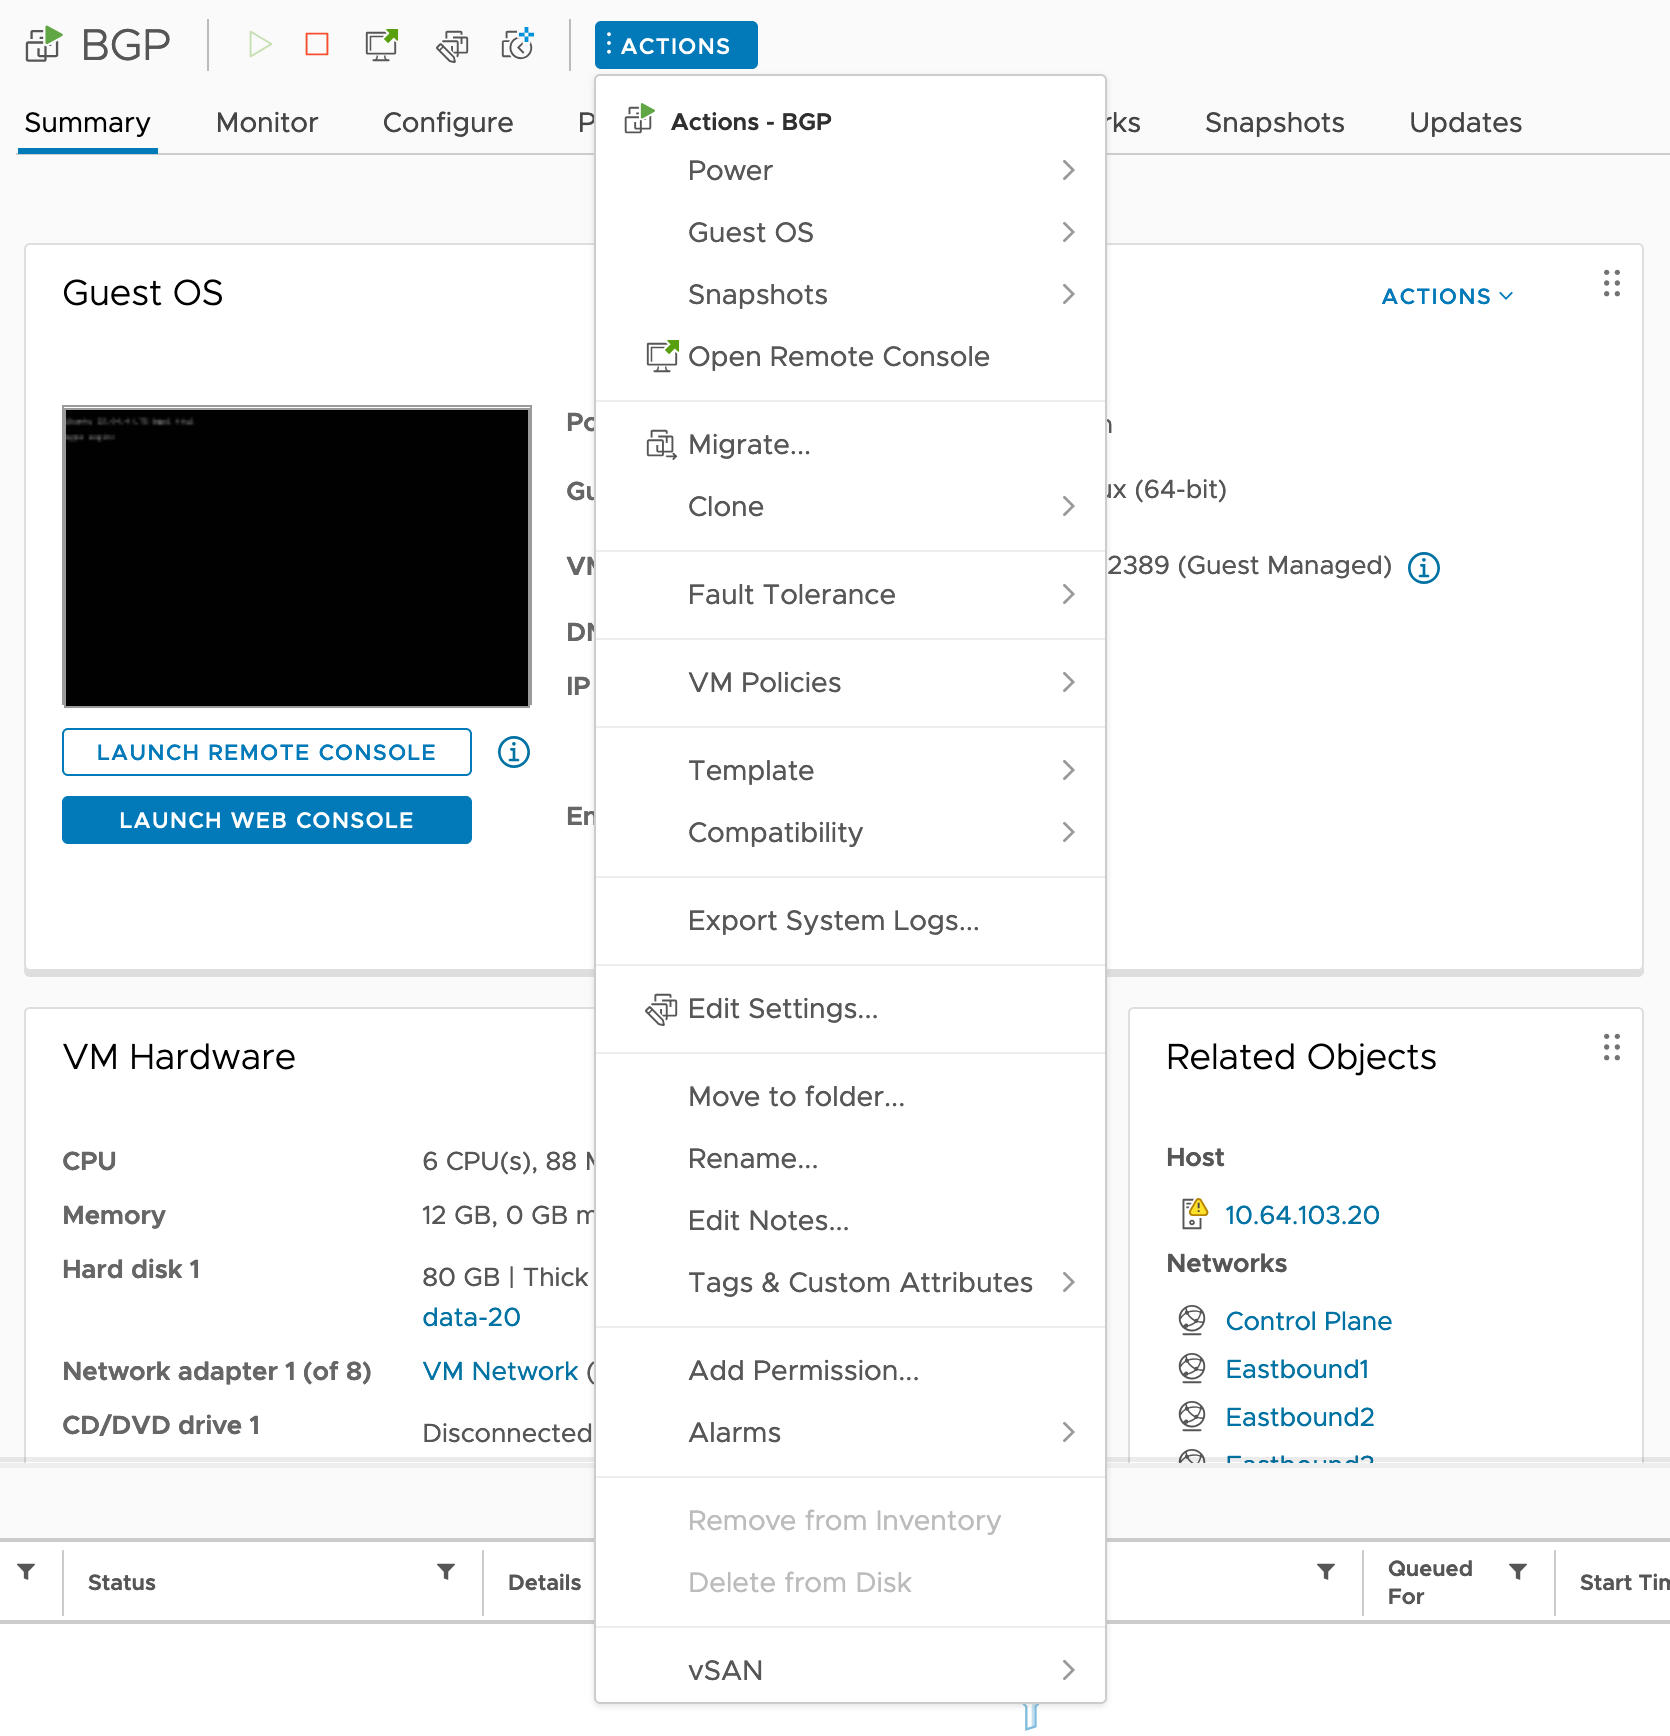
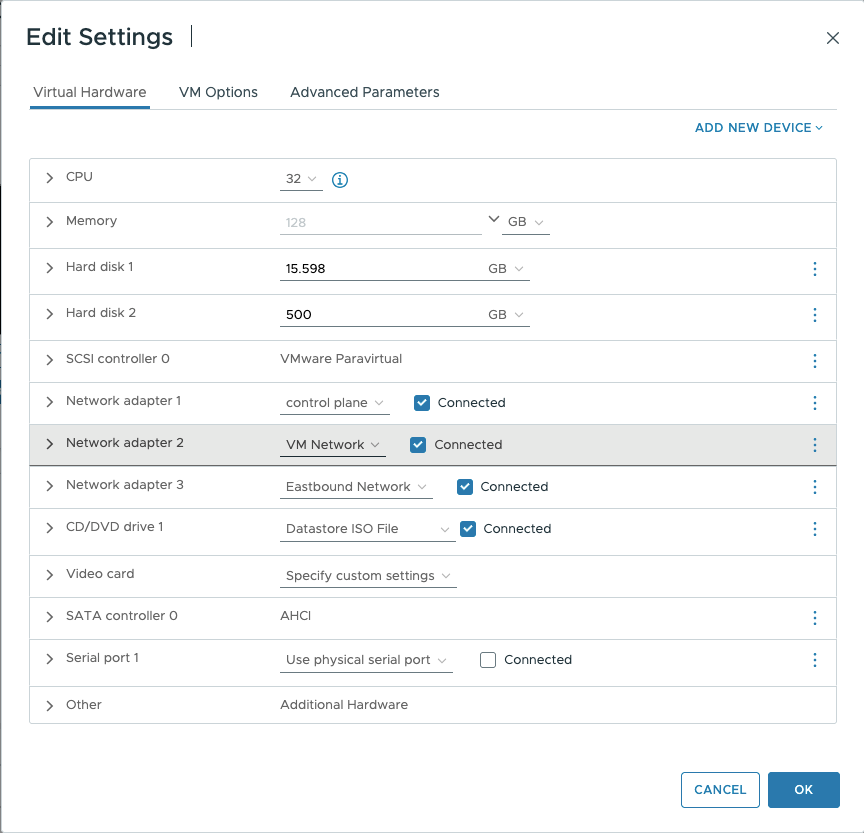
Network Configuration: Before installing Cisco Optical Network Controller, create the required networks.
-
Control Plane network: The control plane network helps in the internal communication between the deployed VMs within a cluster.
-
VM network or Northbound network: The VM network is used for communication between the user and the cluster. It handles all the traffic to and from the VMs running on your ESXi hosts.
This network is your public network through which the UI is hosted. Cisco Optical Network Controller uses this network to connect to Cisco Optical Site Manager devices using Netconf/gRPC.
-
Eastbound network: The Eastbound network helps in the internal communication between the deployed VMs within a supercluster. The active and standby nodes use this network to synchronize their databases. The Postgres database is replicated across both active and standby nodes. MinIO is also replicated on the arbitrator.
Note
Bandwidth requirement: The Eastbound network should provide 1 Gbps (1,000 Mbps) bandwidth and maintain latency below 100 ms (milliseconds).
You can configure the Eastbound network to be a flat Layer 2 network or an L2VPN, where the Eastbound IP addresses of all nodes are in the same subnet. If your Eastbound IPs are in different subnets, you must configure static routing between your nodes for the eastbound network.
-
BGP Router Configuration: Obtain the BGP router IP, Router autonomous system number, and BGP password from network administrators for configuration.
-
VMware Setup: Ensure that the vCenter has the required networks configured and attached correctly. Verify that physical adapters are correctly mapped for Northbound and Eastbound networks.
-
Access and Permissions: Ensure you have the necessary permissions to execute commands and modify network settings on the nodes.
-
Verify a system pack image package before use. Each package contains all required files for verification. For detailed steps, see Verify a signed qcow2 or system pack image.
-
Identify and record the active, standby, and arbitrator nodes using the sedo supercluster status command. Verify the following in the command output:
- Mode is
Running.
- Current Active identifies the active node.
- Standby Clusters identifies the standby node.
- Peers identifies the arbitrator node.
- Last Peer Error and Server Error are empty.
- DB Replication is
streaming.
-
Run the sedo system status command and confirm that all services required for the deployment are running.
For more details about creating networks, see Installation Requirements.
Follow these steps to upload the system pack for a standalone or high-availability deployment.
Procedure
-
Perform any of these tasks based on the standalone or Geo HA setup.
- For standalone deployment, log in to the standalone node using the private key.
- For Geo-redundant deployment, log in to the active node using the private key.
Example:
ssh -i <private-key_file> nxf@<node_ip>
-
Download or copy the system pack system-pack-file.tar.gz to the NxF SA system running 25.1.1 and place it in the /tmp directory using curl or scp.
Example:
scp user@remote_server:/path/to/system-pack-file.tar.gz /tmp/
curl -o /tmp/system-pack-file.tar.gz http://example.com/path/to/system-pack-file.tar.gz
-
Check the system pack status using the sedo system upgrade list command.
Example:
sedo system upgrade list
-
Follow these steps to upload system pack for standalone or Geo HA deployment.
|
For standalone
|
For Geo HA
|
|
Upload the system pack using the sedo system upgrade upload command.
sedo system upgrade upload /tmp/system-pack-file.tar.gz
|
-
Upload the system pack to the active node using the sedo system upgrade upload command.
sedo system upgrade upload /tmp/system-pack-file.tar.gz
-
Pull the system pack first to the standby node and then to the arbitrator node using the sedo system upgrade pull command.
sedo system upgrade pull /tmp/system-pack-file.tar.gz
-
On each node, run the sedo system upgrade list command and verify that the uploaded system pack appears in the output.
sedo system upgrade list
┌────────────────────────────────────────────────────┬─────────────────────────────────────┬─────────┐
│ NAME                                               │ UPLOAD DATE                         │ SIZE    │
├────────────────────────────────────────────────────┼─────────────────────────────────────┼─────────┤
│ CONC-26.4.1-syspack-develop-10.08.2026-17.tar.gz   │ 2026-08-11 11:02:01.696 +0000 UTC  │ 4.149GB │
└────────────────────────────────────────────────────┴─────────────────────────────────────┴─────────┘
|
-
Apply the system pack using the sedo system upgrade apply command.
Example:
sedo system upgrade apply /tmp/system-pack-file.tar.gz
|
For standalone
|
For Geo HA
|
|
Apply the system pack using the sedo system upgrade apply command.
sedo system upgrade apply /tmp/system-pack-file.tar.gz
|
-
Apply the system pack on the active node using the sedo system upgrade apply command.
sedo system upgrade apply /tmp/system-pack-file.tar.gz
When prompted, confirm the upgrade and reboot. Wait for the node to restart and verify that the system is online and all required services are running before continuing.
-
Repeat the above step on the standby node and then on the arbitrator node.
After upgrading each node, wait until the node is online and all required services are running before proceeding to the next node.
|
The upgrade process takes approximately 30 minutes to complete.
-
Reboot the system using the reboot command.
-
After the system reboots, verify the NxF version and system status by using the sedo version and sedo system status commands.
Example:
sedo version
┌──────────────────────────────────────────────────────────────────────────────────────────┐
│ Installer: 24.3.2                │
├──────────────┬──────────────────────────────────────────────────────────┬────────────────┤
│ NODE NAME    │ OS VERSION                   │ KERNEL VERSION │
├──────────────┼──────────────────────────────────────────────────────────┼────────────────┤
│ node1-c1-sc2 │ NxFOS 3.2-555 (93358ad257a6cf1e3da439144e3d2e8343b53008) │ 6.1.0-31-amd64 │
└──────────────┴──────────────────────────────────────────────────────────┴────────────────┘
┌────────────────────────────────────────────────────────────────────────────┬───────────────────────────────────────────────────┬──────────────┐
│ IMAGE NAME         │ VERSION               │ NODES        │
├────────────────────────────────────────────────────────────────────────────┼───────────────────────────────────────────────────┼──────────────┤
│ docker.io/rancher/local-path-provisioner       │ v0.0.30               │ node1-c1-sc2 │
│ dockerhub.cisco.com/cisco-onc-docker/dev/monitoring                        │ dev_latest            │ node1-c1-sc2 │
│ quay.io/coreos/etcd│ v3.5.15               │ node1-c1-sc2 │
│ registry.nxf-system.svc:8443/cisco-onc-docker/dev/alarmservice             │ 24.3.2-5              │ node1-c1-sc2 │
│ registry.nxf-system.svc:8443/cisco-onc-docker/dev/circuit-service          │ 24.3.2-5              │ node1-c1-sc2 │
│ registry.nxf-system.svc:8443/cisco-onc-docker/dev/collector-service        │ 24.3.2-5              │ node1-c1-sc2 │
│ registry.nxf-system.svc:8443/cisco-onc-docker/dev/config-service           │ 24.3.2-5              │ node1-c1-sc2 │
│ registry.nxf-system.svc:8443/cisco-onc-docker/dev/devicemanager-service    │ 24.3.2-5              │ node1-c1-sc2 │
│ registry.nxf-system.svc:8443/cisco-onc-docker/dev/inventory-service        │ 24.3.2-5              │ node1-c1-sc2 │
│ registry.nxf-system.svc:8443/cisco-onc-docker/dev/monitoring               │ 24.3.2-5              │ node1-c1-sc2 │
│ registry.nxf-system.svc:8443/cisco-onc-docker/dev/nbi-service              │ 24.3.2-5              │ node1-c1-sc2 │
│ registry.nxf-system.svc:8443/cisco-onc-docker/dev/netconfcollector-service │ 24.3.2-5              │ node1-c1-sc2 │
│ registry.nxf-system.svc:8443/cisco-onc-docker/dev/onc-apps-ui-service      │ 24.3.2-5              │ node1-c1-sc2 │
│ registry.nxf-system.svc:8443/cisco-onc-docker/dev/onc-kafkarecap-service   │ 0.1.PR93-26c53efb0cf6ebc1f0c4a2aa226a0ab3751b9101 │ node1-c1-sc2 │
│ registry.nxf-system.svc:8443/cisco-onc-docker/dev/osapi-gw-service         │ 24.3.2-5              │ node1-c1-sc2 │
│ registry.nxf-system.svc:8443/cisco-onc-docker/dev/pce_service              │ 24.3.2-5              │ node1-c1-sc2 │
│ registry.nxf-system.svc:8443/cisco-onc-docker/dev/pm-service               │ 24.3.2-5              │ node1-c1-sc2 │
│ registry.nxf-system.svc:8443/cisco-onc-docker/dev/pmcollector-service      │ 24.3.2-5              │ node1-c1-sc2 │
│ registry.nxf-system.svc:8443/cisco-onc-docker/dev/topology-service         │ 24.3.2-5              │ node1-c1-sc2 │
│ registry.nxf-system.svc:8443/cisco-onc-docker/dev/torch                    │ 24.3.2-5              │ node1-c1-sc2 │
│ registry.sedona.ciscolabs.com/nxf/authenticator│ 3.2-508               │ node1-c1-sc2 │
│ registry.sedona.ciscolabs.com/nxf/bgp          │ 3.2-505               │ node1-c1-sc2 │
│ registry.sedona.ciscolabs.com/nxf/controller   │ 3.2-533               │ node1-c1-sc2 │
│ registry.sedona.ciscolabs.com/nxf/firewalld    │ 3.2-505               │ node1-c1-sc2 │
│ registry.sedona.ciscolabs.com/nxf/flannel      │ 3.2-505               │ node1-c1-sc2 │
│ registry.sedona.ciscolabs.com/nxf/ingress-proxy│ 3.2-508               │ node1-c1-sc2 │
│ registry.sedona.ciscolabs.com/nxf/kafka        │ 3.2-505               │ node1-c1-sc2 │
│ registry.sedona.ciscolabs.com/nxf/kubernetes   │ 3.2-505               │ node1-c1-sc2 │
│ registry.sedona.ciscolabs.com/nxf/loki         │ 3.2-505               │ node1-c1-sc2 │
│ registry.sedona.ciscolabs.com/nxf/metrics-exporter                         │ 3.2-505               │ node1-c1-sc2 │
│ registry.sedona.ciscolabs.com/nxf/minio        │ 3.2-505               │ node1-c1-sc2 │
│ registry.sedona.ciscolabs.com/nxf/service-proxy│ 3.2-508               │ node1-c1-sc2 │
│ registry.sedona.ciscolabs.com/nxf/timescale    │ 3.2-515               │ node1-c1-sc2 │
│ registry.sedona.ciscolabs.com/nxf/timescale    │ 3.2-514               │ node1-c1-sc2 │
└────────────────────────────────────────────────────────────────────────────┴───────────────────────────────────────────────────┴──────────────┘
sedo system status
┌───────────────────────────────────────────────────────────────────────────────────┐
│ System Status (Fri, 20 Sep 2024 08:21:27 UTC)         │
├────────┬──────────────────────────────┬───────┬─────────┬──────────┬──────────────┤
│ OWNER  │ NAME                         │ NODE  │ STATUS  │ RESTARTS │ STARTED      │
├────────┼──────────────────────────────┼───────┼─────────┼──────────┼──────────────┤
│ onc    │ monitoring                   │ node1 │ Running │ 0        │ 3 hours ago  │
│ onc    │ onc-alarm-service            │ node1 │ Running │ 0        │ 3 hours ago  │
│ onc    │ onc-apps-ui-service          │ node1 │ Running │ 0        │ 3 hours ago  │
│ onc    │ onc-circuit-service          │ node1 │ Running │ 0        │ 3 hours ago  │
│ onc    │ onc-collector-service        │ node1 │ Running │ 0        │ 3 hours ago  │
│ onc    │ onc-config-service           │ node1 │ Running │ 0        │ 3 hours ago  │
│ onc    │ onc-devicemanager-service    │ node1 │ Running │ 0        │ 3 hours ago  │
│ onc    │ onc-inventory-service        │ node1 │ Running │ 0        │ 3 hours ago  │
│ onc    │ onc-nbi-service              │ node1 │ Running │ 0        │ 3 hours ago  │
│ onc    │ onc-netconfcollector-service │ node1 │ Running │ 0        │ 3 hours ago  │
│ onc    │ onc-osapi-gw-service         │ node1 │ Running │ 0        │ 3 hours ago  │
│ onc    │ onc-pce-service              │ node1 │ Running │ 0        │ 3 hours ago  │
│ onc    │ onc-pm-service               │ node1 │ Running │ 0        │ 3 hours ago  │
│ onc    │ onc-pmcollector-service      │ node1 │ Running │ 0        │ 3 hours ago  │
│ onc    │ onc-topology-service         │ node1 │ Running │ 0        │ 3 hours ago  │
│ onc    │ onc-torch-service            │ node1 │ Running │ 0        │ 3 hours ago  │
│ system │ authenticator                │ node1 │ Running │ 0        │ 12 hours ago │
│ system │ controller                   │ node1 │ Running │ 0        │ 12 hours ago │
│ system │ flannel                      │ node1 │ Running │ 0        │ 12 hours ago │
│ system │ ingress-proxy                │ node1 │ Running │ 0        │ 12 hours ago │
│ system │ kafka                        │ node1 │ Running │ 0        │ 12 hours ago │
│ system │ loki                         │ node1 │ Running │ 0        │ 12 hours ago │
│ system │ metrics                      │ node1 │ Running │ 0        │ 12 hours ago │
│ system │ minio                        │ node1 │ Running │ 0        │ 12 hours ago │
│ system │ postgres                     │ node1 │ Running │ 0        │ 12 hours ago │
│ system │ promtail-cltmk               │ node1 │ Running │ 0        │ 12 hours ago │
│ system │ vip-add                      │ node1 │ Running │ 0        │ 12 hours ago │
└────────┴──────────────────────────────┴───────┴─────────┴──────────┴──────────────┘
-
Verify onboarded sites and services by accessing the Cisco Optical Network Controller UI.
Example:
Use a web browser to open https://<virtual ip>:8443/ and access the Cisco Optical Network Controller Web UI.
-
Use the sedo supercluster status to verify the supercluster status.