-
Cisco MDS 9000 Family Fabric Manager Configuration Guide, Release 3.4(1a)
-
Index
-
New and Changed Information
-
Preface
- Getting Started
- Installation and Switch Management
- Switch Configuration
-
Fabric Configuration
-
Configuring and Managing VSANs
-
SAN Device Virtualization
-
Creating Dynamic VSANs
-
Configuring Inter-VSAN Routing
-
Configuring and Managing Zones
-
Distributing Device Alias Services
-
Configuring Fibre Channel Routing Services and Protocols
-
Dense Wavelength Division Multiplexing
-
Managing FLOGI, Name Server, FDMI, and RSCN Databases
-
Discovering SCSI Targets
-
Configuring FICON
-
Advanced Features and Concepts
-
-
Security
-
Configuring FIPS
-
Configuring Users and Common Roles
-
Configuring SNMP
-
Configuring RADIUS and TACACS+
-
Configuring IPv4 Access Control Lists
-
Configuring Certificate Authorities and Digital Certificates
-
Configuring IPsec Network Security
-
Configuring FC-SP and DHCHAP
-
Configuring Port Security
-
Configuring Fabric Binding
-
- IP Services
- Intelligent Storage Services
- Network and Switch Monitoring
- Traffic Management
- Troubleshooting
-
Launching Fabric Manager in Cisco SAN-OS Releases Prior to 3.2(1)
-
Cisco Fabric Manager Unsupported Feature List
-
Interface Nonoperational Reason Codes
-
Managing Cisco FabricWare
-
Configuration Limits for Cisco MDS SAN-OS Release 3.1(x) and 3.2(x)
-
 Feedback
Table Of Contents
Configuring Certificate Authorities and Digital Certificates
About CAs and Digital Certificates
Purpose of CAs and Digital Certificates
Trust Model, Trust Points, and Identity CAs
RSA Key-Pairs and Identity Certificates
Manual Enrollment Using Cut-and-Paste Method
Multiple RSA Key-Pair and Identity CA Support
CRL Downloading, Caching, and Checking Support
Import and Export Support for Certificates and Associated Key Pairs
Configuring CAs and Digital Certificates
Configuring the Host Name and IP Domain Name
Creating a Trust Point CA Association
Configuring Certificate Revocation Checking Methods
Generating Certificate Requests
Installing Identity Certificates
Ensuring Trust Point Configurations Persist Across Reboots
Monitoring and Maintaining CA and Certificates Configuration
Exporting and Importing Identity Information in PKCS#12 Format
Deleting Certificates from the CA Configuration
Deleting RSA Key-Pairs from Your Switch
Configuring Certificates on the MDS Switch
Requesting an Identity Certificate
Generating and Publishing the CRL
Configuring Certificate Authorities and Digital Certificates
Public Key Infrastructure (PKI) support provides the means for the Cisco MDS 9000 Family switches to obtain and use digital certificates for secure communication in the network. PKI support provides manageability and scalability for IPsec/IKE and SSH.
This chapter includes the following sections:
•
About CAs and Digital Certificates
•
About CAs and Digital Certificates
This section provides information about certificate authorities (CAs) and digital certificates, and includes the following topics:
•
•
•
•
•
•
•
•
Purpose of CAs and Digital Certificates
CAs manage certificate requests and issue certificates to participating entities such as hosts, network devices, or users. The CAs provide centralized key management for the participating entities.
Digital signatures, based on public key cryptography, digitally authenticate devices and individual users. In public key cryptography, such as the RSA encryption system, each device or user has a key-pair containing both a private key and a public key. The private key is kept secret and is known only to the owning device or user only. However, the public key is known to everybody. The keys act as complements. Anything encrypted with one of the keys can be decrypted with the other. A signature is formed when data is encrypted with a sender's private key. The receiver verifies the signature by decrypting the message with the sender's public key. This process relies on the receiver having a copy of the sender's public key and knowing with a high degree of certainty that it really does belong to the sender and not to someone pretending to be the sender.
Digital certificates link the digital signature to the sender. A digital certificate contains information to identify a user or device, such as the name, serial number, company, department, or IP address. It also contains a copy of the entity's public key. The certificate is itself signed by a CA, a third party that is explicitly trusted by the receiver to validate identities and to create digital certificates.
To validate the signature of the CA, the receiver must first know the CA's public key. Normally this process is handled out-of-band or through an operation done at installation. For instance, most web browsers are configured with the public keys of several CAs by default. The Internet Key Exchange (IKE), an essential component of IPsec, can use digital signatures to scalably authenticate peer devices before setting up security associations.
Trust Model, Trust Points, and Identity CAs
The trust model used in PKI support is hierarchical with multiple configurable trusted CAs. Each participating entity is configured with a list of CAs to be trusted so that the peer's certificate obtained during the security protocol exchanges can be verified, provided it has been issued by one of the locally trusted CAs. To accomplish this, CA's self signed root certificate (or certificate chain for a subordinate CA) is locally stored. The process of securely obtaining a trusted CA's root certificate (or the entire chain in the case of a subordinate CA) and storing it locally is called CA authentication and is a mandatory step in trusting a CA.
The information about a trusted CA that is locally configured is called the trust point and the CA itself is called a trust point CA. This information consists of CA certificate (or certificate chain in case of a subordinate CA) and the certificate revocation checking information.
The MDS switch can also enroll with a trust point to obtain an identity certificate (for example, for IPsec/IKE). This trust point is called an identity CA.
RSA Key-Pairs and Identity Certificates
You can generate one or more RSA key-pairs and associate each RSA key-pair with a trust point CA where the MDS switch intends to enroll to obtain an identity certificate. The MDS switch needs only one identity per CA, which consists of one key-pair and one identity certificate per CA.
Cisco MDS SAN-OS allows you to generate RSA key-pairs with a configurable key size (or modulus). The default key size is 512. You can also configure an RSA key-pair label. The default key label is the switch fully qualified domain name (FQDN).
The following list summarizes the relationship between trust points, RSA key-pairs, and identity certificates:
•
•
•
•
•
•
•
•
•
•
Multiple Trusted CA Support
An MDS switch can be configured to trust multiple CAs by configuring multiple trust points and associating each with a distinct CA. With multiple trusted CAs, you do not have to enroll a switch with the specific CA that issued a certificate to a peer. Instead, you configure the switch with multiple trusted CAs that the peer trusts. A switch can then use a configured trusted CA to verify certificates offered by a peer that were not issued by the same CA defined in the identity of the switch.
Configuring multiple trusted CAs allows two or more switches enrolled under different domains (different CAs) to verify the identity of each other when using IKE to set up IPsec tunnels.
PKI Enrollment Support
Enrollment is the process of obtaining an identity certificate for the switch that is used for applications like IPsec/IKE or SSH. It occurs between the switch requesting the certificate and the certificate authority.
The PKI enrollment process for a switch involves the following steps:
1.
2.
3.
4.
5.
Manual Enrollment Using Cut-and-Paste Method
Cisco MDS SAN-OS supports certificate retrieval and enrollment using a manual cut-and-paste method. Cut-and-paste enrollment literally means you must cut and paste the certificate requests and resulting certificates between the switch and the CA, as follows:
1.
2.
3.
4.
Note
Multiple RSA Key-Pair and Identity CA Support
Multiple identity CA support enables the switch to enroll with more than one trust point. This results in multiple identity certificates; each from a distinct CA. This allows the switch to participate in IPsec and other applications with many peers using certificates issued by appropriate CAs that are acceptable to those peers.
The multiple RSA key-pair support feature allows the switch to maintain a distinct key pair for each CA with which it is enrolled. Thus, it can match policy requirements for each CA without conflicting the requirements specified by the other CAs, such as key length. The switch can generate multiple RSA key-pairs and associate each key-pair with a distinct trust point. Thereafter, when enrolling with a trust point, the associated key-pair is used to construct the certificate request.
Peer Certificate Verification
The PKI support on an MDS switch provides the means to verify peer certificates. The switch verifies certificates presented by peers during security exchanges pertaining to applications, such as IPsec/IKE and SSH. The applications verify the validity of the peer certificates presented to them. The peer certificate verification process involves the following steps:
•
•
•
For revocation checking, two methods are supported: certificate revocation list (CRL) and Online Certificate Status Protocol (OCSP). A trust point uses one or both of these methods to verify that the peer certificate has not been revoked.
CRL Downloading, Caching, and Checking Support
Certificate revocation lists (CRLs) are maintained by CAs to give information of prematurely revoked certificates, and the CRLs are published in a repository. The download URL is made public and also specified in all issued certificates. A client verifying a peer's certificate should obtain the latest CRL from the issuing CA and use it to determine if the certificate has been revoked. A client can cache the CRLs of some or all of its trusted CAs locally and use them later if necessary until the CRLs expire.
Cisco MDS SAN-OS allows the manual configuration of pre-downloaded of CRLs for the trust points, and then caches them in the switch bootflash (cert-store). During the verification of a peer certificate by IPsec or SSH, the issuing CA's CRL is consulted only if the CRL has already been cached locally and the revocation checking is configured to use CRL. Otherwise, CRL checking is not performed and the certificate is considered to be not revoked if no other revocation checking methods are configured. This mode of CRL checking is called CRL optional.
OCSP Support
Online Certificate Status Protocol (OCSP) facilitates online certificate revocation checking. You can specify an OCSP URL for each trust point. Applications choose the revocation checking mechanisms in a specified order. The choices are CRL, OCSP, none, or a combination of these methods.
Import and Export Support for Certificates and Associated Key Pairs
As part of the CA authentication and enrollment process, the subordinate CA certificate (or certificate chain) and identity certificates can be imported in standard PEM (base64) format.
The complete identity information in a trust point can be exported to a file in the password-protected PKCS#12 standard format. It can be later imported to the same switch (for example, after a system crash) or to a replacement switch. The information in a PKCS#12 file consists of the RSA key-pair, the identity certificate, and the CA certificate (or chain).
Configuring CAs and Digital Certificates
This section describes the tasks you must perform to allow CAs and digital certificates your Cisco MDS switch device to interoperate. This section includes the following sections:
•
•
•
•
•
•
•
Configuring the Host Name and IP Domain Name
You must configure the host name and IP domain name of the switch if they are not already configured. This is required because switch FQDN is used as the subject in the identity certificate. Also, the switch FQDN is used as a default key label when none is specified during key-pair generation. For example, a certificate named SwitchA.example.com is based on a switch host name of SwitchA and a switch IP domain name of example.com.
Caution
To configure the host name and IP domain name, refer to the Cisco MDS 9000 SAN-OS CLI Configuration Guide.
Generating an RSA Key-Pair
RSA key-pairs are used to sign and/or encrypt and decrypt the security payload during security protocol exchanges for applications such as IKE/IPsec and SSH, and they are required before you can obtain a certificate for your switch.
To generate an RSA key-pair using Fabric Manager, follow these steps:
Step 1
Step 2
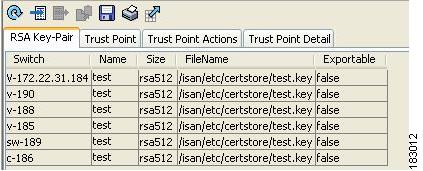
You see the information shown in Figure 34-1.
Figure 34-1 PKI RSA Key-Pair Information
Step 3
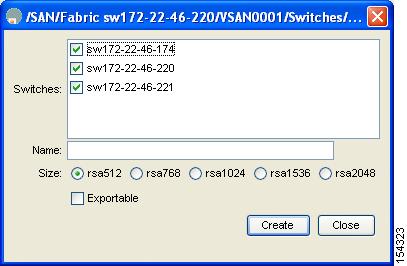
You see the Create RSA Key-Pair dialog box shown in Figure 34-2.
Figure 34-2 Create RSA Key-Pair Dialog Box
Step 4
Step 5
Step 6
Note
Note
Step 7
Caution
Note
Step 8
Creating a Trust Point CA Association
To create a trust point CA association using Fabric Manager, follow these steps:
Step 1
Step 2
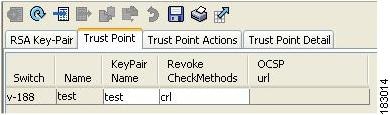
You see the information shown in Figure 34-3.
Figure 34-3 Trust Point Tab
Step 3
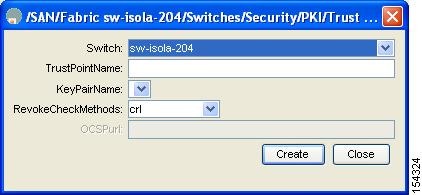
You see the Create Trust Point dialog box shown in Figure 34-4.
Figure 34-4 Create Trust Point Dialog Box
Step 4
Step 5
Step 6
Step 7
Step 8
Note
Step 9
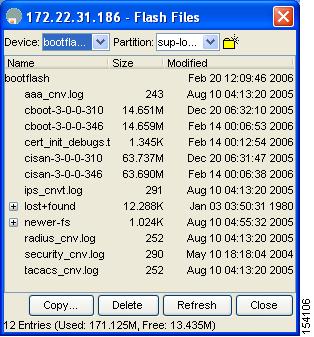
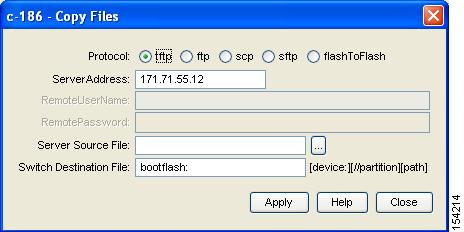
Copying Files to Bootflash
To copy files to bootflash using Device Manager, follow these steps:
Step 1
Step 2
You see a list of flash files in the dialog box shown in Figure 34-5.
Figure 34-5 Flash Files
Step 3
You see the Copy Files dialog box shown in Figure 34-6.
Figure 34-6 Copy Files Dialog Box
Step 4
Step 5
Step 6
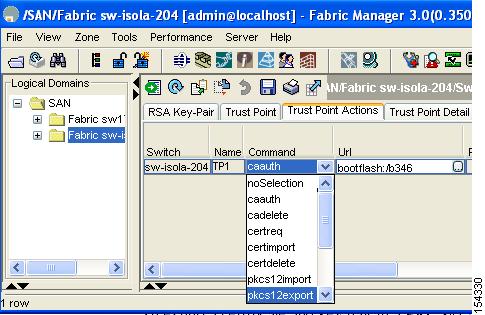
Authenticating the CA
The configuration process of trusting a CA is complete only when the CA is authenticated to the MDS switch. The switch must authenticate the CA. It does this by obtaining the self-signed certificate of the CA in PEM format, which contains the public key of the CA. Because the certificate of the CA is self-signed (the CA signs its own certificate) the public key of the CA should be manually authenticated by contacting the CA administrator to compare the fingerprint of the CA certificate.
Note
To authenticate a CA using Fabric Manager, follow these steps:
Step 1
Step 2
You see the information shown in Figure 34-7.
Figure 34-7 Trust Point Actions Tab
Step 3
Step 4
Note
Note
Step 5
Authentication is then confirmed or not confirmed depending on whether or not the certificate can be accepted after manual verification of its fingerprint.
Note
Confirming CA Authentication
As mentioned in step 5 of "Authenticating the CA" section, CA authentication is required to be followed by CA confirmation in order to accept the CA certificate based on its fingerprint verification.
To confirm CA authentication using Fabric Manager, follow these steps:
Step 1
Step 2
Step 3
If the fingerprints match exactly, accept the CA with the certconfirm command in the Command drop-down menu. Otherwise, reject the CA with the certnoconfirm command.
Step 4
If you selected certnoconfirm in step 3, click Command and select the certnoconfirm action drop-down menu. Click Apply Changes.
Configuring Certificate Revocation Checking Methods
During security exchanges with a client (for example, an IKE peer or SSH user), the MDS switch performs the certificate verification of the peer certificate sent by the client and the verification process may involve certificate revocation status checking.
You can use different methods for checking for revoked sender certificates. You can configure the switch to check the CRL downloaded from the CA (see the "Configuring a CRL" section), you can use OSCP if it is supported in your network, or both. Downloading the CRL and checking locally does not generate traffic in your network. However, certificates can be revoked between downloads and your switch would not be aware of the revocation. OCSP provides the means to check the current CRL on the CA. However, OCSP can generate network traffic that can impact network efficiency. Using both local CRL checking and OCSP provides the most secure method for checking for revoked certificates.
Note
Fabric Manager allows you to configure certificate revocation checking methods when you are creating a trust point CA. See "Creating a Trust Point CA Association" section.
Generating Certificate Requests
You must generate a request to obtain identity certificates from the associated trust point CA for each of your switch's RSA key-pairs. You must then cut and paste the displayed request into an e-mail message or in a website form for the CA.
To generate a request for signed certificates from the CA using Fabric Manager, follow these steps:
Step 1
Step 2
Figure 34-8 Trust Point Actions Tab
Step 3
Step 4
Step 5
Note
Step 6
Installing Identity Certificates
You receive the identity certificate from the CA by e-mail or through a web browser in base64 encoded text form. You must install the identity certificate from the CA by cutting and pasting the encoded text .
To install an identity certificate received from the CA using Fabric Manager, follow these steps:
Step 1
Step 2
Step 3
Note
Step 4
Step 5
If successful, the values of the identity certificate and its related objects, like the certificate file name, are automatically updated with the appropriate values as per the corresponding attributes in the identity certificate.
Saving Your Configuration
Save your work when you make configuration changes or the information is lost when you exit.
To save your configuration using Fabric Manager, follow these steps:
Step 1
Step 2
Step 3
Ensuring Trust Point Configurations Persist Across Reboots
The trust point configuration is a normal Cisco SAN-OS configuration that persists across system reboots only if you copy it explicitly to the startup configuration. The certificates, key-pairs, and CRL associated with a trust point are automatically persistent if you have already copied the trust point configuration in the startup configuration. Conversely, if the trust point configuration is not copied to the startup configuration, the certificates, key-pairs, and CRL associated with it are not persistent since they require the corresponding trust point configuration after a reboot. Always copy the running configuration to the startup configuration to ensure the that the configured certificates, key-pairs, and CRLs are persistent. Also, save the running configuration after deleting a certificate or key-pair to ensure the deletions permanent.
The certificates and CRL associated with a trust point automatically become persistent when imported (that is, without an explicitly copying to the startup configuration) if the specific trust point is already saved in startup configuration.
We also recommend that you create a password protected backup of the identity certificates nd save it to an external server (see the "Exporting and Importing Identity Information in PKCS#12 Format" section).
Note
Monitoring and Maintaining CA and Certificates Configuration
The tasks in the section are optional. This section includes the following topics:
•
•
•
Exporting and Importing Identity Information in PKCS#12 Format
You can export the identity certificate along with the RSA key-pair and CA certificate of a trust point to a PKCS#12 file for backup purposes. You can later import the certificate and RSA key-pair to recover from a system crash on your switch or when you replace the supervisor modules.
Note
To export a certificate and key pair to a PKCS#12-formatted file using Fabric Manager, follow these steps:
Step 1
Step 2
Step 3
Figure 34-9 Pkcs12export Option Exports a Key-Pair
Step 4
Step 5
Step 6
To import a certificate and key pair formatted as a PKCS#12 formatted file, follow these steps:
Step 1
Step 2
Step 3
Step 4
Step 5
Step 6
On completion the trust point is created in the RSA key-pair table corresponding to the imported key-pair. The certificate information is updated in the trust point.
Note
Configuring a CRL
To configure the CRL from a file to a trust point using Fabric Manager, follow these steps:
Step 1
Step 2
Step 3
Step 4
Step 5
Deleting Certificates from the CA Configuration
You can delete the identity certificates and CA certificates that are configured in a trust point. You must first delete the identity certificate, followed by the CA certificates. Then after deleting the identity certificate, you can disassociate the RSA key-pair from a trust point. The certificate deletion is necessary to remove expired or revoked certificates, certificates whose key-pairs are compromised (or suspected to be compromised) or CAs that are no longer trusted.
To delete the CA certificate (or the entire chain in the case of a subordinate CA) from a trust point using Fabric Manager, follow these steps:
Step 1
Step 2
Step 3
Note
Step 4
To delete the identity certificate, click the Trust Point Actions tab and select the certdelete or forcecertdelete in the Command drop-down menu.
Deleting RSA Key-Pairs from Your Switch
Under certain circumstances you may want to delete your switch's RSA key-pairs. For example, if you believe the RSA key-pairs were compromised in some way and should no longer be used, you should delete the key-pairs.
To delete RSA key-pairs from your switch, follow these steps:
Step 1
Step 2
Step 3
Step 4
Note
Example Configurations
This section shows an example of the tasks you can use to configure certificates and CRLs on the Cisco MDS 9000 Family switches using the Microsoft Windows Certificate server.
This section includes the following topics:
•
•
•
Configuring Certificates on the MDS Switch
To configure certificates on an MDS switch using Fabric Manager, follow these steps:
Step 1
Step 2
Step 3
a.
b.
c.
Step 4
a.
b.
c.
d.
e.
Step 5
Step 6
Step 7
a.
b.
c.
d.
e.
f.
g.
h.
i.
Step 8
a.
b.
c.
d.
e.
Step 9
Note
Step 10
a.
b.
c.
Note
d.
e.
If successful, the values of the identity certificate and its related objects, like the certificate file name, are automatically updated with the appropriate values as per the corresponding attributes in the identity certificate.
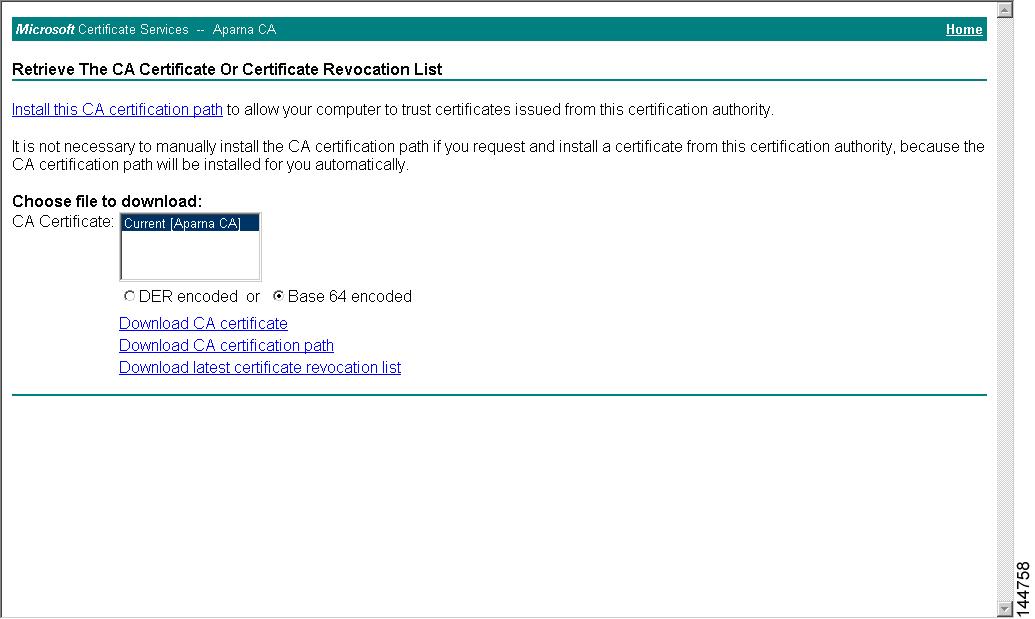
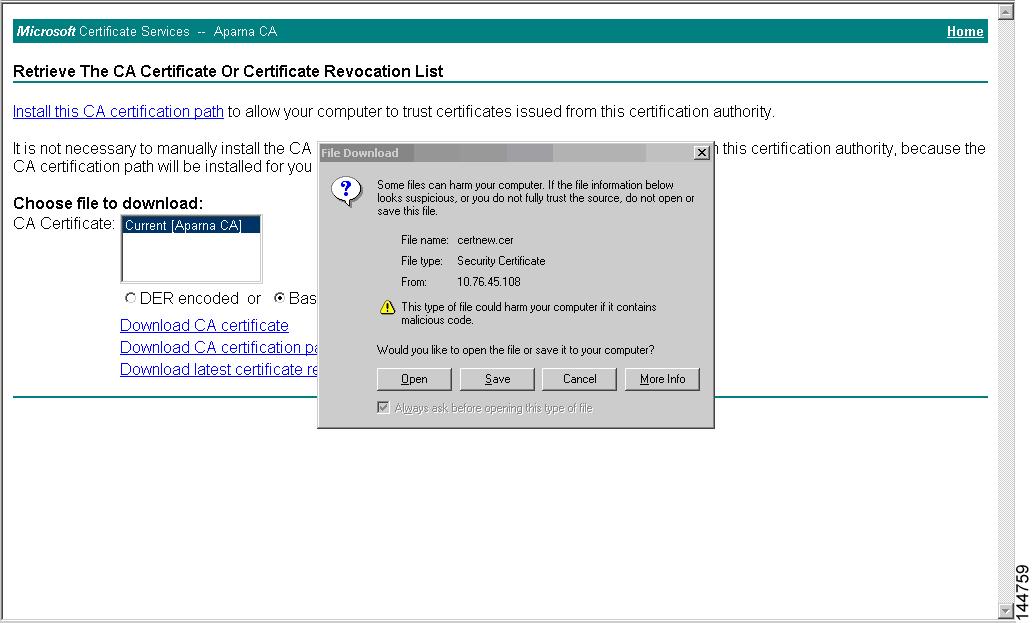
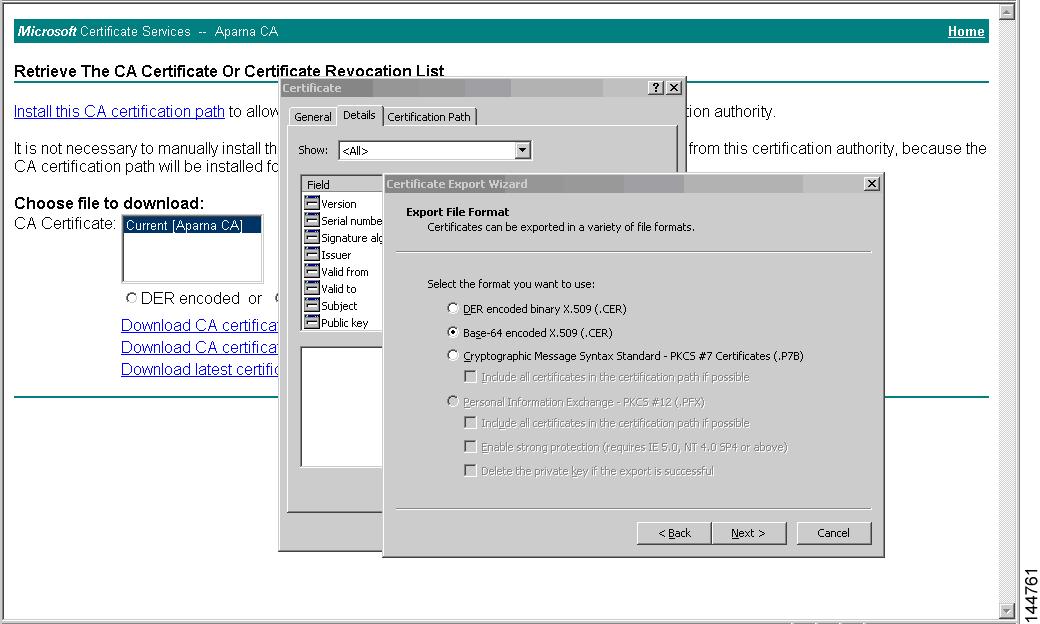
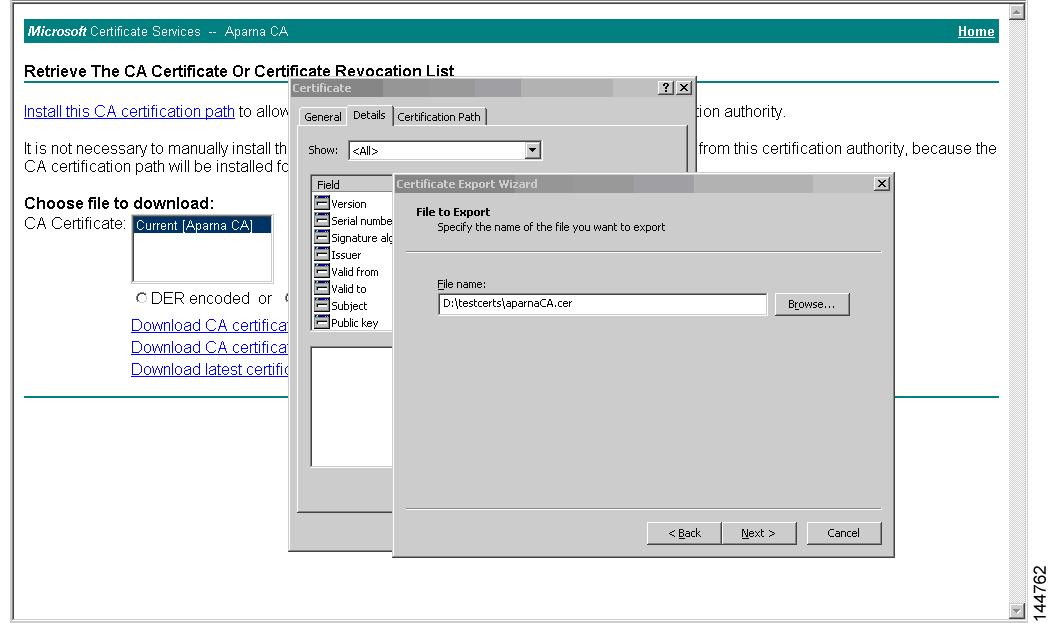
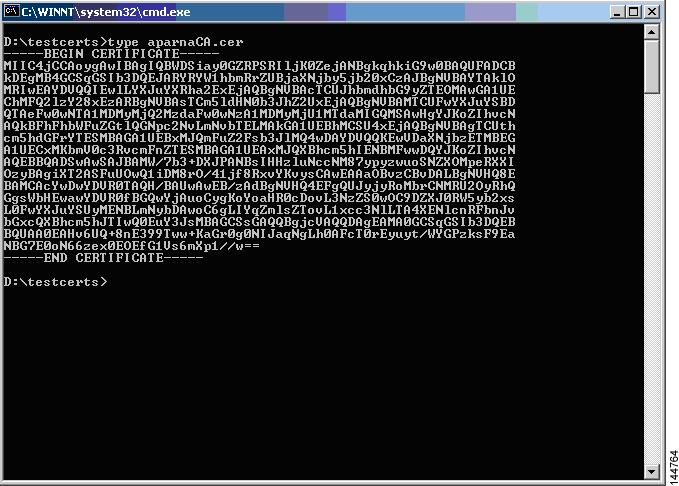
Downloading a CA Certificate
To download a CA certificate from the Microsoft Certificate Services web interface, follow these steps:
Step 1
Step 2
Step 3
Step 4
Step 5
Step 6
Step 7
Step 8
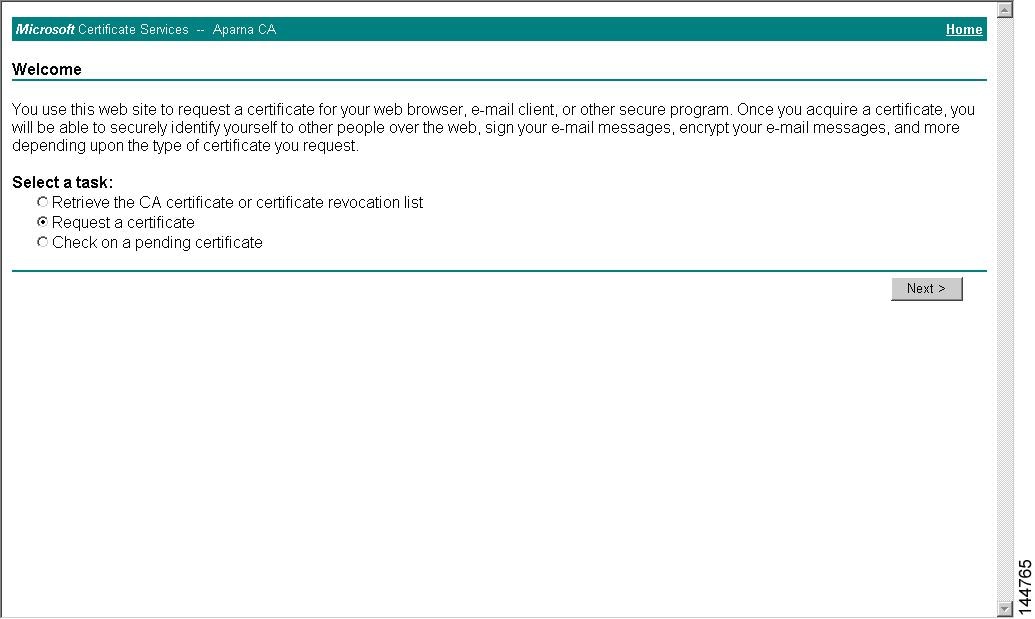
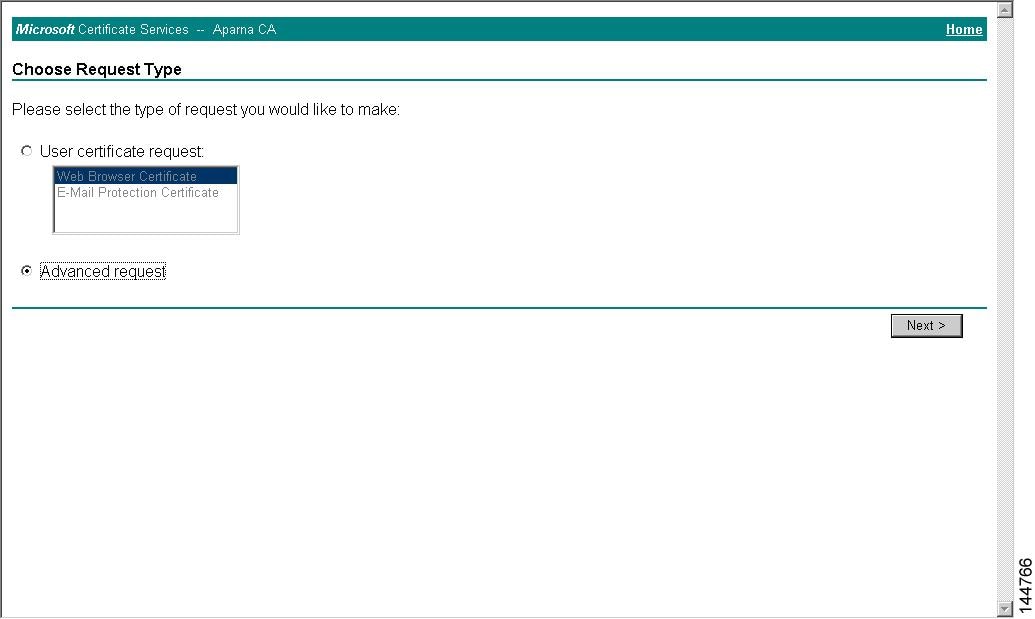
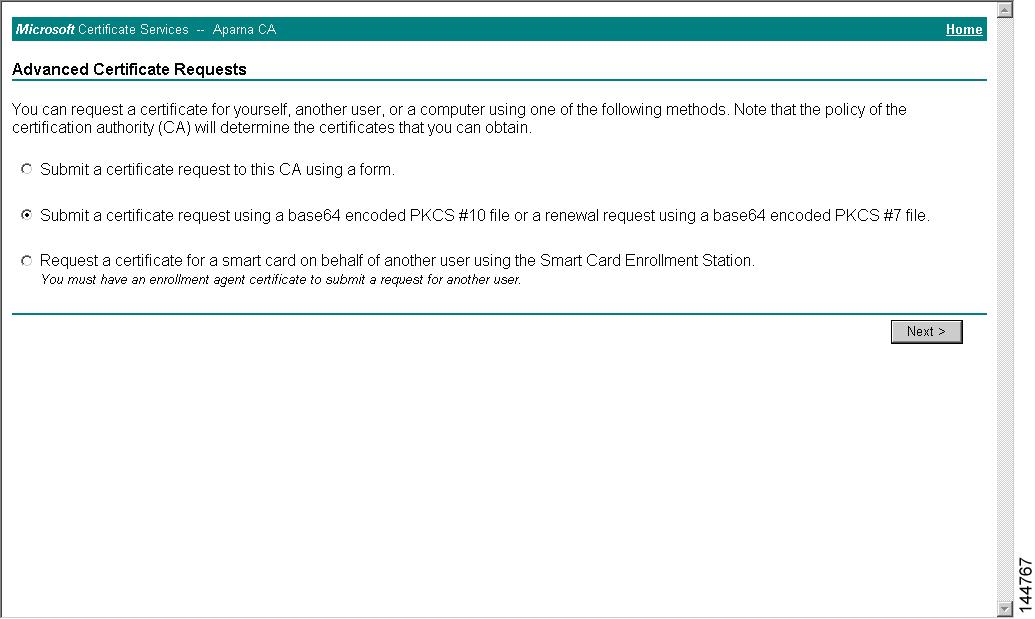
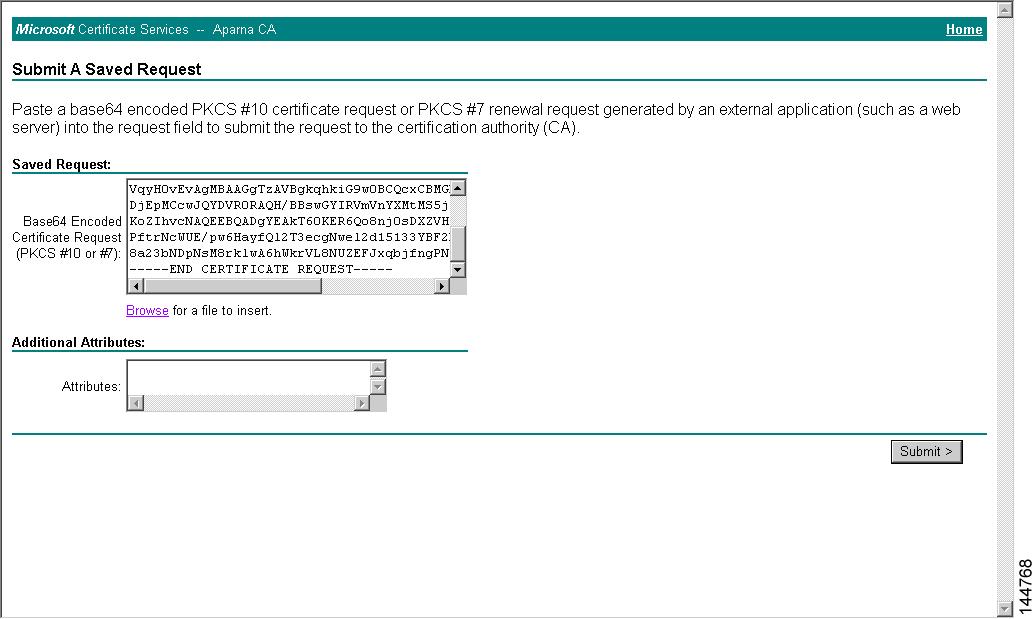
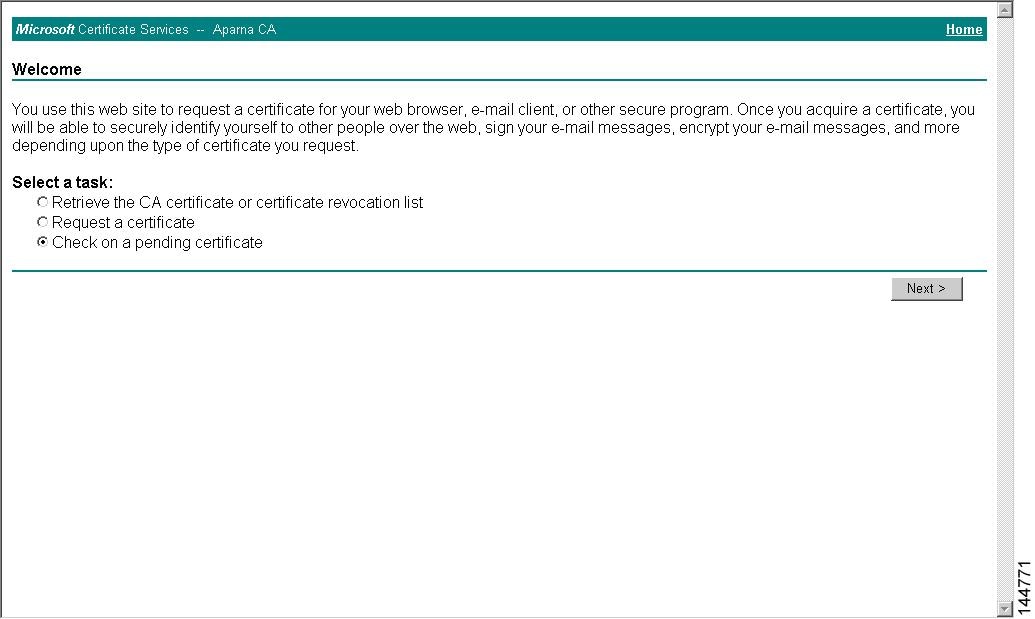
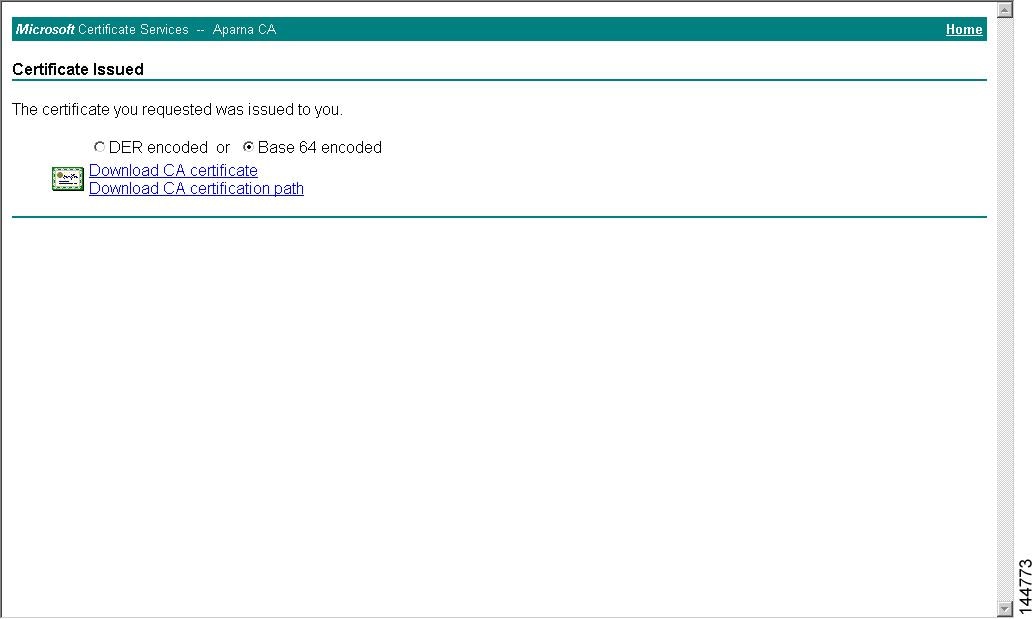
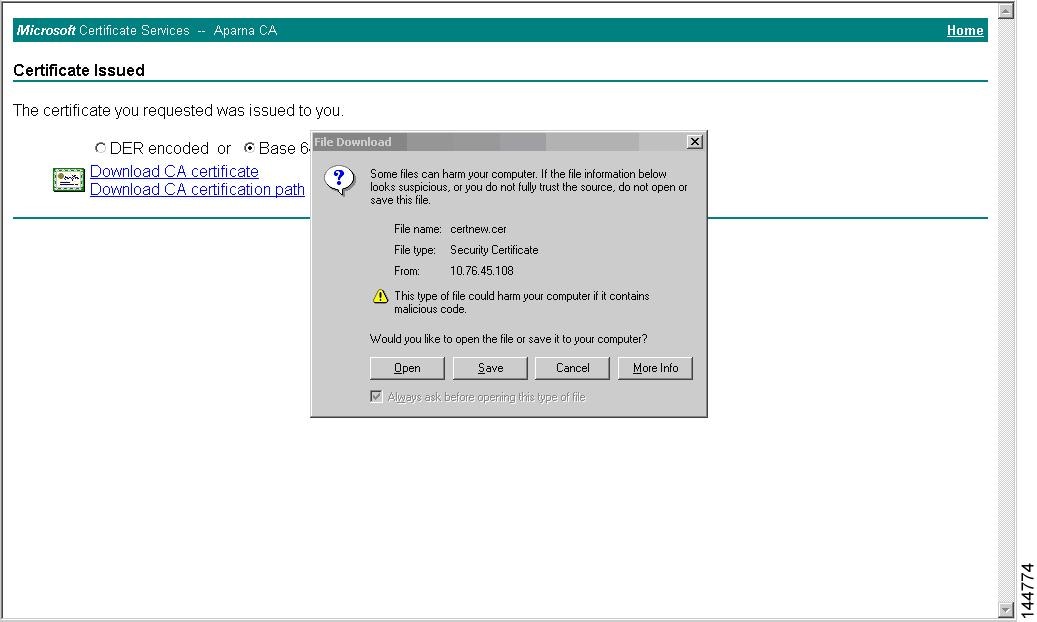
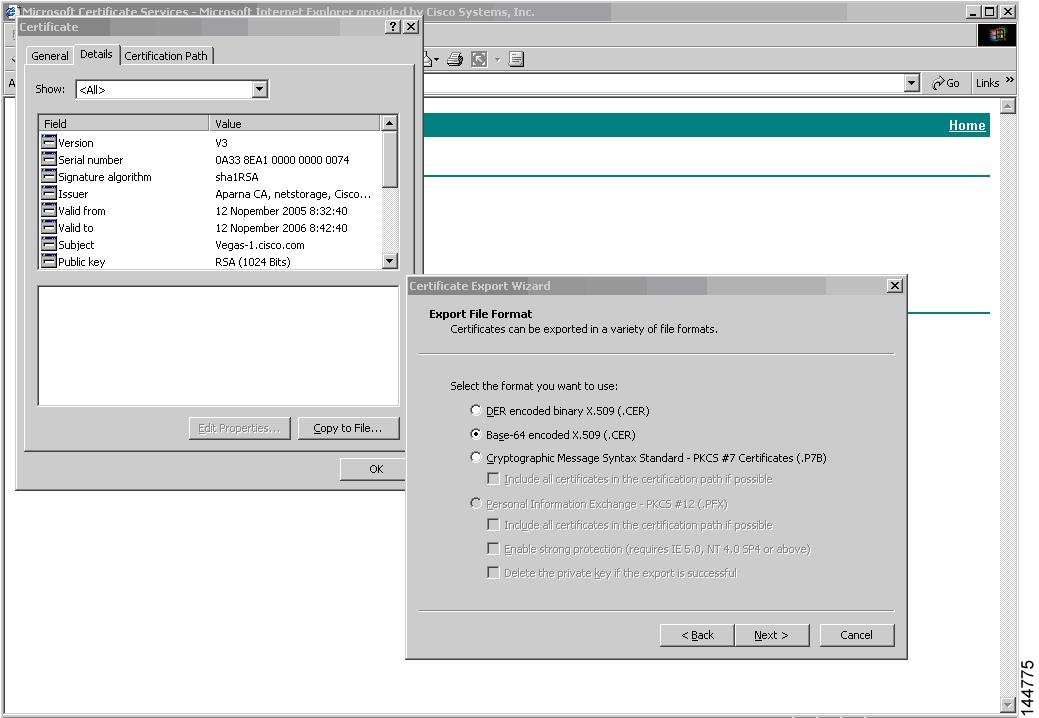
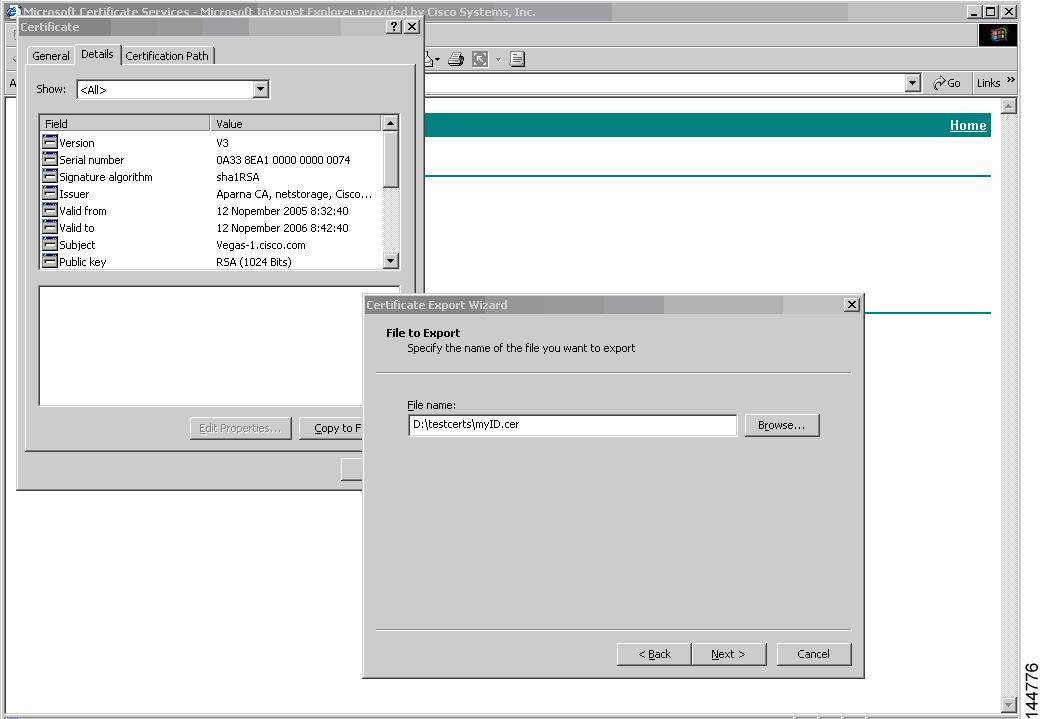
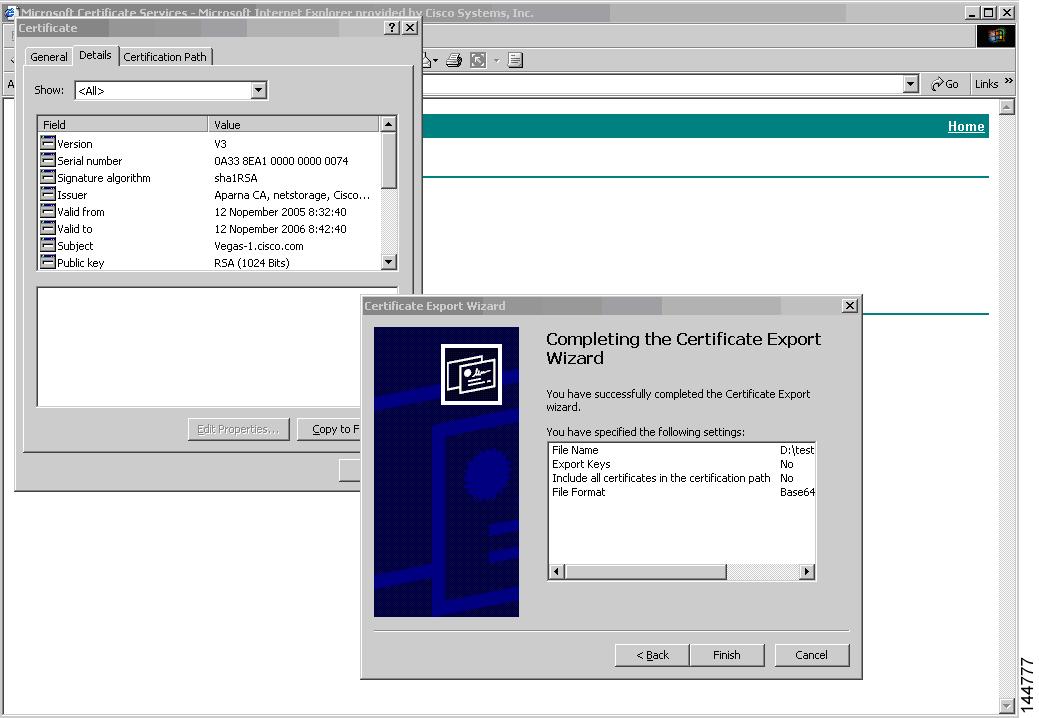
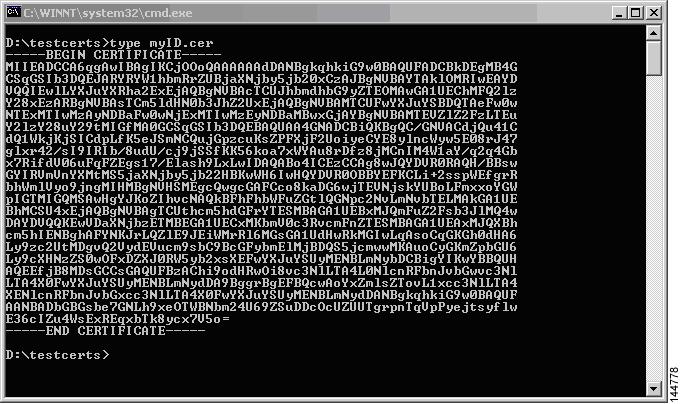
Requesting an Identity Certificate
To request an identify certificate from a Microsoft Certificate server using a PKCS#10 certificate signing request (CRS), follow these steps:
Step 1
Step 2
Step 3
Step 4
Step 5
Step 6
Step 7
Step 8
Step 9
Step 10
Step 11
Step 12
Step 13
Step 14
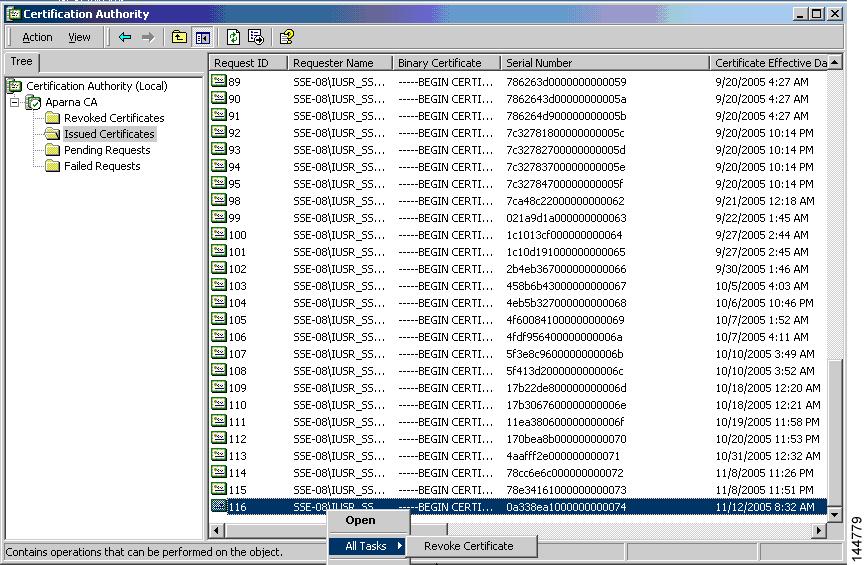
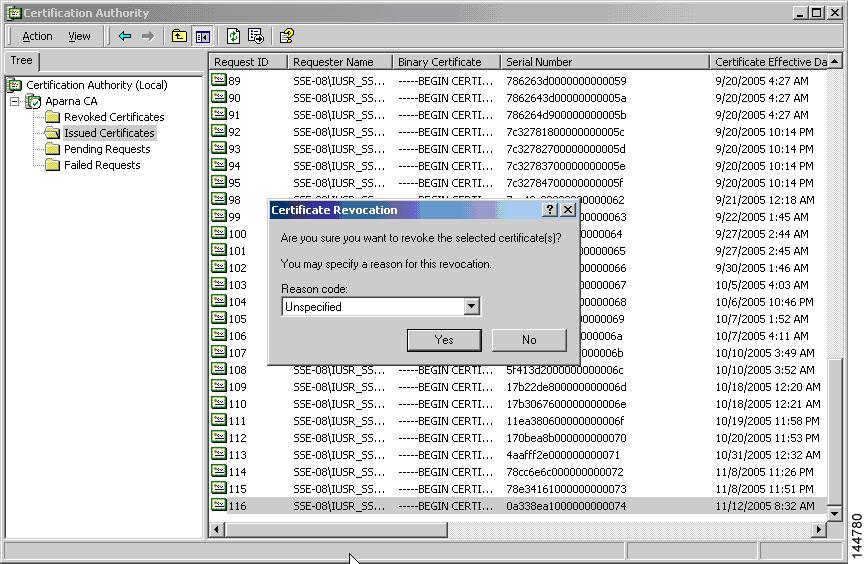
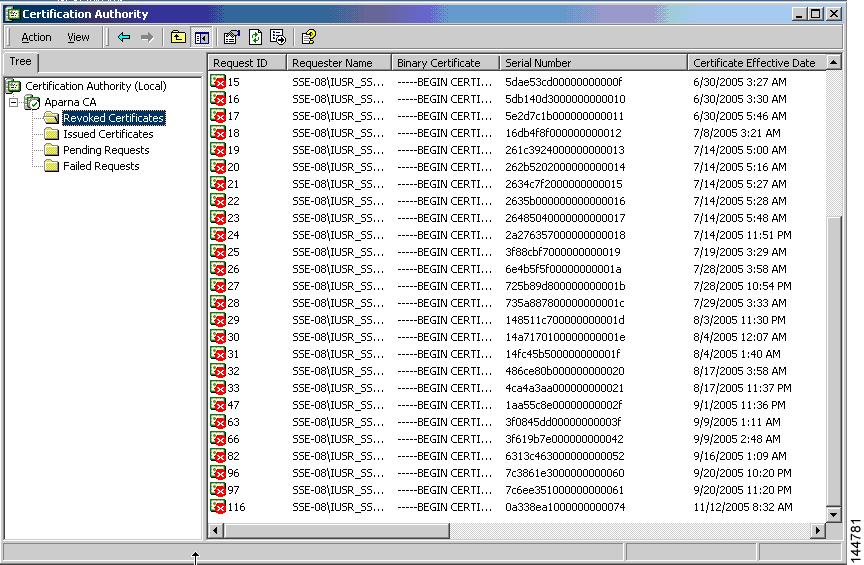
Revoking a Certificate
To revoke a certificate using the Microsoft CA administrator program, follow these steps:
Step 1
Step 2
Step 3
Step 4
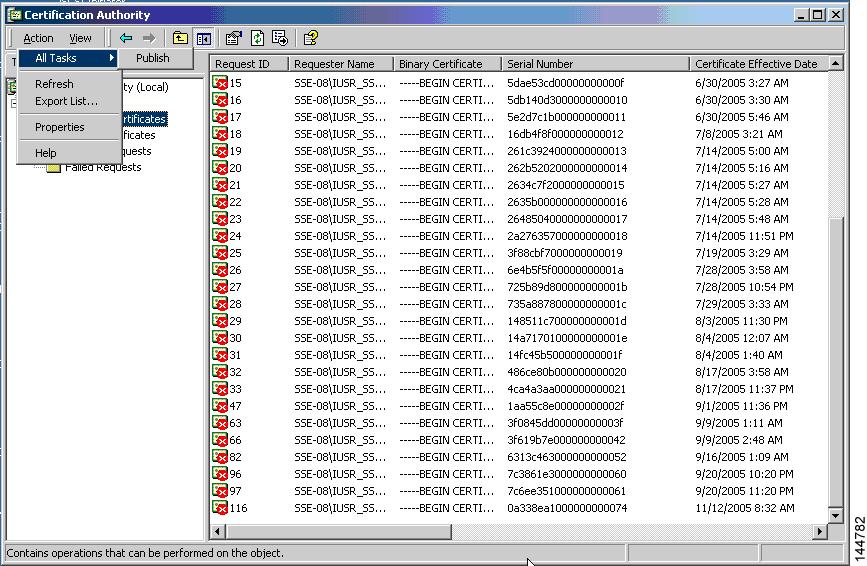
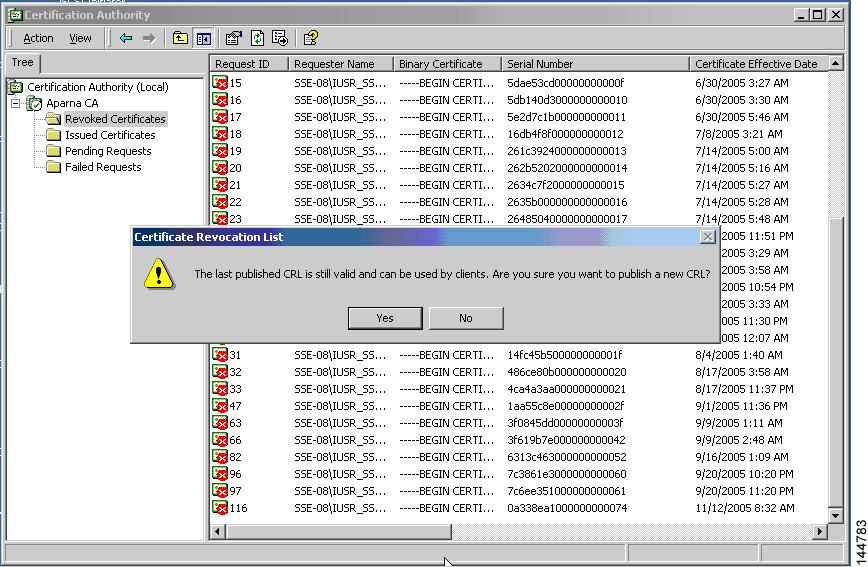
Generating and Publishing the CRL
To generate and publish the CRL using the Microsoft CA administrator program, follow these steps:
Step 1
Step 2
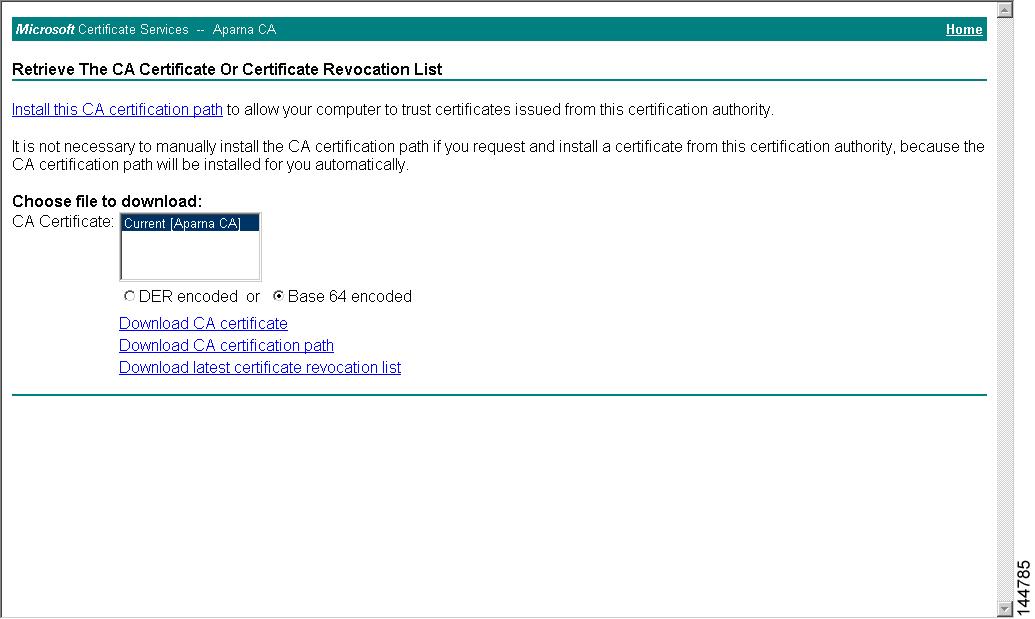
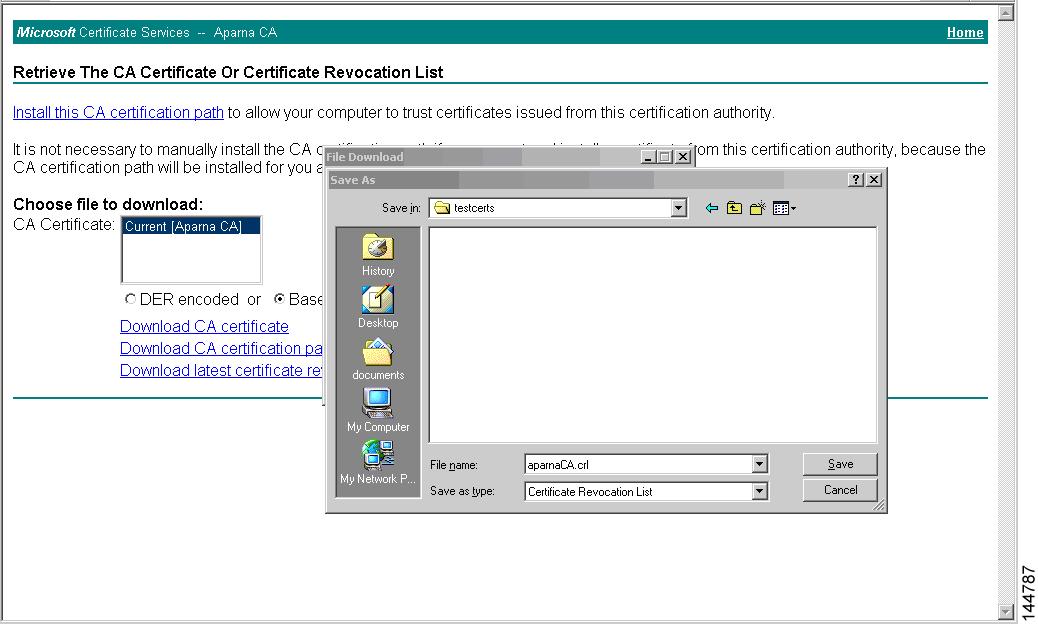
Downloading the CRL
To download the CRL from the Microsoft CA website, follow these steps:.
Step 1
Step 2
Step 3
Step 4
Step 5
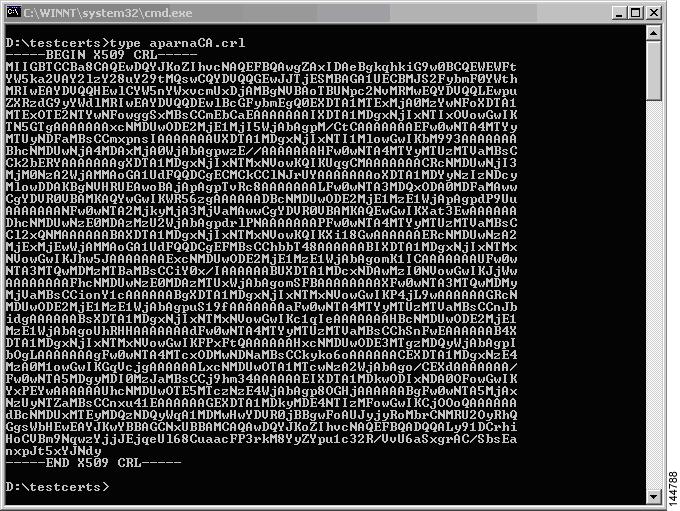
Importingthe CRL
To import the CRL to the trust point corresponding to the CA, follow these steps:
Step 1
Step 2
Step 3
Step 4
Step 5
Note
Maximum Limits
Table 34-1 lists the maximum limits for CAs and digital certificate parameters.
Default Settings
Table 34-2 lists the default settings for CAs and digital certificate parameters.