Overview
Learn how to configure Secure Firewall 6100 interfaces, including assigning inside and outside zones and setting IP addressing for routed deployments.
The following example configures a routed-mode inside interface with a static address and a routed-mode outside interface using DHCP. It also adds a DMZ interface for an internal web server.
Procedure
| 1. | Choose , and click Edit ( |
|
| 2. | Click Interfaces. 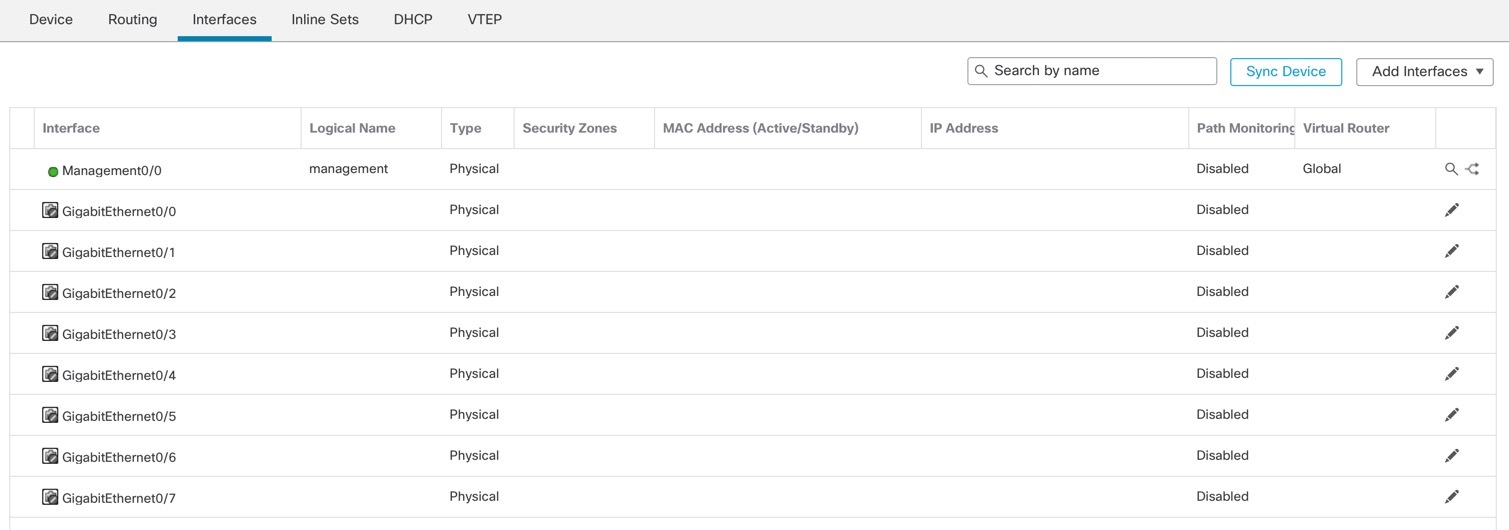
|
|
| 3. | To create breakout ports from a 40-Gb or larger interface, click the Break icon for the interface. If you already used the full interface in your configuration, you will have to remove the configuration before you can proceed with the breakout. |
|
| 4. | Click Edit ( 
|
|
| 5. | Click Edit ( 
|
|
| 6. | Configure a DMZ interface to host a web server, for example.
|
|
| 7. | Click Save. |

