Overview
How to onboard Secure Firewall 6100 to Security Cloud Control using a CLI registration key.
Onboard the firewall using a CLI registration key.
Procedure
| 1. | In the Security Cloud Control navigation menu, click , then click the blue plus button ( |
|
| 2. | Click the FTD tile. |
|
| 3. | Under Management Mode, be sure FTD is selected. |
|
| 4. | Select Use CLI Registration Key as the onboarding method. 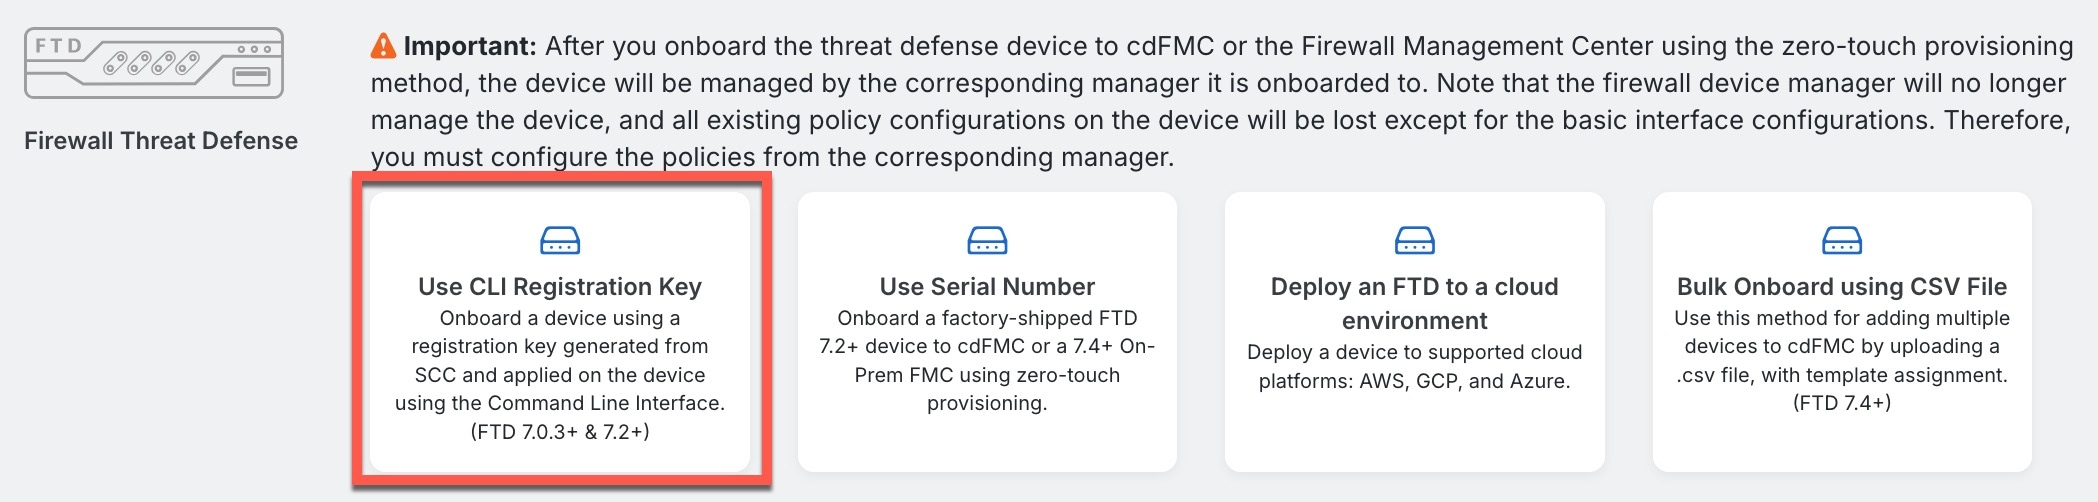
|
|
| 5. | Enter the Device Name and click Next. 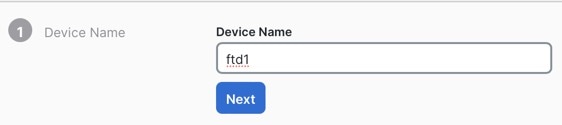
|
|
| 6. | For the Policy Assignment, use the drop-down menu to choose an access control policy for the device. If you have no policies configured, choose the Default Access Control Policy. 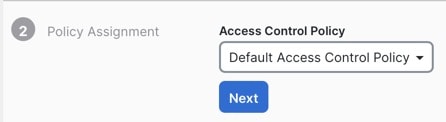
|
|
| 7. | For the Subscription License, click the Physical FTD Device radio button, and then check each of the feature licenses you want to enable. Click Next. 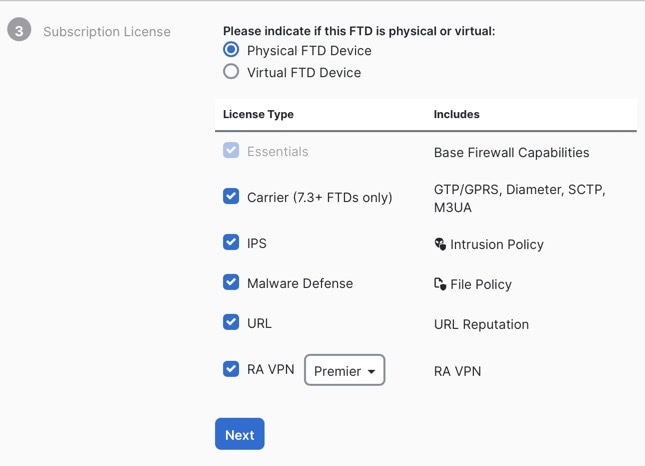
|
|
| 8. | For the CLI Registration Key, Security Cloud Control generates a command with the registration key and other parameters. You must copy this command and use it in the intial configuration of the Firewall Threat Defense. 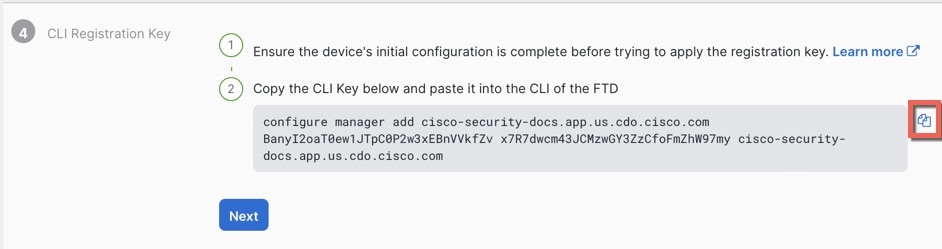
configure manager add Security Cloud Control_hostname registration_key nat_id display_name Copy this command at the Firewall Threat Defense CLI after you complete the startup script. See Perform initial configuration. Example:Sample command for CLI setup: |
|
| 9. | Click Next in the onboarding wizard to start registering the device. |
|
| 10. | (Optional) Add labels to your device to help sort and filter the Security Devices page. Enter a label and select the blue plus button ( 
|