Cisco Cyber Vision Classic UI Administration Guide, Release 5.6.0

PDF

Cisco Cyber Vision Classic UI Administration Guide, Release 5.6.0

LDAP

Want to summarize with AI?

Log in

Describes the integration of external LDAP services with Cisco Cyber Vision to delegate user authentication. This feature enables centralized access management using Microsoft Active Directory or AD LDS services.


LDAP is an external authentication service that allows Cisco Cyber Vision to delegate user verification to directory servers.

  • Supports Microsoft Active Directory and AD LDS services.

  • Enables mapping of external directory groups to internal user roles.

  • Enables both unencrypted and secure certificate-based connections for authentication.

LDAP connections configuration and management

LDAP services can be configured and managed from Admin > External Authentication > LDAP

Role Mapping Guidelines

The following guidelines apply to role mapping and authentication:

  • Role Mapping: External directory groups can be mapped to Product, Operator, Auditor, or custom roles. See Users to create custom roles.

  • Admin Role: The Admin user role is reserved for internal usage and cannot be mapped to external users.

Connection Testing

After configuration, verify the LDAP connection by authenticating with valid external directory credentials using the LDAP test connection window.

Authentication Source

When logging into Cisco Cyber Vision, the login format used will determine the base (i.e. internal or external) to be queried:

The login format determines the authentication source:

  • Email: Queries the internal Cisco Cyber Vision database.

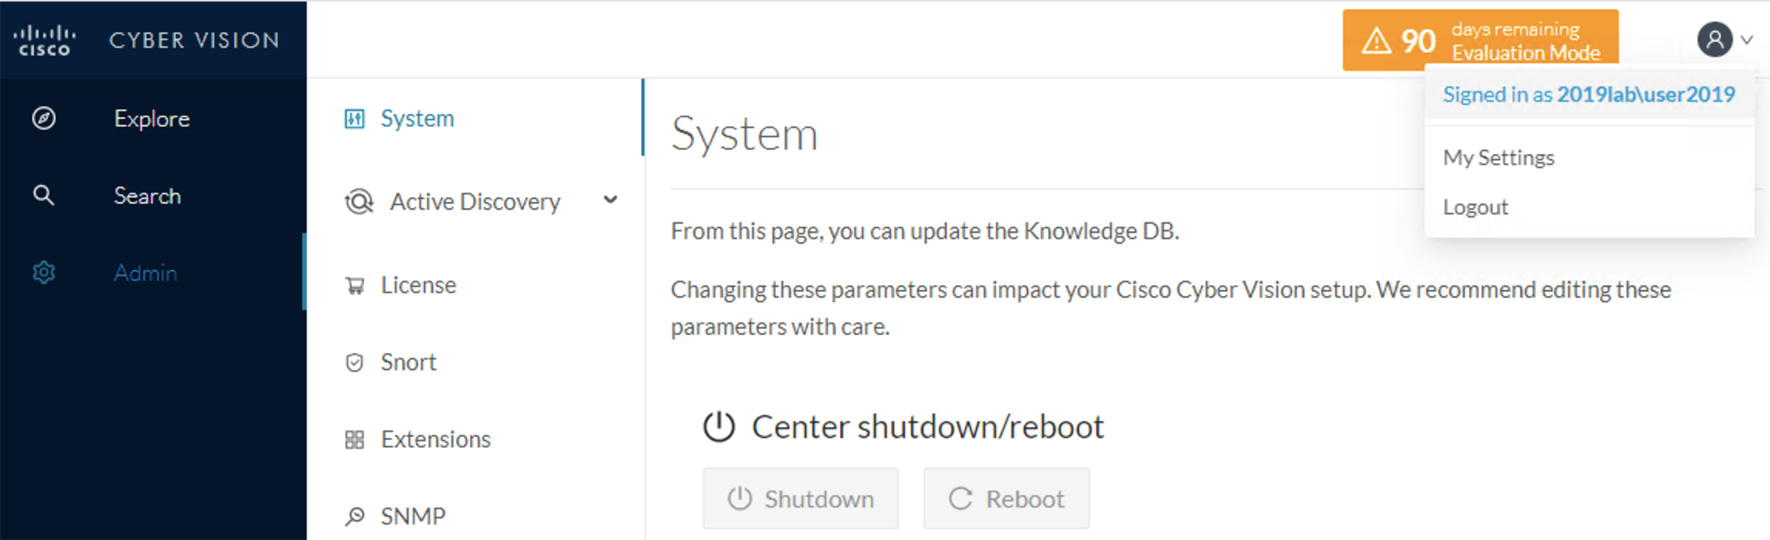
  • Domain format: Using <domain_name>\<user_name> (e.g. cisco\john_doe) triggers authentication via the external directory.

Configure LDAP

This taskflow takes you through configuring LDAP in Cisco Cyber Vision using an unencrypted connection or a secure connection.

You can establish two types of secure connections:

  • For a highly secure connection, choose the LDAP over TLS/SSL setting to use a CA-signed certificate with a trust chain. You must upload the certificate into the Center during the configuration task.

  • For internal applications where trust is not a primary concern, choose the Use self signed certificate setting. The Center automatically generates and uses self-signed certificates for this connection type. You don't need to provide a self-signed certificate.

Procedure

  1. From the main menu, choose Admin > External Authentication > LDAP .

  2. Click New Settings .

  3. In the Settings tab,

    1. Choose LDAP over TLS/SSL or Use self signed certificate , or neither.
    2. Enter Primary Server Address and Primary Server Port .
    3. (Optional) Enter Secondary Server Address and Secondary Server Port.
    4. In the Base DN field, enter the distinguished name by which LDAP API recognize this LDAP connection.
    5. (Optional) Check the Modify search filter check box. Then, in the Search Filter field, enter a search filter.

      The default search filter retrieves a user's groups by binding with the user's credentials. You can also modify the filter to target a different attribute, and the specified attribute's value is then used for both group search and binding (login).

      In the Search Filter field, you must include the $user variable. The variable is replaced with the username entered when logging in.

    6. In the Server Response Time field, enter a timeout value, in seconds, after which the Center attempts to connect to the secondary server instead of the primary server.
    7. (Optional) Check the Use Service Account check box. When an LDAP user doesn't have access to their own group, a service account is used. When this setting is enabled, the service account is used to search for and retrieve the user's groups.
      1. Enter a service account username.

      2. Enter a service account password.

    8. If you chose LDAP over TLS/SSL in Step a, a certificate upload field is displayed. Upload or drag-and-drop a PEM file, root or chain certificate.

      The uploaded certificate is displayed at the bottom of the settings page.

  4. In the Role Mapping tab,

    1. Map at least one role, default (Product, Operator, or Auditor) or custom, with an Active Directory group. You can create custom roles in the Custom roles area.
      Note

      Enter the exact group names as configured in the remote directory for successful retrieval and mapping to user roles.

      The Admin role is not listed as a default role because it is reserved for Cisco Cyber Vision internal usage and cannot be mapped to external users.

  5. Click OK .

  6. Click Test connection.

  7. Enter the user credentials to test the connection between Cisco Cyber Vision and Active Directory.

    Note

    For LDAP, the supported username format is <domain_name>\<user_name> (For example, cisco\john_doe).

    For LDS, the supported username formats are:

    • <user_name> (For example, john_doe).

    • <email-address> (For example, john@example.com)

  8. Click OK .

You can also test the connection by logging out of Cisco Cyber Vision and logging in with different mapped user credentials. The Center menu changes according to the permissions granted to the user.