User Management

User Management

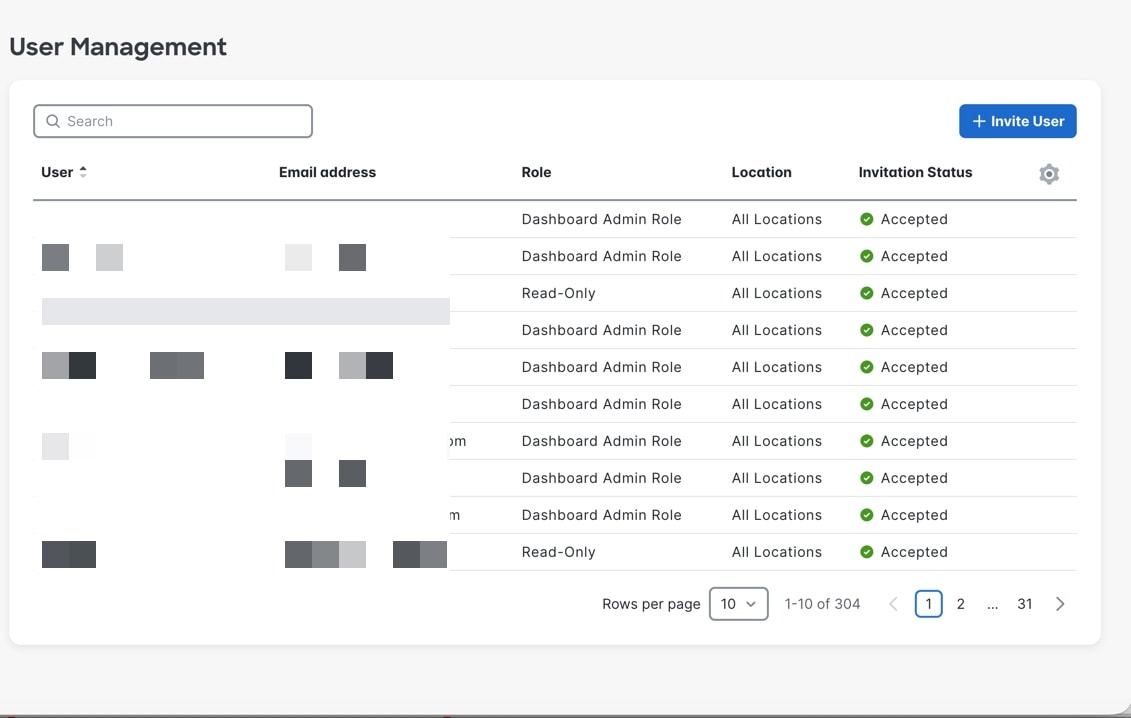
The User Management section in Cisco Spaces allows administrators to centrally manage user access, roles, and location permissions within the Space Utilization App. The feature provides capabilities to view all existing users, monitor their invitation status, assign appropriate roles, and invite new users into the app.

Key features

  • Search functionality: Use the Search bar for quick sesarch and filtering

  • New User Invitation workflow with email entry, role selection, and location assignment.

  • User attributes: Displays the user details such as Name, Email, Role (Read Only User, Dashboard Admin Role), Location, and Invitation Status.

  • Pagination controls

Figure 1. User management

Send a user invitation

Add a new user to Space Utilization App by sending an invitation with the appropriate role and location permissions.

Use this procedure when you need to add a new users to Space Utilization App and provide then appropriate access permissions.

Procedure


Step 1

In the Space Utilization App, navigate to the User Management section from the left‑navigation menu.

Step 2

In the User Management window, click Invite User.

The Invite User window is displayed.

Step 3

In the Email field, enter the user’s email address.

Step 4

From the Role drop-down list, choose the appropriate role for the new user. The options are: Read Write User and Read Only User.

Step 5

Click Select Locations to choose which locations the user will have access to from the Choose Locations pop-up window.

  1. Check the check boxes corresponding to the location you want to give access to.

  2. Verify the selected location details in the Select Locations area.

  3. Click Select Locations.

Step 6

Click Send Invitation.


The new user invitation is sent successfully, and the recipient will receive an email with instructions to accept.

What to do next

The newly invited user details are displayed in the User Management list with the status Pending until they accept the invitation.