Integrate Firewall Management Center with Cisco Security Cloud
Cisco Security Cloud connects your firewall deployment to the breadth of Cisco's integrated security cloud services for a consistent experience that unifies visibility, enables automation, and strengthens your security across network, endpoints, and applications. It offers a platform approach with simpler, more integrated cloud services that reduce the complexity of managing multiple products.
You can take advantage of capabilities like:
-
A centralized view of inventory across Firewall Management Centers.
-
Zero-Touch Provisioning for Firewall Threat Defense.
-
Cross-launching to the Firewall Management Center to manage devices and objects.
-
Help with establishing consistent policies across Firewall Management Centers.
-
Cloud event storage and services to enrich your threat hunts and investigations.
Use your Security Cloud Control account to authorize and register (onboard) your Firewall Management Center, refer to the Onboard an On-Prem Management Center.
To integrate the Secure Firewall Management Center with Cisco XDR, refer to the Cisco Secure Firewall Management Center and Cisco XDR Integration Guide.
Enable SecureX Integration
Use this procedure to onboard the Firewall Management Center and its managed devices to a Security Cloud Control tenant.
Before you begin
-
Security Cloud Control uses Cisco Security Cloud Sign On as its identity provider and Duo for multifactor authentication. Ensure that you have your Cisco Security Cloud Sign On credentials and can sign in to the Cisco regional cloud where your account was created.
-
You need a Security Cloud Control tenant to integrate the Firewall Management Center with Cisco Security Cloud. If you do not already have a Security Cloud Control tenant, request for a tenant or create one during this workflow. For more information, refer to Request a Security Cloud Control Tenant.
-
Link your Security Cloud Control tenant, the one you want to use for onboarding the management center, to your Security Services Exchange (SSE) account. For more information, refer to Link Your Security Cloud Control and Cisco XDR Tenant Accounts.
Procedure
|
Step 1 |
In the Firewall Management Center, choose . |
|
Step 2 |
Choose a Cisco regional cloud from the Current Region drop-down list. This cloud is also used for Cisco Success Network, Cisco Support Diagnostics, and the Secure Network Analytics cloud using Security Analytics and Logging (SaaS). If you are registered to the Smart Software Manager, your region is preselected. |
|
Step 3 |
Click Enable SecureX. A separate browser tab opens to log you in to your Security Cloud Control account. Make sure this page is not blocked by a pop-up blocker. |
|
Step 4 |
Click Continue to Cisco SSO. 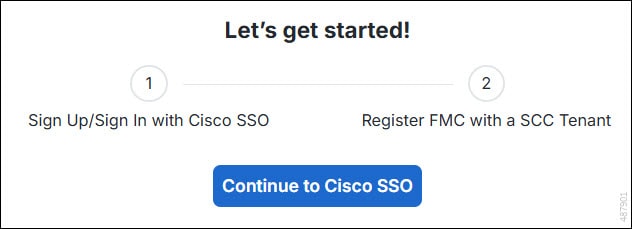
|
|
Step 5 |
Log in to your Security Cloud Control account. 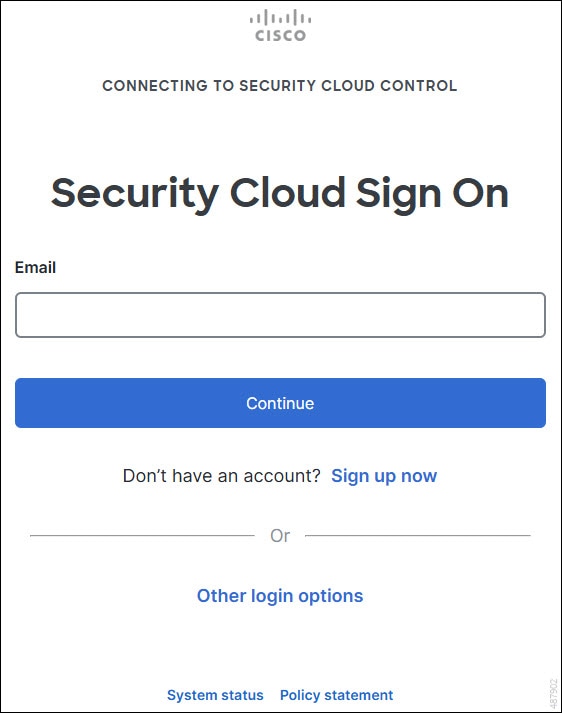
If you do not have a Security Cloud Sign On account to log in to Security Cloud Control and you want to create one, click Sign up now in the Security Cloud Sign On page. See Create a New Cisco Security Cloud Sign On Account. |
|
Step 6 |
Choose a Security Cloud Control tenant that you want to use for this integration. The Firewall Management Center and the managed devices get onboarded to the Security Cloud Control tenant that you choose here. 
If you do not already have a Security Cloud Control tenant or if you want to use a new tenant for this integration, create a new tenant. See Request a Security Cloud Control Tenant for more information. |
|
Step 7 |
Verify that the code displayed in the Security Cloud Control login page matches the code provided by the Firewall Management Center. 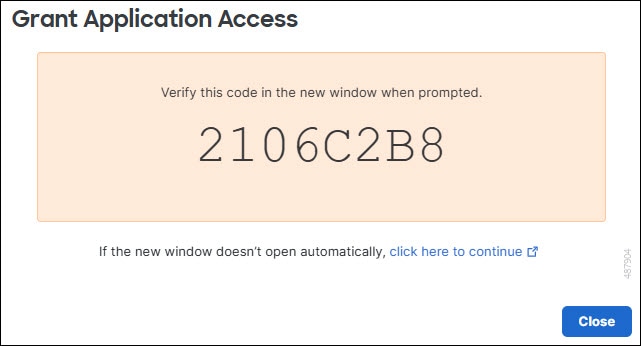
|
|
Step 8 |
Click Authorize FMC. |
|
Step 9 |
In the Firewall Management Center, configure the following:
|
|
Step 10 |
Click Save. |
Configure Firewall Management Center to Share Usage Metrics and Statistics with Cisco
Cisco Success Network is a cloud service that enables the Firewall Management Center to establish a secure connection to Cisco cloud and stream usage information and statistics. Streaming this telemetry provides a mechanism to select data of interest from the Firewall Threat Defense device and send it in a structured format to remote management stations for the following reasons:
-
To inform you of available, but unused features that can improve the effectiveness of the product in your network.
-
To inform you of additional technical support services and monitoring that are available for your product.
-
To help Cisco improve its products.
To know more about the telemetry data that Cisco collects, see Cisco Success Network Telemetry Data Collected from Cisco Secure Firewall Management Center Devices.
The Firewall Management Center establishes and maintains a secure connection with Cisco cloud at all times when either Cisco Support Diagnostics or Cisco Success Network is enabled. However, the Firewall Management Center and the Firewall Threat Defense devices establish and maintain secure connections with the Cisco cloud when Cisco Support Diagnostics is enabled. You can turn off this connection at any time by disabling both Cisco Success Network and Cisco Support Diagnostics, which disconnects the Firewall Management Center from the Cisco cloud.
You can enable Cisco Success Network when you register the Firewall Management Center with the Smart Software Manager.
 Note |
|
Before you begin
Enable SecureX integration or register your Firewall Management Center with the Smart License to perform this task.
Procedure
|
Step 1 |
Click . |
||
|
Step 2 |
Under Cisco Cloud Support, check the Enable Cisco Success Network check box to enable this service.
|
||
|
Step 3 |
Click Save. |
Configure Firewall Management Center to Share Device Health Data with Cisco
Cisco Support Diagnostics sends configuration and operational health data to Cisco, and processes that data through our automated problem detection system. This feature also allows Cisco TAC to collect essential information from your devices during the course of a case. For users with specific service contracts, we can proactively notify you of issues.
Both the Firewall Management Center and its devices communicate with Cisco; see Internet Resources Accessed.
Before you begin
Enable SecureX integration or register with the Smart Software Manager.
Procedure
|
Step 1 |
Choose . |
||
|
Step 2 |
Under Cisco Cloud Support, check the Enable Cisco Support Diagnostics.
|
||
|
Step 3 |
Click Save. |


 Feedback