Configuration Guide for Cisco Optical Site Manager, IOS XR Releases 26.x.x
Bias-Free Language
The documentation set for this product strives to use bias-free language. For the purposes of this documentation set, bias-free is defined as language that does not imply discrimination based on age, disability, gender, racial identity, ethnic identity, sexual orientation, socioeconomic status, and intersectionality. Exceptions may be present in the documentation due to language that is hardcoded in the user interfaces of the product software, language used based on RFP documentation, or language that is used by a referenced third-party product. Learn more about how Cisco is using Inclusive Language.
This chapter explains how to configure the Cisco Optical Site Manager timezone and node information. It also covers additional
settings such as the default order of the right panel list, the opacity and width of the left panel rack, and Smart Licensing
configuration tasks.
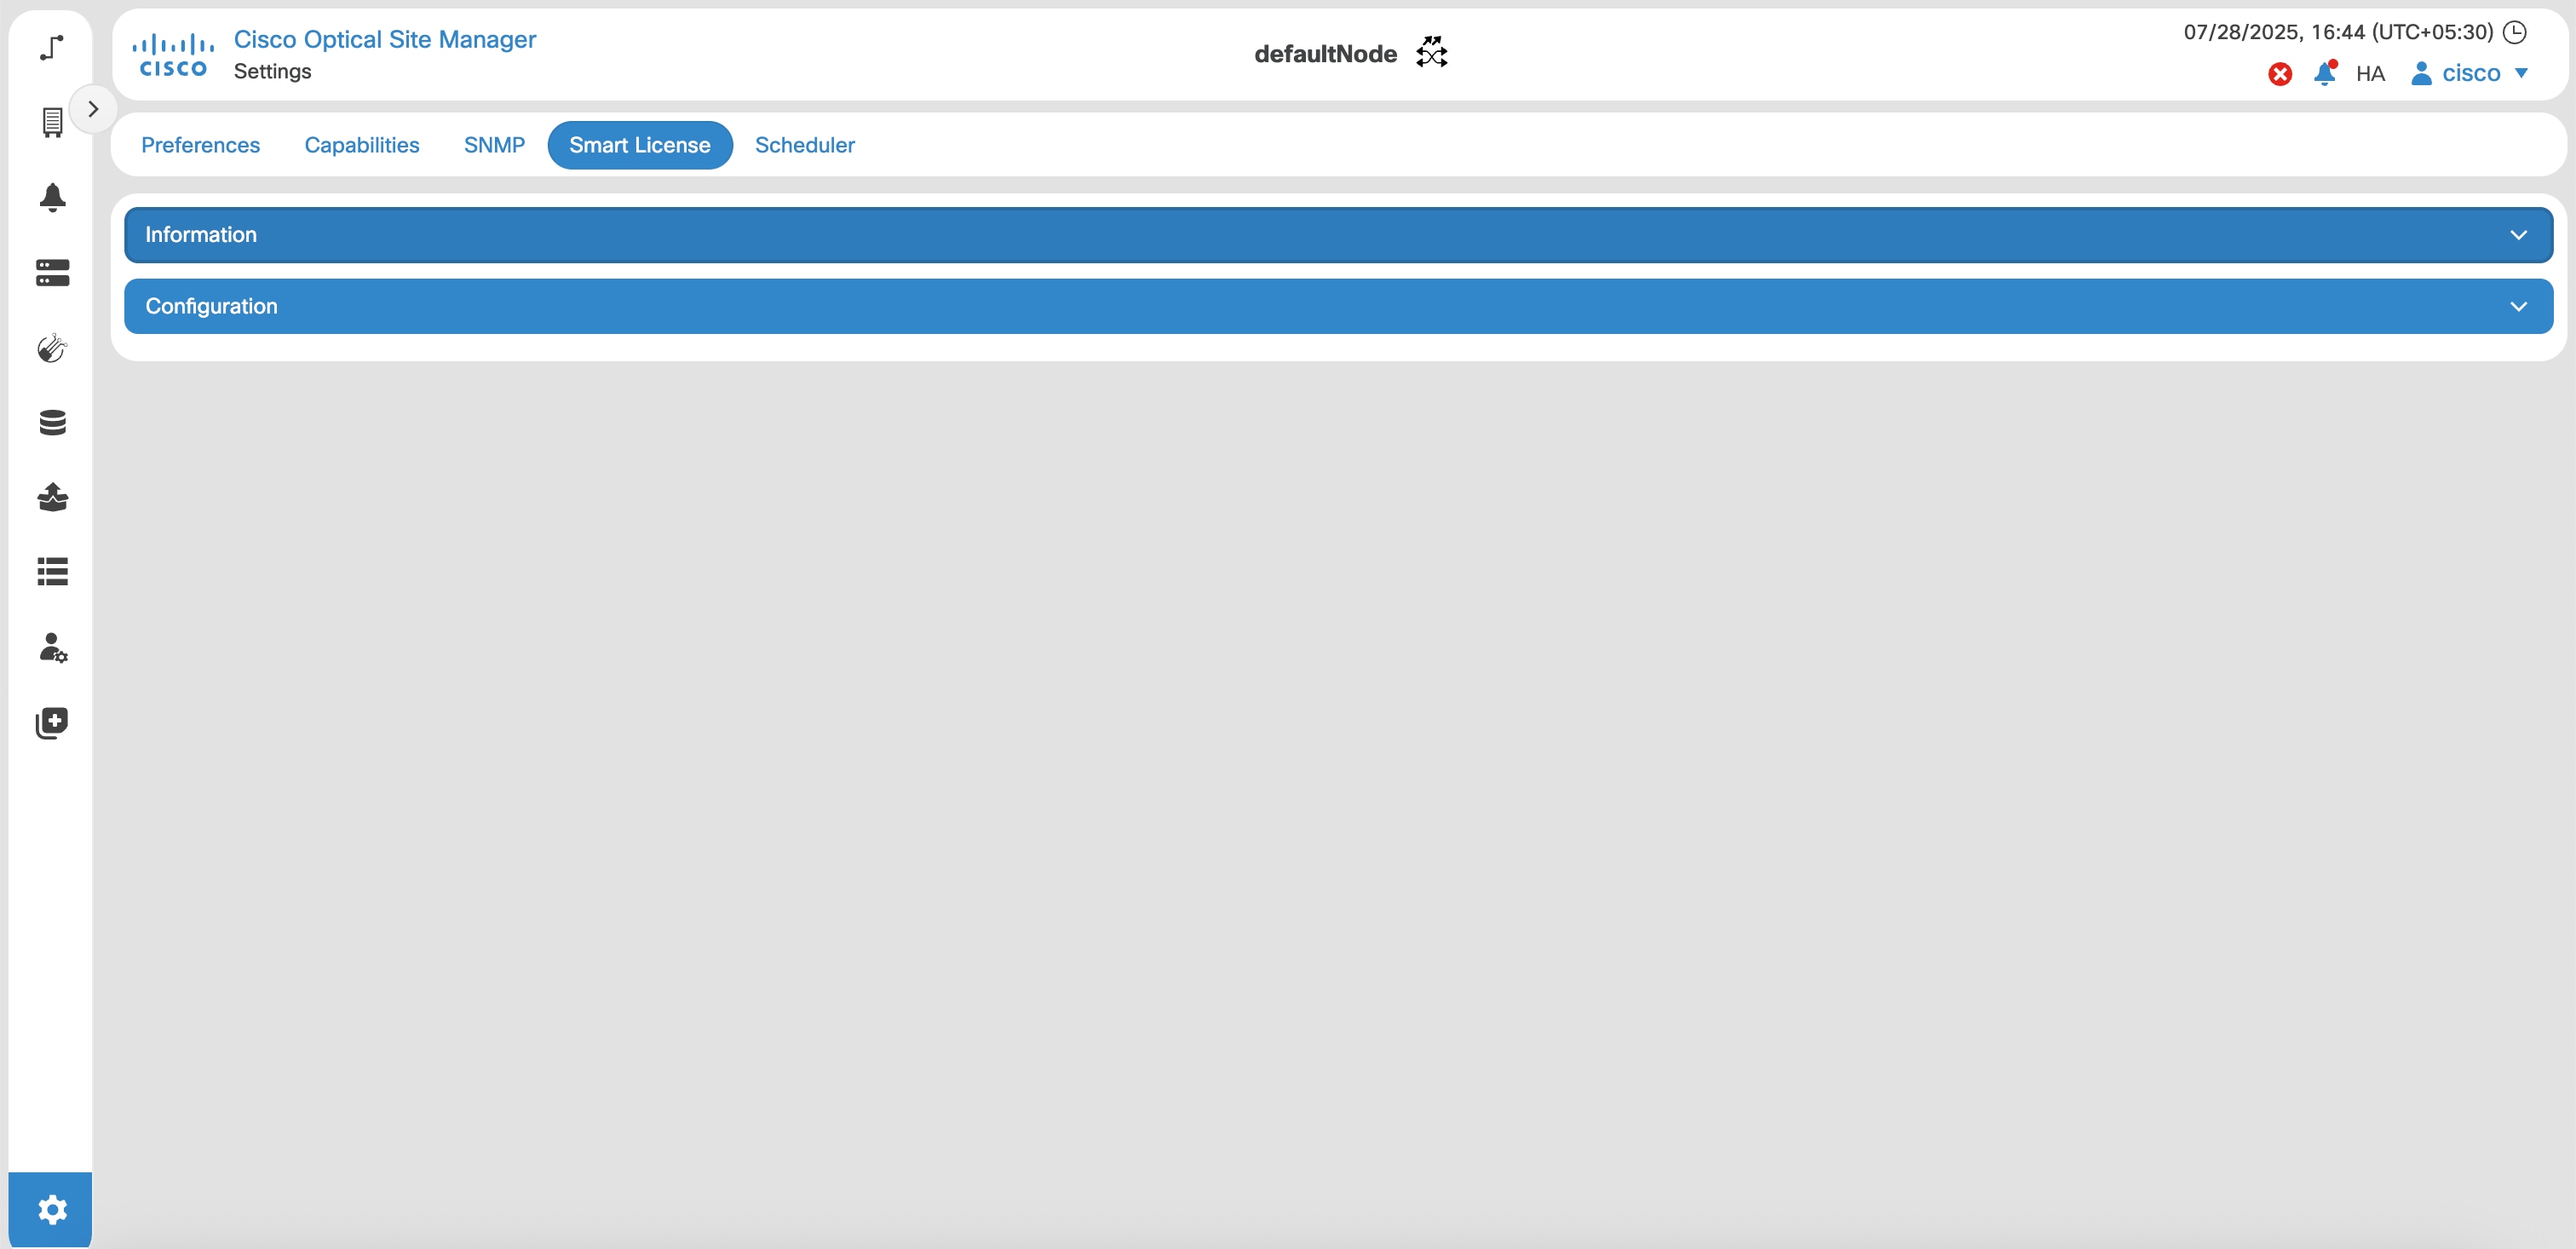
Configure time zone and measurement units
Configure the display format, time zone, measurement units, and data channel preferences in the Cisco Optical Site Manager
application.
Follow these steps to configure preferences for the Cisco Optical Site Manager application.
Configure the date format, time zone, channel configuration, and length unit in the General section.
Step 4
Click Apply.
A confirmation message appears.
Step 5
Click Yes.
Step 6
Reload the browser to apply the updated settings.
Download device diagnostics
Use this task to retrieve and download Cisco Optical Site Manager diagnostic logs for troubleshooting and support. Download
a ZIP file that contains the selected COSM and device diagnostic logs.
Cisco Optical Site Manager diagnostics help you collect operational data such as alarms, audit logs, and device diagnostics,
which can be shared with Cisco TAC or used for internal troubleshooting.
To avoid timeouts, retrieve only the required log types and devices.
Follow these steps to retrieve and download device diagnostics information.
Procedure
Step 1
Click Diagnostic in the left panel.
The Diagnostic page appears.
Step 2
Click the Logs tab.
Step 3
To collect and download Cisco Optical Site Manager diagnostic logs, perform these steps:
In the Application section, select the check boxes for the logs that you want to retrieve.
Note
By default, all the check boxes are selected except NCS Callback Log.
Table 1. Log types
Fields
Description
Alarms
Collects the active alarms.
Audit Logs
Collects NSO audit logs.
Conditions
Collects the active conditions.
Admin Logs
Collects the admin logs.
Engineer Logs
Collects all the system software logs.
History Logs
Collects the alarms history logs.
Inventory Logs
Collects the hardware inventory logs.
NCS Callback Log
Collects information about the implementation status and return values of the entire NSO data tree.
Device Audit Log
Collects the audit logs for the device.
Device Diagnostics
Collects the diagnostic logs for the device.
From the Devices section, select the devices for which you want to retrieve the logs.
Click Retrieve.
A confirmation message appears.
Click Yes.
Wait until the Progress Status indicates that the diagnostic log collection is completed.
Click Download Diagnostic to download the diagnostics report.
Note
If the diagnostic log download fails in a browser, retry the download or use an alternate browser.
A ZIP file containing the selected logs is downloaded.
Configure NTP servers for node time synchronization
Set up primary and secondary NTP servers so the node always maintains the correct time.
Accurate time synchronization ensures reliable alarm reporting, generates log entries, and supports coordination across network
devices. If the primary NTP server is unreachable, the node switches to the backup server. If neither server is available,
the system raises an alarm.
Follow these steps to configure NTP servers for the node:
Procedure
Step 1
Click Settings.
Step 2
Click the NTP tab.
Step 3
Click Edit.
The NTP fields become editable.
Step 4
Enter the Server Address and Backup Server Address.
Server Address—Enter the IP address of the primary NTP server.
Backup Server Address—Enter the IP address of the secondary NTP server.
The node checks the availability of the primary NTP server first. If it is unavailable, the node checks the secondary NTP
server.
Table 2. NTP Server Behavior
If...
Then...
The primary NTP server is reachable
The node synchronizes its date and time with the primary server.
The primary NTP server fails or is unreachable
The node uses the secondary NTP server to synchronize date and time.
Both NTP servers are unreachable
The SNTP-FAIL alarm is raised until synchronization is restored.
The node retries synchronization at regular intervals and synchronizes its date and time every hour. The system clears the
SNTP-FAIL alarm upon successful synchronization.
Step 5
Click Apply.
A confirmation message appears.
Step 6
Click Yes to confirm the update to initiate synchronization.
The node synchronizes its date and time with the configured NTP server.
View Audit Logs
Use this task to retrieve and download Cisco Optical Site Manager audit logs.
Select the search criteria from the Filters section and click Filter.
Details of each event including the date, user type, SID and event details are displayed in a table.
Download ShowTech logs
Use this task to retrieve and download ShowTech logs of a Cisco NCS 1000 device managed by Cisco Optical Site Manager. ShowTech
logs are comprehensive diagnostic outputs collected to assist in troubleshooting.
Note
Device diagnostics include all default ShowTech logs automatically. Collecting these logs separately is not necessary.
Table 3. Feature History
Feature Name
Release Information
Description
Expert Mode Enhancements for Diagnostics
Cisco IOS XR Release 26.1.1
ShowTech Support and Fast Diagnostics are now located in the new Expert Mode section, with ShowTech Support renamed to Custom ShowTech.
You can now increase the log collection timeout using the Watchdog Timeout setting. This lets you extend the default 30-minute limit, ensuring log collection completes without premature termination
and preventing incomplete diagnostic data.
Follow these steps to retrieve and download showtech logs.
Procedure
Step 1
Click Diagnostic in the left panel, then click the Logs tab.
Step 2
From the Expert Mode section, click the Custom ShowTech button.
The ShowTech Configuration dialog box appears.
Step 3
In the ShowTech Configuration dialog box, select the devices from the Device(s) field.
Step 4
Enter the XR component names in the ShowTech Component Name field, then click the +(Add) button to add them.
Step 5
Click Apply to retreive the showtech logs.
Step 6
Click Download Diagnostic to download the diagnostics report.
Note
If the diagnostic log download fails in your browser, retry the download or use another browser.
Step 7
Click the Stop button to stop retrieving diagnostics.
A ZIP file containing the selected logs is downloaded.
Smart licensing for Cisco Optical Site Manager
Table 4. Feature History
Feature Name
Release Information
Feature Description
Cisco Optical Site Manager Smart Licensing
Cisco IOS XR Release 24.3.1
Cisco Optical Site Manager now supports the smart licensing. It enables you to automate the time-consuming manual licensing
tasks and allows you to easily track the status of your license and software usage trends.
Smart Licensing is a cloud-based, software license management solution that enables you to automate time-consuming, manual
licensing tasks. The solution allows you to easily track the status of your license and software usage trends.
Restriction
For NCS 2000, Cisco Optical Site Manager must be running on the SVO line card.
Smart licensing core functions
Smart Licensing helps you simplify three core functions:
Purchasing: Register installed software without needing Product Activation Keys.
Management: Automatically track license usage across your network without installing license files on each node. Create license pools
to match your organizational structure. Use Cisco Smart Software Manager, a centralized portal, to manage all Cisco licenses
in one place.
Reporting: Access a unified view of purchased and deployed licenses through the portal. This visibility helps you make informed purchasing
decisions based on actual usage.
Figure 1. Smart Licensing
These are the key features of Smart Licensing:
Direct and proxy registration: registers Cisco Optical Site Manager application.
Centralized management: manages your license inventory using CSSM, simplifying software asset tracking and management.
License portability: moves or transfers your licenses easily between devices, offering flexibility in deploying software assets within the organization.
Simplified activation: simplifies this process by using a pool of licenses that aren’t tied to a specific device as against Traditional licensing.
Automatic license renewal: renews licenses automatically, reducing the administrative burden of tracking license expiration dates and manual renewals.
Usage reporting: generates detailed reports on license usage to understand device software consumption, optimizing your license investments.
Compliance assurance: provides visibility into license entitlements versus actual usage, helping that you stay compliant.
Support for hybrid environments: supports both on-premises and cloud-based environments, allowing for consistent license management across different deployment
models.
Real-time updates: receives real-time updates from Cisco, ensuring that you have access to the latest features and compliance information.
Cisco Smart Account
Cisco Optical Site Manager integrates with Cisco Smart Accounts to simplify license management.
Smart Accounts provide a centralized, organized, and simple-to-use solution for managing Cisco software licenses across an
entire organization. They act as a container that holds all Cisco software assets, allowing customers to view, store, manage,
and move these assets as needed. Smart Accounts enable full visibility into license entitlements and usage, helping optimize
software management. Smart Accounts support license pooling, portability, and provide compliance reporting.
When creating a Smart Account, you must have the authority to represent the requesting organization. After submitting, the
request goes through a brief approval process. See http://software.cisco.com to learn about, set up, or manage Smart Accounts.
Cisco Smart Software Manager
Cisco Smart Software Manager enables you to manage all of your Cisco Smart software licenses from one centralized website.
With Cisco Smart Software Manager, you organize and view your licenses in groups called virtual accounts (collections of licenses
and product instances). Use the Cisco Smart Software Manager to do the following tasks:
Create, manage or view virtual accounts.
Create and manage Product Instance Registration Tokens.
Transfer licenses between virtual accounts or view licenses.
Transfer, remove or view product instances.
Run reports against your virtual accounts.
Modify your email notification settings.
View overall account information.
Virtual accounts
Virtual Accounts are customizable subaccounts within a Smart Account used to organize and optimize Cisco licenses. They can
be structured to reflect business units, product types, or geographic locations, allowing better planning and utilization
of assets. They are created and maintained by the Smart Account administrator. Smart Licencing allows you to create multiple
license pools or virtual accounts within the Smart Software Manager portal. Using the Virtual Accounts option you can aggregate
licenses into discrete bundles associated with a cost center so that one section of an organization cannot use the licenses
of another section of the organization. For example, if you segregate your company into different geographic regions, you
can create a virtual account for each region to hold the licenses and product instances for that region.
All new licenses and product instances are placed in the default virtual account in the Smart Software Manager, unless you
specify a different one during the order process. Once in the default account, you may choose to transfer them to any other
account as desired, provided you have the required access permissions.
Use the Smart Software Manager portal to create license pools or transfer licenses.
Configure smart licensing workflow
The Cisco Smart Software Licensing service registers the product instance, reports license usage, and obtains the necessary
authorization from Cisco Smart Software Manager or Cisco Smart Software Manager satellite.
For NCS 2000, NCS 1014, NCS 1004, and NCS 1001 the license count is based on the number of line cards available on Cisco Optical
Site Manager application. Each line card consumes one license. Controller cards do not consume licenses. NCS2K-SVO-K9 or NCS
2000 SVO line cards do not consume licenses. For NCS 1010, the license count is based on the number of chassis. There are
two main deployment options for Smart Licensing:
Cisco Smart Software Manager (CSSM): Smart Licensing offers you Cisco Smart Software Manager, a centralized portal that enables
you to manage all your Cisco software licenses from one centralized website so that you do not have to install the license
file on every node. You can create license pools (logical grouping of licenses) to reflect your organization structure.
On-Premise software: You may want to operate totally offline with On-Premise software that allows you to have only this On-Premise
host to do the talking for licensing information exchange with the Cisco Cloud and in turn provide information to the end
devices as to their state of compliance.
The UNTRUSTED-APPLICATION and USAGE-NOT-REPORTED alarms are raised when Smart License is not configured. These alarms are cleared once the trust is properly established with
CSSM.
Step 4
Configure the smart license transport mode and register the device with CSSM.
Generate your report from the device. Synchronize the report with CSSM either automatically or manually.
Monitor the license usage and compliance status through the CSSM portal.
Smart transport mode
The Smart Transport mode is a method that enables Cisco devices to send license usage information directly over the internet
to the Cisco Smart Software Manager (CSSM). Here are the benefits of this mode:
Simplifies license usage reporting by enabling direct communication with CSSM.
Eliminates the need for intermediate servers or manual file exchanges.
Supports secure, automated license management suitable for connected environments.
The Cisco Smart Licensing Utility (CSLU) mode is a transport mode used in Cisco Smart Licensing to manage licenses on-premises
without requiring direct device connectivity to the Cisco Smart Software Manager (CSSM). CSLU provides the following key functions:
Collects license usage data from Cisco Optical Site Manager and acts as an intermediary between Cisco Optical Site Manager
and Cisco Smart Software Manager (CSSM).
Ideal for environments with restricted or no internet access as Cisco Optical Site Manager communicates with CSLU instead
of directly connecting to CSSM.
A token acts as a registration key that securely connects your device to your Cisco Smart Software Manager (CSSM) virtual
account, establishing trust and authorization between the device and Cisco’s licensing system. This enables the device to
be identified and managed within your organization’s smart licensing account.
Configure the transport mode as Smart Transport, CSLU, or Offline to send usage information directly over the internet, administer
licenses and associated product instances from an on-premises environment, or manage devices on premises without connecting
to CSSM.
Verify that these fields under the Trust panel display Success indicating that trust is established:
Trust Established
Last Attempt Result
After completing the synchronization, this status information is displayed:
Panel
Field
Expected value
Description
Trust
Attempt in Progress
True
Whether an installation is currently running.
Last Attempt Result
Success
Outcome of the last installation attempt.
Reporting
Last Report Pushed
Timestamp
Time when the last status report was sent.
Last Ack Received
Timestamp
Time when the last acknowledgment was received.
License Usage
COSM Managed Line Card License
Number | Status
Describes the number of licenses and their status.
Smart licensing offline mode
Offline mode enables you to:
Manage your devices locally without requiring a connection to Cisco Smart Software Manager (CSSM).
Set up and operate devices without internet access or communication with Cisco.
Maintain device management in highly secure environments with strict security requirements.
Smart licensing offline mode workflow
Note
If you perform a usage report before establishing trust, the usage-file.xml generated by Cisco Optical Site Manager automatically
includes a trust request. This allows you to establish trust and report usage in a single operation.
Configure offline transport mode in Cisco Optical Site Manager
Offline transport mode allows you to manage your devices on premises without connecting to CSSM.
Follow these steps to upload the trust request file to CSSM.
Procedure
Step 1
Click Reports, then click Usage Data Files.
Step 2
Click Upload Usage Data and select the Virtual Account.
Step 3
Click Ok.
The Upload Usage Data window is displayed.
Step 4
Click the Browse button and upload the trust-request file.
Step 5
Go to the Reporting Status tab and verify that the status shows No Errors.
It may take a few minutes for the status to update.
If the status shows Errors, fix them before continuing.
CSSM processes the uploaded file and generates an acknowledgement.
Step 6
Click Download under Acknowledgment tab.
The acknowledgement file is downloaded.
What to do next
Download Acknowledgement from CSSM
Download acknowledgment from CSSM
After you upload the trust request file from Cisco Optical Site Manager to CSSM, it processes this file and generates an acknowledgment
file. You then download this acknowledgment file from CSSM and import it back into Cisco Optical Site Manager.
Follow these steps to download the acknowledgment from CSSM.
Procedure
Step 1
Go to Usage Data Files and click Upload Usage Data.
The Upload Usage Data window is displayed.
Step 2
Click Browse and select rum-report-xxx.
Step 3
Click Open, then click Upload Data.
The Select Virtual Accounts window is displayed.
Step 4
Select the appropriate account, then click ok.
It may take a few minutes for the status to update.
If the status shows Errors, fix them before continuing.
Step 5
Click Download to get the acknowledgment file if no errors are reported.
The acknowledgment file is downloaded.
What to do next
Import acknowledgment in Cisco Optical Site Manager
Import acknowledgment file into Cisco Optical Site Manager
After importing the acknowledgment file into Cisco Optical Site Manager, the trust relationship between Cisco Optical Site
Manager and CSSM is established, enabling the configuration of offline license mode.

 Feedback