Install the Crosswork Workflow Manager CAPP
Once you have deployed Crosswork on a VMware or KVM virtual machine, you can install the Crosswork Workflow Manager (CWM) application, which is distributed as a Crosswork CAPP.
Before you begin
Ensure that you have deployed Crosswork successfully on your VMware or KVM host. To verify that Crosswork is installed and
functional, log in to Crosswork using an administrative ID at https://CrossworkIP:30603/, where CrossworkIP is the IP address on the virtual machine where Crosswork was installed.
 Attention |
The download file names given in this topic are subject to change. You can always find the latest versions by pointing your browser to https://software.cisco.com/download/home and searching for . |
Procedure
|
Step 1 |
On a remote host accessible by HTTP, HTTPS or SCP from your Crosswork VM host, create a storage directory to contain the download you will use in this procedure. |
|
Step 2 |
From https://software.cisco.com/download/home, download to the remote host the Crosswork Workflow Manager file appropriate for the VM deployment you chose:
|
|
Step 3 |
Use the following command to extract the tar.gz installer bundle from the appropriate signed.bin file: or The contents of the installer bundle and files necessary to validate the image are extracted to the same directory on the remote host. |
|
Step 4 |
Use the following command to extract the tar.gz installer bundle: or The contents of the installer bundle and files necessary to validate the image are extracted to the same directory on the remote host. |
|
Step 5 |
Log in to Crosswork using an admin ID and select . |
|
Step 6 |
Click Add new file and select Upload CAPP file (.tar.gz). |
|
Step 7 |
Using the Add File (.Tar.Gz) page, first select the Protocol you want to use to add the CWM CAPP file to the system. Then:
|
|
Step 8 |
Click Add. You can select the Job History option to monitor the progress of the CAPP file upload. |
|
Step 9 |
When the upload completes, the Workflow Manager tile appears on the Applications page, indicating that the application is ready to install. |
|
Step 10 |
Click the More icon (three dots) on the Workflow Manager tile to display the Workflow Manager installation pop up, then click Install. When installation is complete, the tab should display an "Activation Successful" message. |
|
Step 11 |
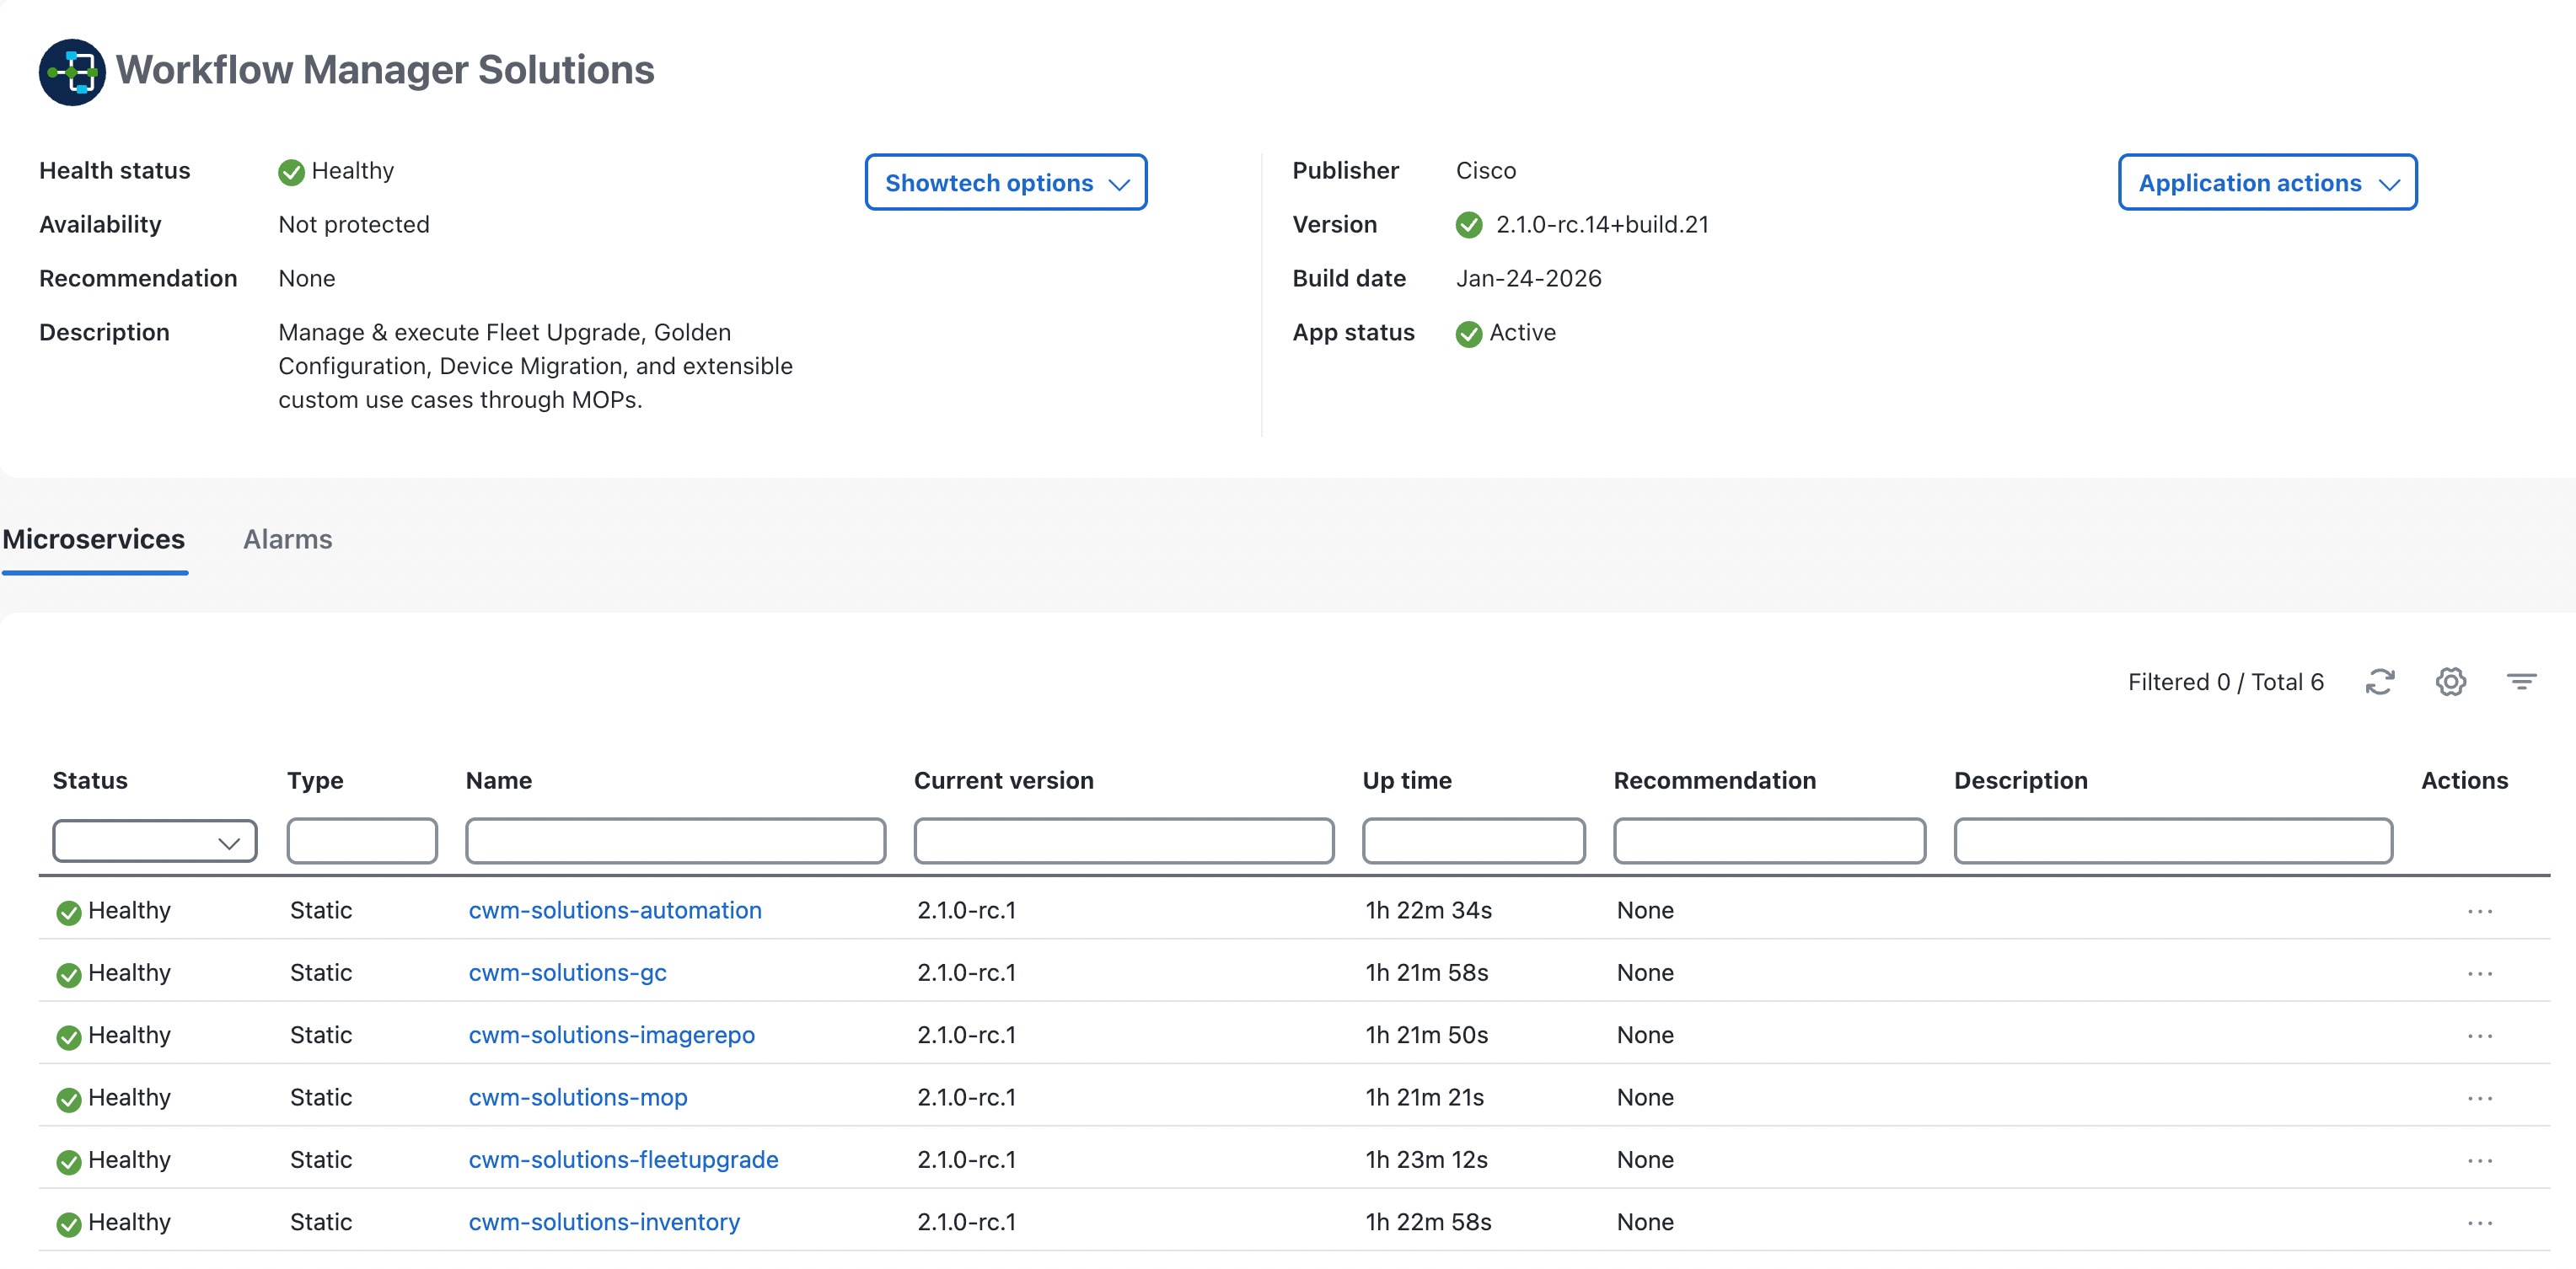
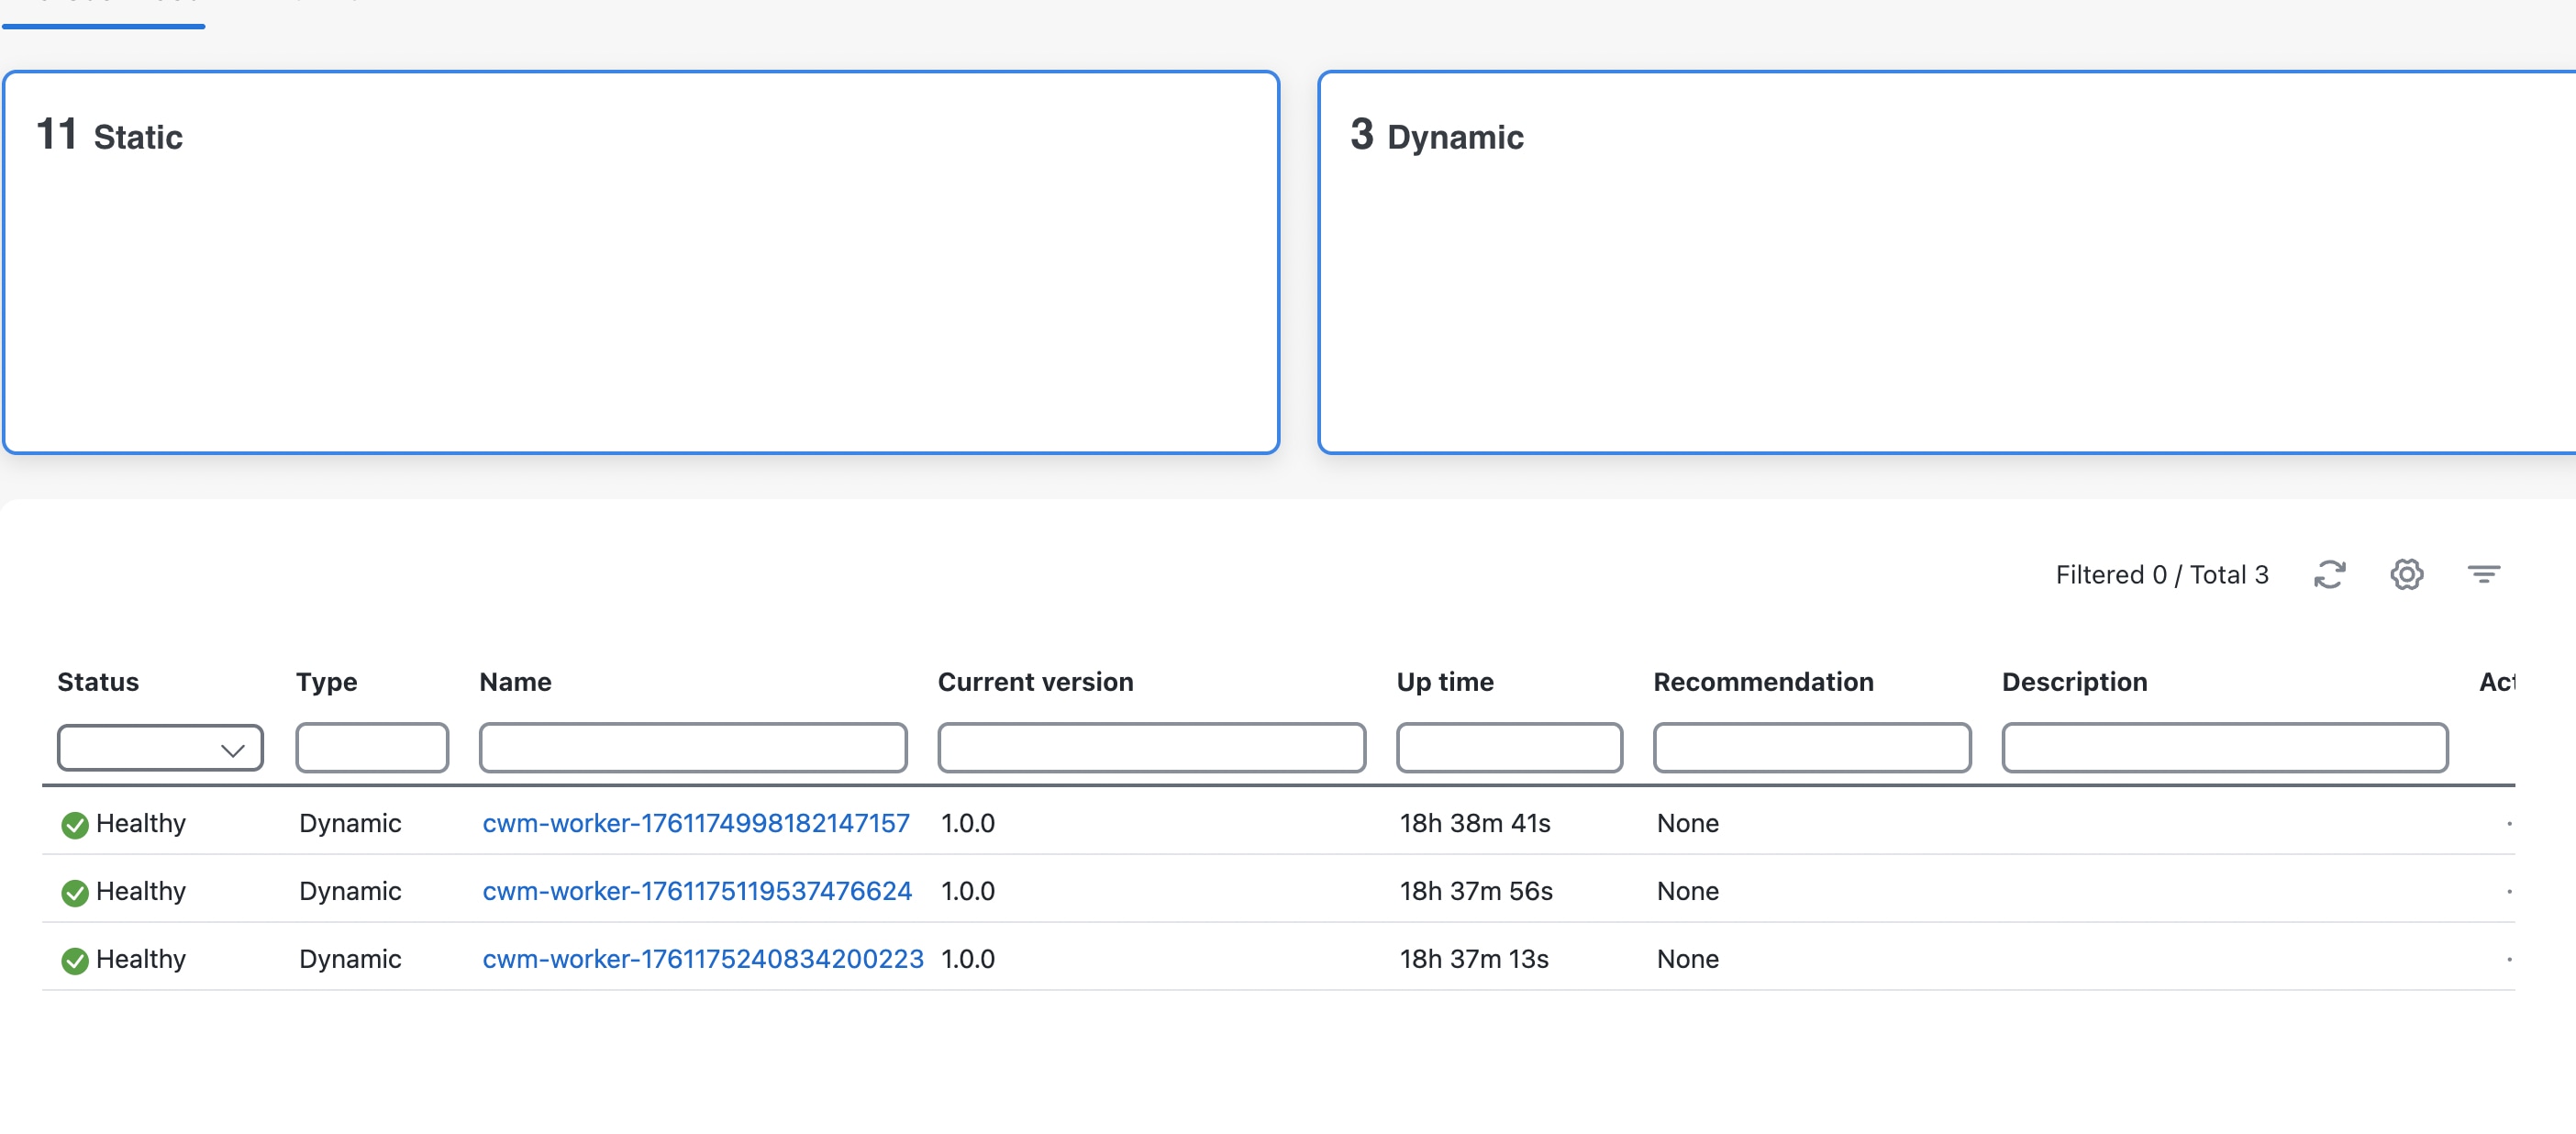
Verify successful installation by choosing . The Microservices tab displays the microservices, all with Healthy showing in the Status column. |
 Feedback