About dynamic objects in access control rules or DNS rules
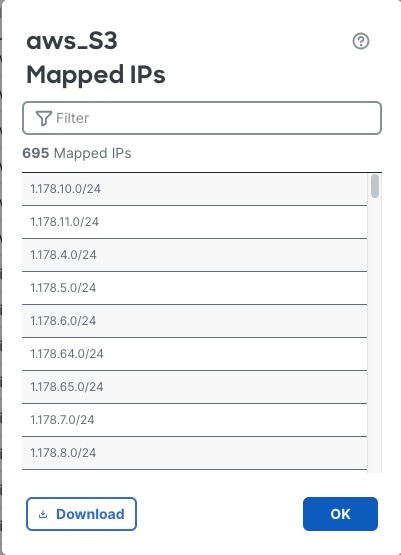
A dynamic object is automatically pushed from the dynamic attributes connector to the Secure Firewall Manager after you create connectors and save a dynamic attributes filter on the connector.
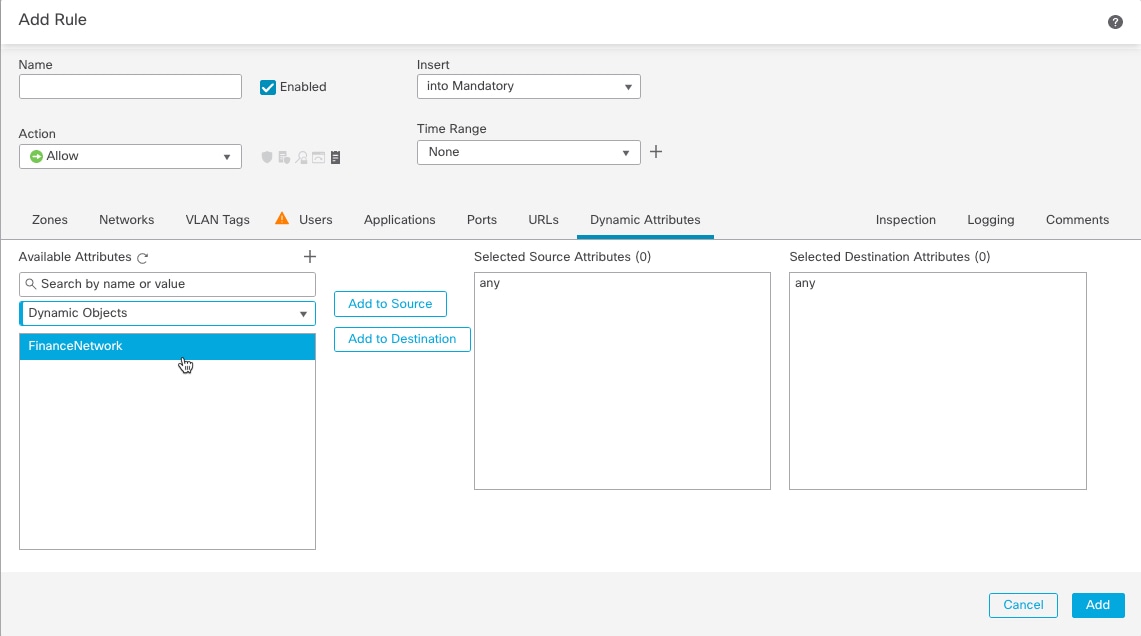
You can use these dynamic objects on the access control rule's or DNS rule's Dynamic Attributes tab page. You can add dynamic objects as source or destination attributes; for example, in an access control block rule, you can add a Finance dynamic object as a destination attribute to block access to Finance servers by whatever objects match the other criteria in the rule.
 Note |
You cannot create dynamic attributes filters for AWS, AWS service tags, AWS service groups, Azure, Azure Service Tags, Cisco Cyber Vision, Generic Text, GitHub, Google Cloud, Office 365, vCenter, Webex, or Zoom. These types of cloud objects provide their own IP addresses. |

 )
)

 )
)
 Feedback