Overview
Learn how to complete initial Secure Firewall 3100 setup in Secure Firewall Device Manager so the device has basic outside connectivity and a working inside-to-outside policy.
Use the setup wizard when you first log into the Firewall Device Manager to complete the initial configuration. After you complete the setup wizard, you should have a functioning device with a couple of basic policies in place:
-
inside→outside traffic flow
-
Interface PAT for all traffic to outside.
Procedure
| 1. | Accept the General Terms and change the admin password. The Device Setup screen appears. 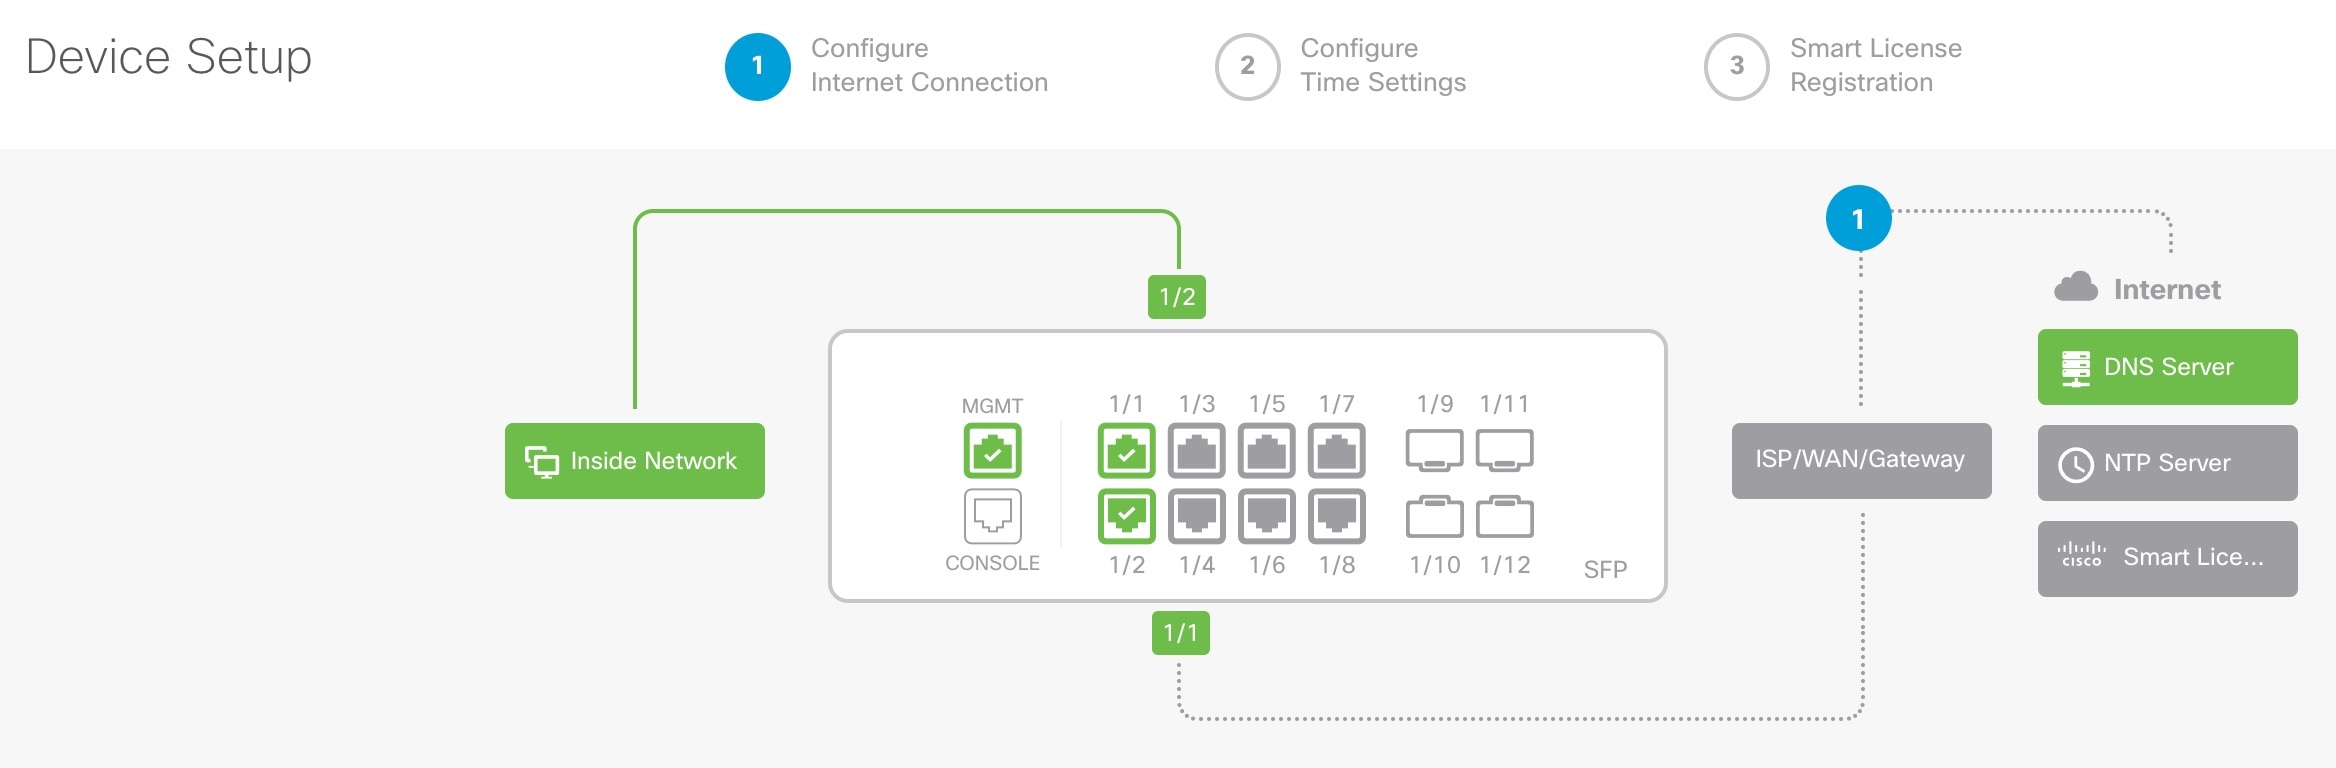
|
|
| 2. | Configure network settings for the outside and management interfaces. 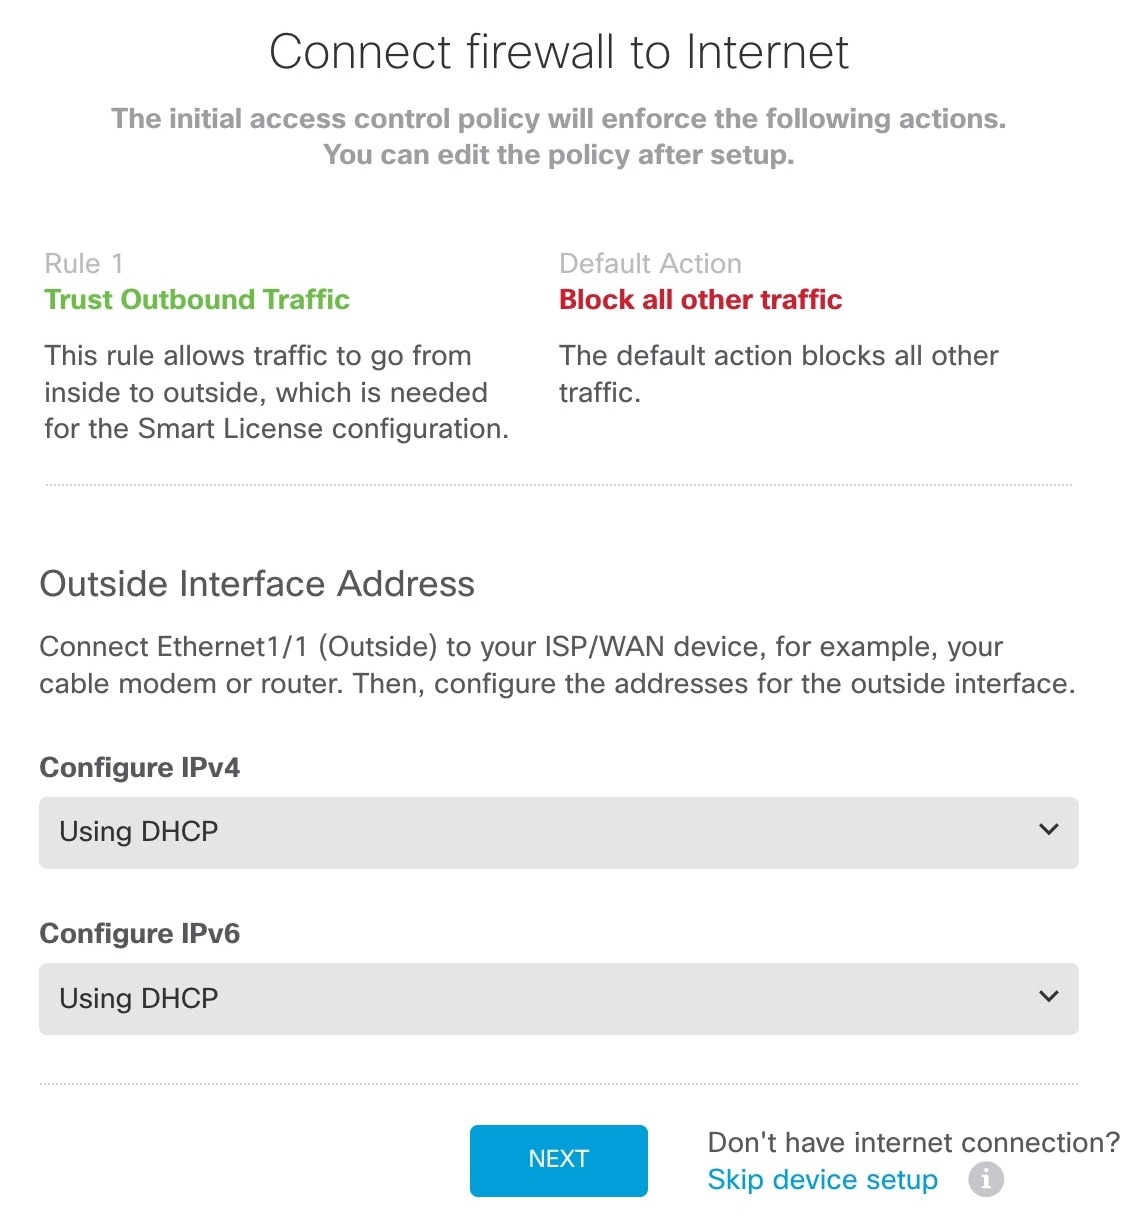
|
|
| 3. | Configure the system time settings. 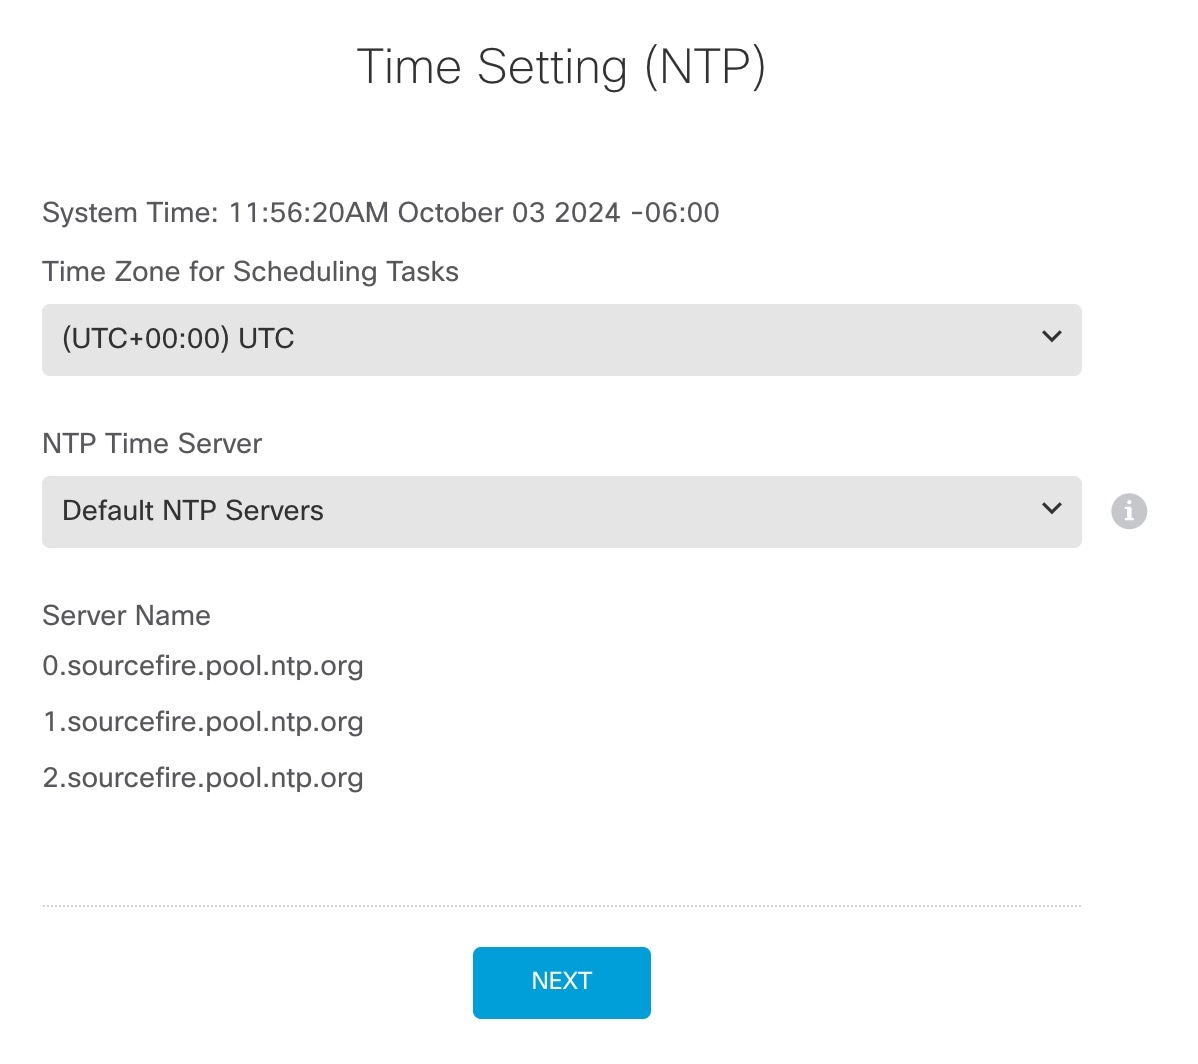
|
|
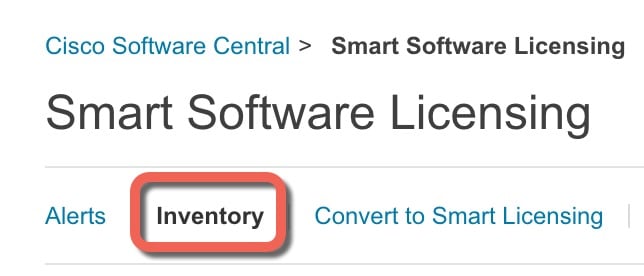
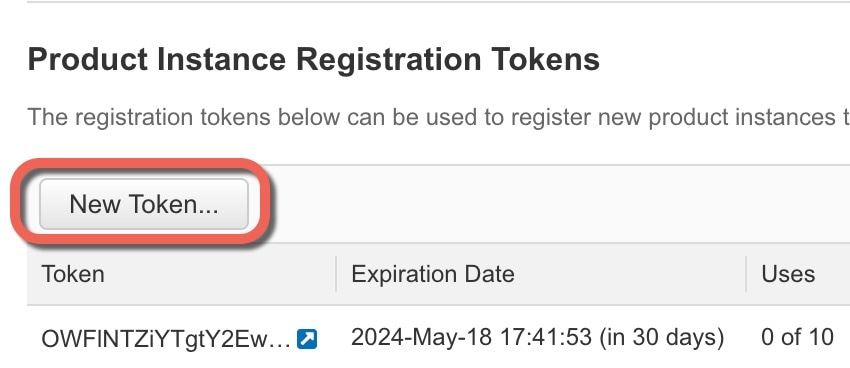
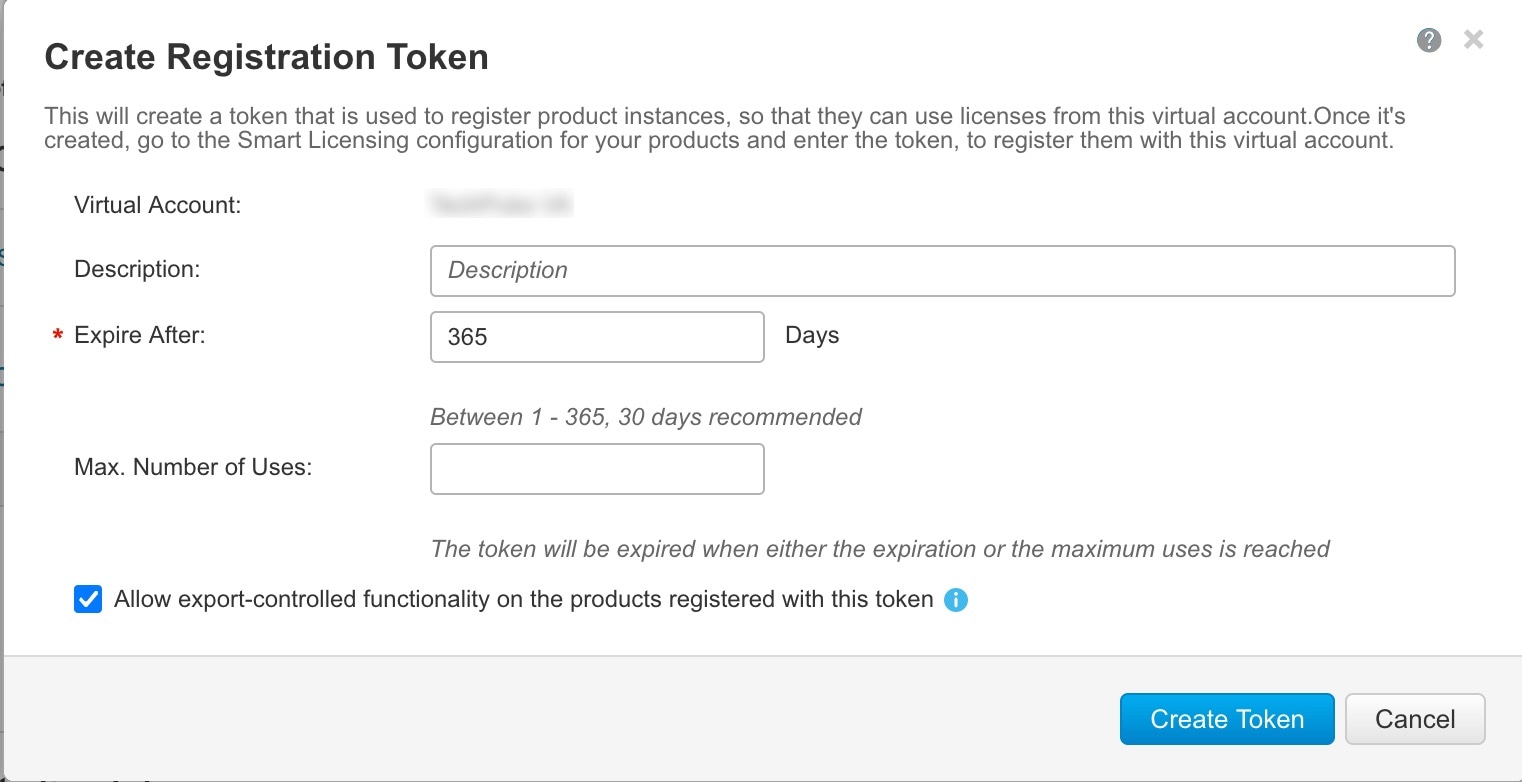
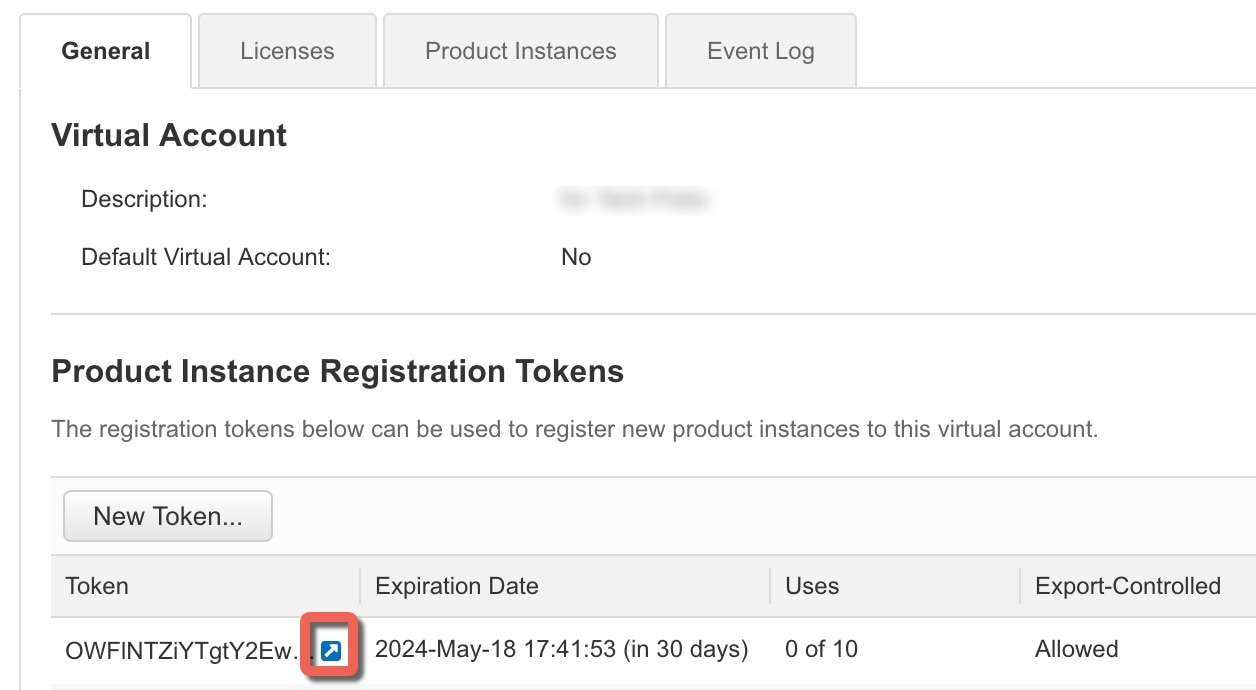
| 4. | Configure Smart Licensing. 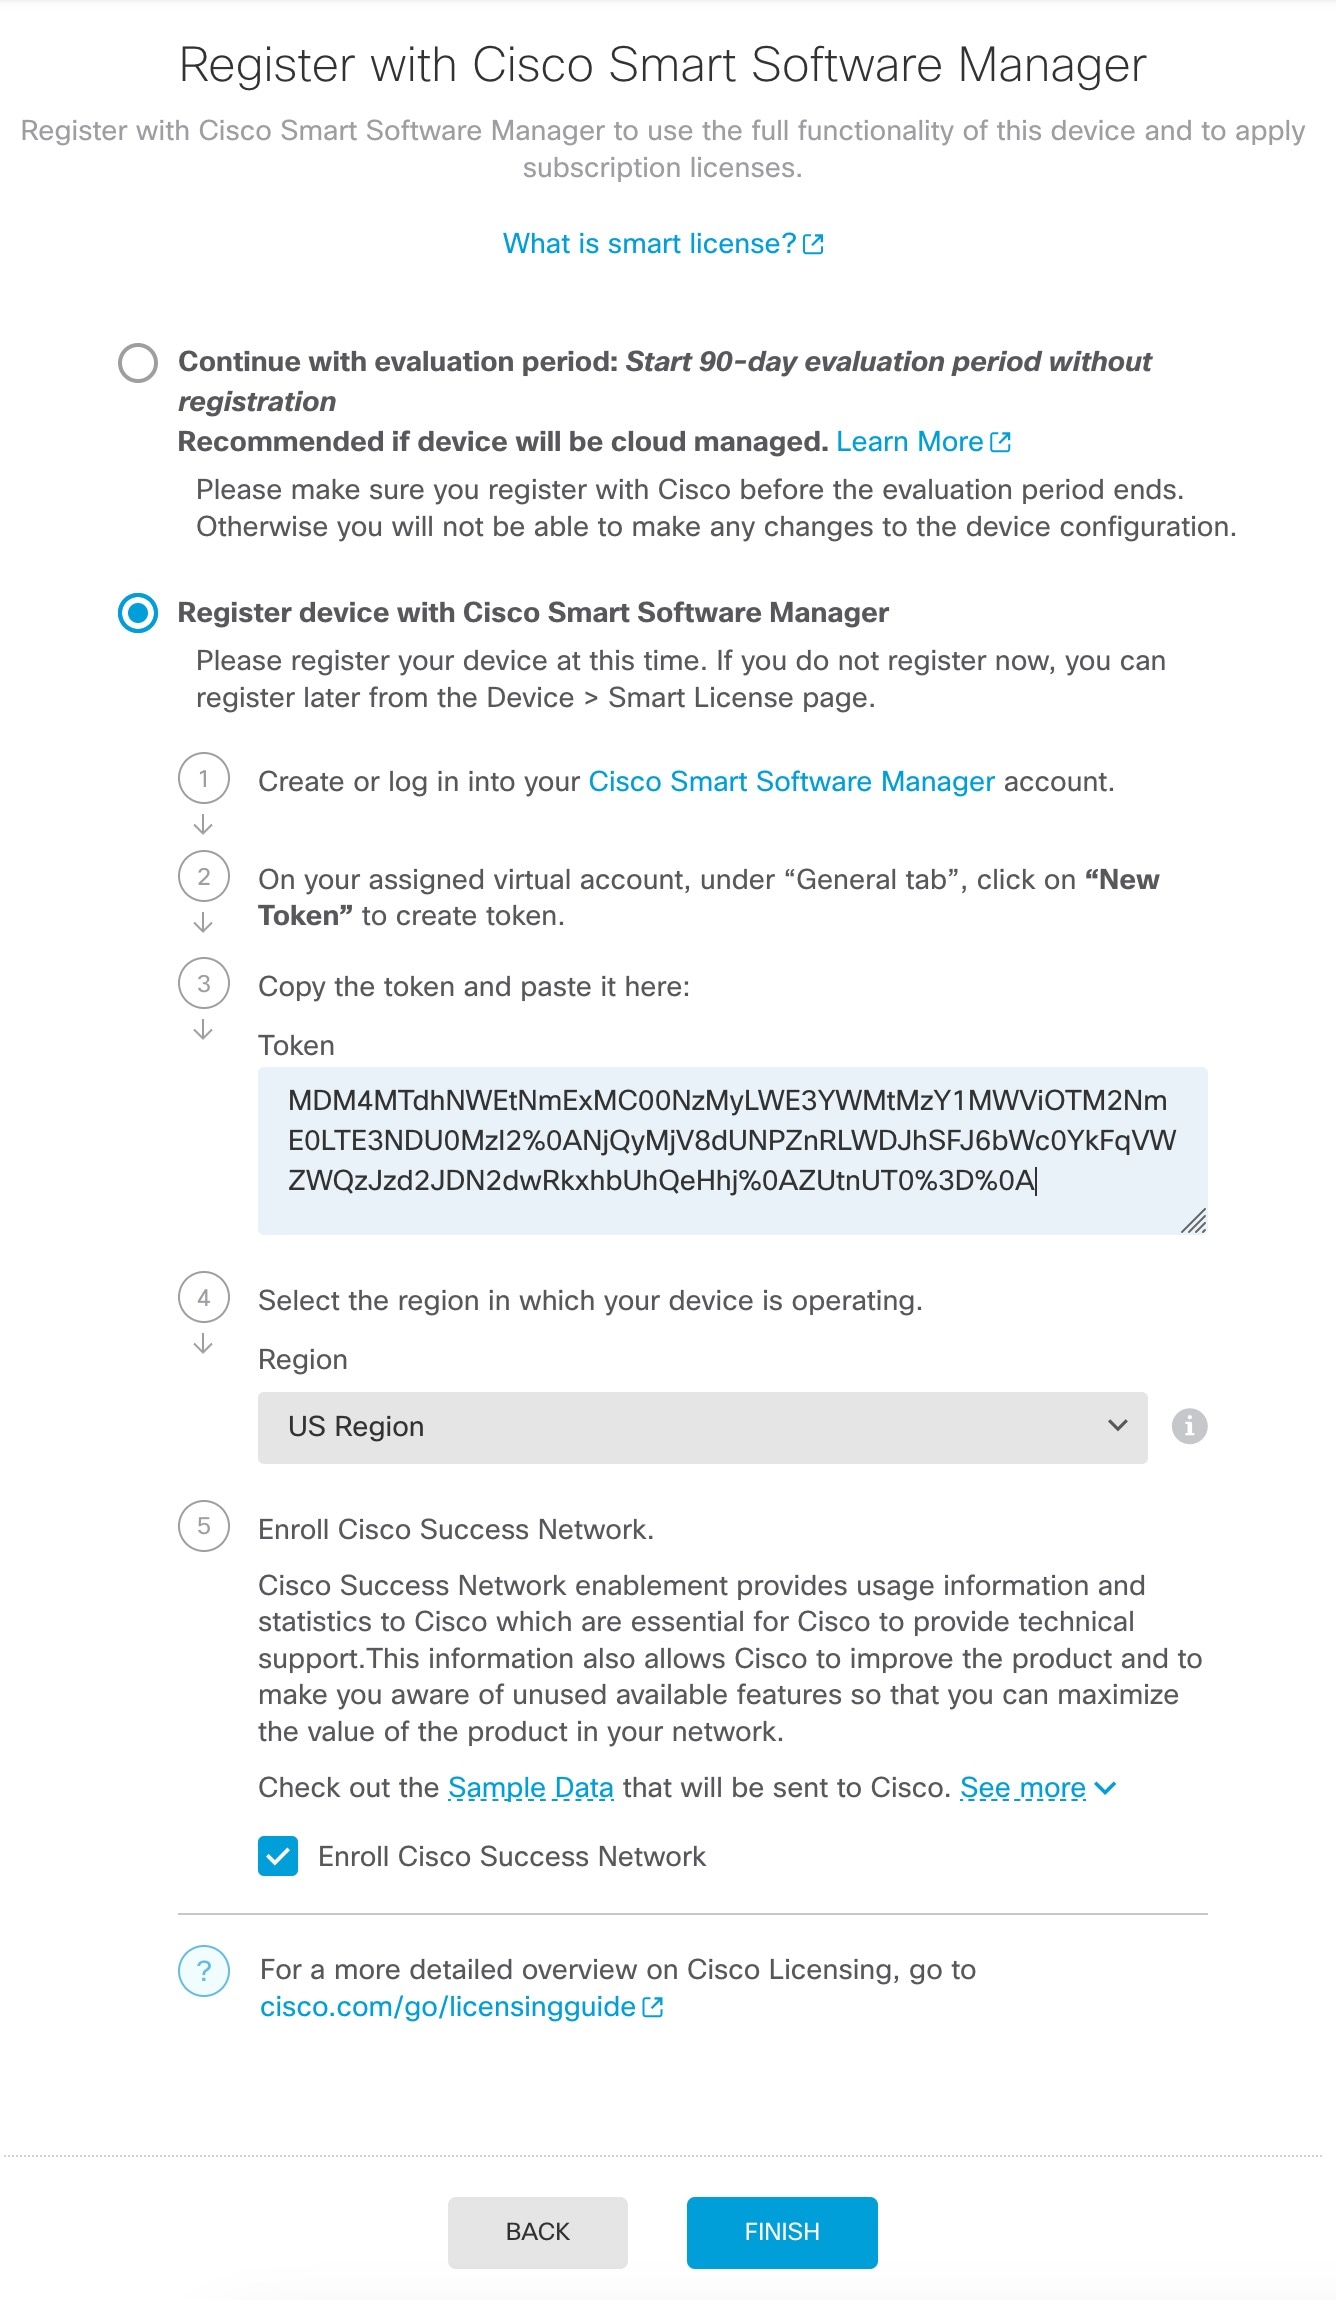
|
|
| 5. | Finish the setup wizard. 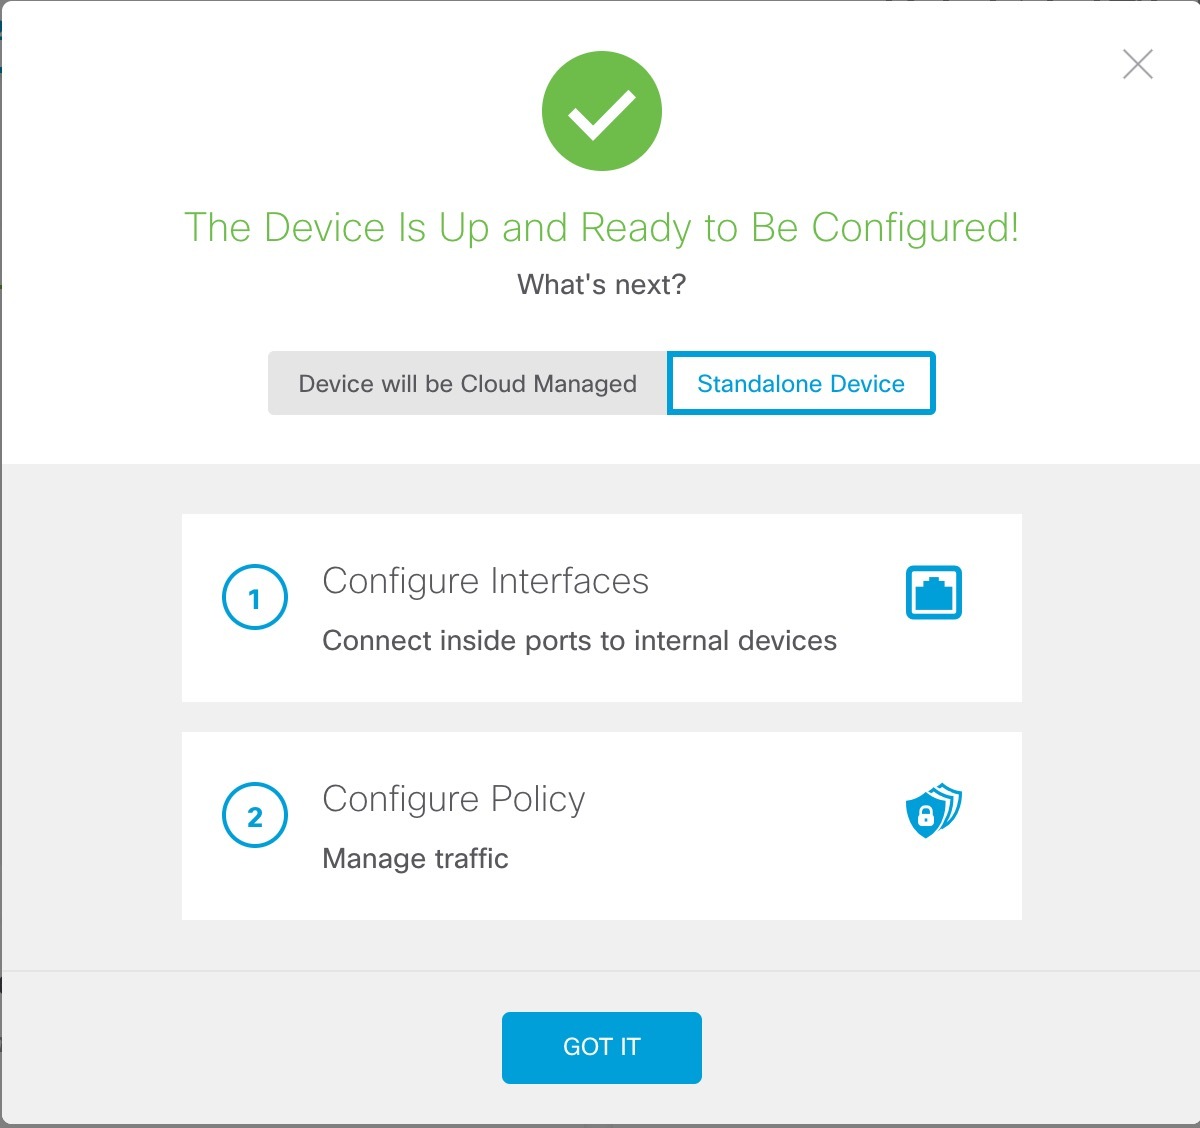
|
|
| 6. | Enable feature licenses.
|