Overview
Provides instructions on how to create and configure a new virtual machine on Microsoft Hyper-V for your Cisco ISE deployment. This process includes mapping the installation ISO, adjusting CPU settings, and completing the software installation.
This section explains how to create a new virtual machine, map the ISO image, edit CPU settings, and install Cisco ISE on Hyper-V.
Cisco ISE does not support Multipath I/O (MPIO). If you use MPIO for the VM, installation will fail.
Before you begin
Procedure
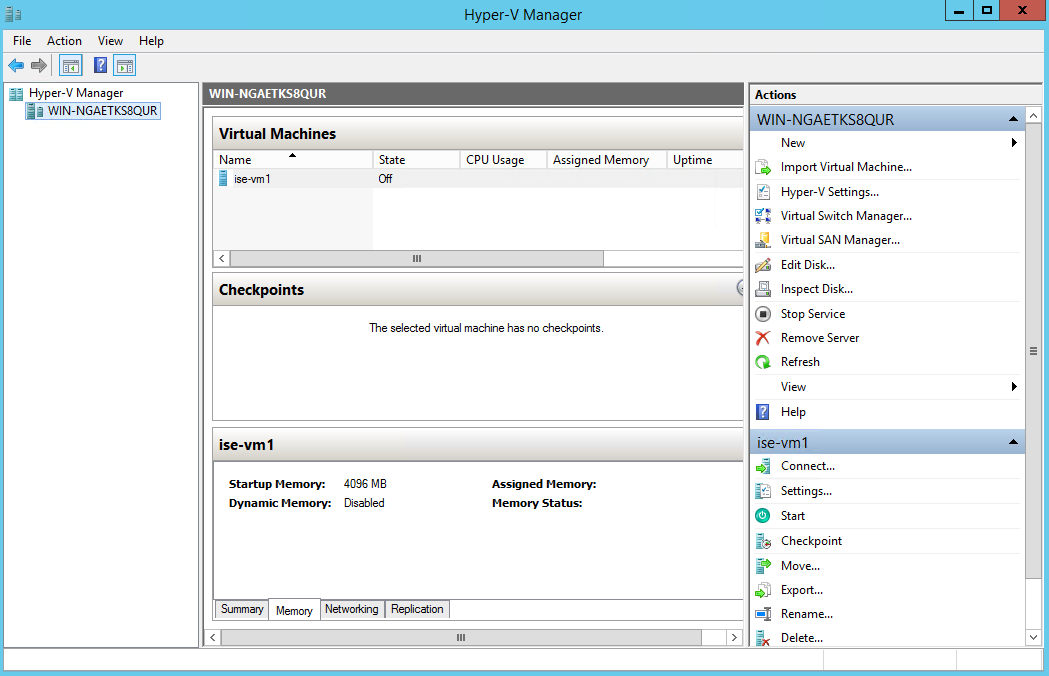
| 1. | Launch Hyper-V Manager on a supported Windows server. 
|
|
| 2. | Right-click the VM host and click New > Virtual Machine. 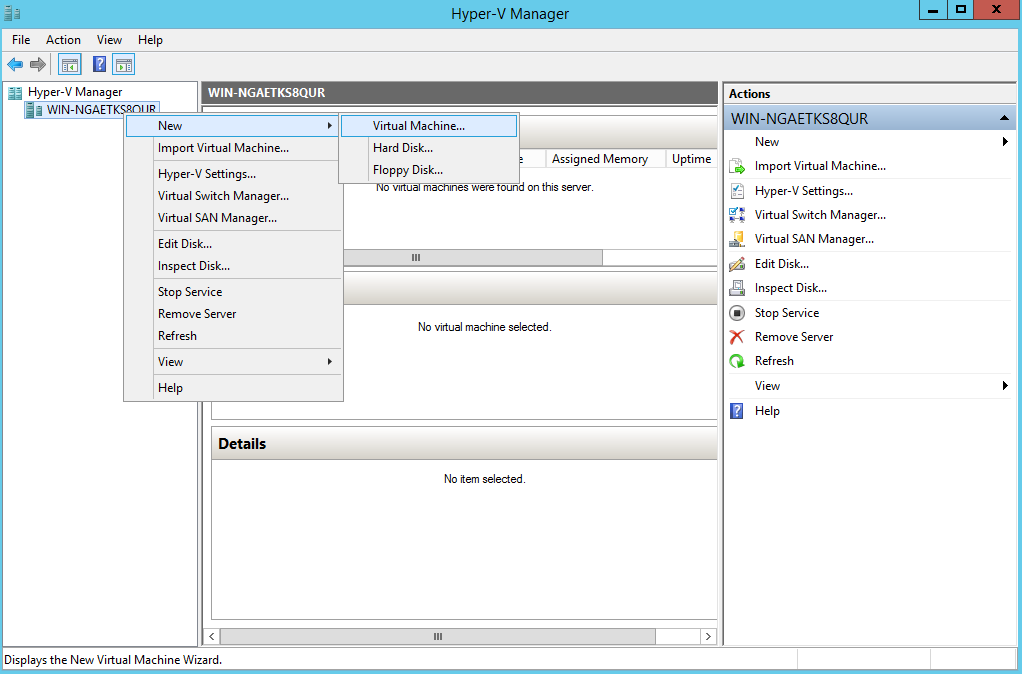
|
|
| 3. | Click Next to customize the VM configuration. 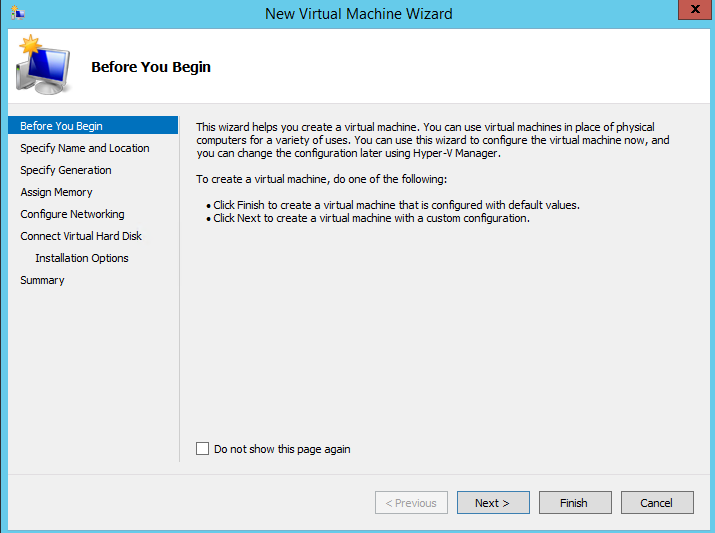
|
|
| 4. | Enter a name for the VM. Choose a different path to store the VM. Click Next. 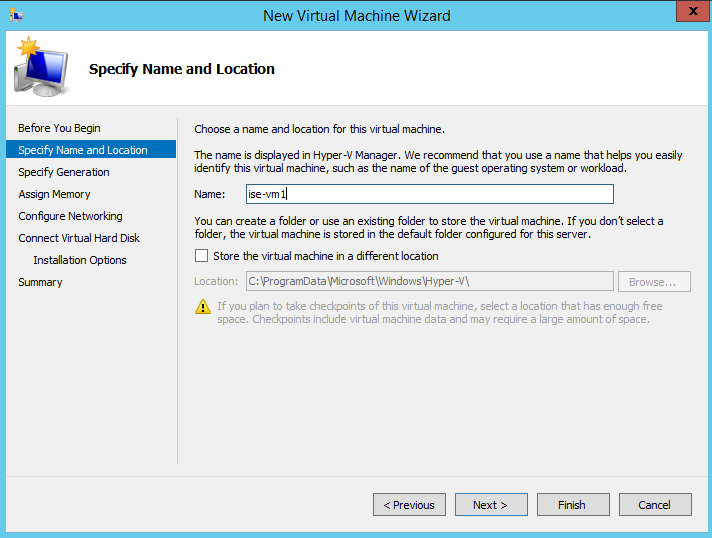
|
|
| 5. | Click the Generation 1 radio button and click Next. If you create a Generation 2 Cisco ISE VM, disable the Secure Boot option in the VM settings. 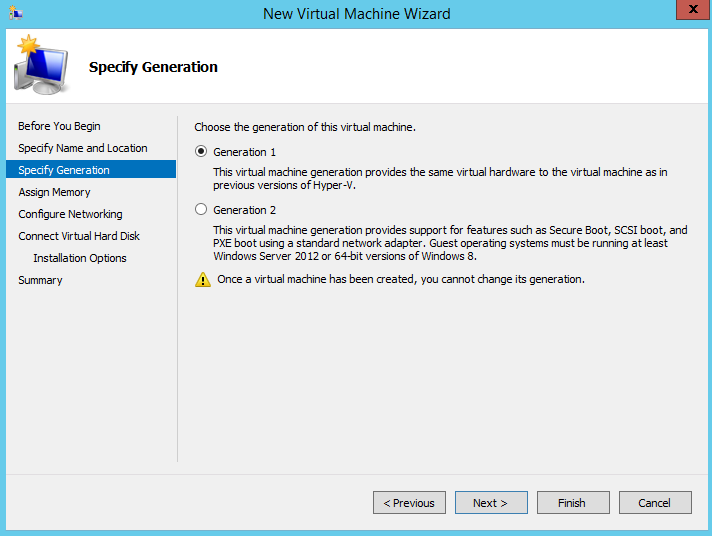
|
|
| 6. | Allocate memory to the VM, for example, 16384 MB. Click Next. |
|
| 7. | Select your network adapter and click Next. 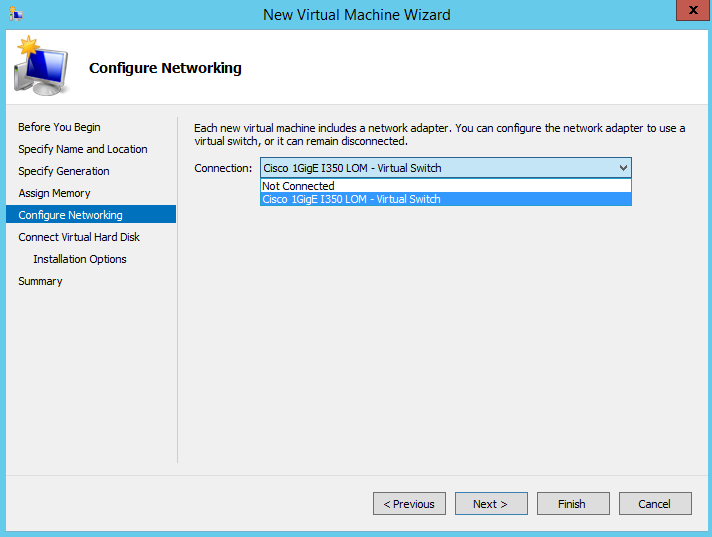
|