
Downloading APIC and Switch Images on APICs
This procedure is to download firmware images of APICs and ACI switches into APIC’s firmware repository from an external file server or from your local machine.
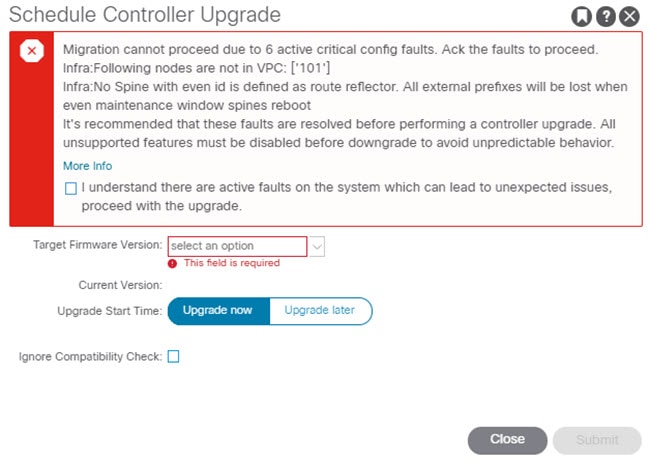
If you are downgrading the software on the Cisco APICs, the process is identical to the process for upgrading the software, except that the target release that you choose will be earlier than the currently installed release. The text for dialogs, fields, buttons, and other controls in the Cisco APIC GUI specify “upgrade” even though you are downgrading the software.
Procedure
|
Step 1 |
On the menu bar, choose .
|
|
Step 2 |
Click the Images tab, then click the Actions icon and select Add Firmware to APIC from the scrolldown menu. |
|
Step 3 |
Determine if you want to import the firmware image from a local or a remote location.
|
|
Step 4 |
Click Submit. |
|
Step 5 |
Click the Images tab again, if necessary, to view the download status of the images. |

 Feedback