Create or edit an authorization group
create, modify, or remove authorization groups, enabling you to manage user access and permissions efficiently within the network management application.
-
Create an authorization group.
-
Edit an authorization group.
Authorization groups help you manage user and group attributes used by authentication and authorization processes.
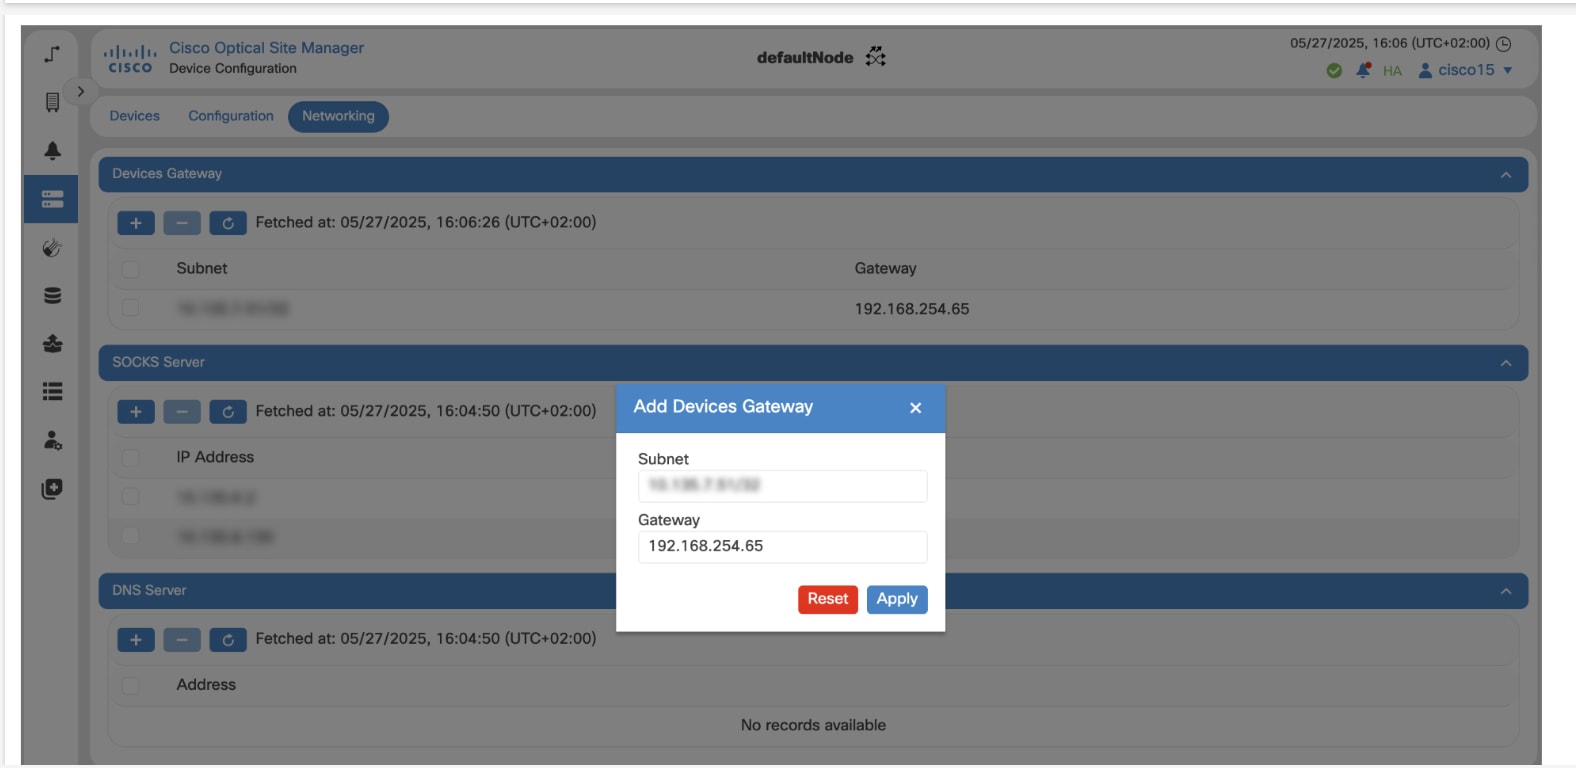
You manage authorization groups from the Devices area.
Before you begin
Log into Cisco Optical Site ManagerFollow these steps to manage authorization groups.
Procedure
|
Step 1 |
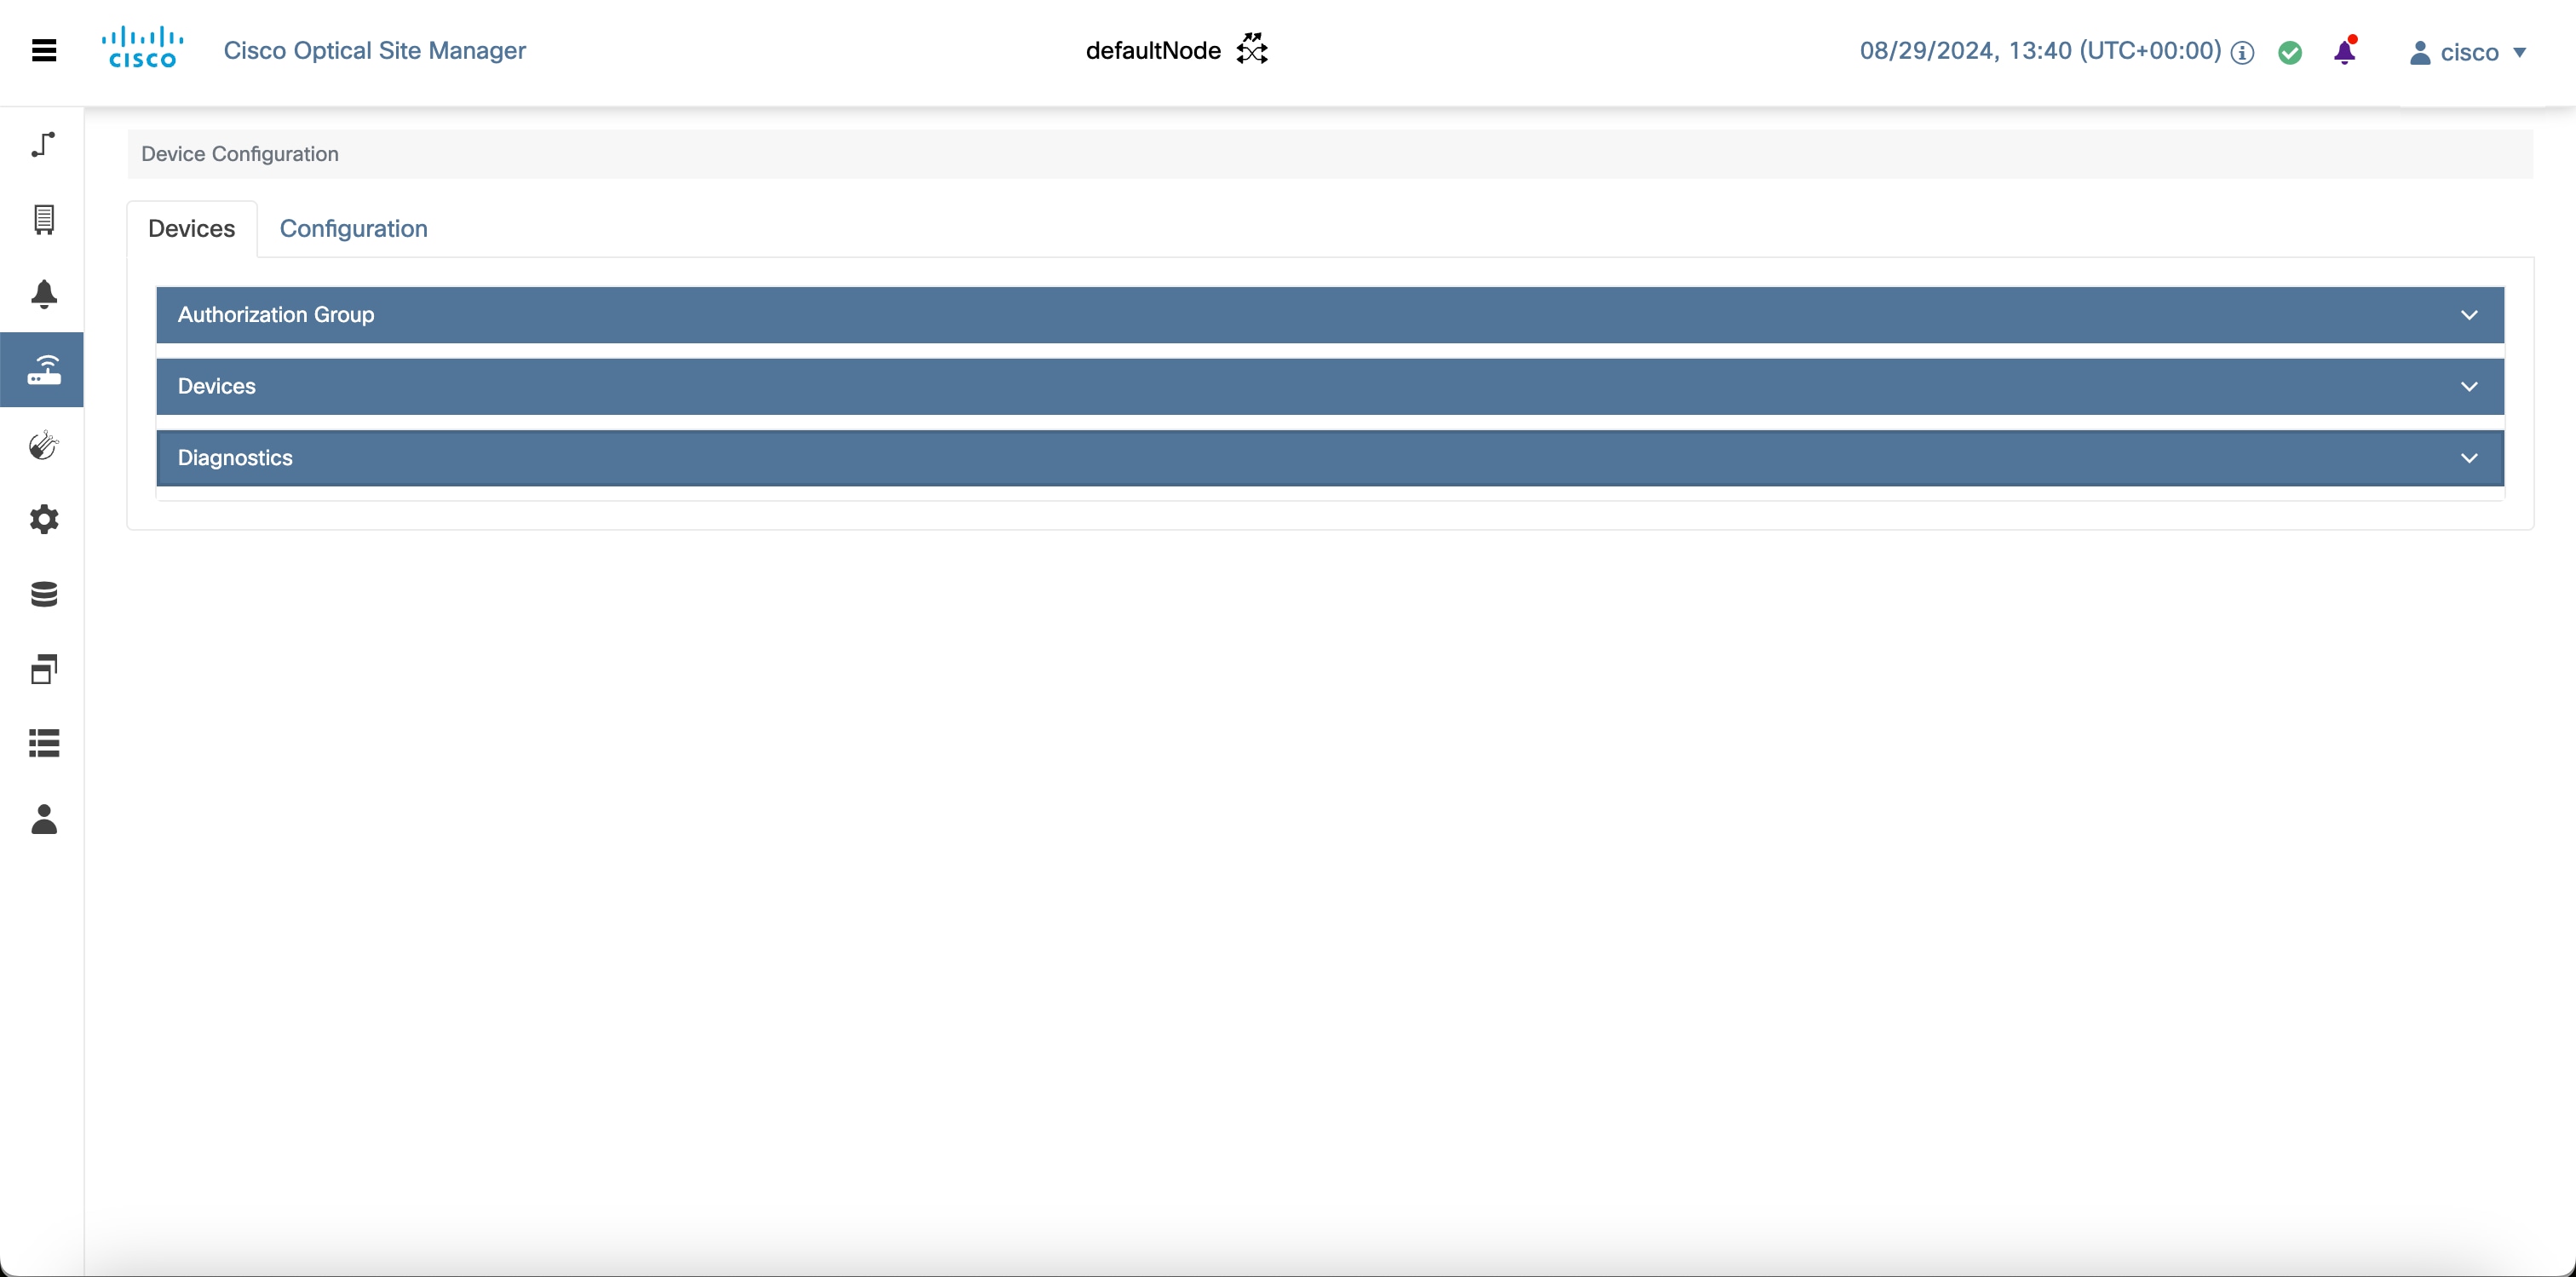
Click Devices in the left panel. The Device Configuration page appears. |
||||||
|
Step 2 |
In the Devices area, click Authorization Group to expand it. The table lists all available authorization groups. |
||||||
|
Step 3 |
Perform these steps, as needed.
|
The authorization group table reflects your changes.


 Feedback