User configuration settings
This section explains how to create users, manage existing users, and set user profile passwords.
Create users
Add new user accounts with specific roles and permissions. This enables controlled access to the Cisco Optical Site Manager for managing optical site operations, ensuring that only authorized personnel can perform configuration and monitoring tasks.
Only users with admin privileges can create new users. The process involves specifying user details such as username, password, password expiry, retry limits, and user group (for example, admin, editor, maintenance, snmp, viewer).
Before you begin
Log into Cisco Optical Site Manager
Follow these steps to create new users.
Procedure
|
Step 1 |
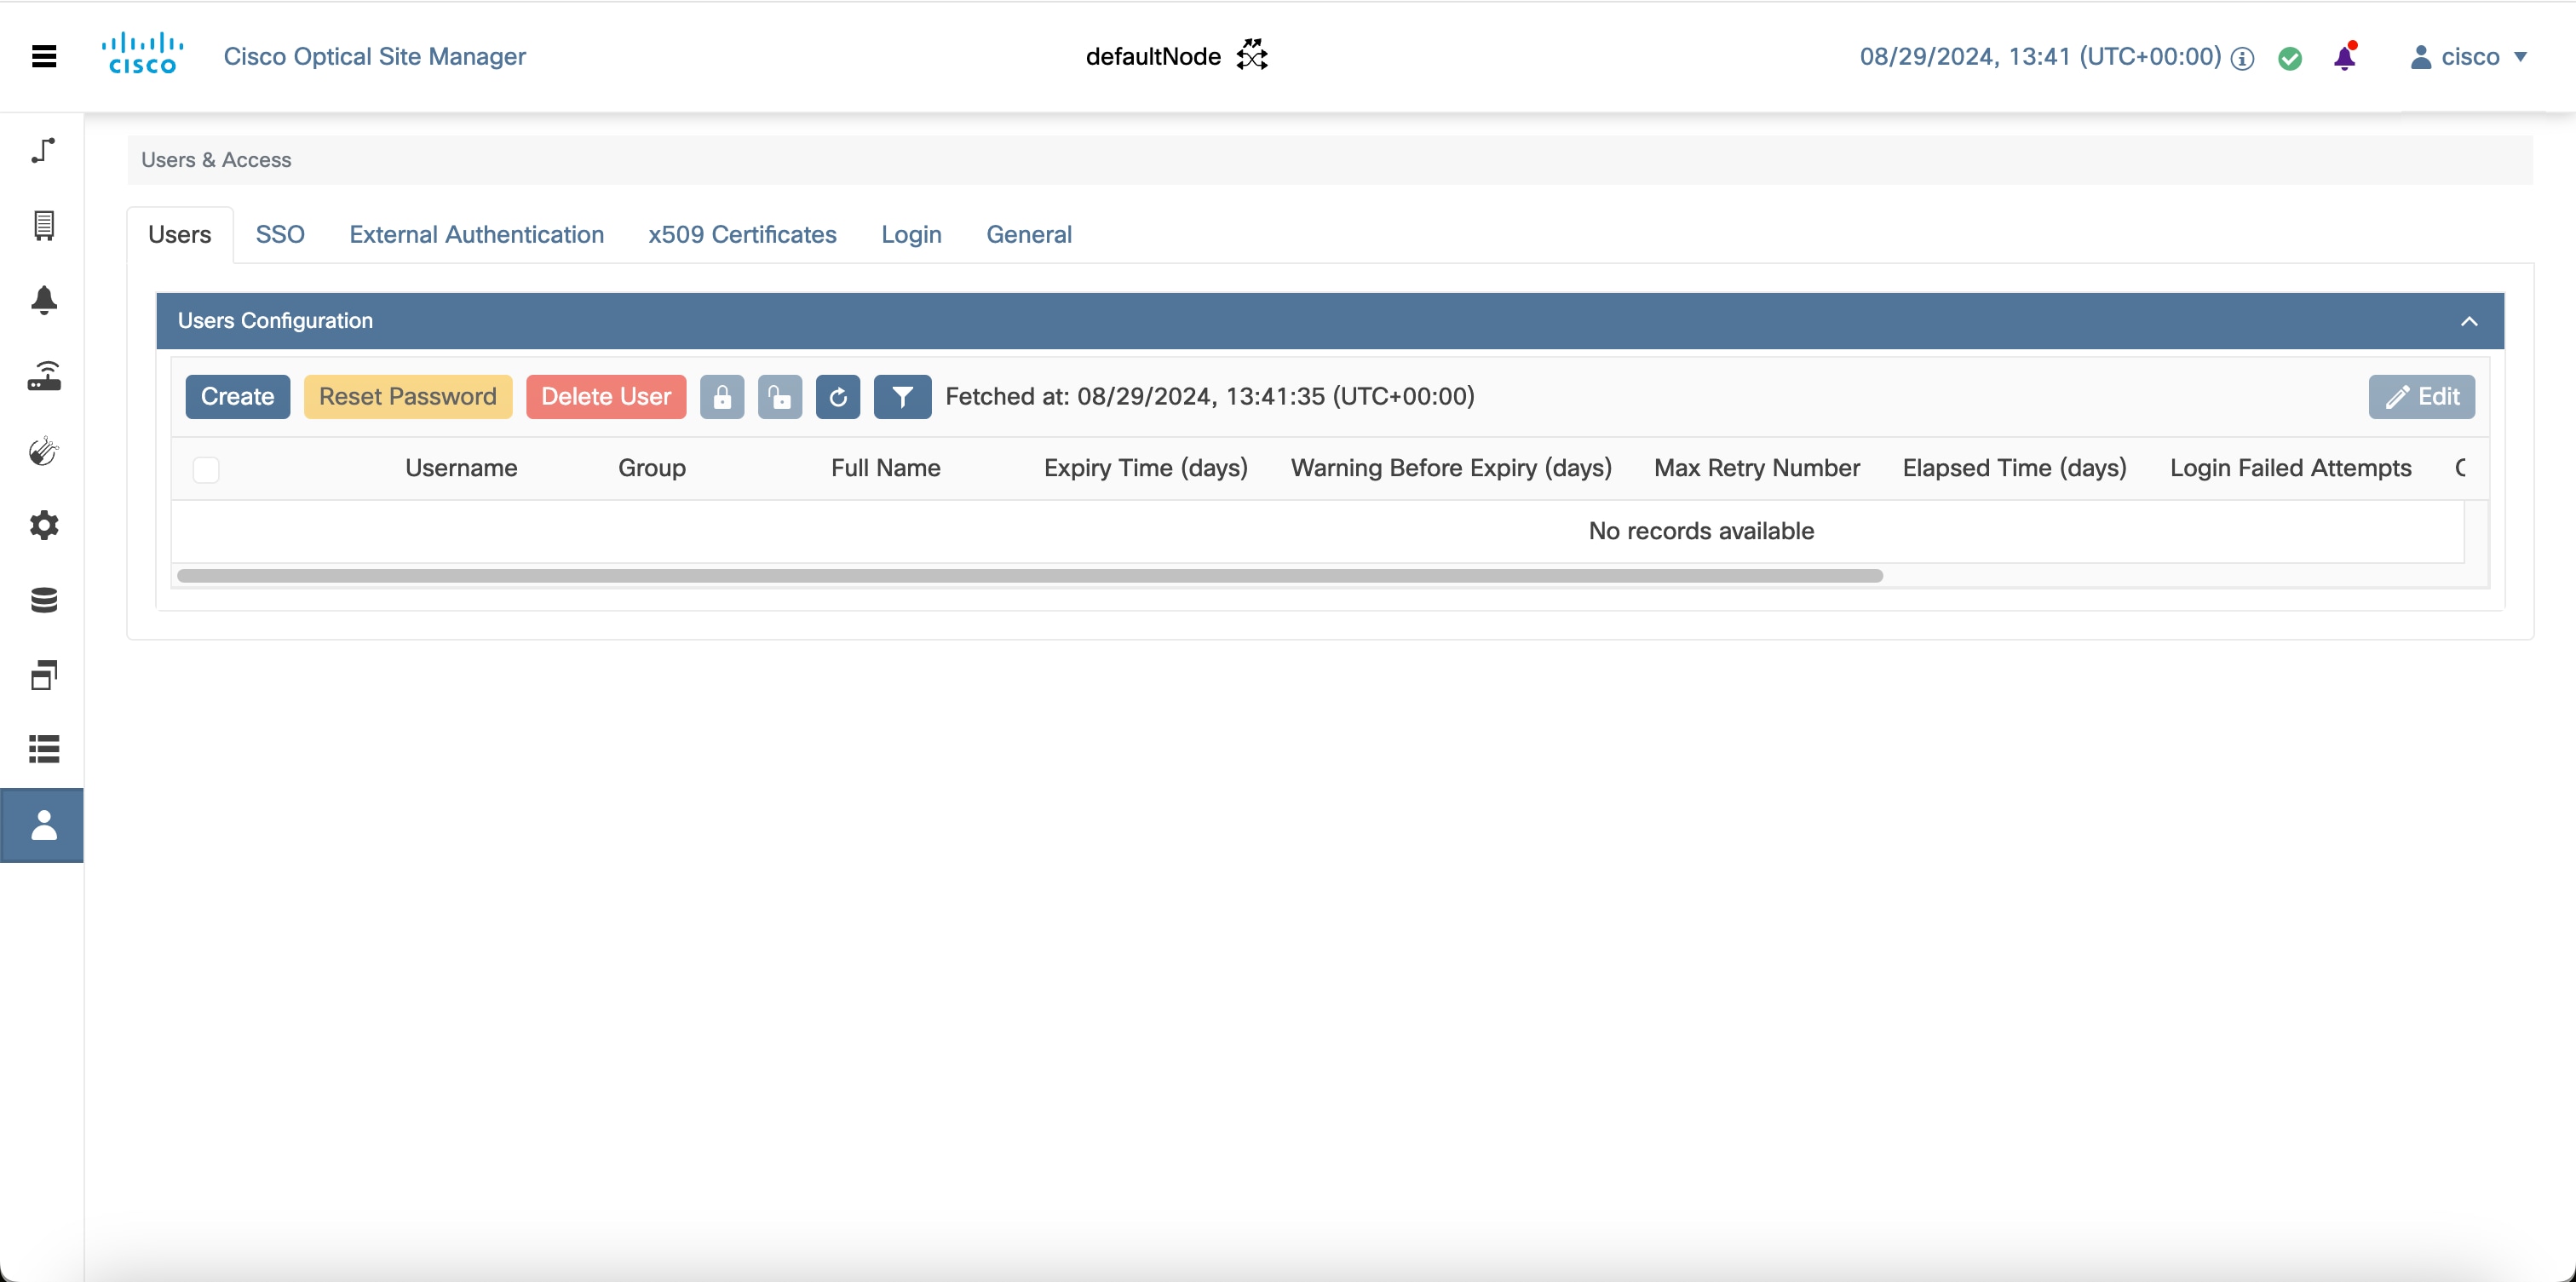
Click Users & Access in the left panel. |
|
Step 2 |
Click the Users tab. |
|
Step 3 |
In the Users Configuration section, click Create. |
|
Step 4 |
Enter the details as described in the Table 1 table. |
|
Step 5 |
Click Create. |
A new user is created. The user account is added to the Cisco Optical Site Manager with the configured credentials and permissions.
| Field | Description / Requirements |
|---|---|
| User Name |
Type the user name. User name requirements:
|
| Password |
Enter the login password. Password requirements:
|
| Retype Password |
Re-enter the password for confirmation. |
| Expiry Time (days) |
Enter the number of days before the user must change the password. Example:
|
| Warning Before Expiry (days) |
Enter the number of days in advance to warn the user before the password expires. |
| Max Retry Number |
Maximum number of consecutive failed login attempts. After this limit, the account is moved to the Password group. |
| Group |
Select the group from the drop-down list. Available options:
|
Change user password
Change a user password to maintain secure access control within Cisco Optical Site Manager. This task ensures that user credentials are updated and protected according to security policies, preventing unauthorized access.
Only an admin can change the password.
Before you begin
Log into Cisco Optical Site Manager
Follow these steps to change password for a user.
Procedure
|
Step 1 |
Click Users & Access in the left panel. |
|
Step 2 |
Click the Users tab. |
|
Step 3 |
Select the check box corresponding to the user you want to change the password in the Users Configuration section. |
|
Step 4 |
Click Reset Password. The Reset Username Password dialog box appears. |
|
Step 5 |
Enter the new password in the New Password field. The password must be a combination of alphanumeric (a-z, A-Z, 0-9) and special (+, #,%) characters. The minimum number of characters in the password is eight and the maximum is 127. The password must not contain the user name. |
|
Step 6 |
Retype the same password in the Retype Password field. |
|
Step 7 |
Click Reset Password. |
|
Step 8 |
Click OK. |
A confirmation message or status indicates that the password has been successfully changed.
Configure user profile settings
Use this task to configure user profile settings in Cisco Optical Site Manager that allows you to manage retry limits and expiration policies.
User profile settings determine authentication behavior, password expiration, and access privileges.
You can enable or disable retry limits and expiration timers based on operational requirements.
Before you begin
Log into Cisco Optical Site Manager
Follow these steps to configure the user profile settings.
Procedure
|
Step 1 |
Click the username in the upper-right corner, then click User Profile. The User Profile window appears. |
|
Step 2 |
(Optional) Enter a value in the Full Name field. |
|
Step 3 |
Configure retry and expiration settings.
|
|
Step 4 |
Assign the user to a group.
|
|
Step 5 |
Click Apply. The updated user profile settings are saved. |
The user profile settings are updated and displayed in the User Profile window.
For more details about the fields, see Table 1 table.
Delete users
Remove user accounts that are no longer needed. This practice maintains security and proper access control. Only authorized users will have access to the system.
Only administrators can delete users.
Before you begin
Log into Cisco Optical Site Manager
Follow these steps to delete users.
Procedure
|
Step 1 |
Click Users & Access in the left panel. |
|
Step 2 |
Click the Users tab. |
|
Step 3 |
Select the check-box corresponding to the user you want to delete in the Users Configuration section. |
|
Step 4 |
Click Delete User. A confirmation message appears. |
|
Step 5 |
Click OK. |
The selected user is deleted and the account is removed from Cisco Optical Site Manager.

 Feedback