- Preface
- Overview
- Installing the Server Operating System or Hypervisor
- Managing the Server
- Viewing Server Properties
- Viewing Server Sensors
- Managing Remote Presence
- Managing User Accounts
- Configuring Network-Related Settings
- Configuring Communication Services
- Managing Certificates
- Configuring Platform Event Filters
- CIMC Firmware Management
- Viewing Logs
- Server Utilities
- Diagnostic Tests
- Index
Server Utilities
This chapter includes the following sections:
- Exporting Technical Support Data
- Rebooting CIMC
- Resetting CIMC to Factory Defaults
- Exporting and Importing the CIMC Configuration
Exporting Technical Support Data
Perform this task when requested by the Cisco Technical Assistance Center (TAC). This utility creates a summary report containing configuration information, logs and diagnostic data that will help TAC in troubleshooting and resolving a technical issue.
What to Do Next
Provide the generated report file to Cisco TAC.
Rebooting CIMC
On rare occasions, such as an issue with the current running firmware, troubleshooting a server may require you to reboot the CIMC. This procedure is not part of the normal maintenance of a server. After you reboot the CIMC, you are logged off and the CIMC will be unavailable for a few minutes.
 Note |
If you reboot the CIMC while the server is performing power-on self test (POST) or is operating in the Extensible Firmware Interface (EFI) shell, the server will be powered down until the CIMC reboot is complete. |
You must log in as a user with admin privileges to reboot the CIMC.
| Step 1 | In the Navigation pane, click the Admin tab. |
| Step 2 |
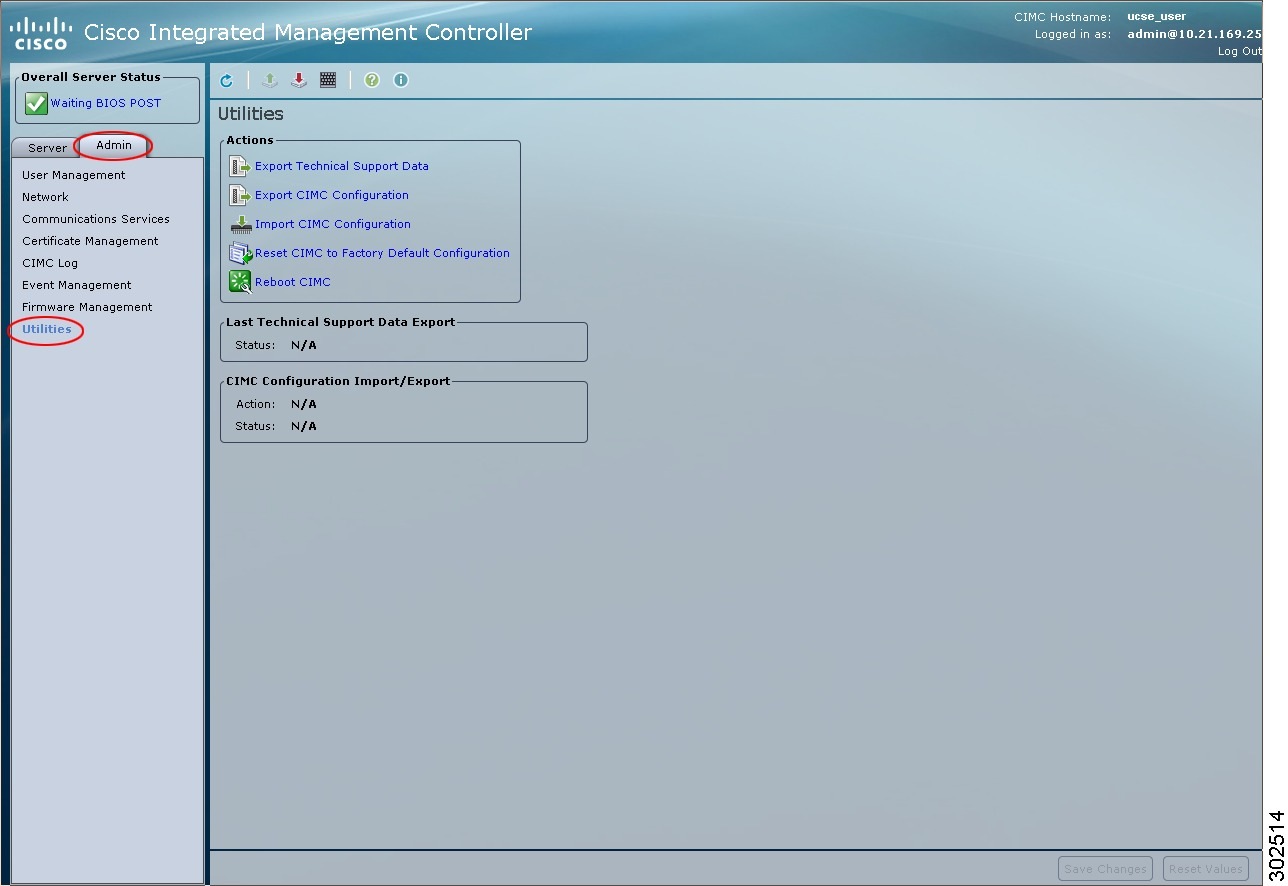
On the Admin tab, click Utilities.
|
| Step 3 | In the Actions area of the Utilities pane, click Reboot CIMC. |
| Step 4 | Click OK. |
Resetting CIMC to Factory Defaults
On rare occasions, such as an issue with the current running firmware, troubleshooting a server may require you to reset the CIMC to the factory default. When this happens, all user-configurable settings are reset.
This procedure is not part of the normal server maintenance. After you reset the CIMC, you are logged off and must log in again. You may also lose connectivity and may need to reconfigure the network settings.
You must log in as a user with admin privileges to reset the CIMC to factory defaults.
| Step 1 | In the Navigation pane, click the Admin tab. |
| Step 2 |
On the Admin tab, click Utilities.
|
| Step 3 | In the Actions area of the Utilities pane, click Reset CIMC to Factory Default Configuration. |
| Step 4 |
Click OK. A reboot of CIMC while the host is performing BIOS POST (Power on Self Test) or is in EFI shell will turn off the host for a short amount of time. CIMC will power on when it is ready. |
Exporting and Importing the CIMC Configuration
Exporting and Importing the CIMC Configuration
To perform a backup of the CIMC configuration, you take a snapshot of the system configuration and export the resulting CIMC configuration file to a location on your network. The export operation saves information from the management plane only; it does not back up data on the servers. Sensitive configuration information such as user accounts and the server certificate are not exported.
You can restore an exported CIMC configuration file to the same system or you can import it to another CIMC system, provided that the software version of the importing system is the same as or is configuration-compatible with the software version of the exporting system. When you import a configuration file to another system as a configuration template, you must modify system-specific settings such as IP addresses and host names. An import operation modifies information on the management plane only.
The CIMC configuration file is an XML text file whose structure and elements correspond to the CIMC command modes.
When performing an export or import operation, consider these guidelines:
- You can perform an export or an import while the system is up and running. While an export operation has no impact on the server or network traffic, some modifications caused by an import operation, such as IP address changes, can disrupt traffic or cause a server reboot.
- You cannot execute an export and an import simultaneously.
Exporting the CIMC Configuration
Note |
For security reasons, this operation does not export user accounts or the server certificate. |
Obtain the backup TFTP server IP address.
If you want the option to restore the SNMP configuration information when you import the configuration file, make sure that SNMP is enabled on this server before you create the configuration file. If SNMP is disabled when you export the configuration, CIMC will not apply the SNMP values when the file is imported.
| Step 1 | In the Navigation pane, click the Admin tab. | ||||||
| Step 2 |
On the Admin tab, click Utilities.
|
||||||
| Step 3 | In the Actions area of the Utilities pane, click Export CIMC Configuration. | ||||||
| Step 4 |
In the Export CIMC Configuration dialog box, complete the following fields:
|
||||||
| Step 5 | Click Export. |
Importing a CIMC Configuration
If you want to restore the SNMP configuration information when you import the configuration file, make sure that SNMP is disabled on this server before you do the import. If SNMP is enabled when you perform the import, CIMC does not overwrite the current values with those saved in the configuration file.
| Step 1 | In the Navigation pane, click the Admin tab. | ||||||
| Step 2 |
On the Admin tab, click Utilities.
|
||||||
| Step 3 | In the Actions area of the Utilities pane, click Import CIMC Configuration. | ||||||
| Step 4 |
In the Import CIMC Configuration dialog box, complete the following fields:
|
||||||
| Step 5 | Click Import. |
 Feedback