Add a User
Before you begin
-
A default username is created with site administrator privileges while setting up the cluster. As a first-time user, you can log in using this default username, then click Forgot Password to create a password. After logging in, the first-time user is assigned the site administrator privileges.
-
You must be a Site Admin to add users in Secure Workload.
-
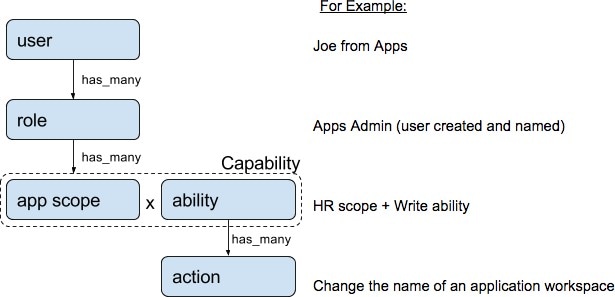
If a user is assigned a scope for multitenancy, only roles that are assigned to the same scope may be selected.
-
To recover passwords for users, a Site Admin with an email account can use the username of the user to generate a random password to recover the password.
 Note |
This page is filtered by the scope preference that is selected on the page header. |
Procedure
|
Step 1 |
If applicable, select the appropriate root scope from the page header. |
||||||||||||
|
Step 2 |
From the navigation pane, choose . |
||||||||||||
|
Step 3 |
Click Create New User. |
||||||||||||
|
Step 4 |
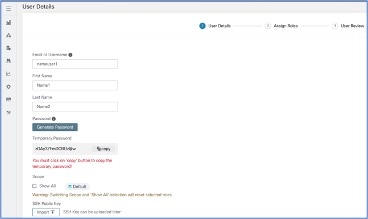
Update the following fields under User Details.
|
||||||||||||
|
Step 5 |
Click Next. |
||||||||||||
|
Step 6 |
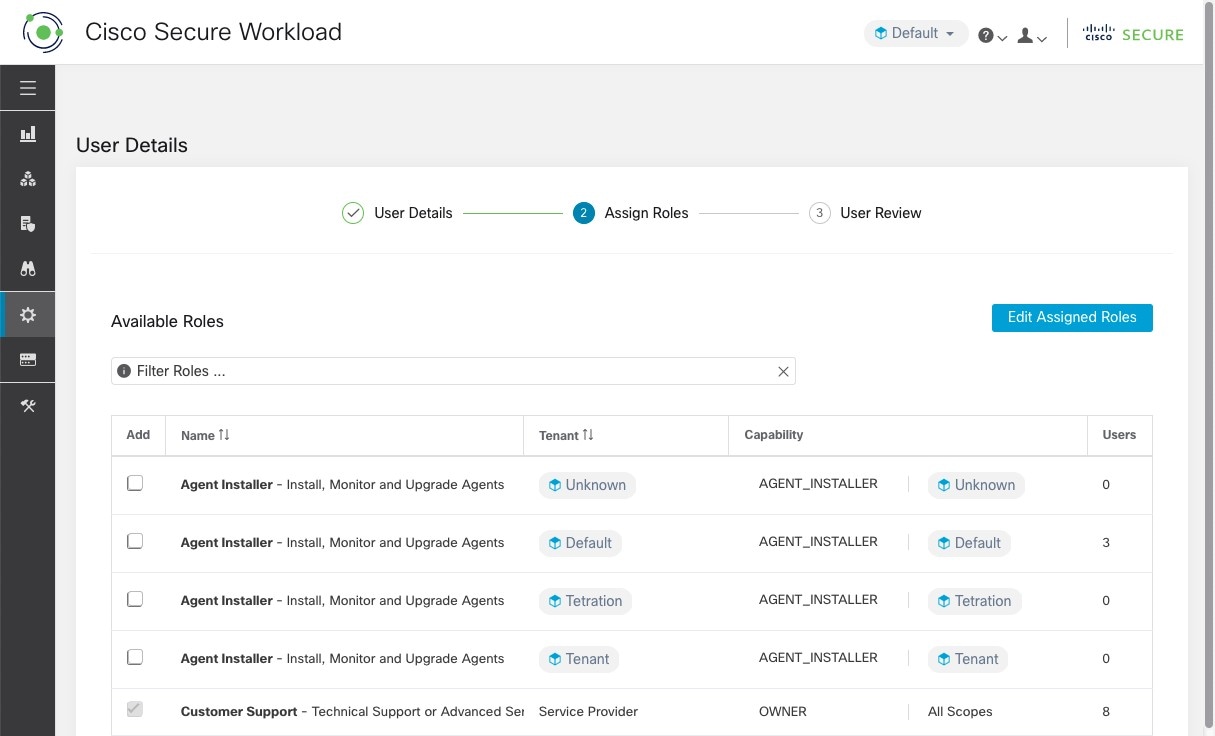
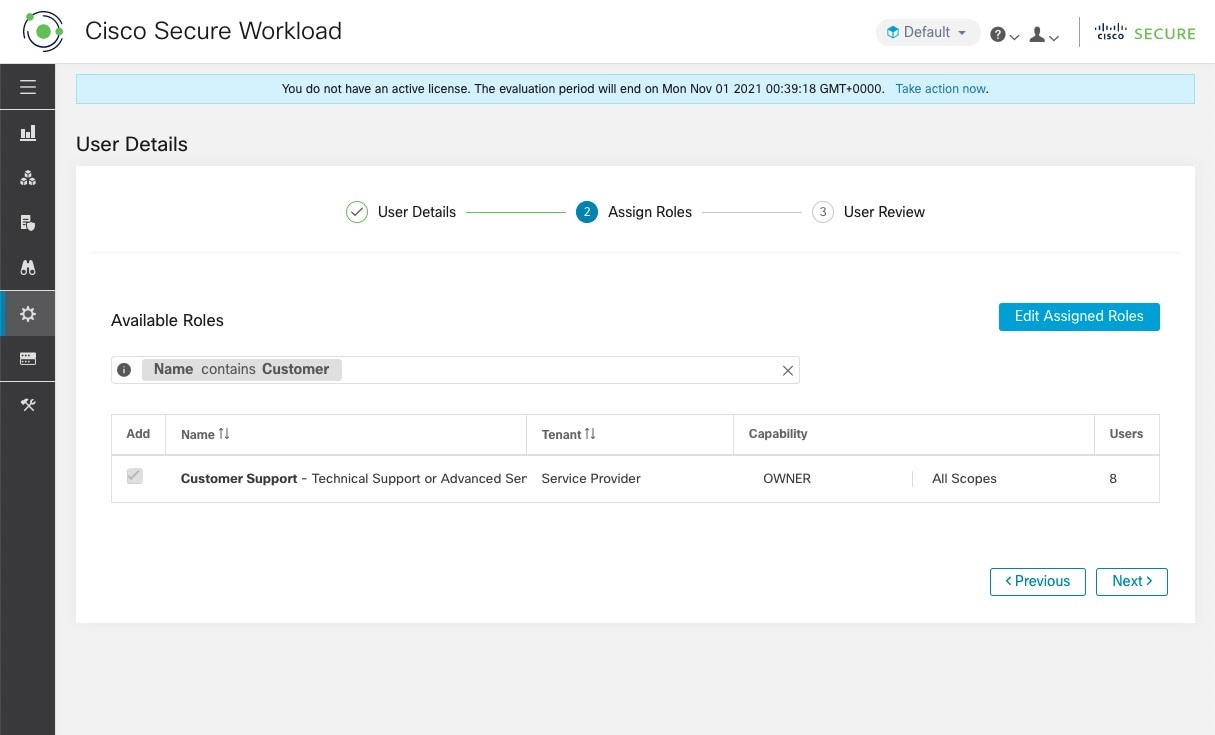
Under Assign Roles, add or remove assigned roles to the user.
|
||||||||||||
|
Step 7 |
Click Next. |
||||||||||||
|
Step 8 |
Under User Review, review the user details and the assigned roles. Click Create. If external authentication is enabled, the authentication details are displayed. After the user is added in Secure Workload, an activation email is sent to the registered email ID to set up the password.
|

 Feedback