The Integrations page provides a comprehensive view of your managed infrastructure within Security Cloud Control Firewall
Management:
Security Cloud Control. page. The Integrations page also lists tab.
You can click the FMC tab and onboard an on-premises Firewall Management
Center by clicking the Onboard FMC ( ) icon, and perform device actions using the options in the right pane. See Onboard an On-Prem Firewall Management Center.
You can also see device information such as version, number of devices being managed by the management center, device type,
and the synchronization status of the device. Clicking on the managed devices icon takes you to the Security Devices page, where devices managed by the selected on-premises Firewall Management
Center are filtered automatically and displayed. The Integrations page also allows you to select more than one on-premises Firewall Management
Center at a time for you to perform actions on a group of management centers all at once. You cannot select any on-premises Firewall Management
Center while the Cloud-Delivered Firewall Management Center is selected. To add a new secure connector or perform actions on existing secure connectors, choose the Secure Connectors tab and click .
In the left pane, click .
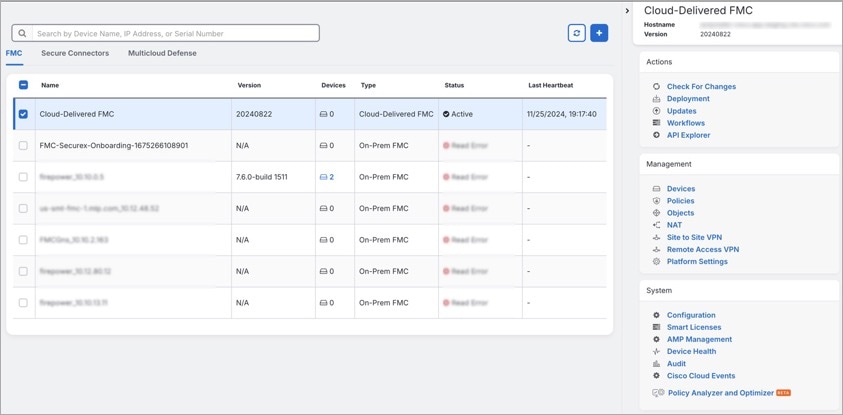
For your Cloud-Delivered Firewall Management Center, the Integrations page displays the following information:
-
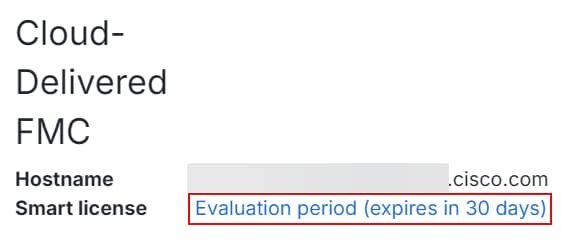
If you do not have a Cloud-Delivered Firewall Management Center deployed on your tenant, click Enable Cloud-Delivered
FMC. See Enable Cloud-Delivered Firewall Management
Center on Your Security Cloud Control Tenant for more information.
-
The number of Secure Firewall Threat
Defense devices deployed on the Cloud-Delivered Firewall Management Center.
-
Status of the connection between Security Cloud Control and the Cloud-Delivered Firewall Management Center page.
-
The last heartbeat of the Cloud-Delivered Firewall Management Center. This represents the last time the status of the Cloud-Delivered Firewall Management Center itself and the number of devices that it manages were synchronized with the
table on this page.
-
The hostname of the selected Cloud-Delivered Firewall Management Center.
Choose Cloud-Delivered FMC and using the links in the
Actions, Management, or Settings pane, you open the Cloud-Delivered Firewall Management Center user interface to perform the configuration tasks that are associated with the link
you clicked.
Actions:
-
Check For Changes: The Device Count and Status information in the table
will be updated with the information available the last time this page and the
Cloud-Delivered Firewall Management Center were synchronized. Synchronization happens every 10 minutes.
-
Deployment: Takes you to the device configuration deployment page on Cloud-Delivered Firewall Management Center. See Deploy Configuration Changes.
-
Workflows: Takes you to the Workflows page to monitor every process
that Security Cloud Control runs when communicating with devices. See Workflows page.
-
API Explorer: Takes you to the page that lists the Cloud-Delivered Firewall Management Center REST APIs. See Secure Firewall Management Center REST API
Guide.
-
Unified Events: Takes you to the Unified Events page on the Cloud-delivered Firewall Management Center portal, which provides a single-screen view of various firewall events,
including connection, intrusion, file, malware, and security-related connection events. For more information, see Unified Events.

Note
|
The Unified Events feature requires activation. If you have not yet activated this feature, contact your Cisco sales representative
to enable it.
|
Management:
-
Devices: Takes you to the Firewall Threat
Defense device listing page on the Cloud-Delivered Firewall Management Center portal. See Configure Devices.
-
Policies: Takes you to the policies page on the Cloud-Delivered Firewall Management Center portal to edit system-provided access control policies and create custom
access control policies. See Manage Access Control Policies.
-
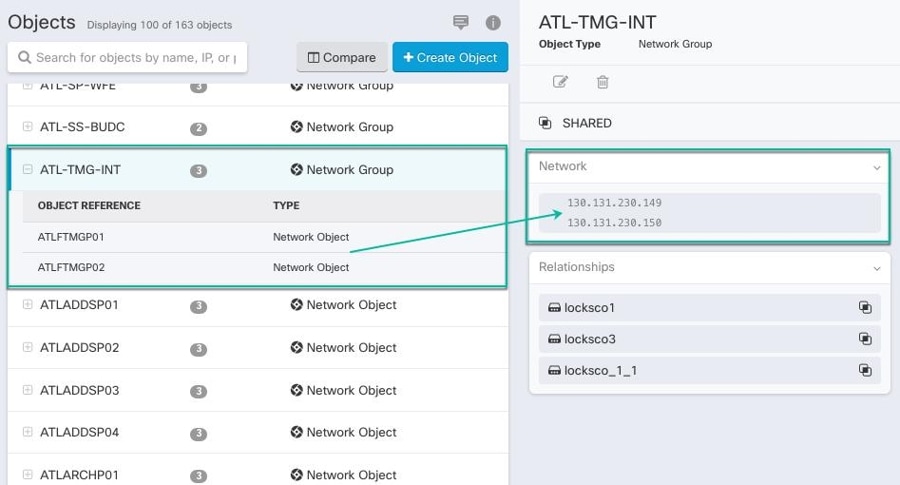
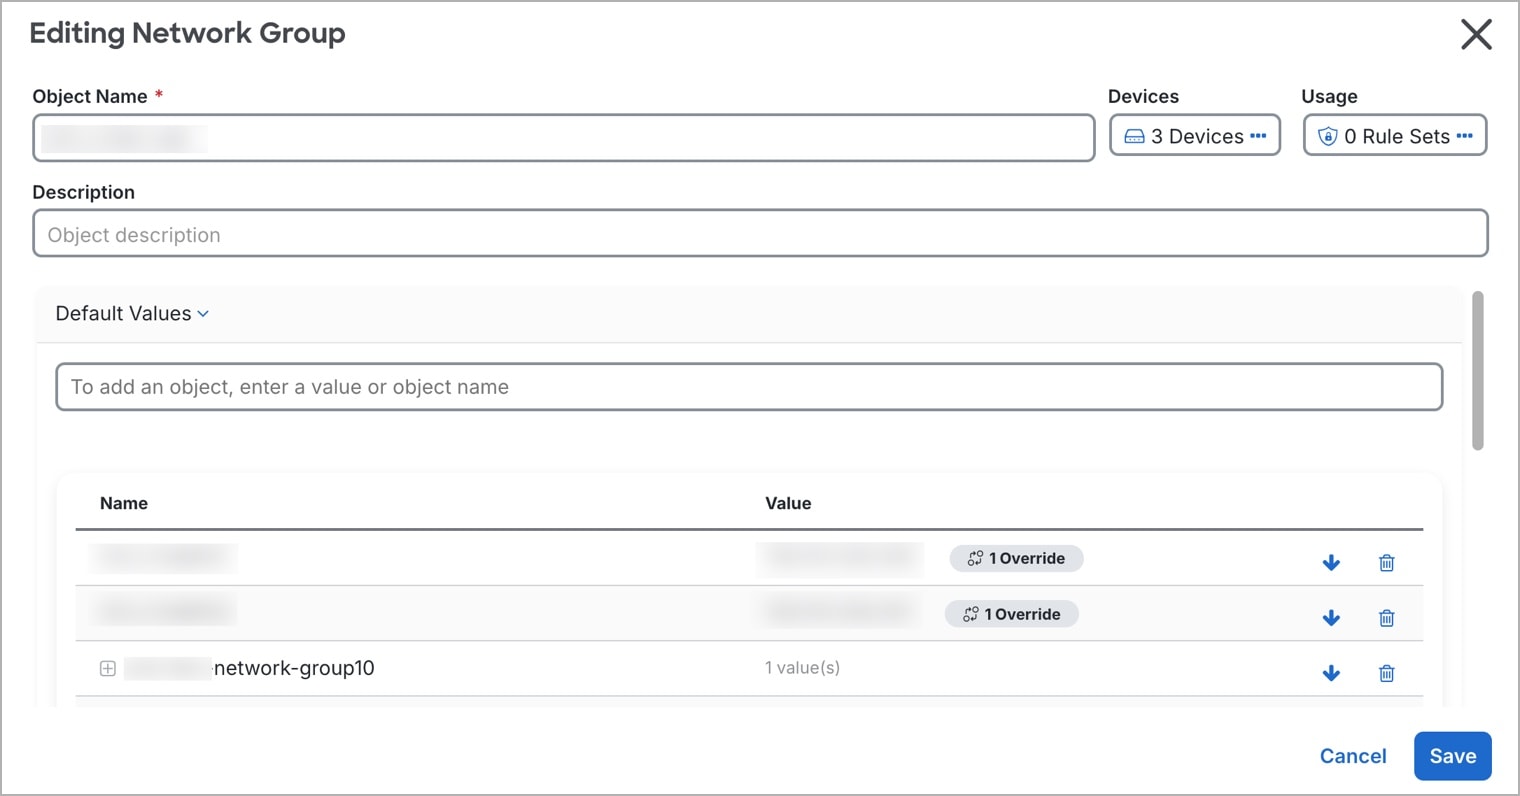
Objects: Takes you to the policies page on the Cloud-Delivered Firewall Management Center portal to manage reusable objects. See Object Management.
-
NAT: Takes you to the policies page on the Cloud-Delivered Firewall Management Center portal to configure Network Address Translation policies on the Firewall Threat
Defense devices. See Manage NAT policies.
-
Site to Site VPN: Takes you to the site-to-site VPN dashboard page on the
Cloud-Delivered Firewall Management Center portal to configure site-to-site VPN policy between two sites. See Site-to-Site VPNs.
-
Remote Access VPN: Takes you to the remote access VPN dashboard page on
the Cloud-Delivered Firewall Management Center portal to configure a remote access VPN configuration. See Remote Access VPN.
-
Platform Settings: Takes you to the platform settings page on the Cloud-Delivered Firewall Management Center portal to configure a range of unrelated features whose values you might want
to share among several devices. See Platform Settings.
System:
-
Configuration: Takes you to the system configuration settings page on the
Cloud-Delivered Firewall Management Center portal to configure system configuration settings. See System Configuration.
-
Smart Licenses: Takes you to the smart licenses page on the Cloud-Delivered Firewall Management Center portal to assign licenses to devices. See Assign Licenses to Devices.
-
AMP Management: Takes you to the AMP management page on the Cloud-Delivered Firewall Management Center portal that provides intelligence that the system uses to detect and block
malware on your network. See Cloud Connections for Malware
Protection.
-
Device Health: Takes you to the health monitoring page on the Cloud-Delivered Firewall Management Center portal that tracks various health indicators to ensure that the hardware and
software in the system are working correctly. See About Health Monitoring.
-
Audit: Takes you to the audit log page on the Cloud-Delivered Firewall Management Center portal to show the generated audit record for each user interaction with the
web interface.
-
Cisco Cloud Events: Takes you to the configure Cisco Cloud events page on
the Security Cloud Control portal to configure Cloud-Delivered Firewall Management Center to send events directly to SAL (SaaS). See Send Events to SAL (SaaS).
-
After opening the Cloud-Delivered Firewall Management Center page, click the blue question mark button and select Page-level Help to learn
more about the page you are on and what further action you can take.
Support to Open Security Cloud Control and Cloud-Delivered Firewall Management Center Applications in Separate Tabs
As you configure Firewall Threat
Defense devices or objects in Cloud-Delivered Firewall Management Center, you can open the appropriate configuration pages in additional browser tabs to
work simultaneously in the Security Cloud Control and the Cloud-Delivered Firewall Management Center portals without logging off.
For example, you can create an object on Cloud-Delivered Firewall Management Center and simultaneously monitor event logs on Security Cloud Control that are generated from the security policies.
This feature is available for all Security Cloud Control links that navigate to the Cloud-Delivered Firewall Management Center portal. To open the Cloud-Delivered Firewall Management Center portal in a new tab:
On the Security Cloud Control portal, press and hold the Ctrl (Windows) or Command (Mac) button, then click the
corresponding link.
Note
|
A single click opens the Cloud-Delivered Firewall Management Center page in the same tab.
|
Here are some examples of opening the Cloud-Delivered Firewall Management Center portal page in a new tab:
-
Choose Administration > Firewall Management Center and select Cloud-Delivered FMC. In the right pane, press and hold the Ctrl (Windows) or Command (Mac) button, and then click the page that you want to access.
-
Choose Objects > Other FTD Objects.
-
Click the search icon in the top-right corner of the Security Cloud Control page and enter the search strings in the search field that appears.
From the search result, press and hold the Ctrl (Windows) or Command (Mac) button, and then click the arrow icon.
-
Choose Dashboard > Quick Actions. Press and hold the Ctrl (Windows) or Command (Mac) button, and then click Manage FTD Policies or Manage FTD Objects.
Note
|
When you switch to a new Security Cloud Control tenant, the corresponding Cloud-Delivered Firewall Management Center portal already opened in a new tab logs out.
|
 Install DUO Security. We recommend installing the Duo Security app on a mobile phone. Review
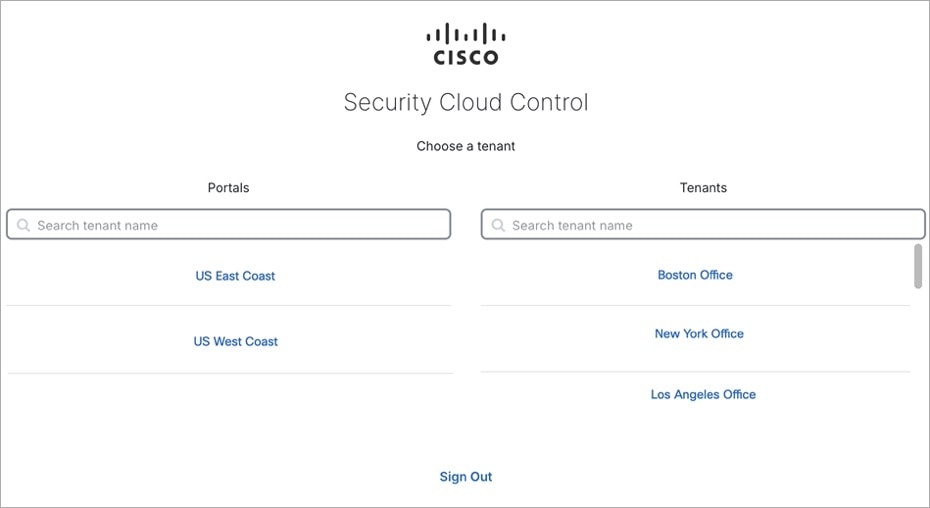
 .
.


 , and check
  .
.

 .
.
 .
.
 .
.


 Feedback