Table Of Contents
Installing CWM SNMP Service Agent Software
Installing SNMP Service Agent Software
Installshield GUI Installation
Making Selections during Console Mode Upgrade
Installing CWM SNMP Service Agent Software
This chapter provides step-by-step procedures to install the CWM Release 15.1 SNMP Service Agent software. The CWM SNMP Service Agent software installation uses InstallShield to simplify the process. Before installing the CWM SNMP Service Agent software on the CWM workstation, the following software should have been installed (in the following order):
1.
Solaris 8 or Solaris 9 Operating System
2.
Solaris patches
3.
HP OpenView 6.2, 6.3, or 7.0
4.
CWM Release 15.1 software
See Chapters 2 and 3 for instructions on installing these products.

Note
The CWM Release 15.1 SNMP Service Agent software is an optional package available at an additional charge. While the SNMP Service Agent software is not required to run CWM Release 15.1, it can be added to provide flow through provisioning and fault management capabilities to upper layer OSS.

Warning
If RTM Proxy is already installed in the CWM Server, uninstall it first before installing the SNMP Service Agent. See Chapter 9 for details.
Installing SNMP Service Agent Software
To install the CWM Release 15.1 SNMP Service Agent software, complete the following steps:
Step 1
Log in to the CWM workstation as user root.

Note
If the CWM server is an Ultra 60 or other desktop system, merely log in from the keyboard.
If the CWM server is a Netra 20 or other rackmount system, use another Sun workstation or PC as a console and log in remotely using telnet).
Step 2
Insert the CWM Release 15.1 SNMP Service Agent CD-ROM into the CD-ROM drive.
Step 3
Enter the following commands:
# cd /cdrom/cdrom0# lsStep 4
Check for the
InstallAgent.shfile. Begin the install process by entering the following command:# ./InstallAgent.shThe following message is displayed.
Console Mode Option is recommended when you cannot connect to X Serverfrom current terminal ( See if you can open an xterm to check ! )Do you Want to Launch Installer in Console Mode ? (Yes / No ): [No] :yesStep 5
Respond No to continue the installation using the Installshield GUI.
Respond Yes to continue the installation using Console Mode Install.
Note
Console Mode Install is a command line script procedure. It is an alternative to the GUI and is intended for users who do not have access to an X window device. Using Console Mode Install, the user can install CWM using an alpha-numeric terminal or a PC in terminal emulator mode.
Installshield GUI Installation
The installation classes are loaded (a process that takes several minutes).
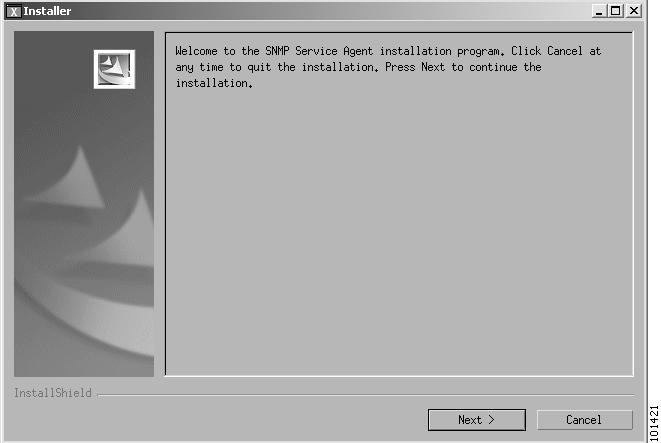
After a few moments, the SNMP Service Agent Welcome window is displayed (See Figure 5-1).
Figure 5-1 CWM SNMP Service Agent Installation Welcome Window
Step 6
Click Next on the Welcome window to continue.
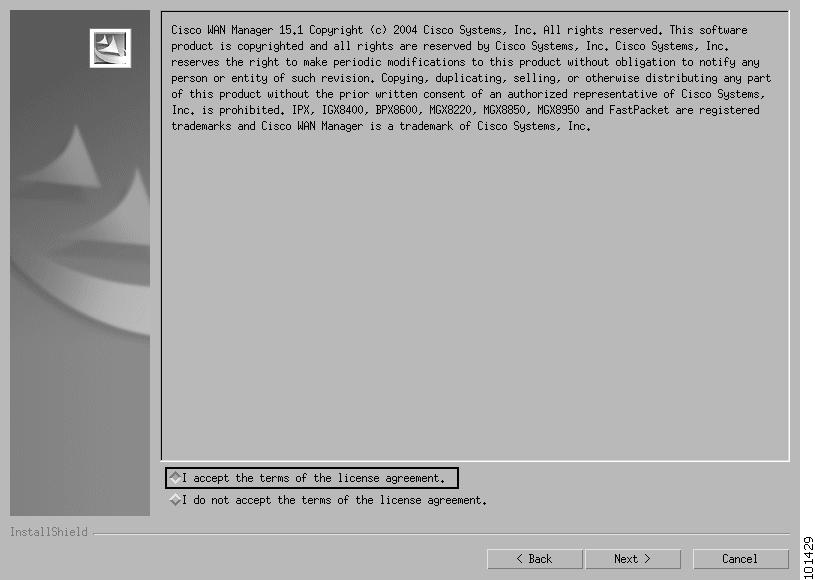
The License agreement window is displayed as shown in Figure 5-2.
Figure 5-2 Service Agent License Agreement
Click to Accept and then click Next.
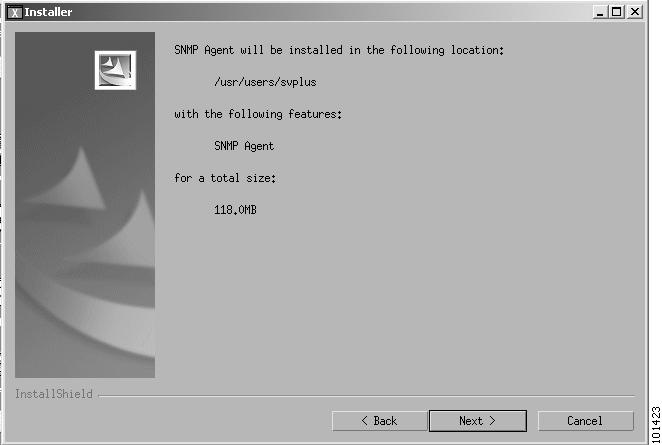
The installation confirmation window is displayed as shown in Figure 5-3.
Figure 5-3 Installation Confirmation Window
Step 7
After confirming the installation information, click Next.
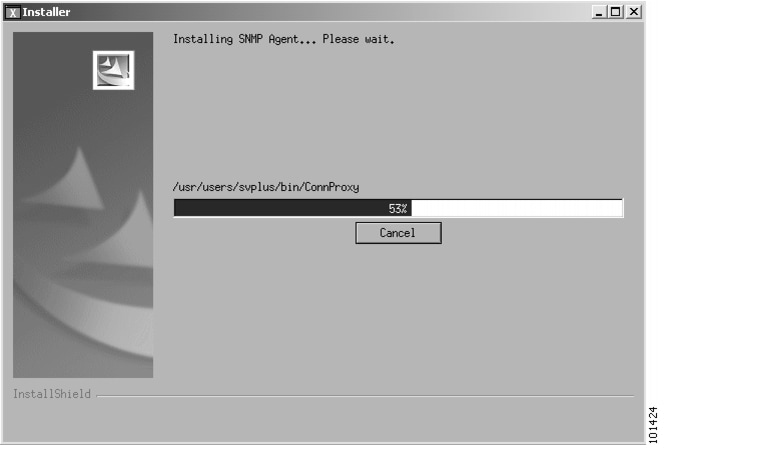
The software installation process begins. The installation window shows a dynamic indicator bar, which moves across the window. This bar indicates the progress of the installation process, as shown in Figure 5-4.
Figure 5-4 CWM SNMP Service Agent Installation Progress Indicator

Note
During the installation, an Install Log window is displayed, as shown in Figure 5-5. This window displays events and messages as they occur in the installation process.
Figure 5-5 Install Log Window

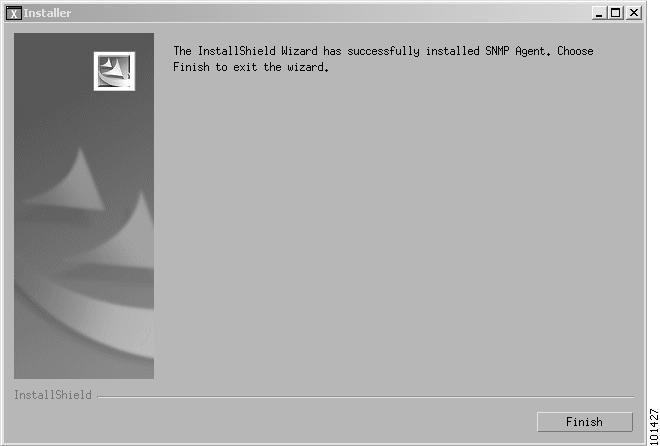
When completed, a final window displays indicating that the installation is completed. This window is shown in Figure 5-6.
The service agent log file is called SAexecinstall.Log and is located in the usr/users/svplus/install directory.
Figure 5-6 CWM SNMP Service Agent Installation Complete Window
Step 8
Click Finish to end the installation.
The software installation process is completed. The InstallShield window closes.
Console Mode Installation
If you enter Yes to run in Console Mode, the following panel is displayed
You've chosen to Launch Installer in Console ModeLoading the installation classes. This may take a few minutes.........................................................................................................................................................................................................................................................................................................................................................................InstallShield WizardInitializing InstallShield Wizard...Searching for Java(tm) Virtual Machine............-------------------------------------------------------------------------------After a few seconds the Initial Installation phase starts
Making Selections during Console Mode Upgrade
The Console Mode procedure consists of responding to a series of questions. The user is asked either to select an item from a list or to enter data (for example, a database path or a disk size).
Selecting an Item from a List.
When a list is displayed, each item in the list has an item number. Further, one item in the list is already selected as indicated by an X. For example:
Choose the Raw partition for Informix Physical Log:[X] 1 - /dev/rdsk/c1t0d0s7 ( 4000 MB)[ ] 2 - /dev/rdsk/c1t1d0s0 ( 2048 MB)[ ] 3 - /dev/rdsk/c1t1d0s1 ( 2048 MB)To select a choice enter its number, or 0 when you are finished [0]:The above example lists three disk partitions from which the user must select one. These items are numbered as 1, 2, and 3 and the first is already selected as indicated by [X].
The user can accept the already selected item or select another item by typing its number followed by the Enter key (in which case the list is displayed again but with the [X] against the selected item).
When the [X] is shown against the correct item (either in the initial display or after the user has selected another item), the user should press 0 followed by the Enter key. The following message is then displayed.
Press 1 for Next panel, 2 for Previous panel, 3 to Cancel or 4 toRedisplay [1]The user then press 1, 2, 3, or 4 (as appropriate) followed by the Enter key. Normally this will be the 1 key to progress to next step in the upgrade process.
Entering Data
When requested enter the data and press the Enter key. If you want to change the entered data, press 1 and the Enter key and then start over. When the enter data are correct, press 0 and the Enter key.
Initial Installation Phase
Step 1
The Welcome message is displayed.
Welcome to the SNMP Service Agent installation program. Click Cancel at anytime to quit the installation. Press Next to continue the installation.Press 1 for Next panel, 3 to Cancel or 4 to Redisplay [1] 1Press 1 then Enter to display the next message
Step 2
The Readme message is displayed.
Cisco Systems, Inc. Cisco Systems, Inc. reserves the right to make periodicmodifications to this product without obligation to notify any person orentity of such revision. Copying, duplicating, selling, or otherwisedistributing any part of this product without the prior written consent of anauthorized representative of Cisco Systems, Inc. is prohibited. IPX, IGX8400,BPX8600, MGX8220, MGX8850, MGX8950 and FastPacket are registered trademarksand Cisco WAN Manager is a trademark of Cisco Systems, Inc.Please choose from the following options:[X] 1 - I accept the terms of the license agreement.[ ] 2 - I do not accept the terms of the license agreement.To select a choice enter its number, or 0 when you are finished [0]: 0Press 1 for Next panel, 2 for Previous panel, 3 to Cancel or 4 toRedisplay [1] 1-------------------------------------------------------------------------------a.
To accept the license terms, press 0 then Enter.
b.
Press 1 then Enter to display the next message.
Step 3
The following message is displayed.
SNMP Agent will be installed in the following location:/usr/users/svpluswith the following features:SNMP Agentfor a total size:136.3MBPress 1 for Next panel, 2 for Previous panel, 3 to Cancel or 4 toRedisplay [1] 1-------------------------------------------------------------------------------Press 1 then Enter to display the next message
Step 4
The following message is displayed.
Running in Console Mode. Do tail -f in a separate window on log file for status.Log file is /usr/users/svplus/install/SAexecinstall.LogInstalling SNMP Agent... Please wait.|-----------|-----------|-----------|------------|0% 25% 50% 75% 100%When the installation is complete, the screen displays:\
....DONECreating uninstaller...The progress bar indicates the progress of the installation. When the installation is complete, the Installation Complete is displayed.
-------------------------------------------------------------------------------The InstallShield Wizard has successfully installed Cisco SNMP Agent. Choose Finish to exit the wizard.-------------------------------------------------------------------------------Press 3 to Finish or 4 to Redisplay [3] 3Step 5
Press 3 then Enter to complete the installation.
Configuration
Both the SNMP Agent and SNMP Service Agent have configuration files, as described in the following subsections.
Agent Configuration
The SNMP Agent configuration file (SNMPAgent.conf) is located in the /us/users/svplus/config directory.
The UDP port used for SNMP Requests can be configured in this file.
Port 8161 is the default UDP port. It may be changed to match your system's requirements.
After changing the UDP port, you must send a SIGHUP command to the SNMP Agent process to force it to read the configuration file again.
Service Agent Configuration
The SNMP Service Agent configuration file (snmpd.cnf) is located in the /usr/users/svplus/config directory.
The SNMP community strings are configured in this file. As community strings are used as an index in the Node and Event MIBs, RtmProxy does not require this configuration file. Only ConnProxy (connGroup MIB), and PortProxy (portGroup MIB) use these community strings for authentication.
The Service Agent defaults are GET = public and SET = private.
The Service Agent reads the configuration file only at startup. When you change the configuration file, you must restart the Service Agent (that is, ConnProxy and PortProxy) to obtain the new configuration information.
For more information on configuring and using the SNMP Service Agent software, refer to the Cisco WAN Manager SNMP Service Agent Guide, Release 15.1.
