Software Repository

Overview

You can use the tool as a software repository to manage and host your Operating System images (ISO), Firmware packages, Server Configuration Utility (SCU) packages, OS configuration files. You can sync these images with Intersight, to make them available on Intersight.

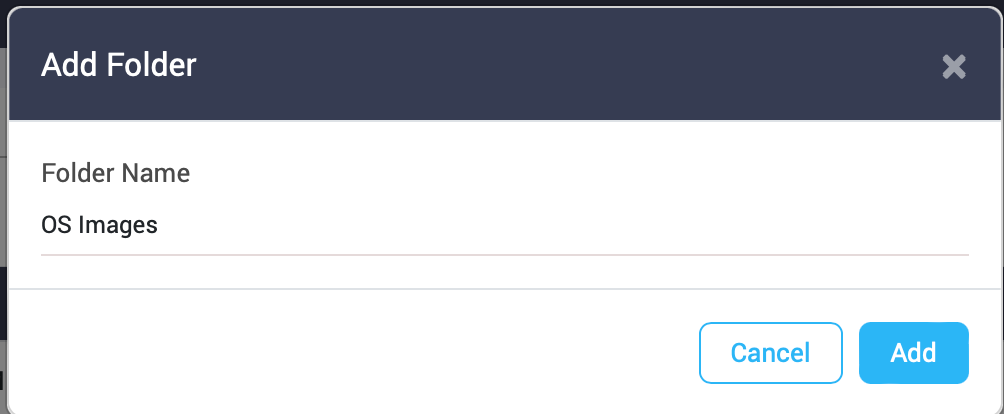
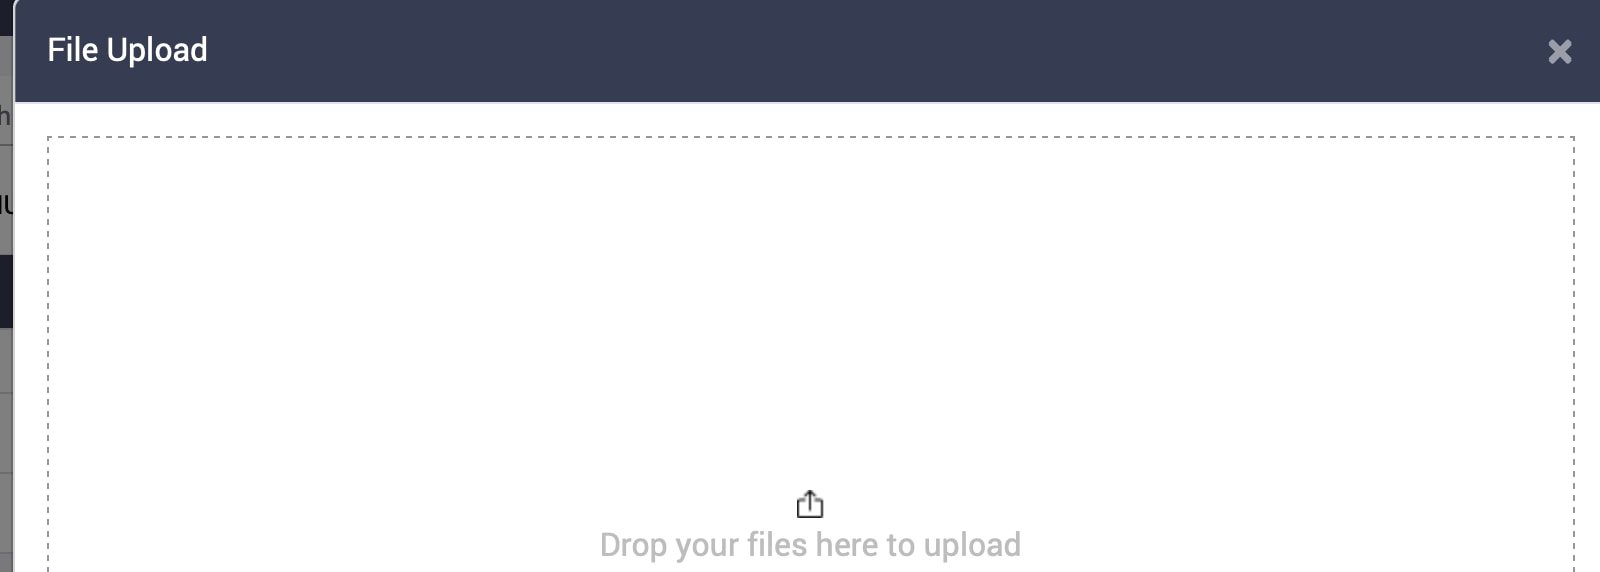
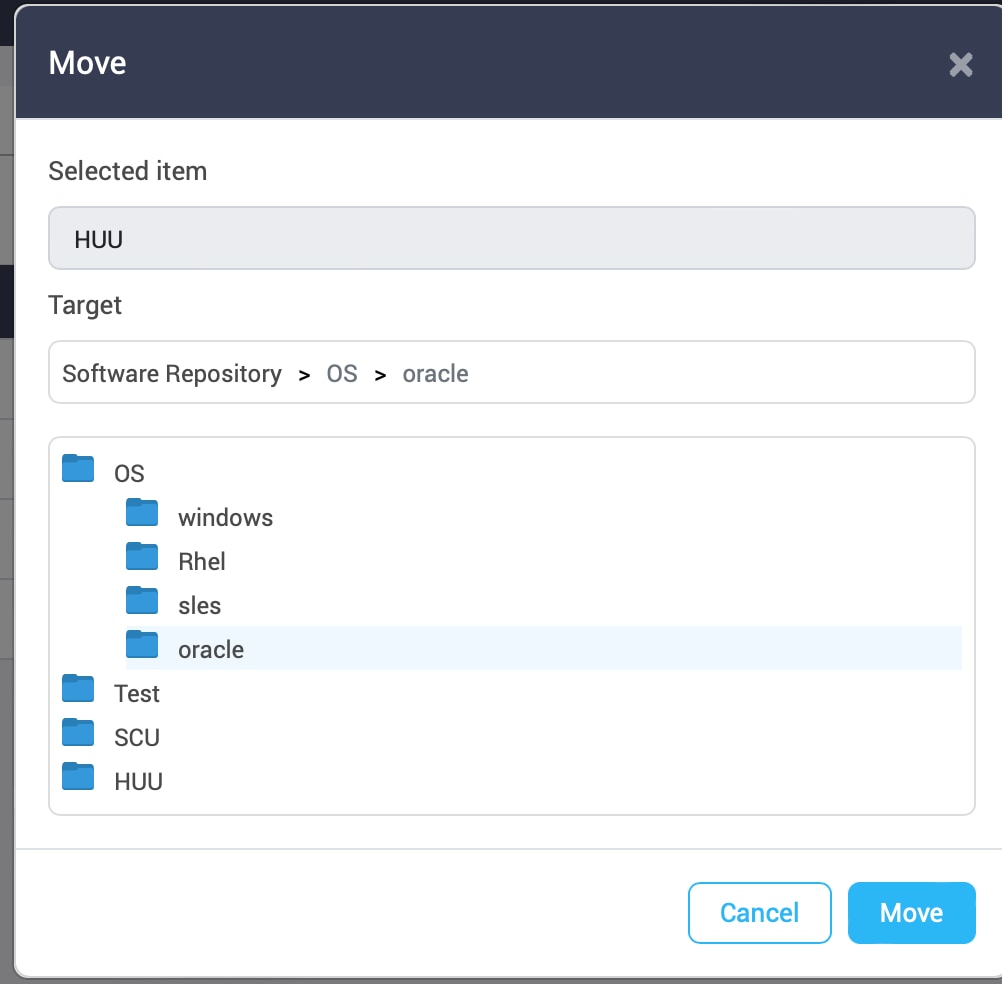
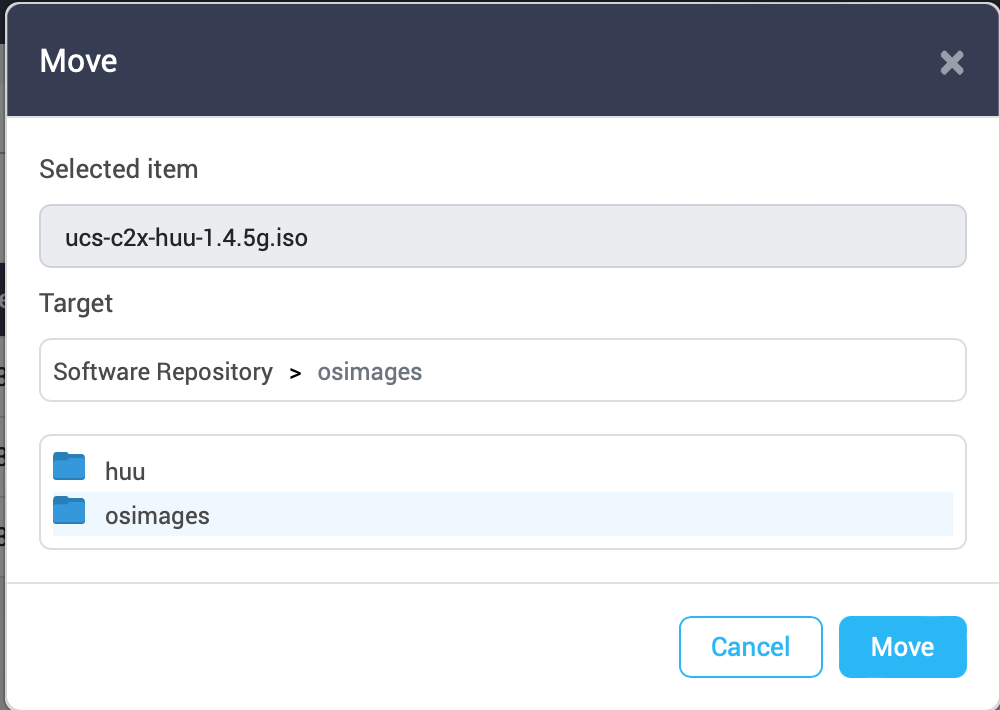
You can create new folders, upload or download files in the software repository. For more information, refer to the following sections:

Creating Folders and Uploading Files

Adding Folder

You can group the iso files as per the requirement and keep them in separate folders. New folders can be created in the Software Repository of the IMM Transition Tool as described below:

  1. Navigate to Software Repository.

  2. Click New.

  3. Click New Folder.

  4. Enter a name for the folder.

  5. Click Add.

    New folder gets created.

Uploading File

You can upload an ISO file in the software repository either from your local machine or from an external URL.


Note


Uploading an ISO file from an external URL, is available only in IMM Transition Tool, 4.2.1 and above.


Perform the following steps to upload an ISO file in the software repository from your local machine:

  1. Navigate to Software Repository.

  2. Click New.

  3. Click File Upload.

    File browse window appears.

  4. Drop file from your local system.

  5. Click Upload.

    File gets uploaded to the software repository.


    Note


    To cancel the upload operation, click Cancel and then click Yes in the confirmation dialog box.

IMM Transition Tool, Release 4.2.1 and above allows you to upload an ISO file in the software repository from an external URL.

Perform the following steps to upload an ISO file in the software repository from an external URL:

  1. Navigate to Software Repository.

  2. Click New.

  3. Click URL Upload.

    URL Upload dialog box appears.

  4. Enter the URL from which you want to upload the ISO file.

  5. Uncheck the Verify SSL check box if it is not required. By default, this option is checked.


    Note


    Enabling the Verify SSL option ensures the validity and trustworthiness of the SSL/TLS certificate for the server hosting the file. We recommend that you enable this option as it safeguards both security and data integrity during the upload process.


  6. Check the Use Proxy check box to enable proxy settings. For more details on proxy settings, see Proxy Settings.

  7. Click Add.

    File gets uploaded to the software repository.


    Note


    To cancel the upload operation, click Cancel and then click Yes in the confirmation dialog box.


Managing Folders

The listing page on the Software Repository tab displays the list of folders and files that do not belong to any folder. You can manage the folders by renaming, moving, or deleting folder.

You can perform the following actions to manage the folders from the Software Repository listing page:

  • Click ... present besides the folder row that you want to manage.

  • Click Rename if you want to rename the folder.

    1. A pop-up window appears.

    2. Enter the new name for the folder.

    3. Click Save.

  • Click Move if you want to move the folder inside some other folder.

    1. A pop-up window appears.

    2. Click on the folder into which the current folder needs to be moved.

    3. Click Move.

  • Click Delete if you want to delete the folder from the repository.


Note


  • When a folder is renamed, any external link to the files in this folder will need to be updated.

  • When a folder is moved or deleted:

    • Any external link to the files in this folder will need to be updated.

    • Sync to Intersight action will be disabled for all the files in this folder.

    • All the calculated checksums of files in this folder will be lost.


Managing Files

The uploaded iso file in the software repository can be viewed on the listing page if it does not belong to any specific folder or inside the specific folder into which it has been uploaded.

Perform the following steps to manage the files in the software repository.

  1. Navigate to the folder where the file is present.

  2. Click ... present at the end of the file record that you want to manage.

For renaming a file:

  • 1. Click Rename.

    A pop-up window appears.

  • 2. Enter the new name for the file.

  • 3. Click Save.

For moving a file:

  • 1. Click Move.

    A pop-up window appears.

  • 2. Click on the folder into which the file needs to be moved.

    3. Click Move.

For deleting a file:

  • Click Delete.

For sharing the file location with another tool:

  • 1. Click Share Link.

    A pop-up window appears

  • 2. Click Copy.

    The file location gets copied to the clipboard and can be used as required.

For calculating the checksum of the file:

  • 1. Click Checksum.

    File Checksums pop-up window appears.

  • 2. Click Calculate Checksums.

    The checksum value gets displayed.

For syncing the file to Intersight:


Note


  • When a file is renamed, any external link to the file will need to be updated.

  • When a file is moved or deleted:

    • Any external link to the file will need to be updated.

    • Sync to Intersight action will be disabled for such a file.

    • All the calculated checksums of the file will be lost.


For creating a vMedia Policy:

For downloading the file:

  • Click Download.

    The file gets downloaded to your computer from the Software Repository automatically.

Syncing File to Intersight

Any uploaded iso file in the software repository of the IMM Transition Tool can be synced to Intersight software repository by performing the following steps.

  1. Navigate to the folder where the file is present.

  2. Click ... present at the end of the file record that you want to sync.

  3. Click Sync to Intersight.

    A pop-up window appears.

  4. Select the Intersight Device from the list of available devices.


    Note


    It is recommended to click Fetch OS/Firmware data periodically. This ensures that all the latest OS and Firmware data are fetched from the Intersight account.


  5. Select the Organization in which to store the Software Repository Link.

  6. Select the Image type for the file manually if the auto-selected value is wrong, or if the tool is not able to auto-detect the file type.

  7. Set or change the details for the OS image if the auto-selected value is wrong, or if the tool is not able to auto-detect the file type.

  8. Click Submit.

The image gets synced to Intersight and appears in the Firmware Links, OS Image Links, SCU Links, or OS Configuration Files tab of System> Software Repository on the Intersight GUI.


Note


Every time a file/folder is moved, the Software Repository link does not get automatically updated. You will have to manually remove the link and perform a Sync to Intersight again.


Creating vMedia Policy

You can create an Intersight vMedia Policy from a hosted ISO file in the Software Repository:

To create a vMedia Policy:

  1. Navigate to the Software Repository page.

  2. Click next to the ISO file that you want to use to create the vMedia policy, and then choose Create vMedia Policy from the drop-down list.

    The Create vMedia Policy dialog box appears.

  3. Select the Intersight Device from the list of available devices.

    Note: It is recommended to click Fetch OS/Firmware data periodically. This ensures that all the latest OS and Firmware data are fetched from the Intersight account.

  4. Select the Organization in which to store the Software Repository Link.

  5. Enter a name for the policy.

  6. [Optional] Enter a short description for the policy.

  7. [Optional] Enter a tag in the key value format.

  8. Turn on the Enable Low Power USB button to show the virtual drives on the boot selection menu after mapping the image and rebooting the host. This property is enabled by default.

  9. Turn on the Enable Virtual Encryption button to enable encryption of the virtual media communications. This property is disabled by default.

  10. By default, the vMedia mount name is set to the name of the ISO file used to create the vMedia Policy. You can modify the name if you want to.

  11. Click Submit.