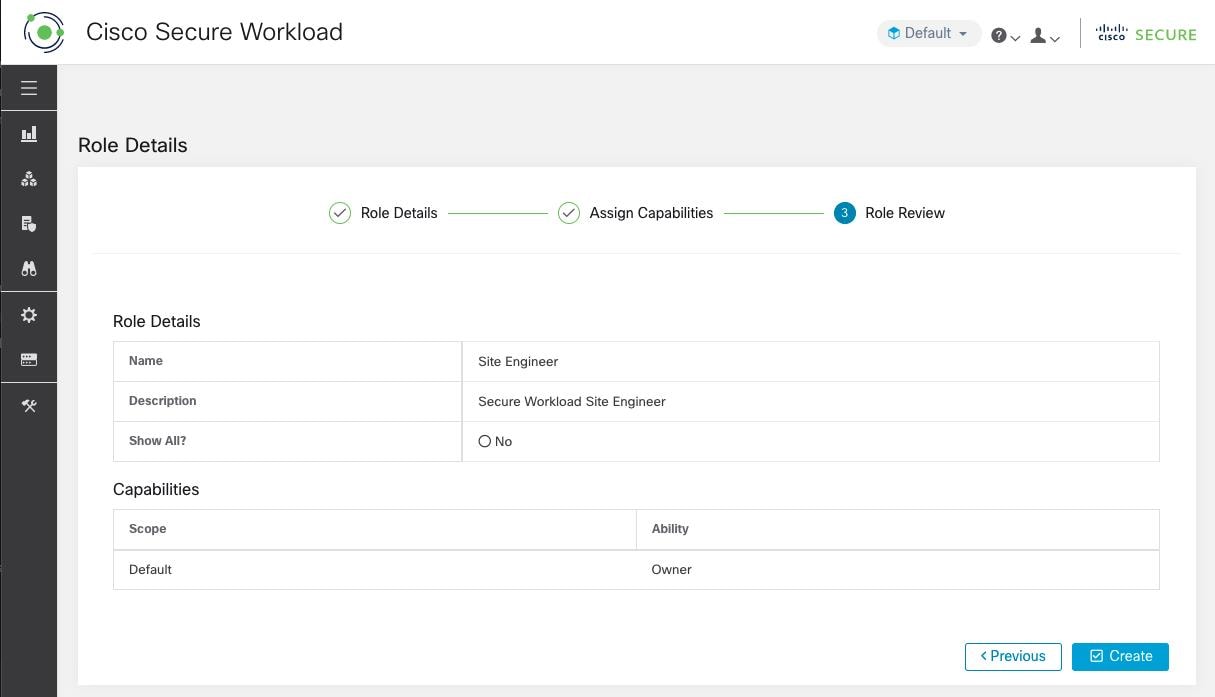
Create Users and Assign Roles
You can create two types of users:
-
Local Users: These users are created and managed within Secure Workload.
-
LDAP Users: For LDAP configuration, create groups and map users to the associated groups. You can assign the following roles to local or LDAP users.
-
Site Admins: These users have the ability to manage other users, agents, and system configurations. They can view and edit all features and data within Secure Workload.
-
Customer Support: This role provides access to cluster maintenance features but does not allow the modification of user accounts.
-
Scope Owner: These users have abilities specific to a particular scope within the Secure Workload environment.
-
You can directly add user details of local users and assign roles. For LDAP users, ensure that LDAP is configured, and users are created within the appropriate groups. For more information, see Configure Lightweight Directory Access Protocol.
To access the Users page, from the navigation pane, Site administrators choose .
The Users page displays the Service Provider users and the users associated with the scope on the page header.
Multitenancy
To support multitenancy, assign users to a root scope. Users with the Owner ability on the root scope manage these users and assigns roles that are associated with the same scope.
Service Provider users are without a scope; users are assigned to roles that allow them to perform actions across root scopes.
Add a User
Before you begin
-
You must be a Scope Owner to add users in Secure Workload.
-
If a user is assigned a scope for multitenancy, only roles that are assigned to the same scope may be selected.
 Note |
This page is filtered by the scope preference that is selected on the page header. |
Procedure
|
Step 1 |
If applicable, select the appropriate root scope from the page header. |
||||||||||
|
Step 2 |
From the navigation pane, choose . |
||||||||||
|
Step 3 |
Click Create New User. |
||||||||||
|
Step 4 |
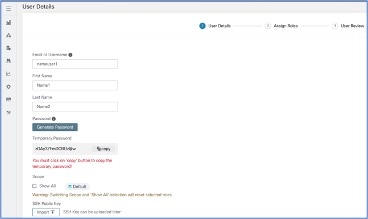
Update the following fields under User Details.
|
||||||||||
|
Step 5 |
Click Next. |
||||||||||
|
Step 6 |
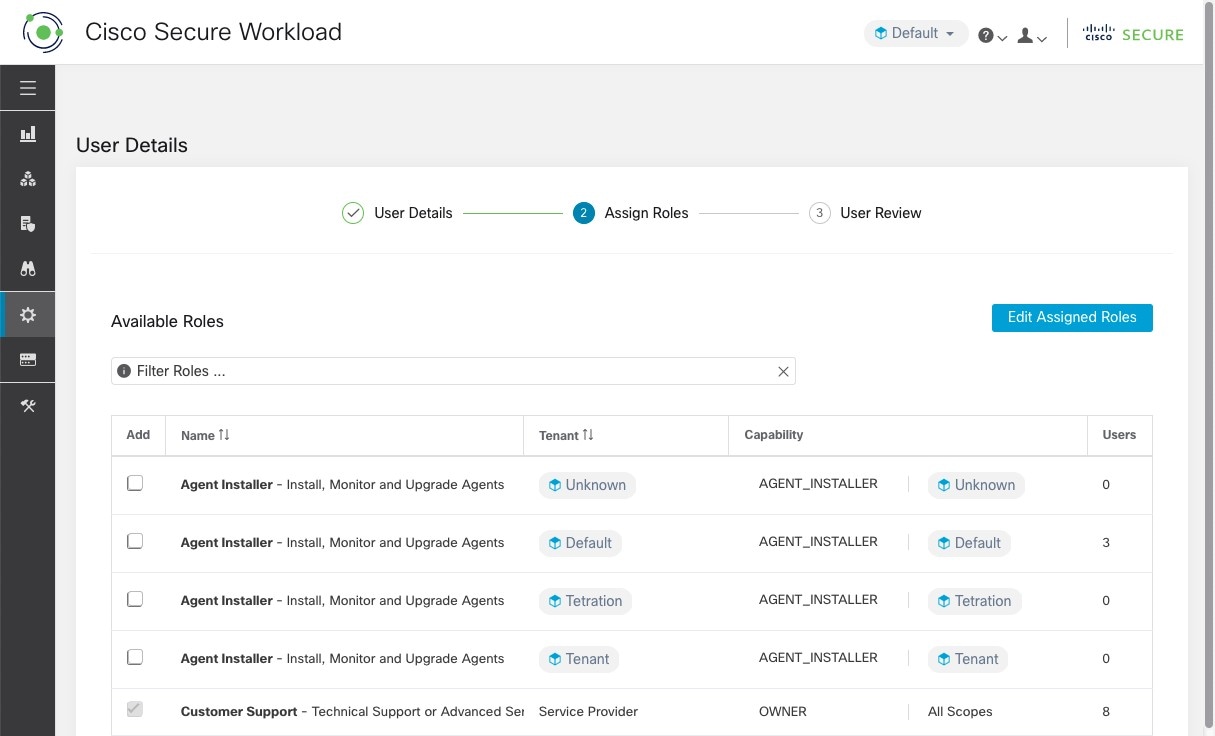
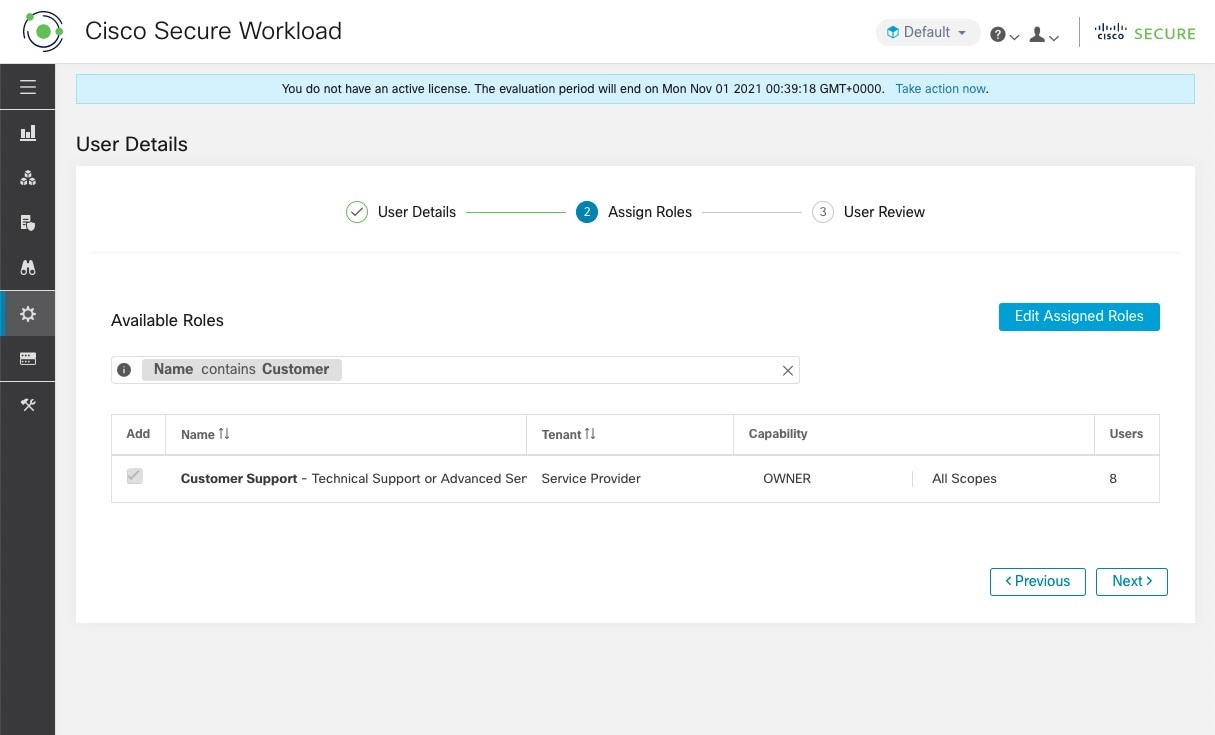
Under Assign Roles, add or remove assigned roles to the user.
|
||||||||||
|
Step 7 |
Click Next. |
||||||||||
|
Step 8 |
Under User Review, review the user details and the assigned roles. Click Create. If external authentication is enabled, the authentication details are displayed. After the user is added in Secure Workload, an activation email is sent to the registered email ID to set up the password. |
Edit User Details or Roles
Before you begin
You must be a Root Scope Owner to edit users in Secure Workload.
Note |
This page is filtered by the scope preference that is selected on the page header. |
Procedure
|
Step 1 |
If applicable, select the appropriate root scope from the page header. |
||||||||||||||||||
|
Step 2 |
From the navigation pane, choose . |
||||||||||||||||||
|
Step 3 |
For the required user account, under Actions, click Edit. |
||||||||||||||||||
|
Step 4 |
Update the following fields under User Details.
|
||||||||||||||||||
|
Step 5 |
Click Next. |
||||||||||||||||||
|
Step 6 |
Under Assign Roles, add or remove assigned roles to the user.
|
||||||||||||||||||
|
Step 7 |
Under User Review, review the user details and the assigned roles. Click Update to update the user account. If external authentication is enabled, the authentication details are displayed. |
||||||||||||||||||
|
Step 8 |
Click Next. |
Deactivating a User Account
Note |
To maintain consistency of change log audits, users can only be deactivated, they are not deleted from database. |
Before you begin
You must be a Site Admin or Root Scope Owner user.
Note |
This page is filtered by the scope preference that is selected on the page header. |
Procedure
|
Step 1 |
In the navigation bar on the left, click . |
|
Step 2 |
If applicable, select the appropriate root scope from the top right of the page. |
|
Step 3 |
In the row of the account you want to deactivate, click Deactivate button in the right-hand column. To view deactivated users, toggle Hide Deleted Users button. |
Reactivating a User Account
If a user has been deactivated, you can reactivate the user.
Before you begin
You must be a Site Admin or Root Scope Owner user.
Note |
This page is filtered by the scope preference that is selected on the page header. |
Procedure
|
Step 1 |
In the navigation bar on the left, click . |
|
Step 2 |
If applicable, select the appropriate root scope from the top right of the page. |
|
Step 3 |
Toggle Hide Deleted Users to display all users, including deactivated users. |
|
Step 4 |
For the required deactivated account, click Restore in the right-hand column to reactivate the account. |
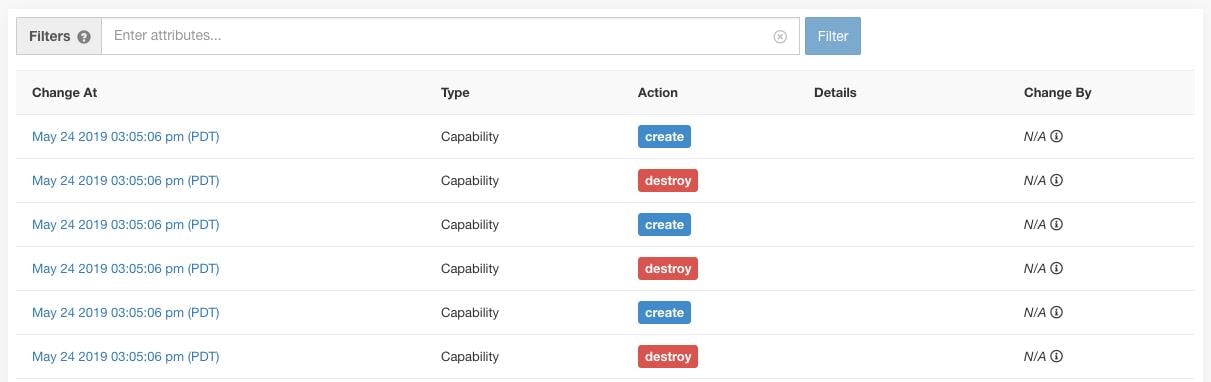
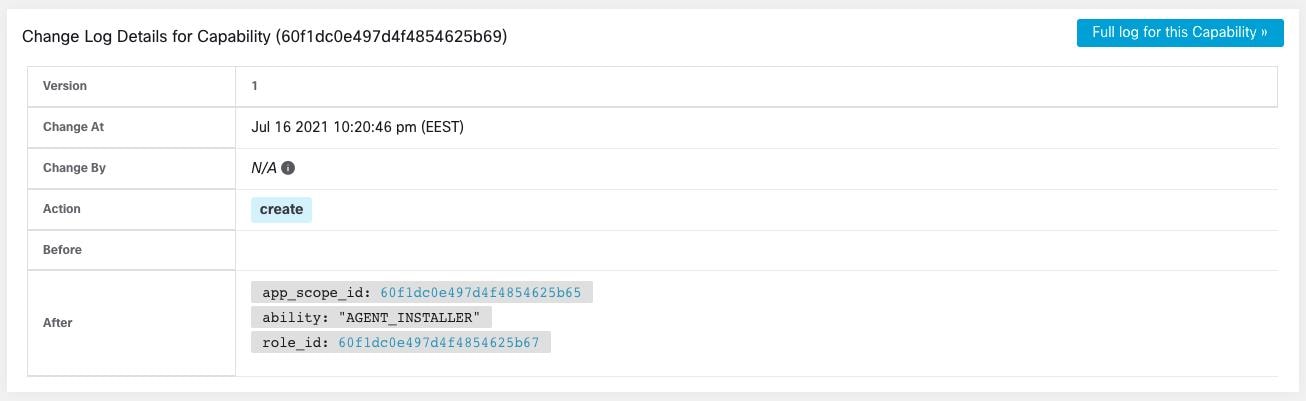
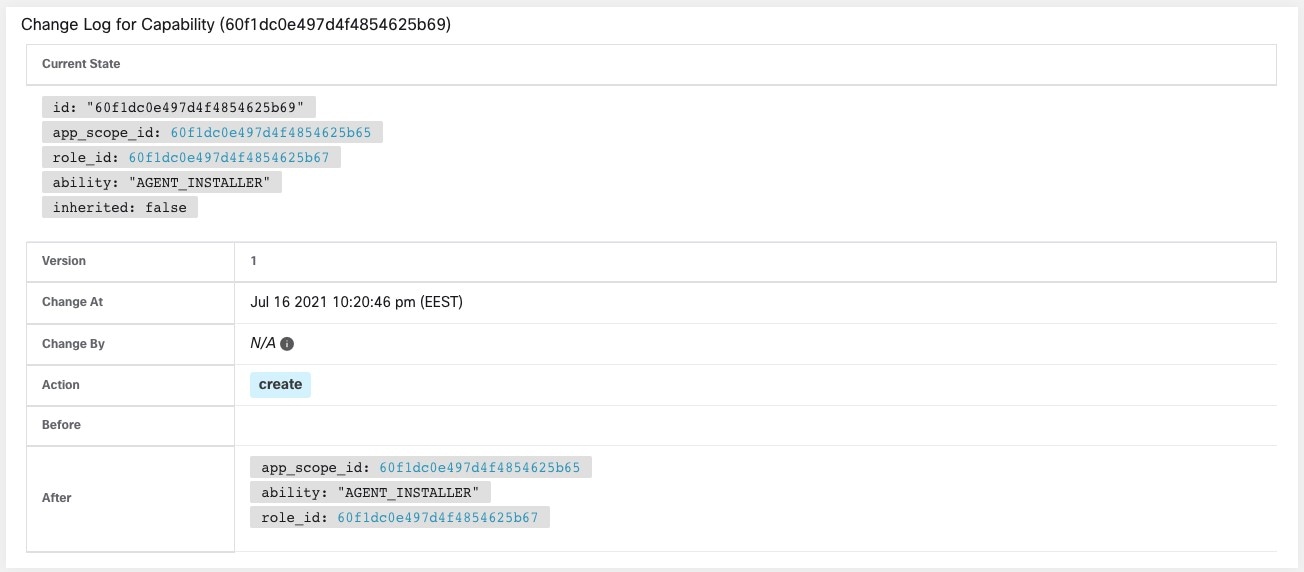
Change Log – Users
Site Admins and users with the Scope Owner ability on the root scope can view the change logs for each user by clicking on the Change Log icon under the Actions column.
For more information, see Change Log. Root scope owners are restricted to viewing only change log entries for entities belonging to their scope.
 Feedback