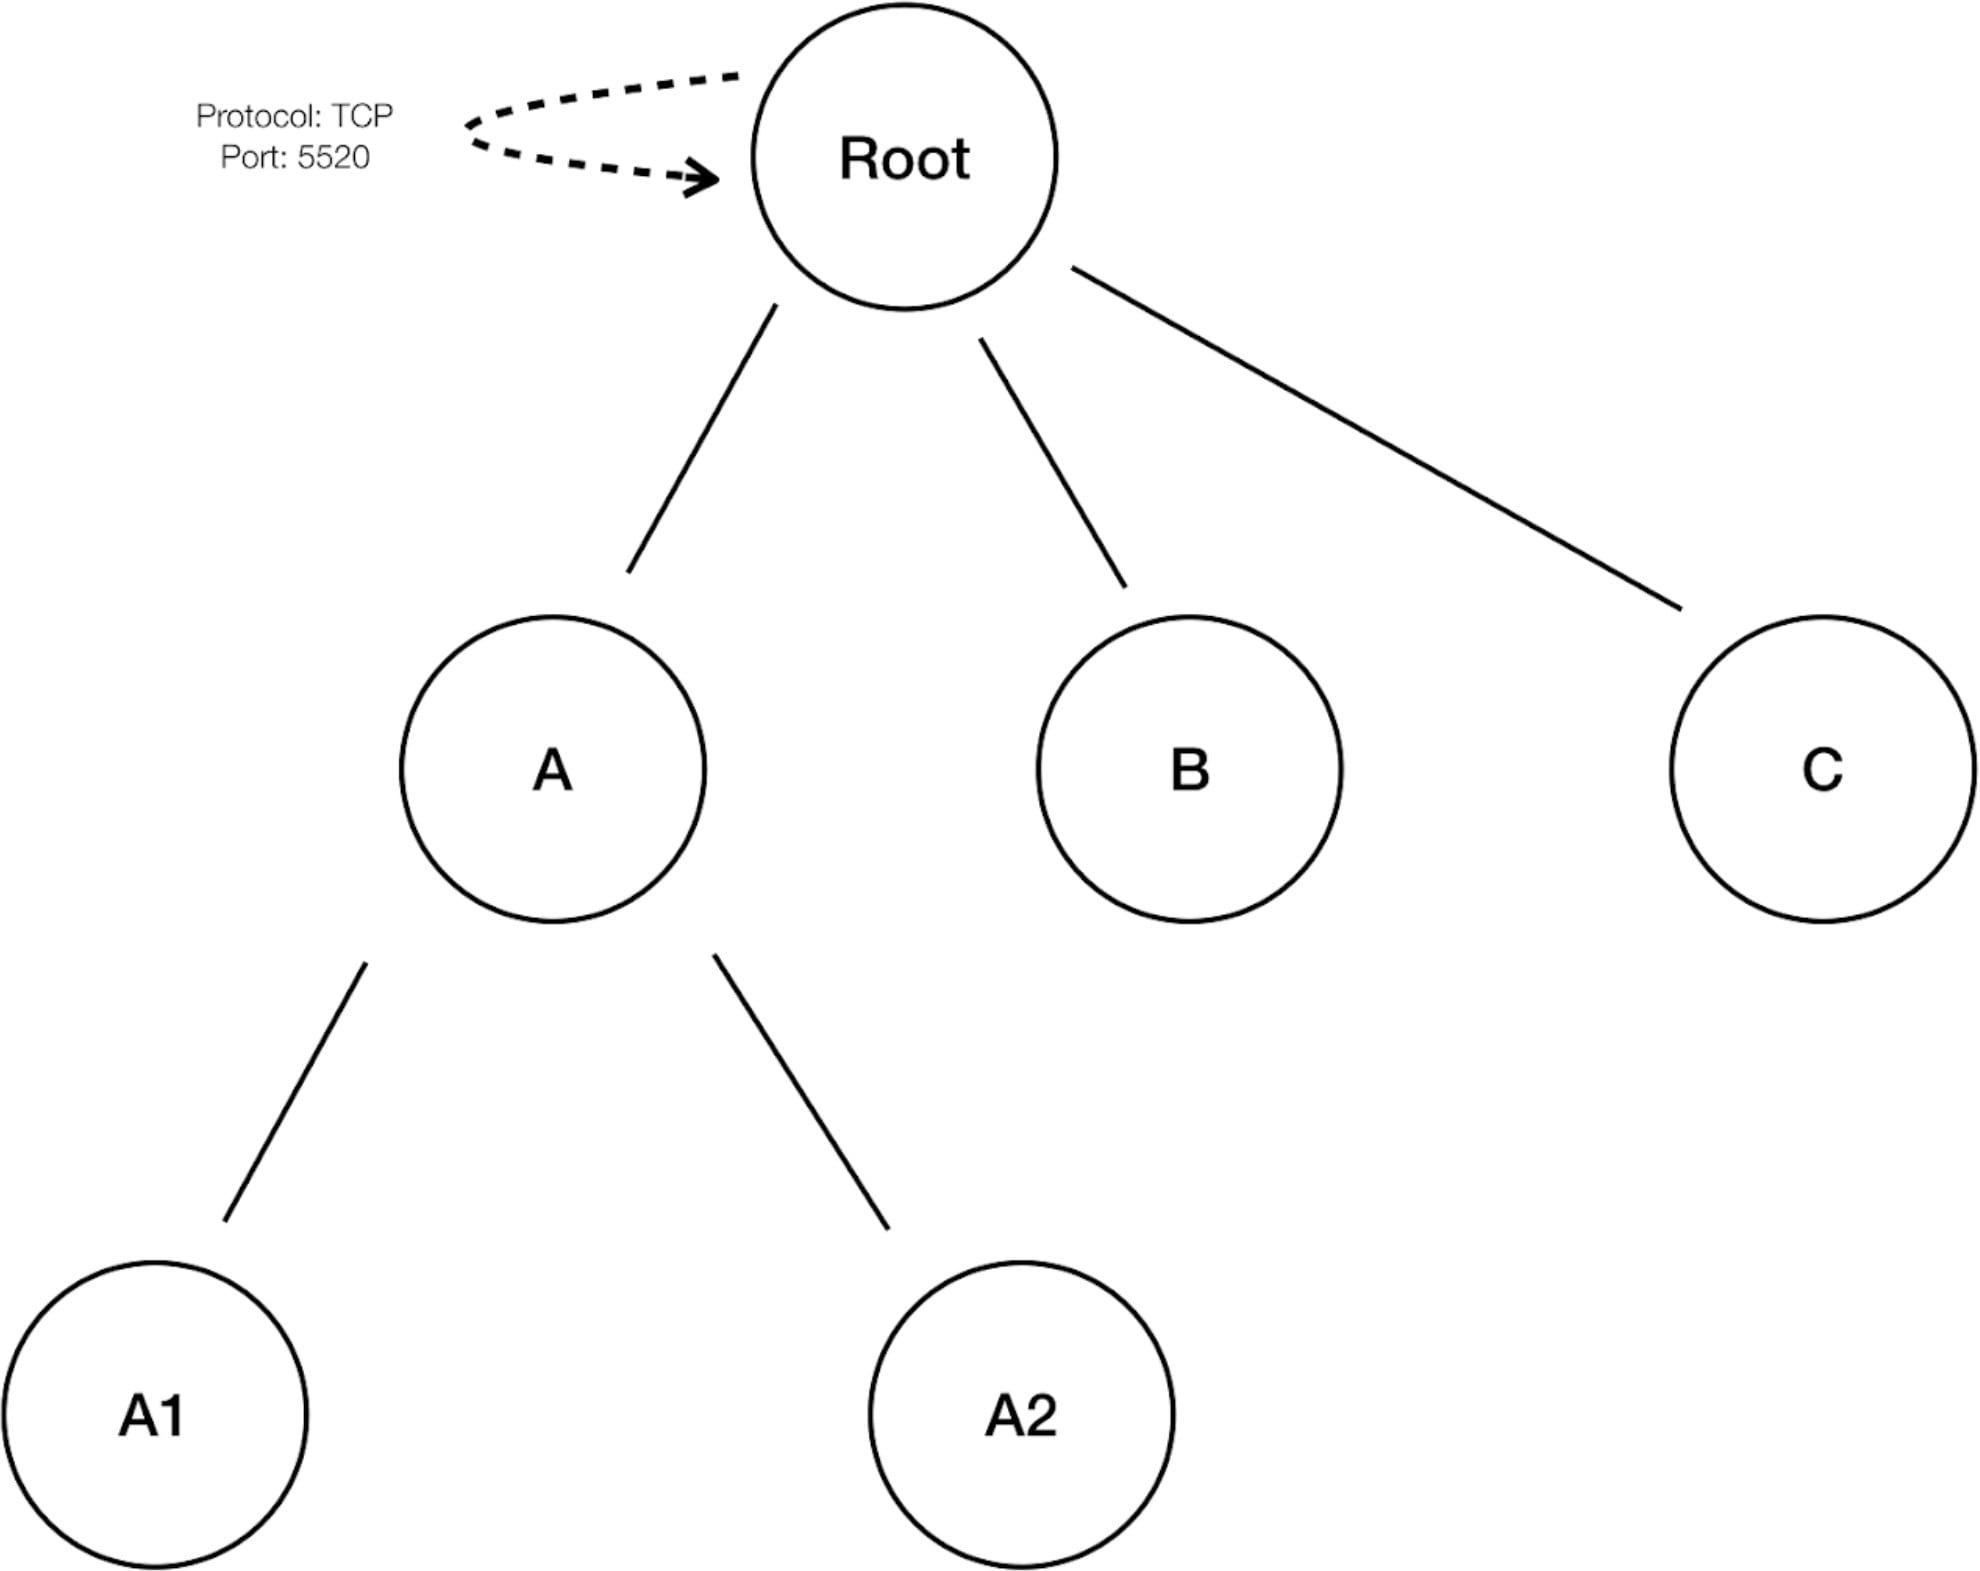
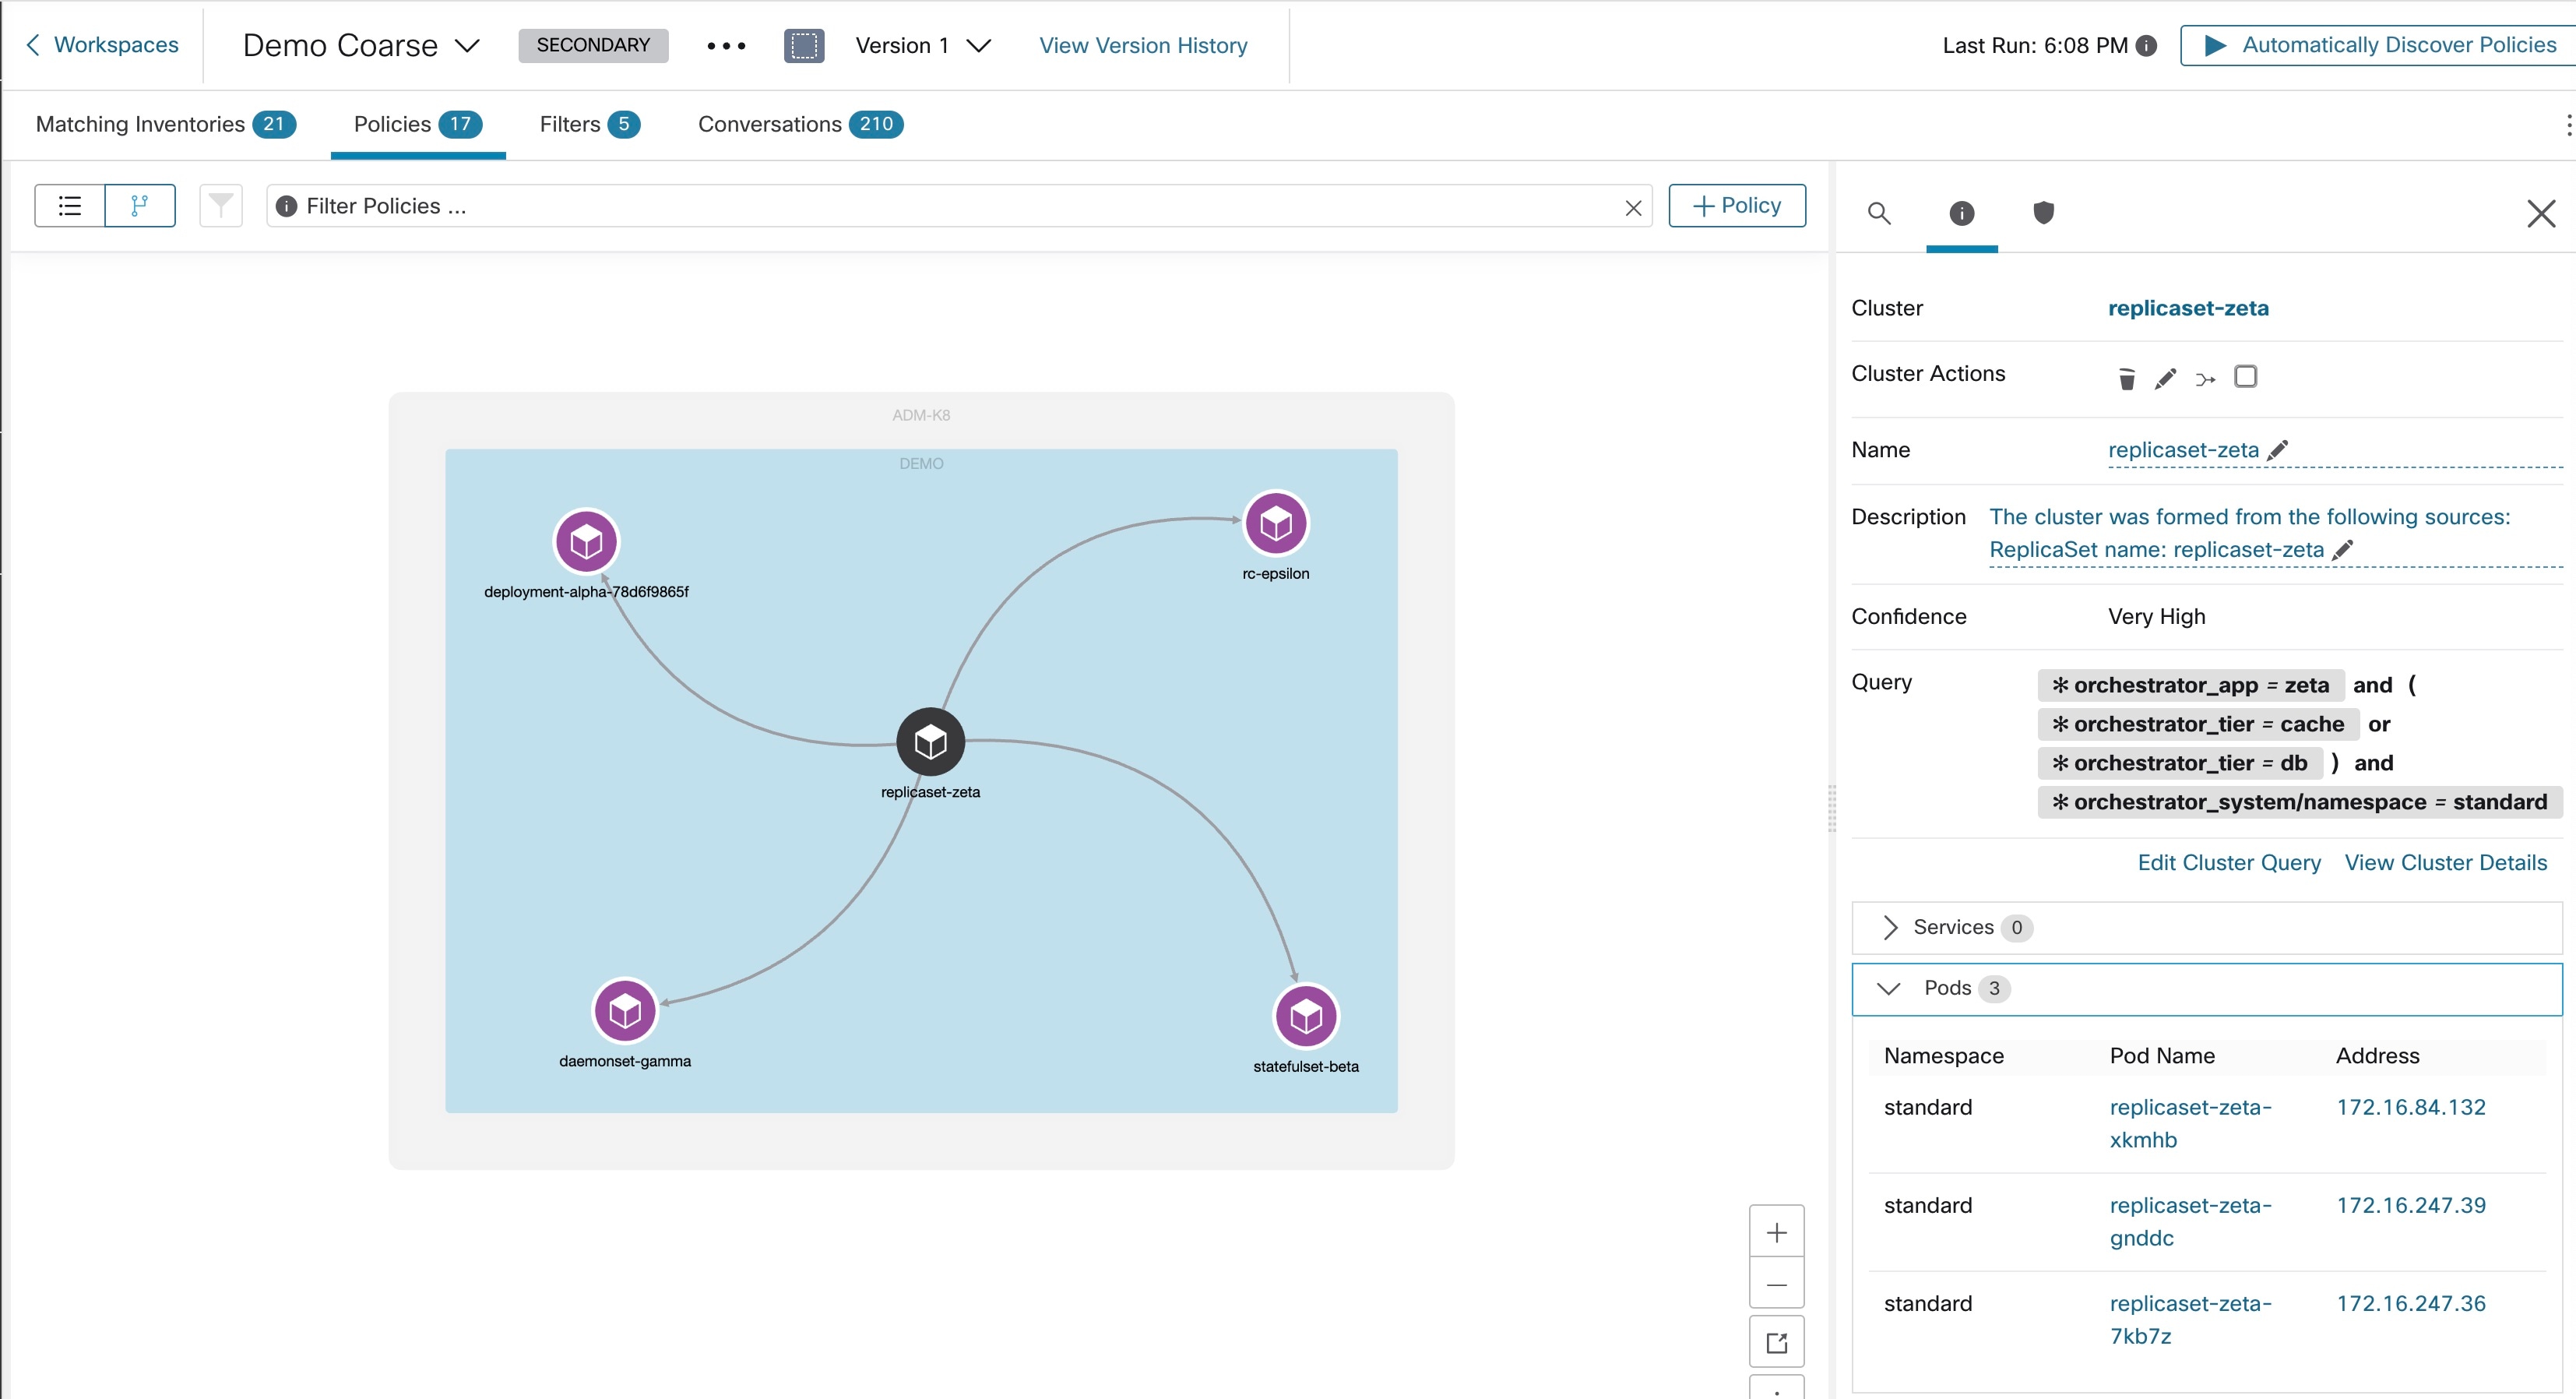
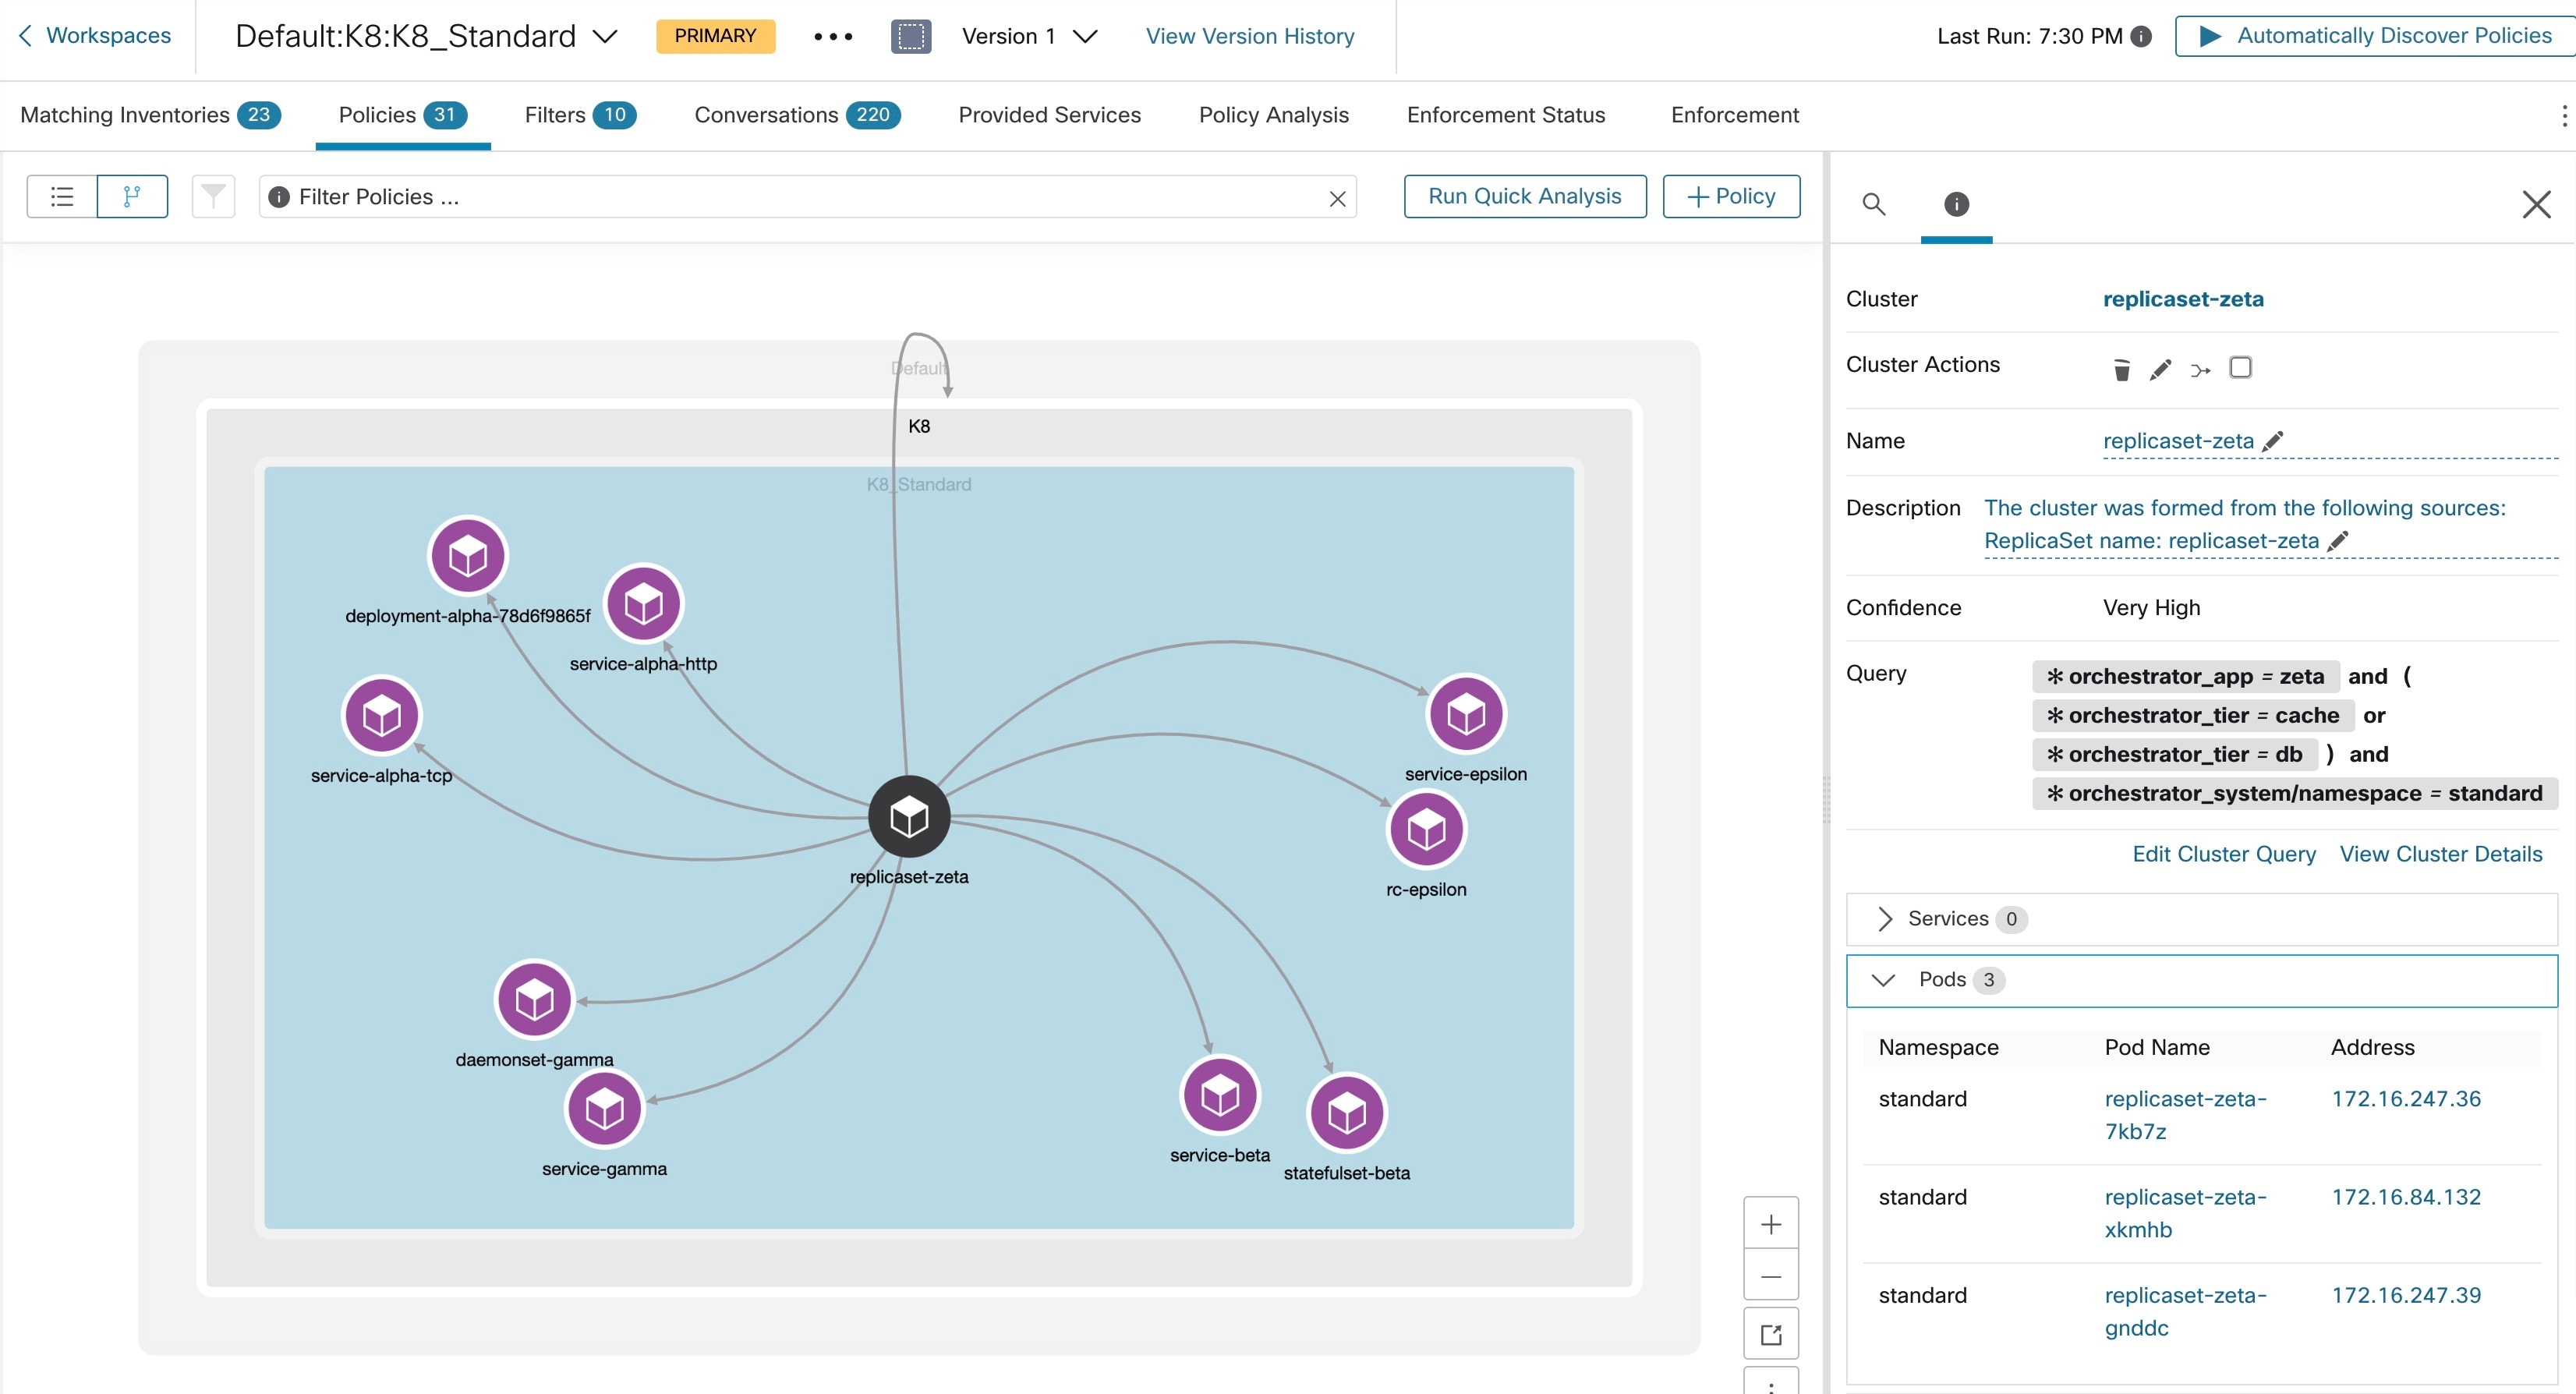
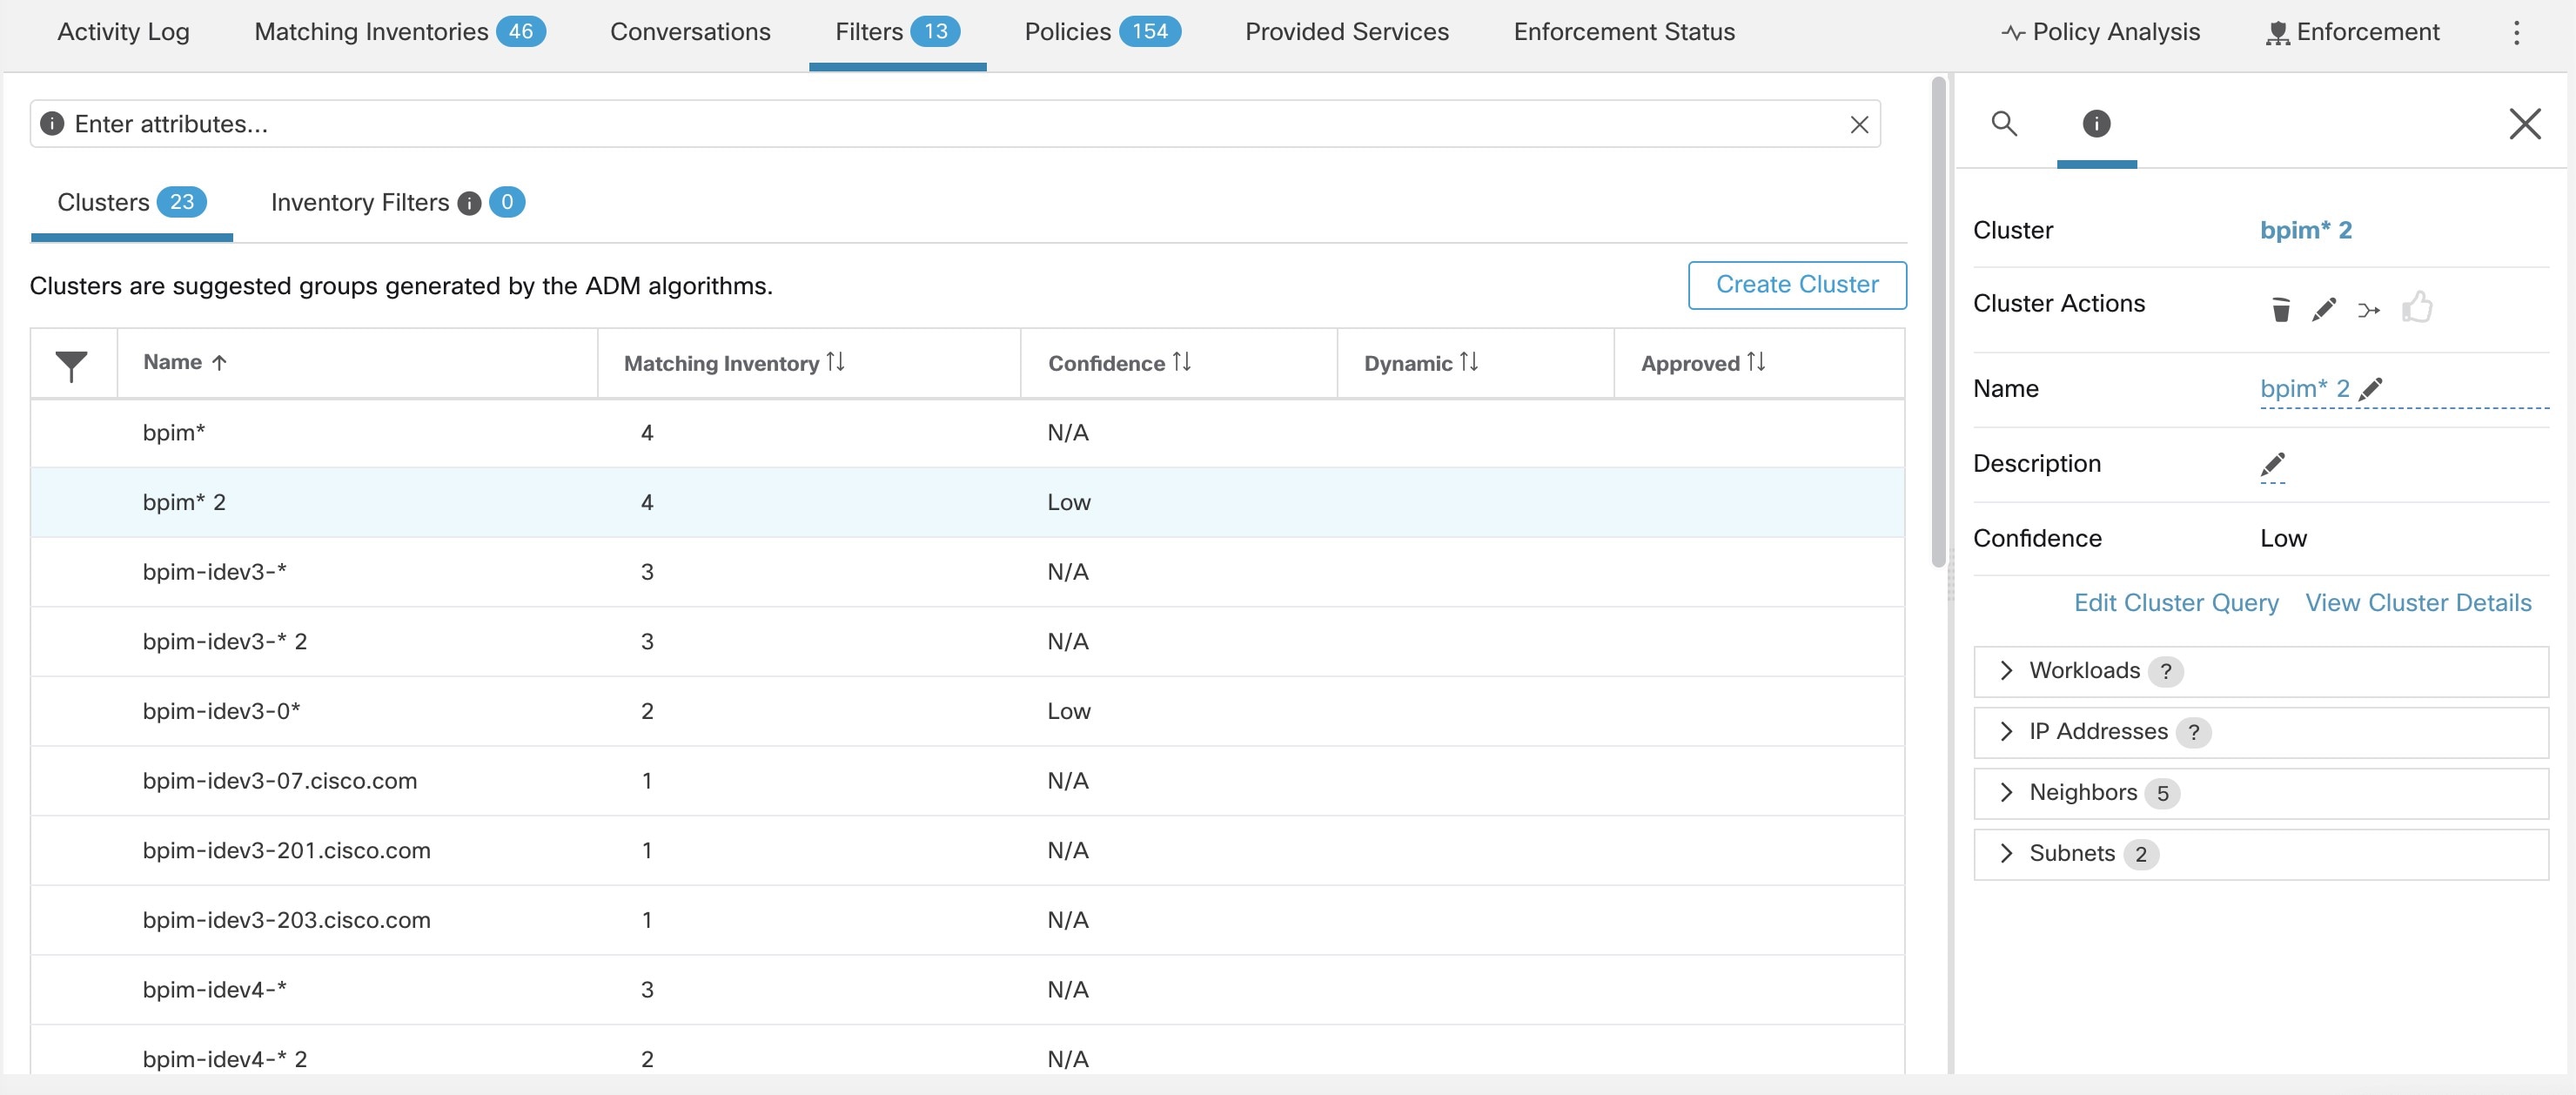
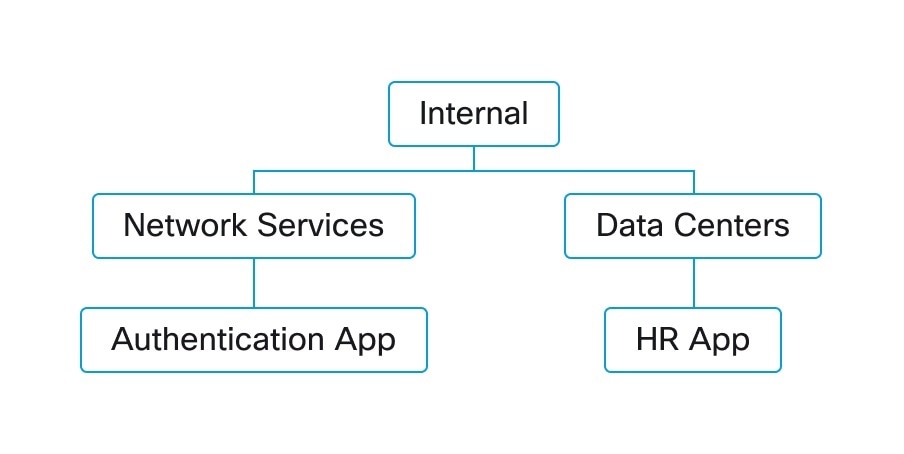
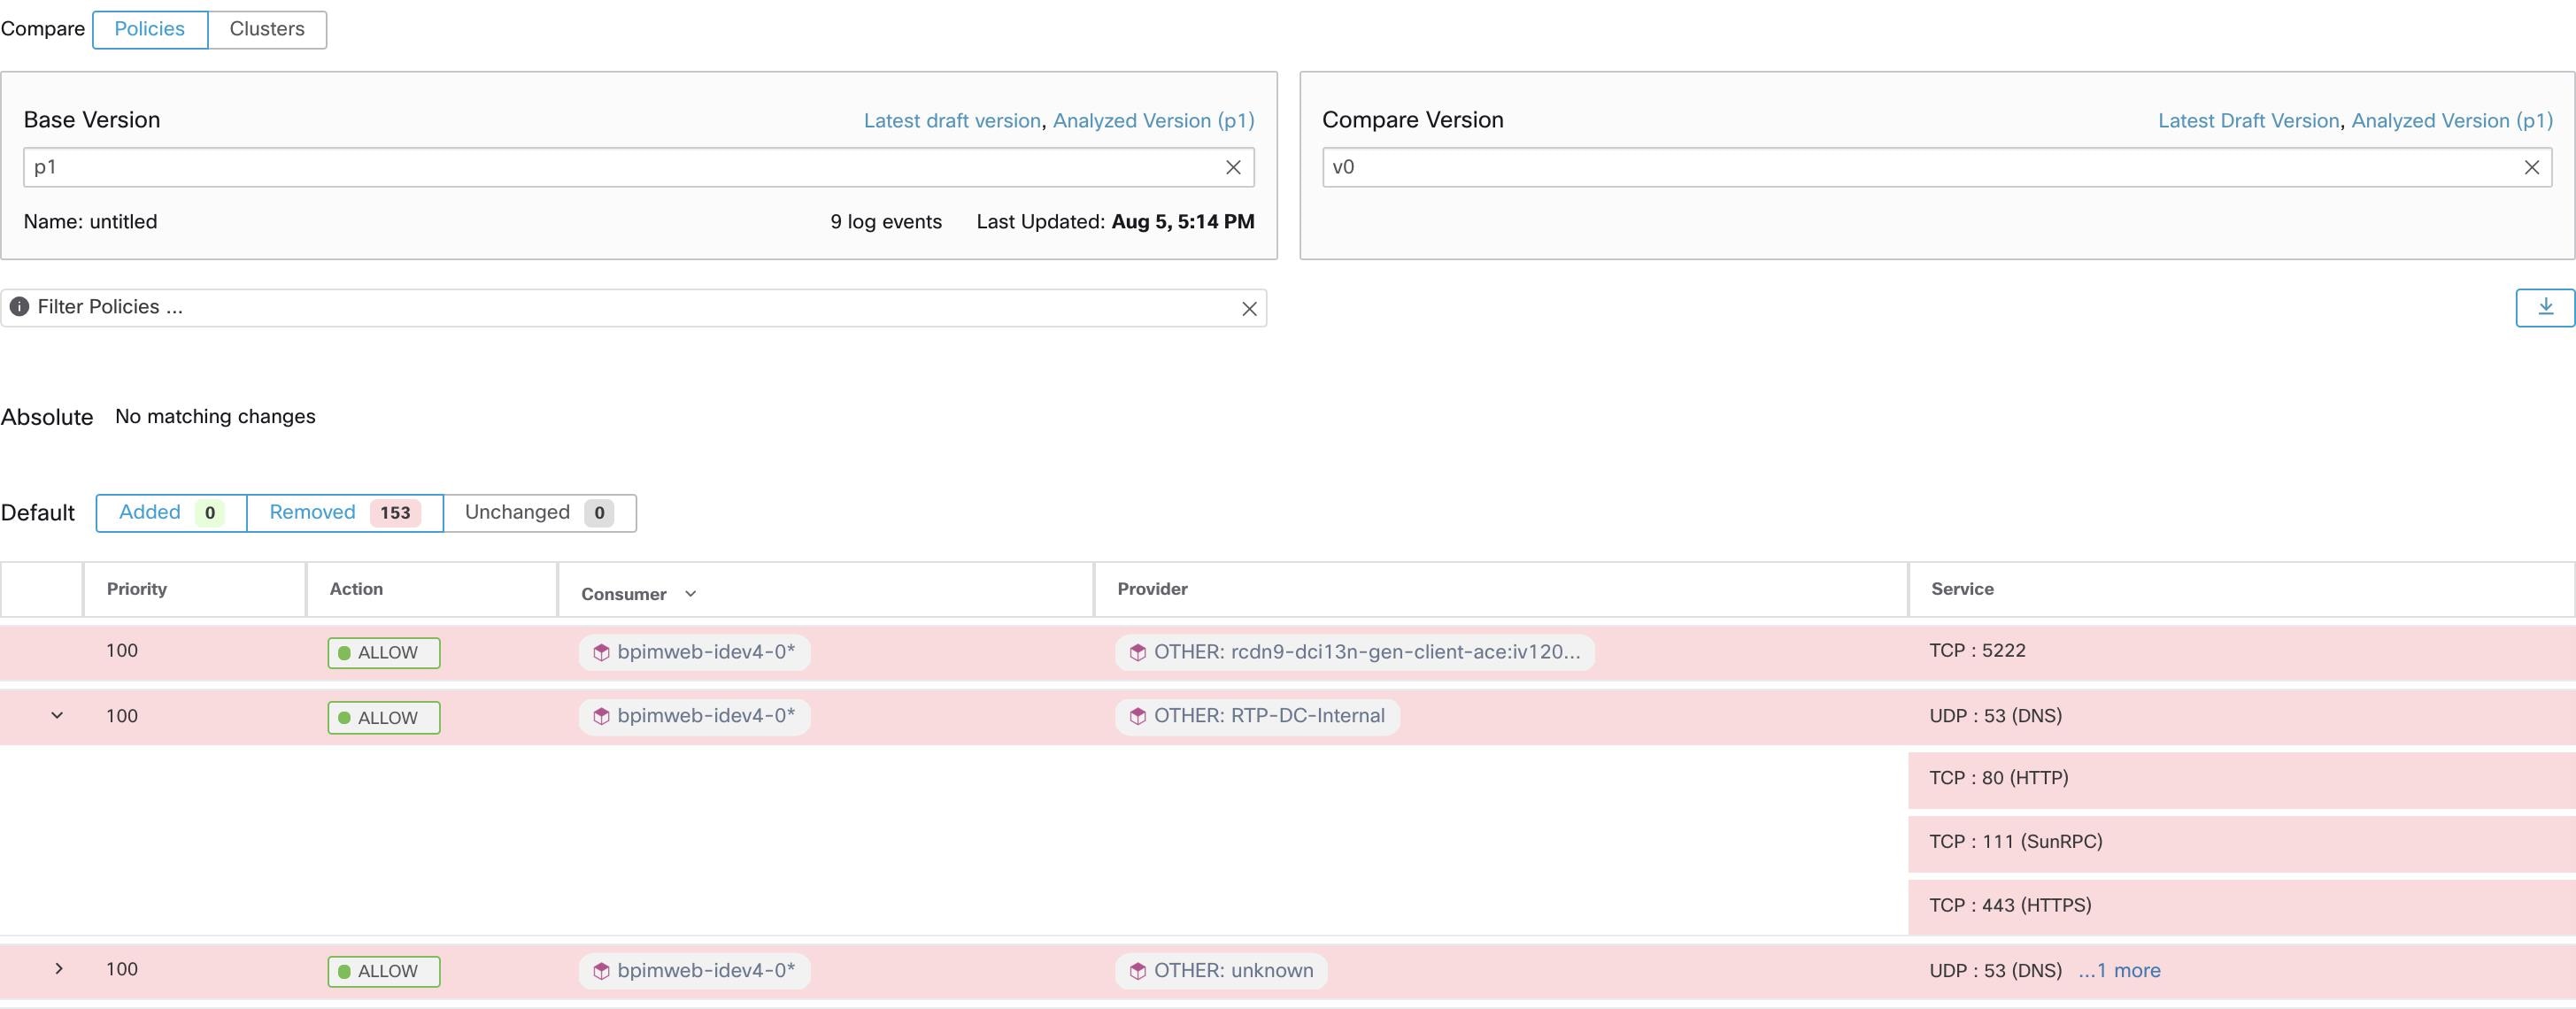
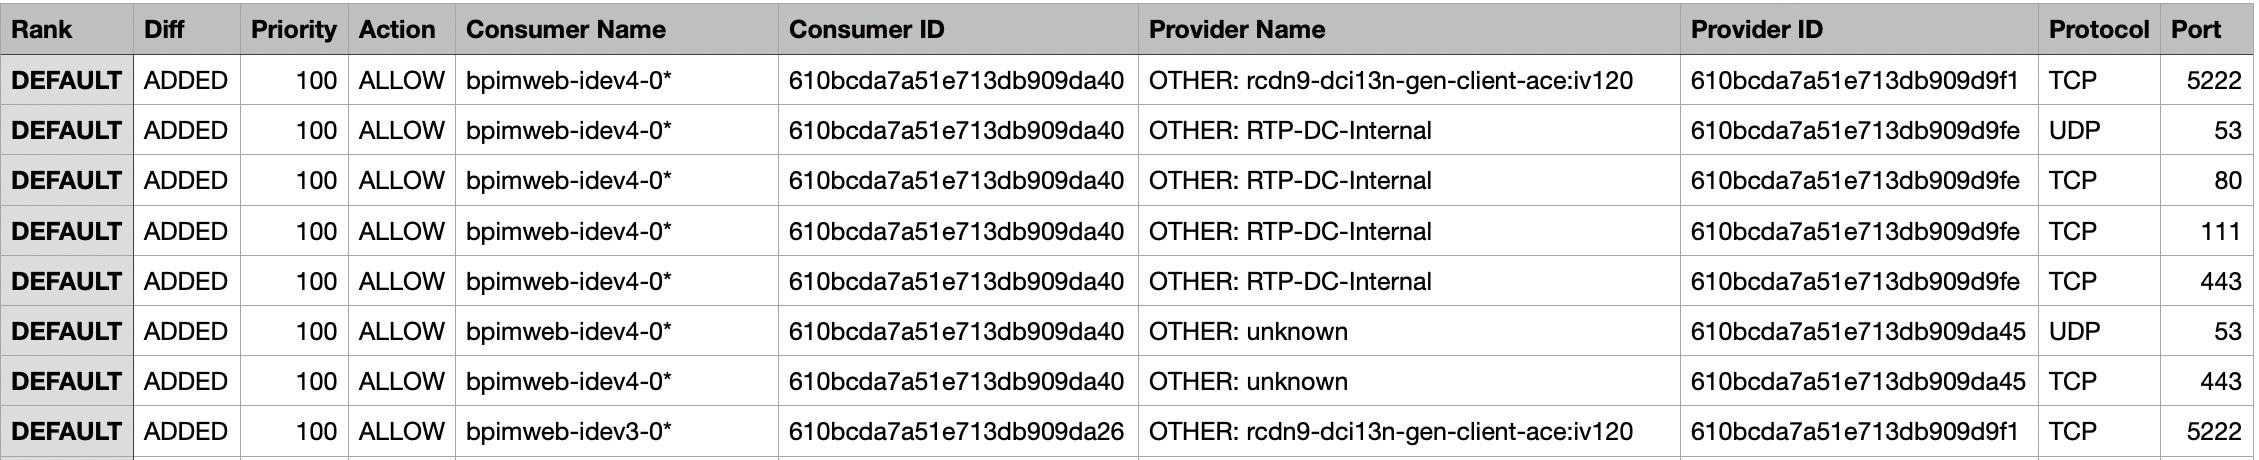
A cluster is a set of workloads that are grouped together within a workspace. (A Secure Workload deployment can also be called a cluster, but the two usages are unrelated.)
For example, if your application scope includes several web servers among many other types of servers and hosts that comprise
your application, you might want a cluster of web servers within this application scope, so you can assign specific policies
only to these web servers.
Automatic policy discovery groups workloads into clusters based on the signals observed in the timeframe that is specified
during the run configuration.
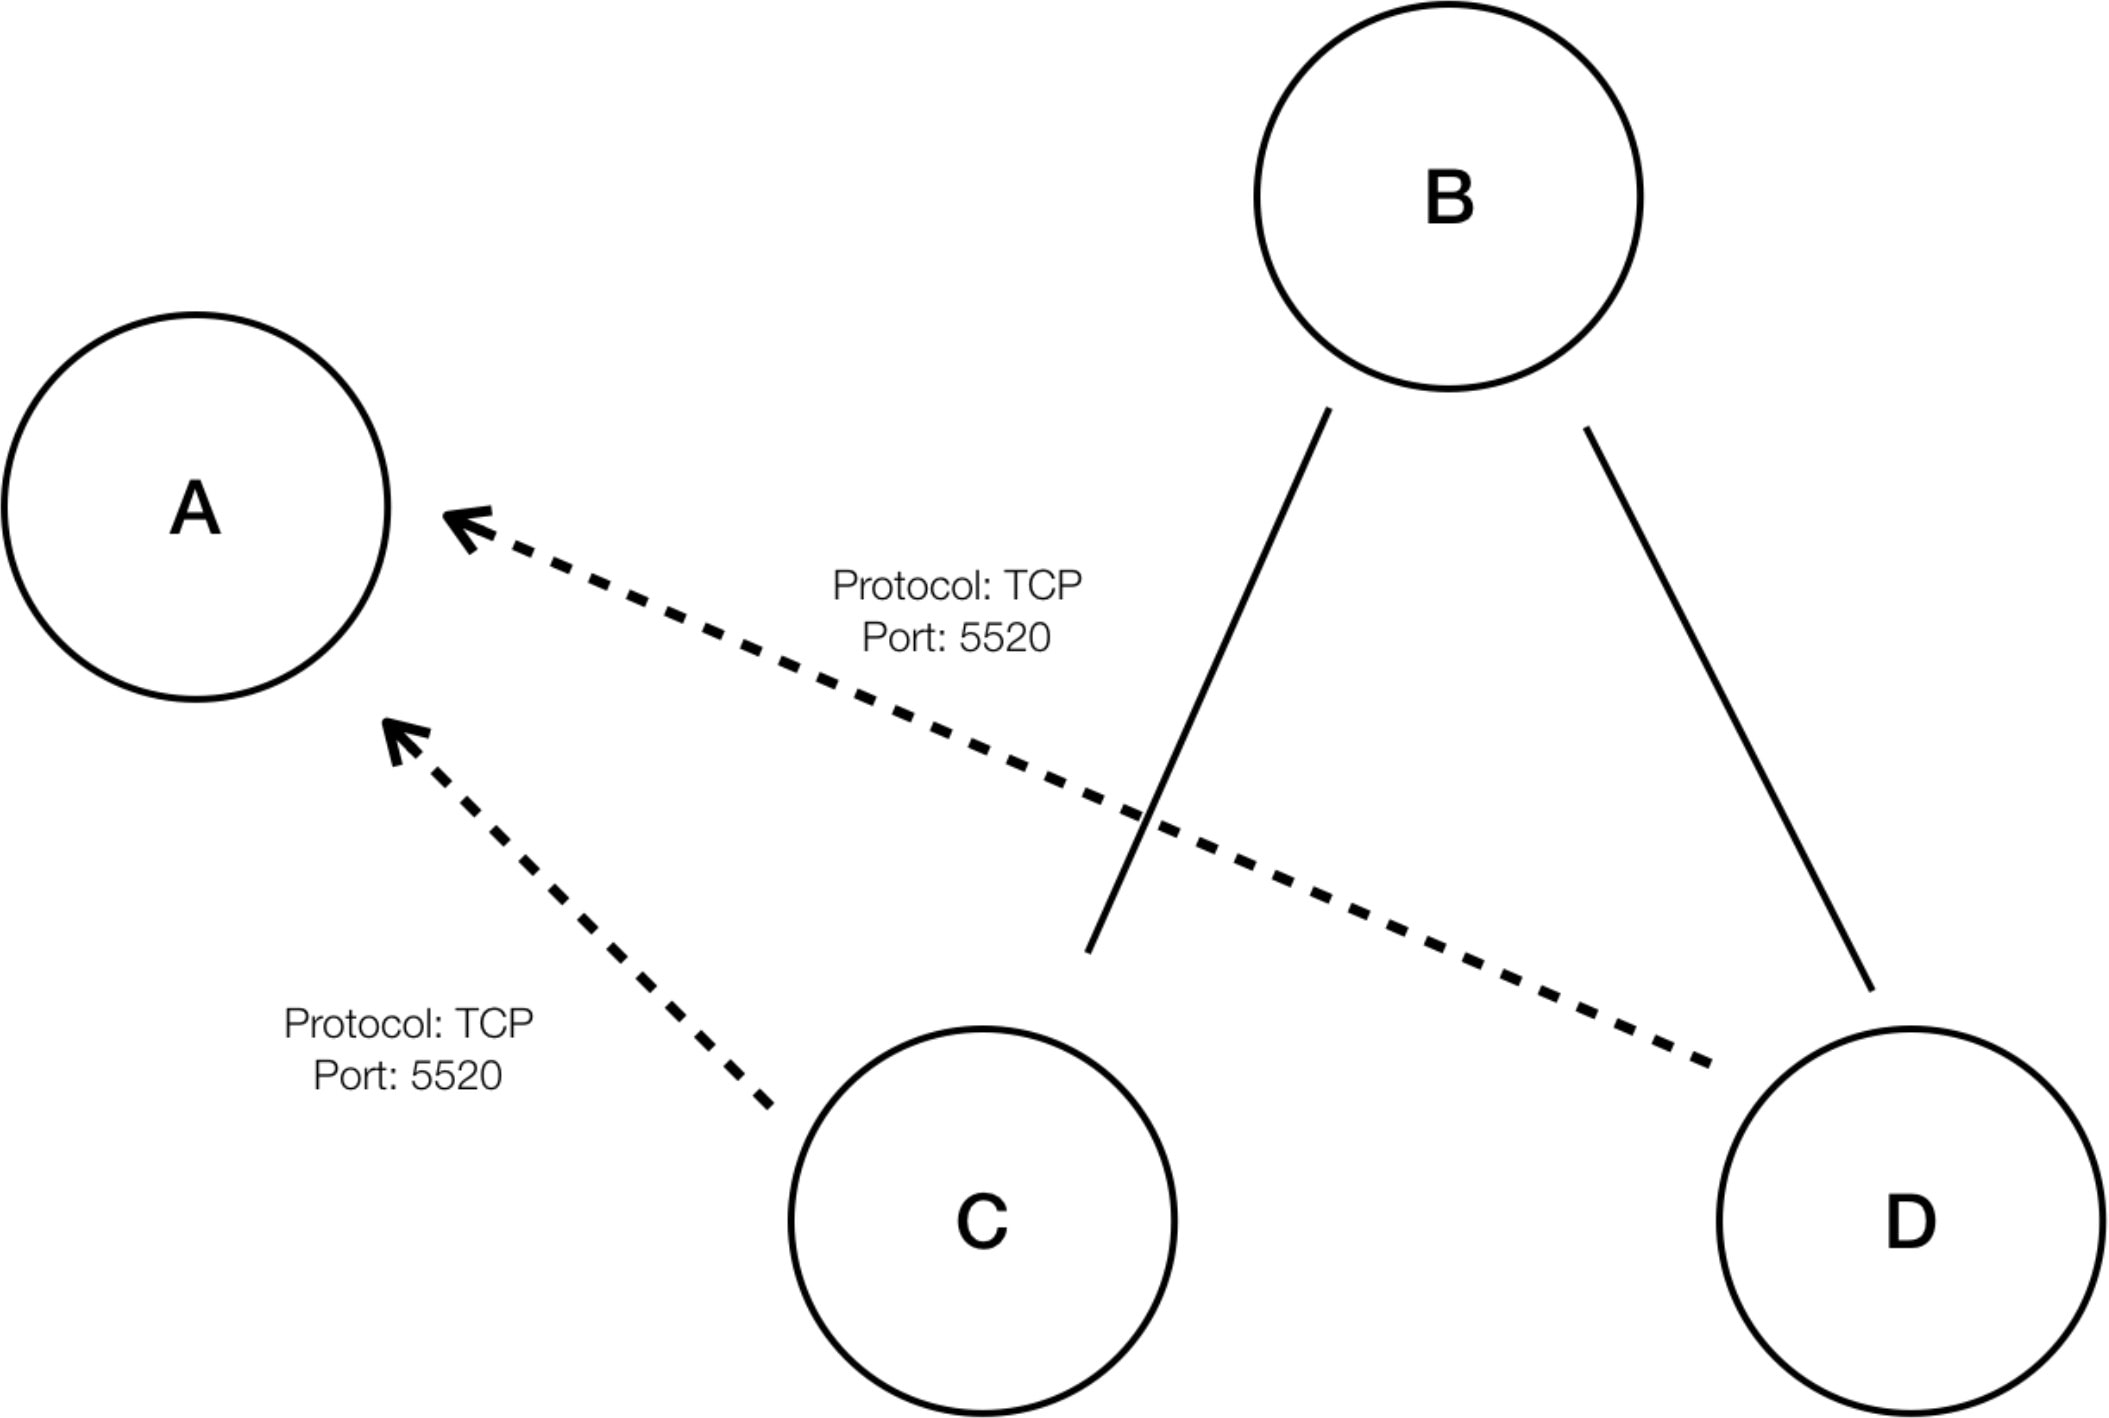
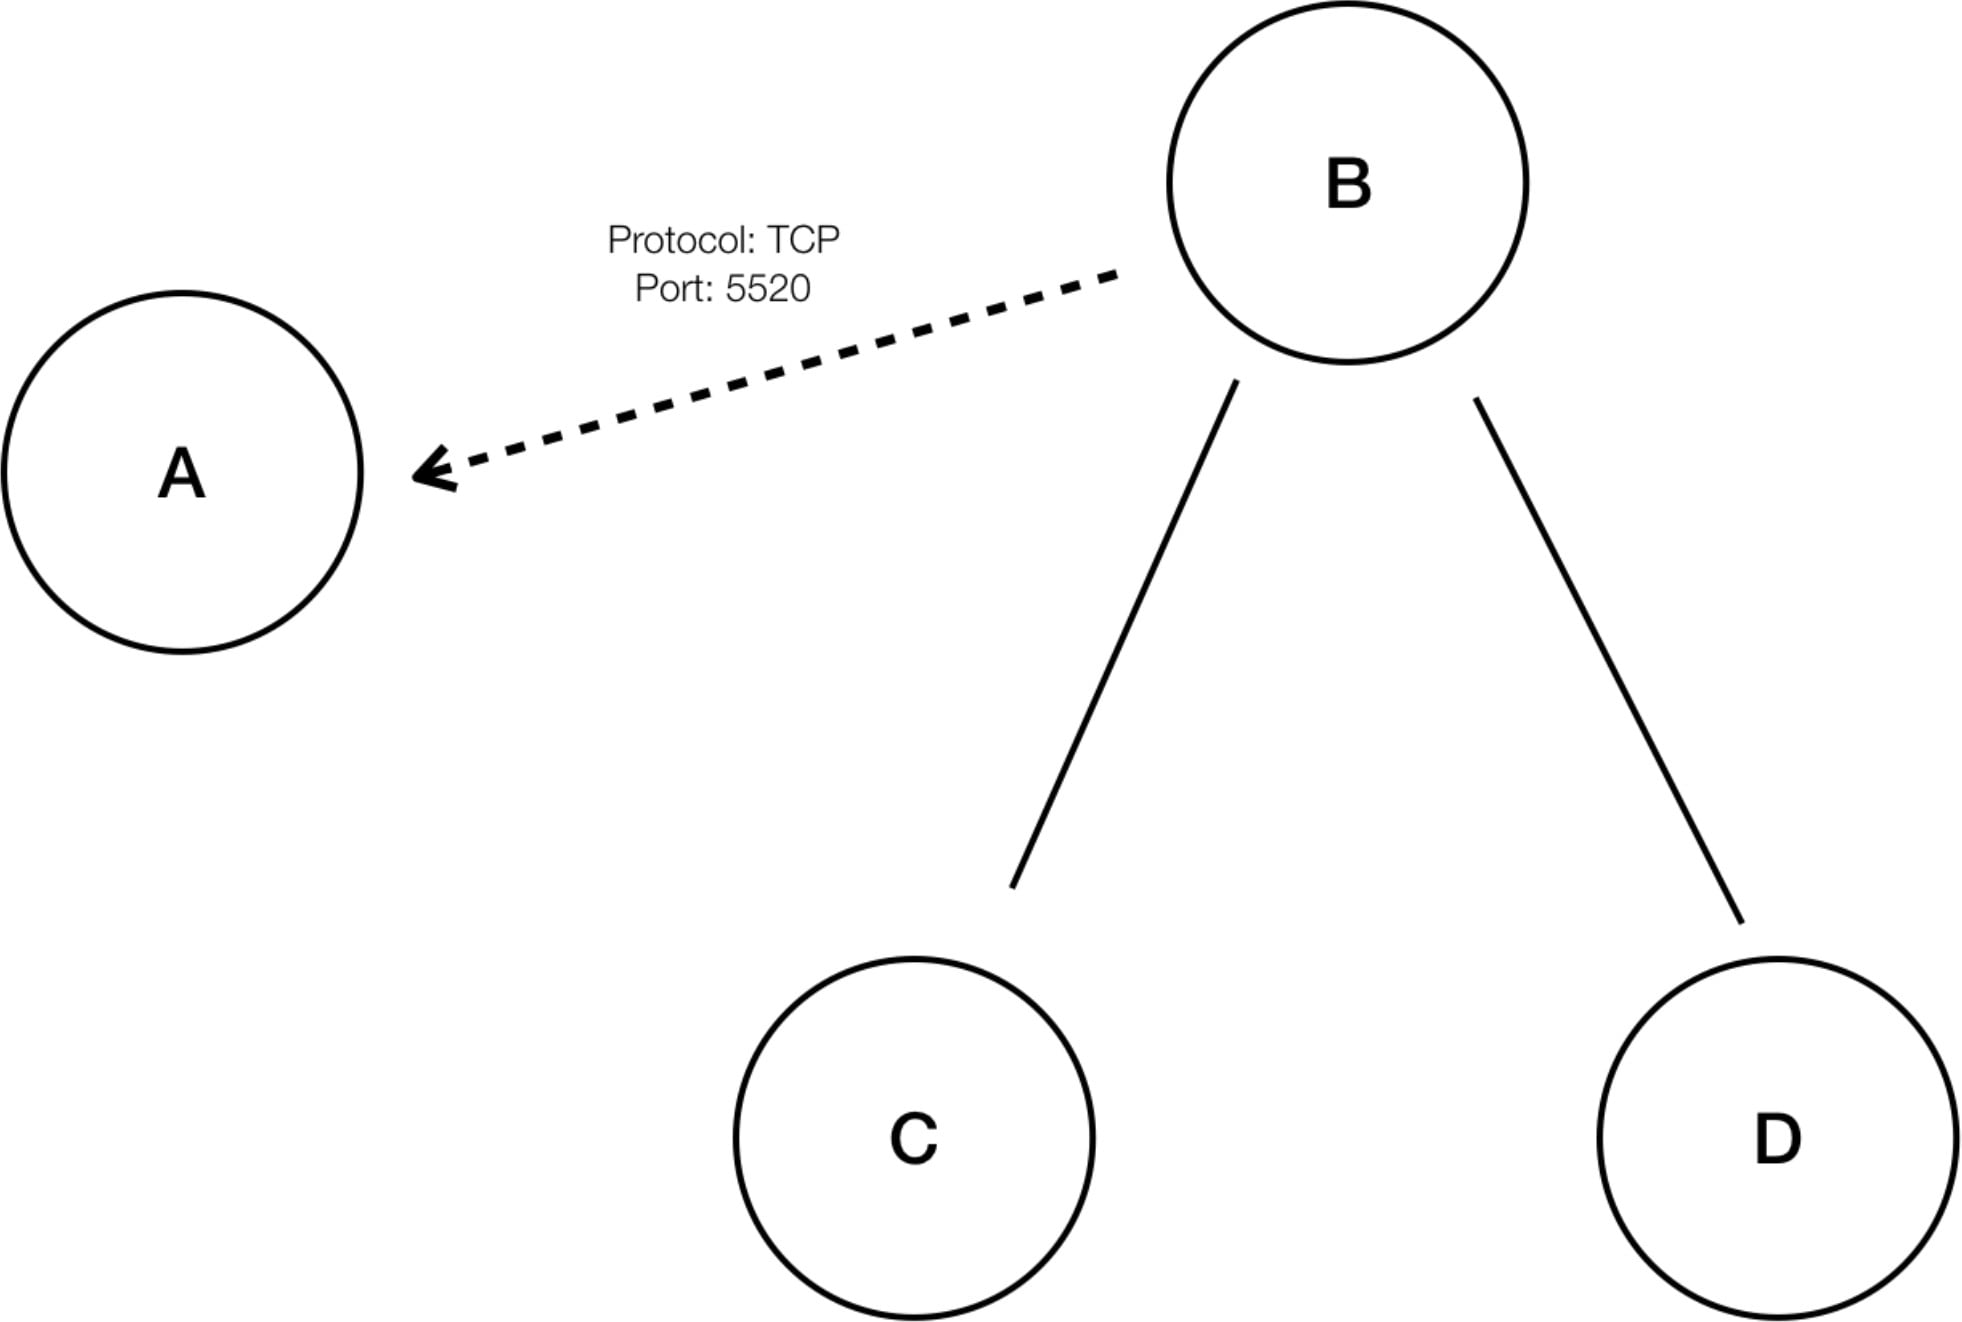
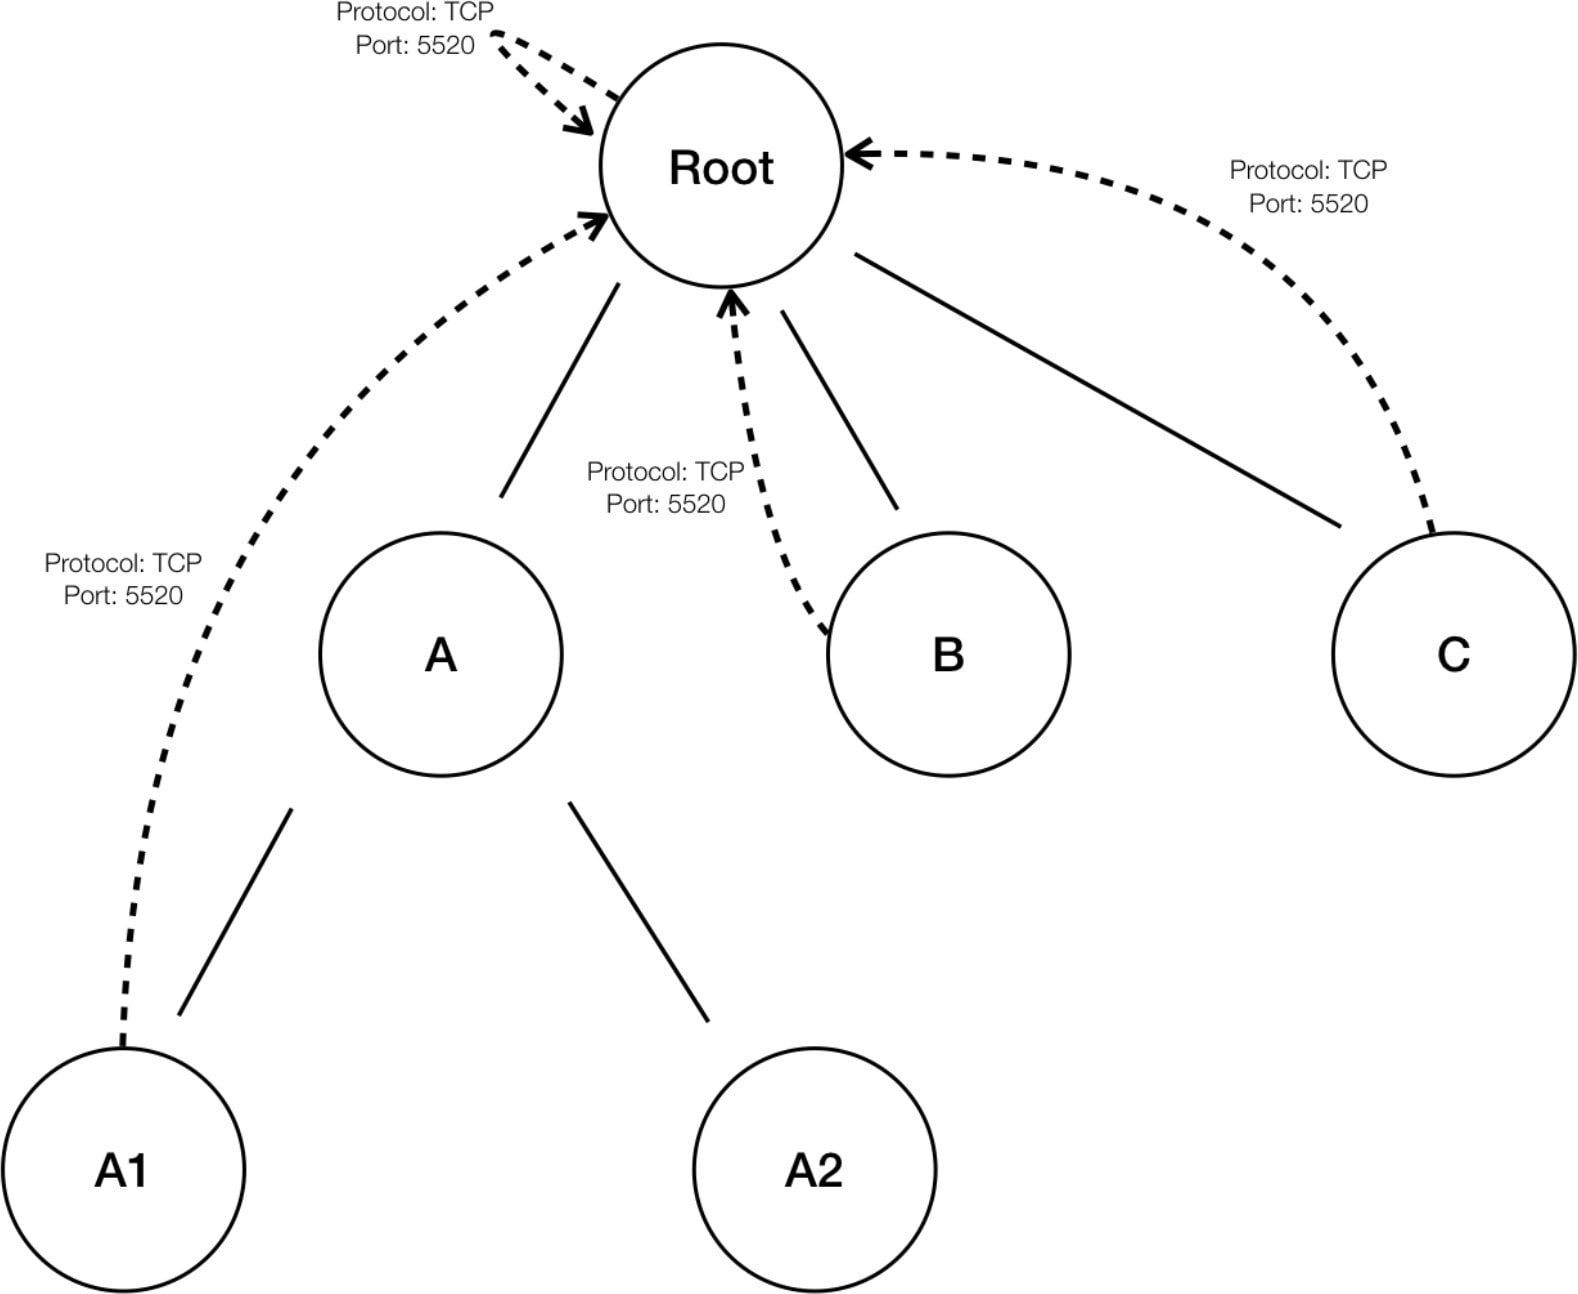
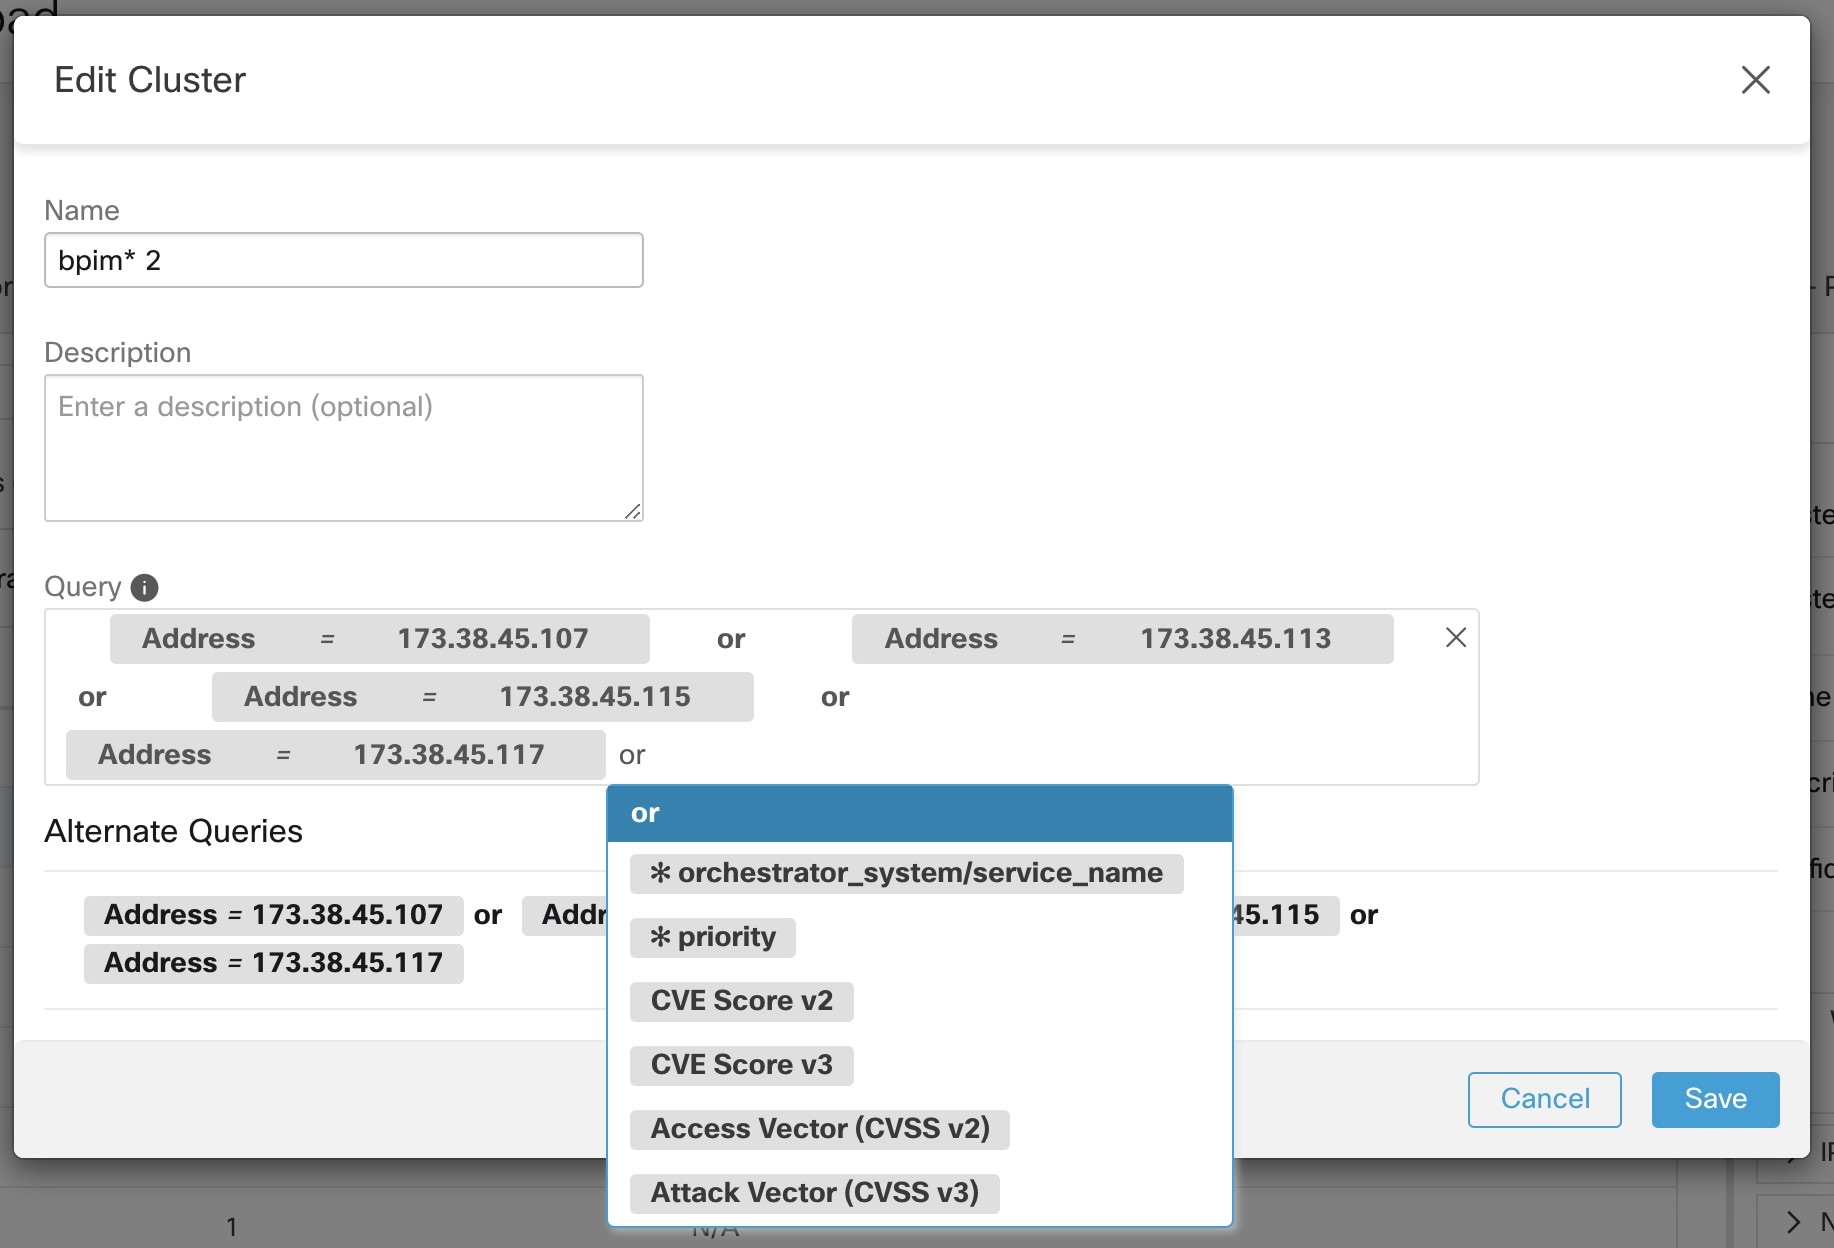
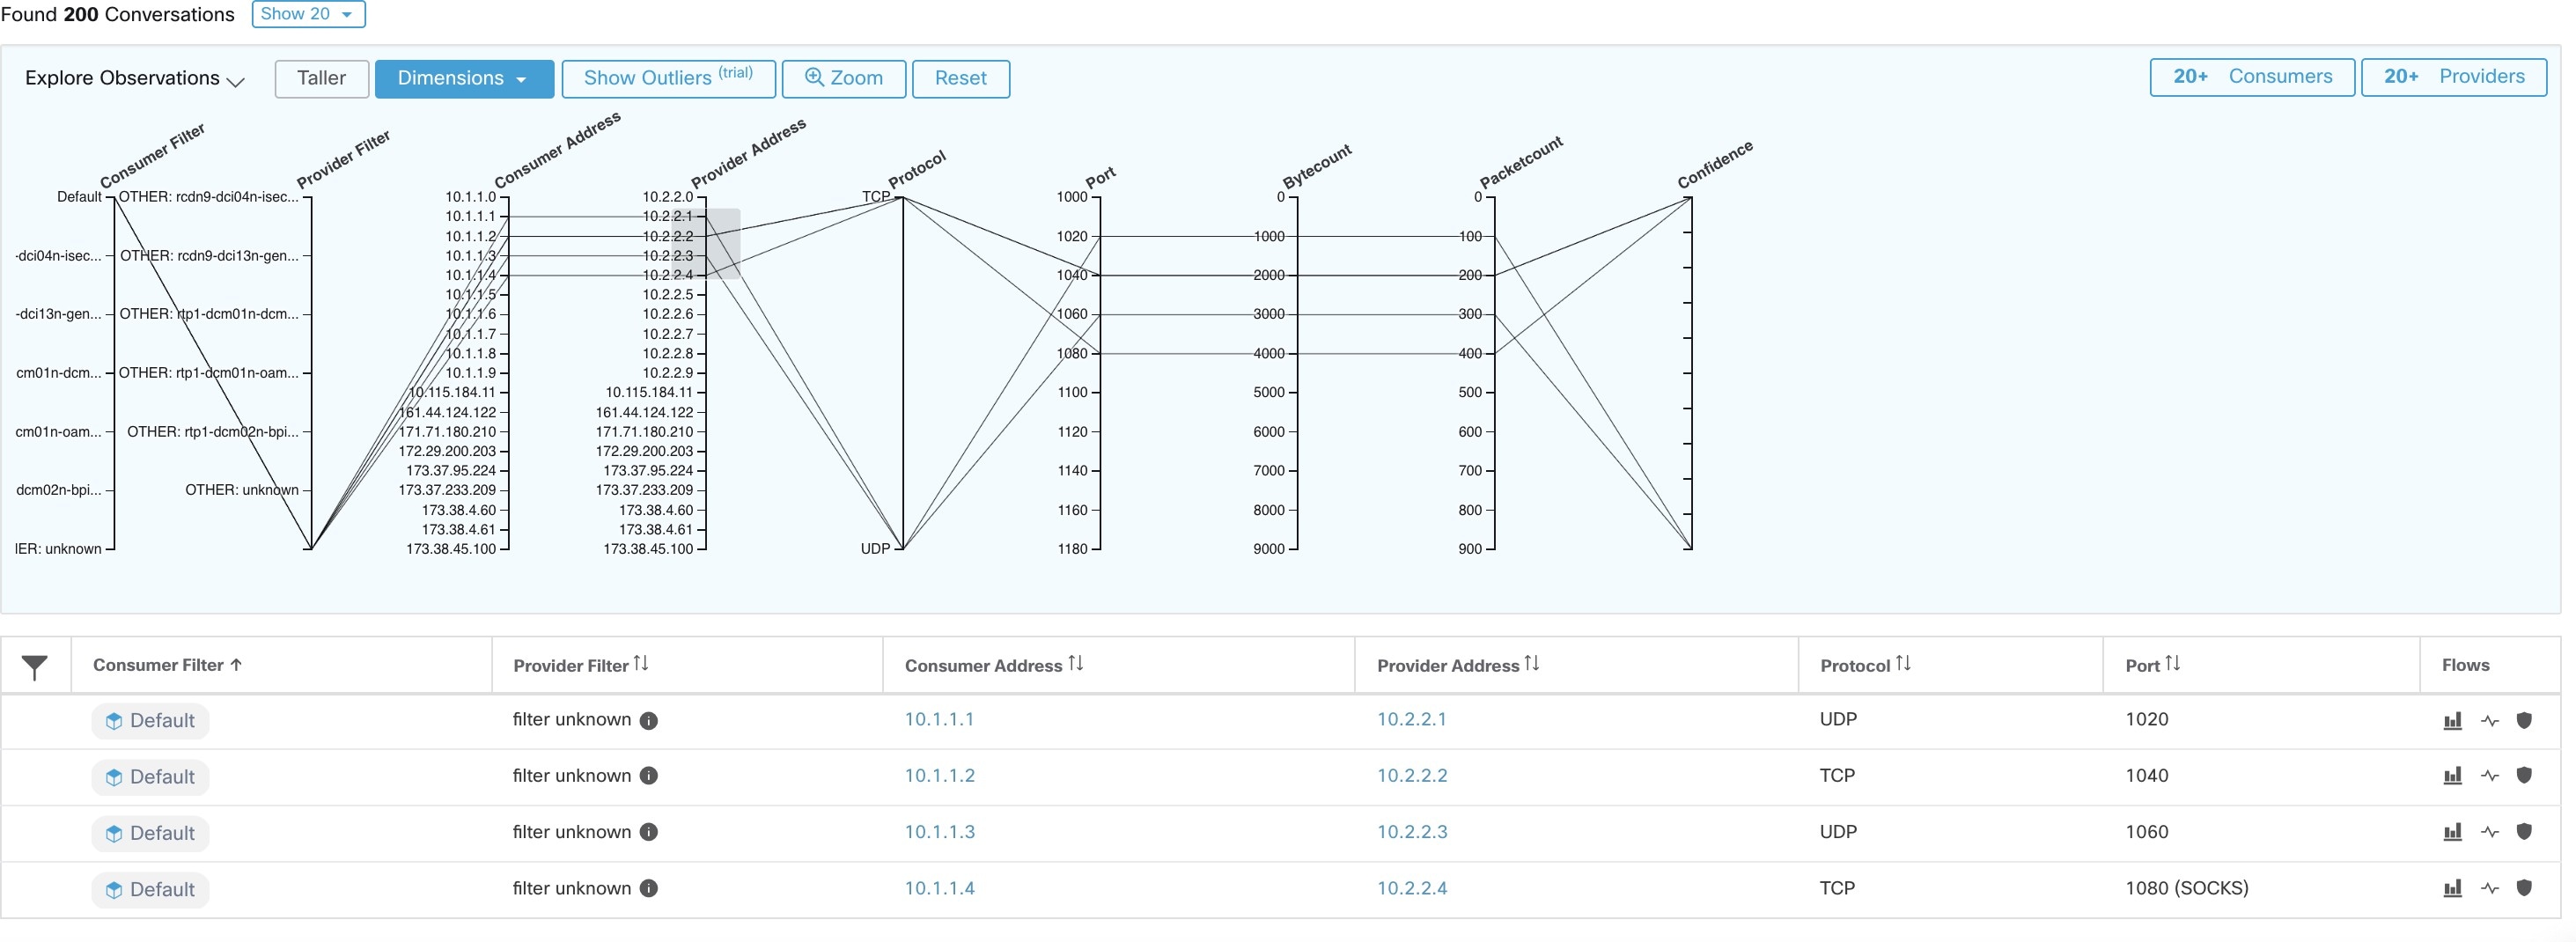
Each cluster is defined by a query
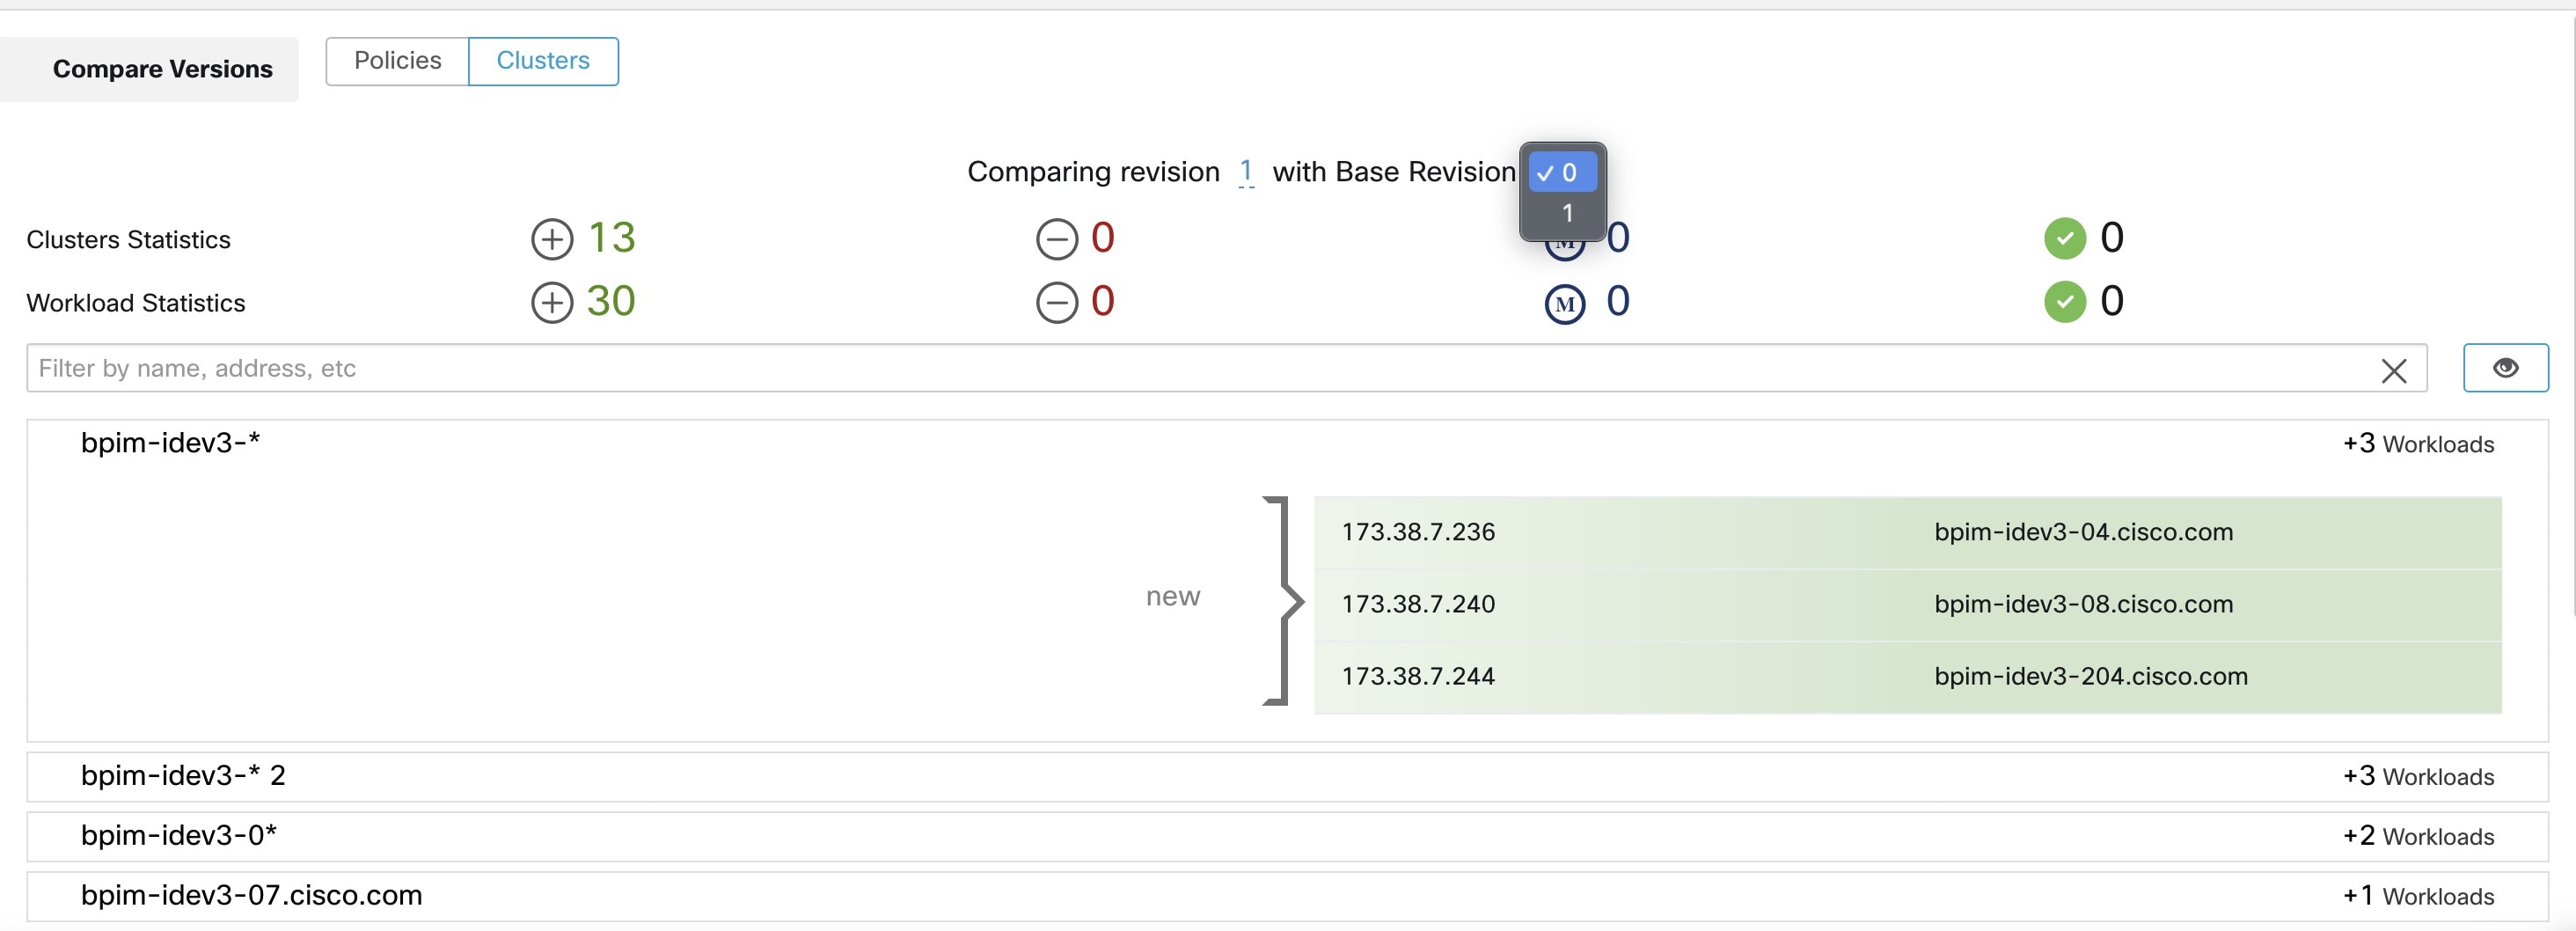
Cluster queries are dynamic unless you define them with specific IP addresses. With dynamic queries, cluster membership can
change over time to reflect changes in your inventory: More, fewer, or different workloads can match the query.
For example, if a cluster query is based on hostname containing the substring ‘HR’, and more hosts with hostname containing
HR are added to the workspace, the cluster automatically includes the additional hosts.
Automatic policy discovery examines the hostnames and labels that are associated with workloads. For each cluster, automatic
policy discovery generates a short list of candidate queries based on the hostnames and these labels. From these queries,
you can select one, possibly edit it, and associate it with the cluster. Note that, in certain cases, when automatic policy
discovery cannot formulate simple enough queries based on the hostnames and labels, no (alternate) queries are suggested.
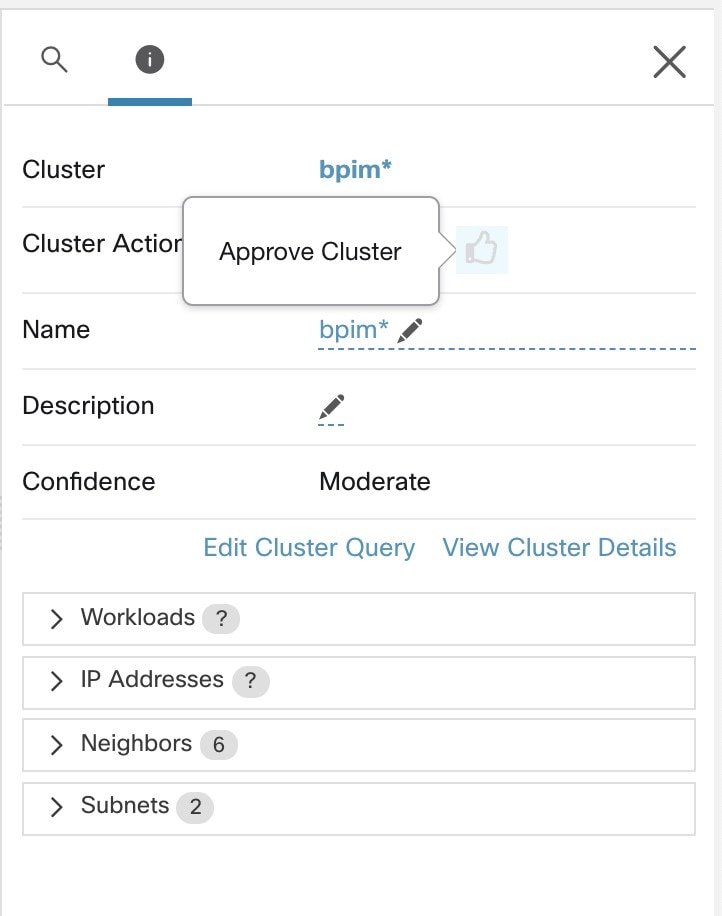
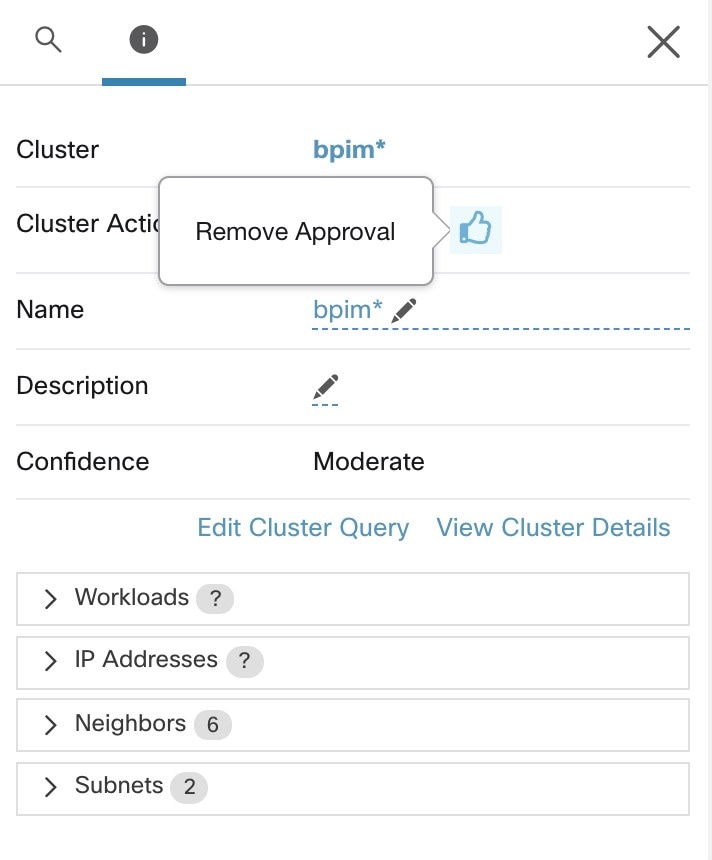
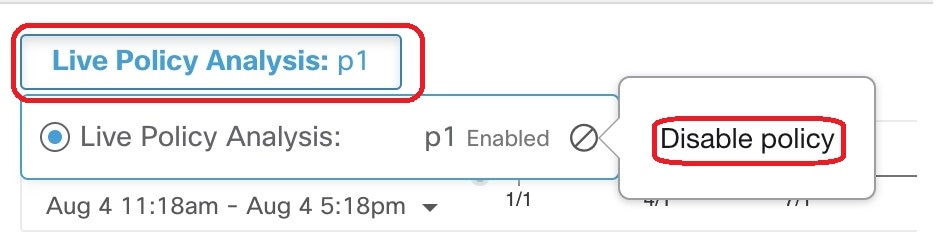
Workloads in approved clusters are not affected by future policy discovery
Only workloads that are not already members of an approved cluster in the relevant workspace are affected by policy discovery.
An approved cluster is a cluster that you have manually approved. For details, see Approvals of Clusters.
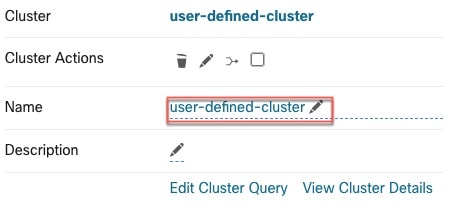
Edit clusters to improve grouping
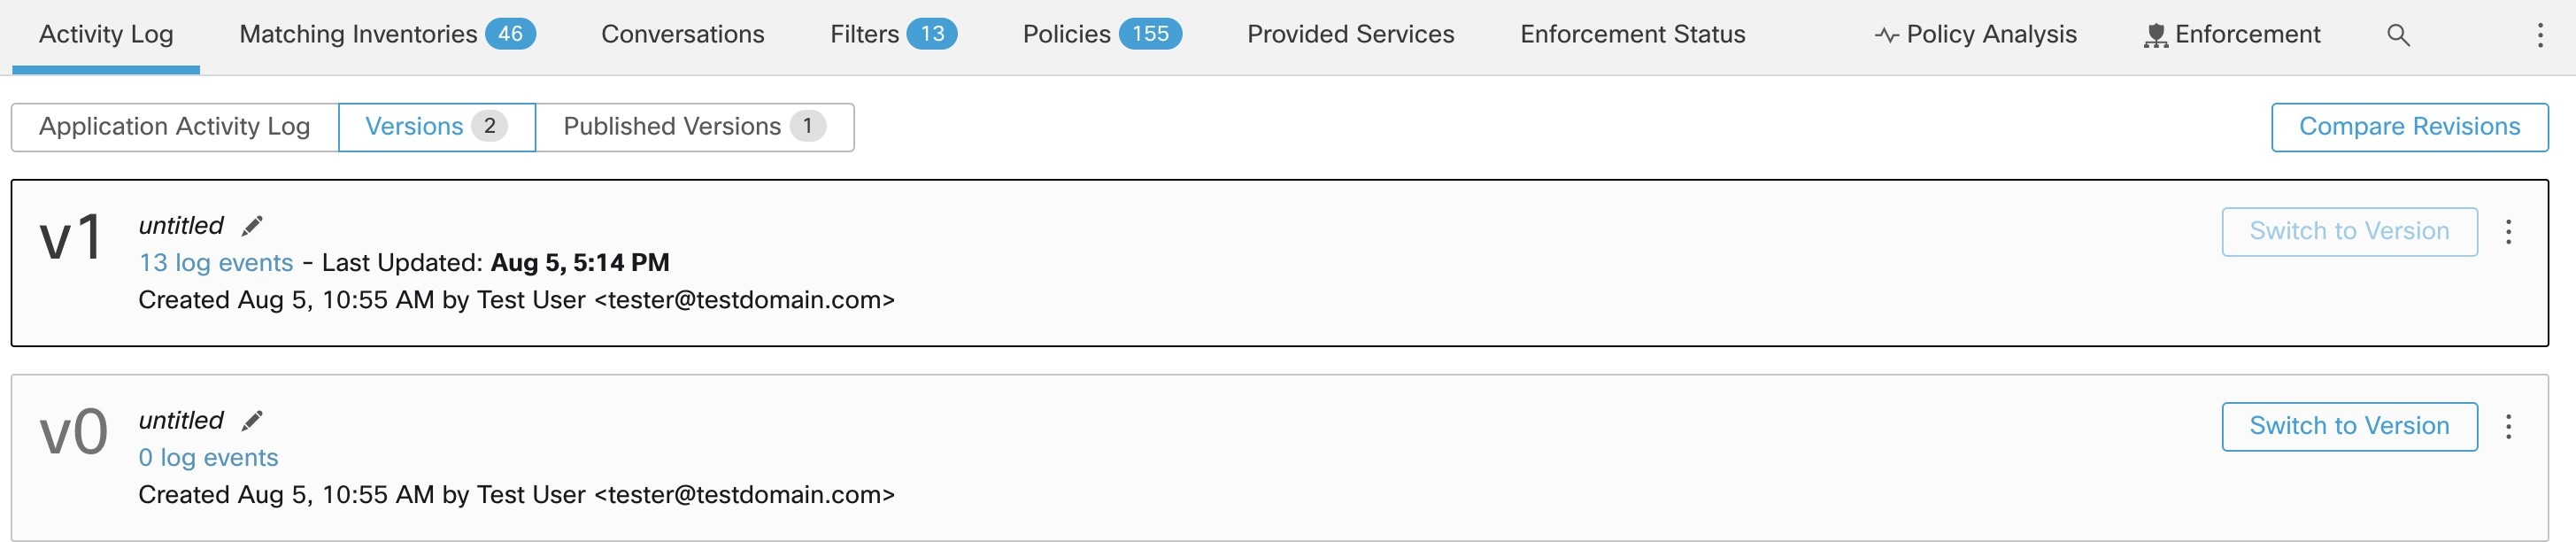
In the following sections, we describe a few workflows to edit, enhance, and approve the clustering results. Note that one
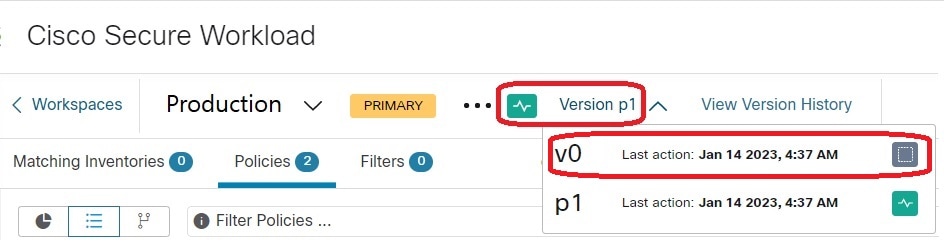
can change/approve clusters only in the latest version of a workspace (see History & Diff ).
See Making Changes to Clusters.
Clusters involving Kubernetes inventory

Note
|
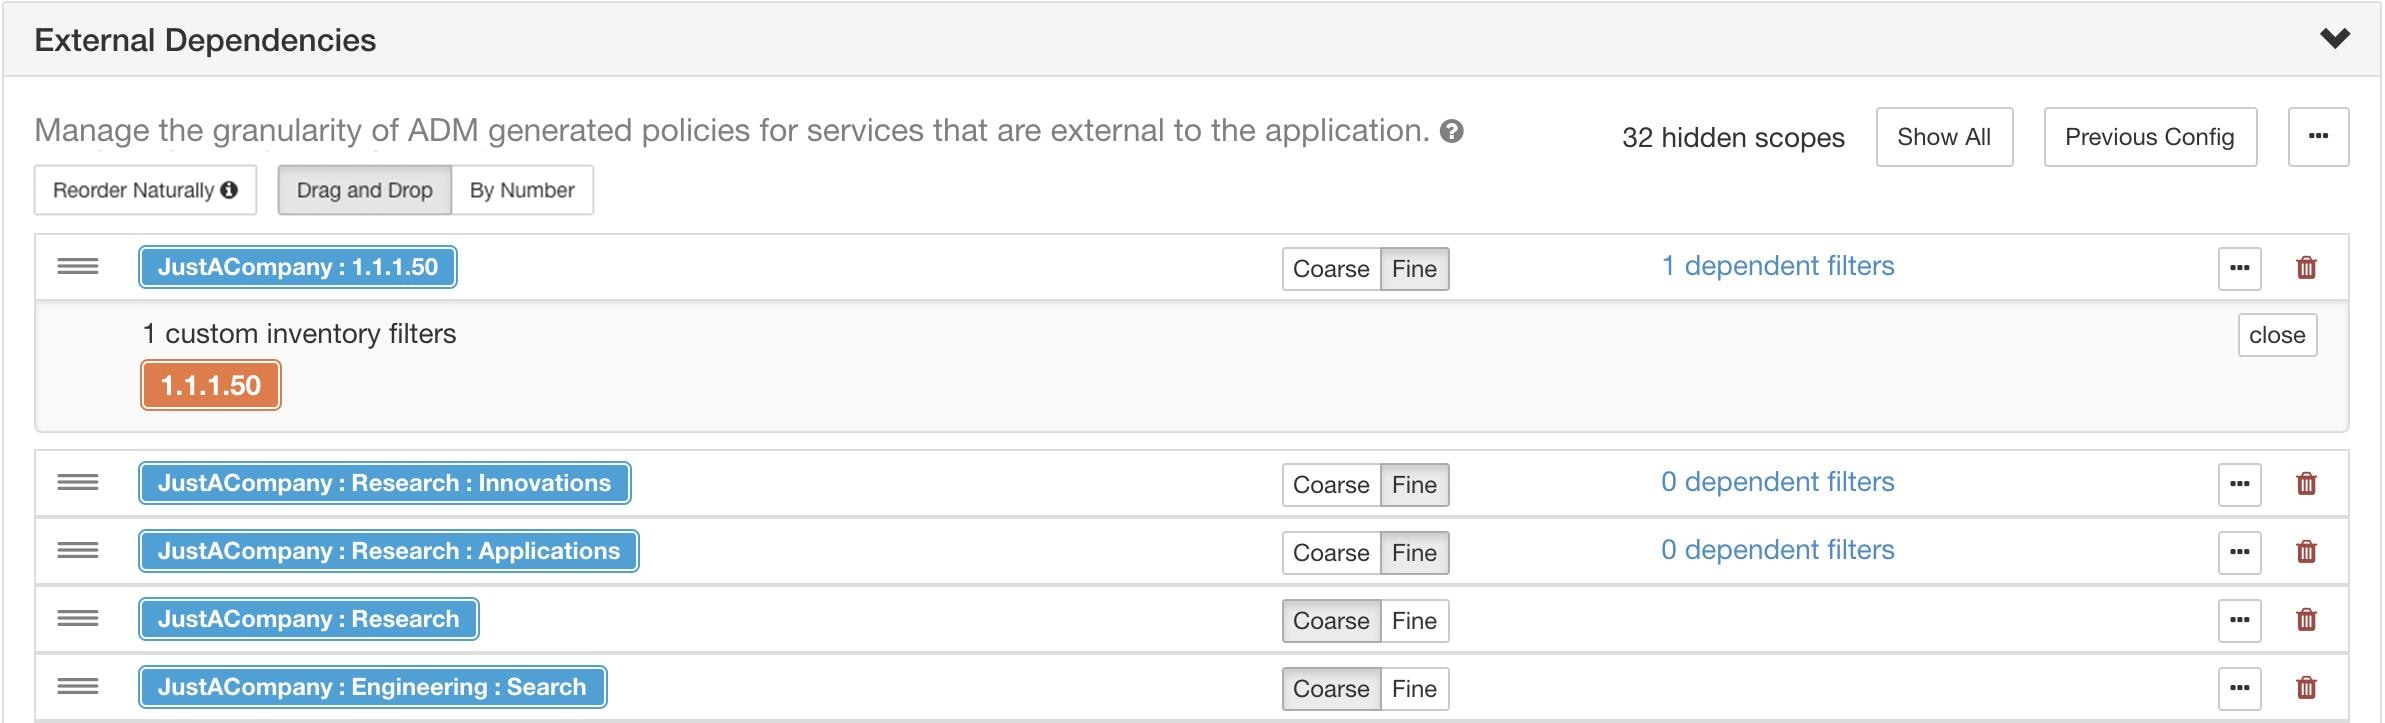
If your workspace includes inventory from multiple Kubernetes namespaces, each cluster query must filter by namespace. Add
the namespace filter to each query if it is not already present. If you change any query, then automatically discover the
policies again.
|
A cluster may consist of a single workload.
You may want to create policies involving just a single workload.
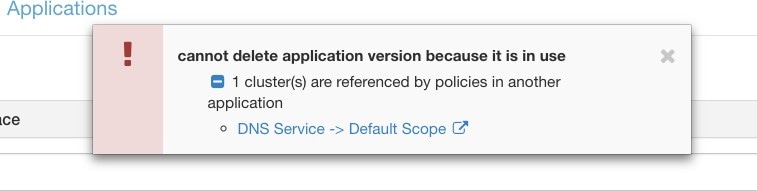
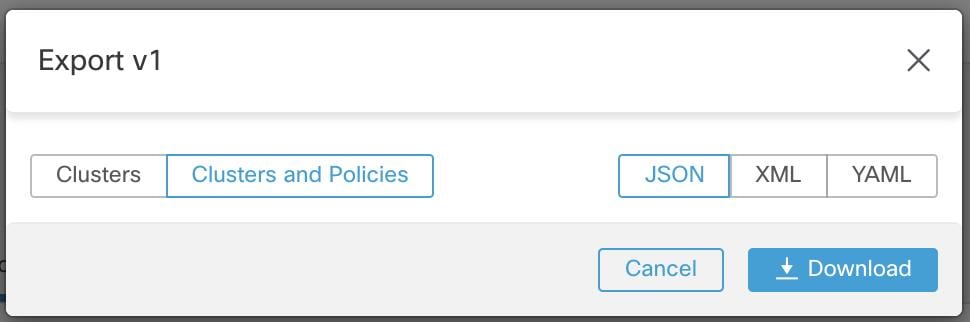
Clusters may be converted to inventory filters
Like approved clusters, clusters promoted to inventory filters are not changed during subsequent policy discovery.
Unlike clusters, inventory filters are not tied to a workspace, but are globally available within your Secure Workload deployment.
For a comparison of clusters and inventory filters, see Grouping Workloads: Clusters and Inventory Filters.
See Convert a Cluster to an Inventory Filter.
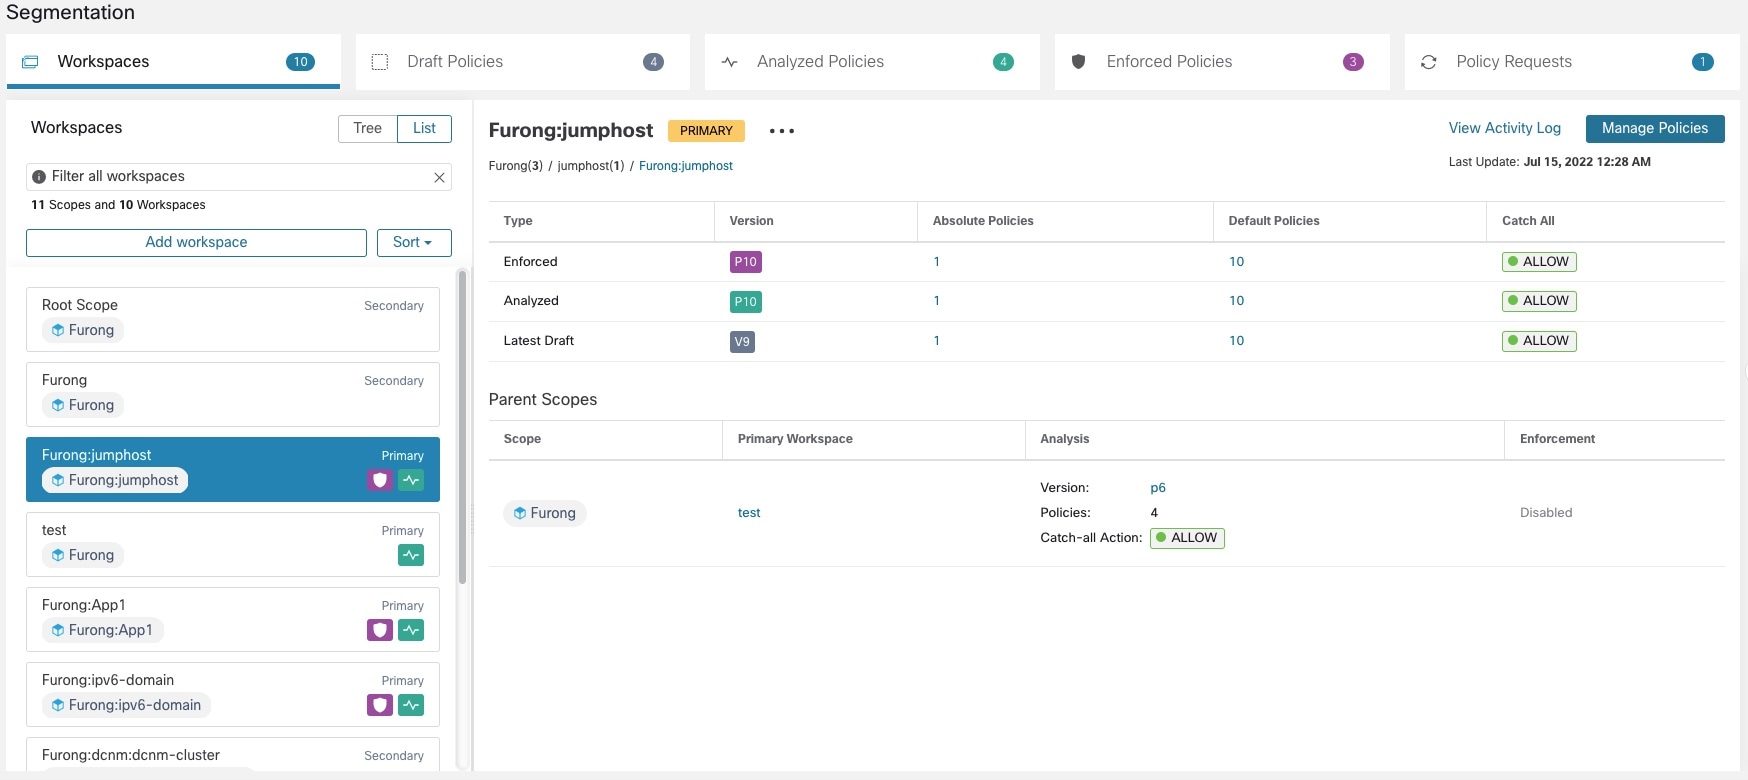

 beside the workspace type (Primary or Secondary) shown near the top of the page and choose
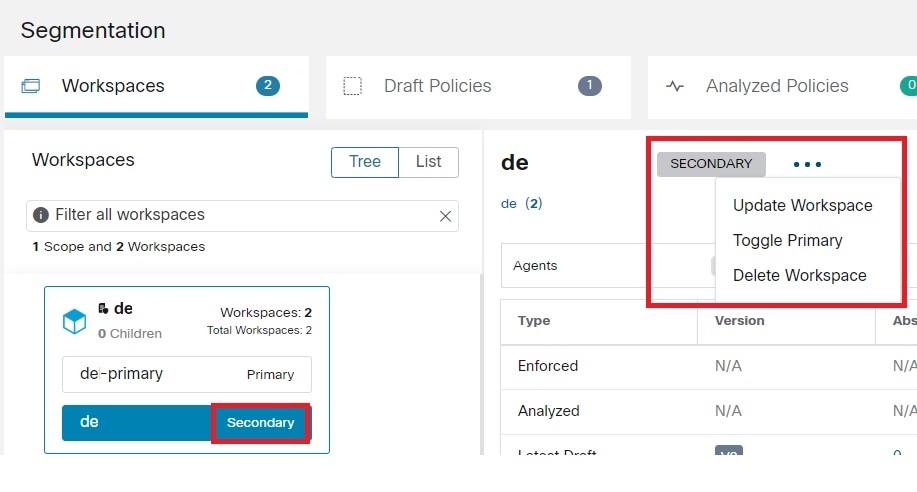


 button at the end of the scope's row.
 near the top right of the page and select


 (Promote to Inventory Filter.)


 ).
).


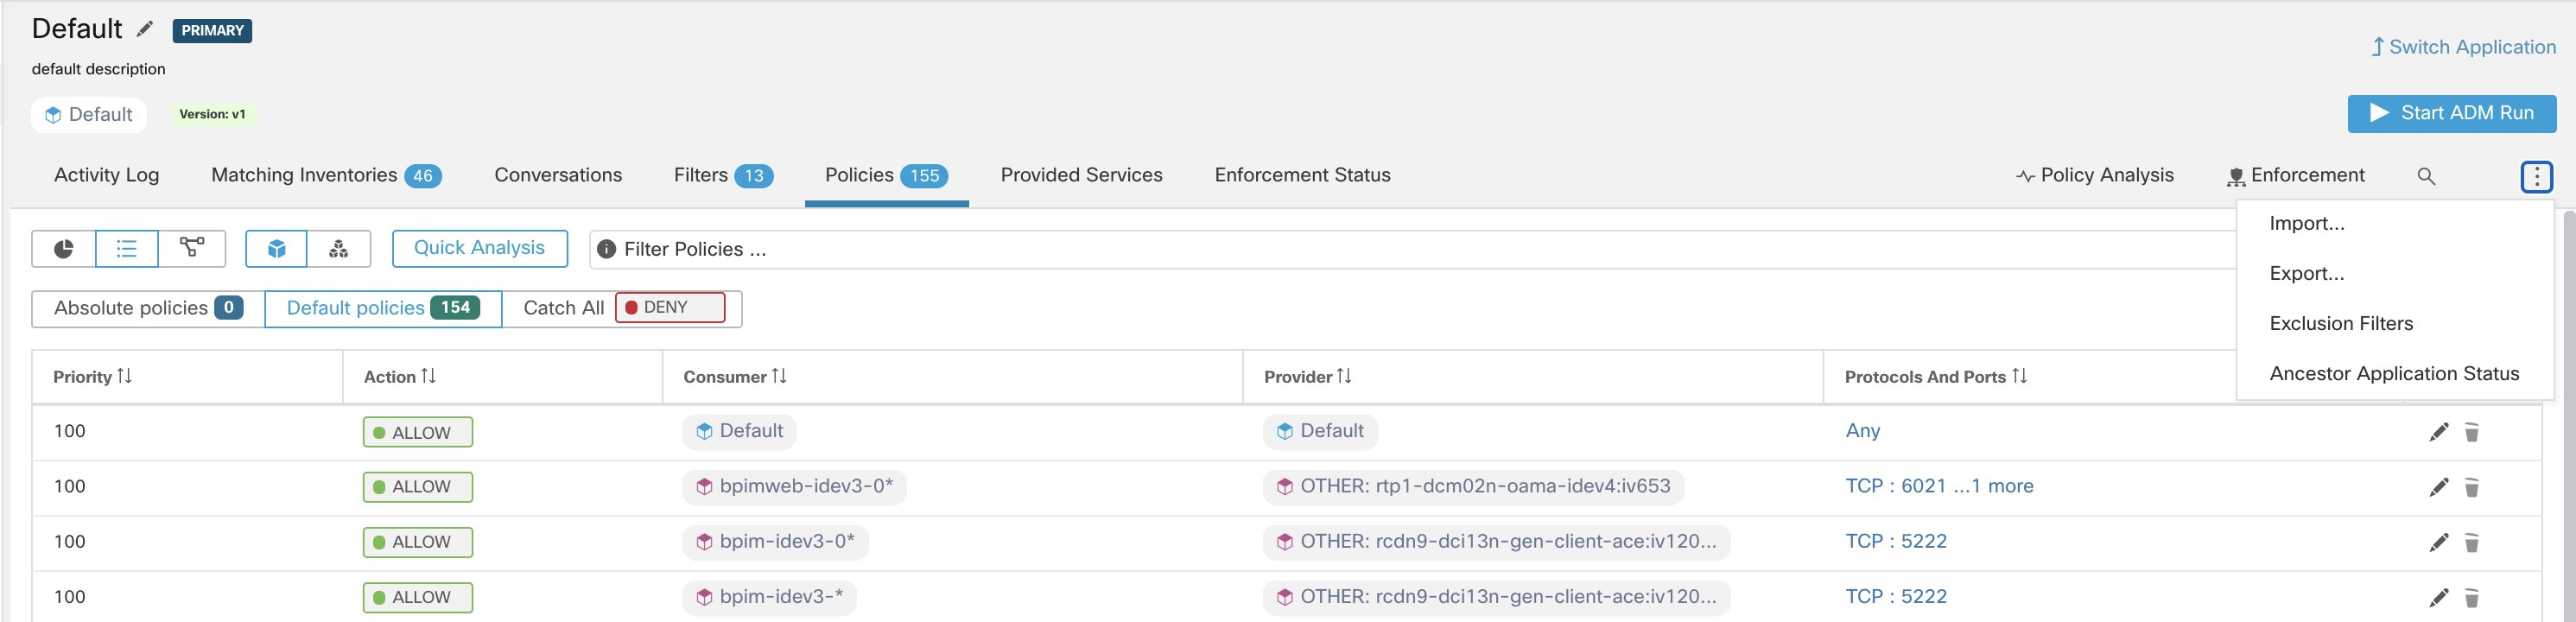
 Feedback