
Cisco Nexus Hyperfabric — Deploying Your Fabric on Site
Deploying your fabric on site
The Cisco Nexus Hyperfabric greatly simplifies cabling operations of the devices in a fabric by providing features to guide tasks that you or a network cabling technician must perform on site. A network administrator uses Cisco Nexus Hyperfabric to create a blueprint that includes a cabling plan for the devices. You can view and follow tasks to set up the physical fabric topology or track the progress by going to a dedicated on-site page.
Alternatively, the network administrator can give a URL for the Cisco Nexus Hyperfabric on-site mobile-friendly site to the network cabling technicians. The technicians then open the URL on a mobile device to view the blueprint and follow that to set up the physical fabric topology or to view the status of the fabric. You can get the URL from the main Cisco Nexus Hyperfabric GUI.
The on-site page has these functionalities:
- Step by step guide: provides the procedure for setting up your topology in a continuous list. See Use the step by step guide to set up the fabric topology.
- Inspect equipment: enables you to view the parts for your devices. See Inspect equipment.
- Claim and bind: enables you to claim, bind, and unbind devices. See Claim devices using a claim code, Bind devices, and Unbind devices.
- Insert pluggables: guides you in inserting the pluggables (optics) into the devices. See Insert pluggables.
- Cable fabric: provides the procedure for connecting your devices together to create your physical topology. See Cable the fabric.
- Breaks & fixes: specifies issues in the fabric that you must fix. See Address critical issues.
- Learn more: displays this document.
Get the shareable link to the Cisco Nexus Hyperfabric on-site mobile-friendly site
Step 1 | In the Cisco Nexus Hyperfabric GUI, choose Fabrics, then select the fabric for which you want to get the link. |
Step 2 | Select On-site |
Step 3 | Select Shareable link. |
Step 4 | Go to the on-site mobile friendly site using one of these methods.
|
Viewing deployment tasks
View deployment tasks in Cisco Nexus Hyperfabric on a non-mobile device
Before you can log in to Cisco Nexus Hyperfabric, you must have a cisco.com user account.
Follow these steps to view deployment tasks in Cisco Nexus Hyperfabric on a non-mobile device.
Step 1 | Point your web browser to https://hyperfabric.cisco.com/. |
Step 2 | If you already have an account, enter your Cisco.com email address and select Continue to cisco.com. You will be authenticated by Cisco's Single Sign-On (SSO) service. 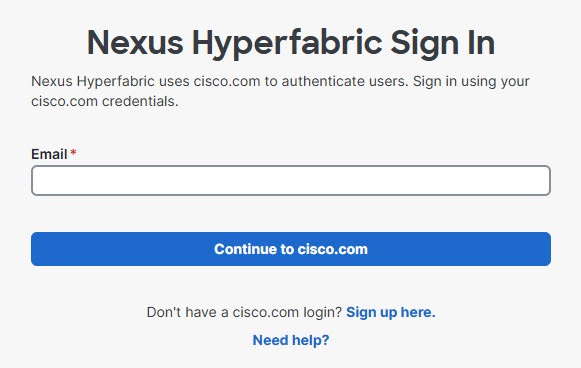
|
Step 3 | After you are logged in, select On-site. |
Step 4 | Review the tasks displayed on the page. |
View deployment tasks in Cisco Nexus Hyperfabric on a mobile device
Before you can log in to Cisco Nexus Hyperfabric, you must have a cisco.com user account.
Follow these steps to view deployment tasks in Cisco Nexus Hyperfabric on a mobile device.
Step 1 | Point your Web browser to the mobile-friendly web page URL from your network administrator. |
Step 2 | If you already have an account, enter your cisco.com email address and tap Continue to cisco.com. You will be authenticated by Cisco's Single Sign-On (SSO) service. 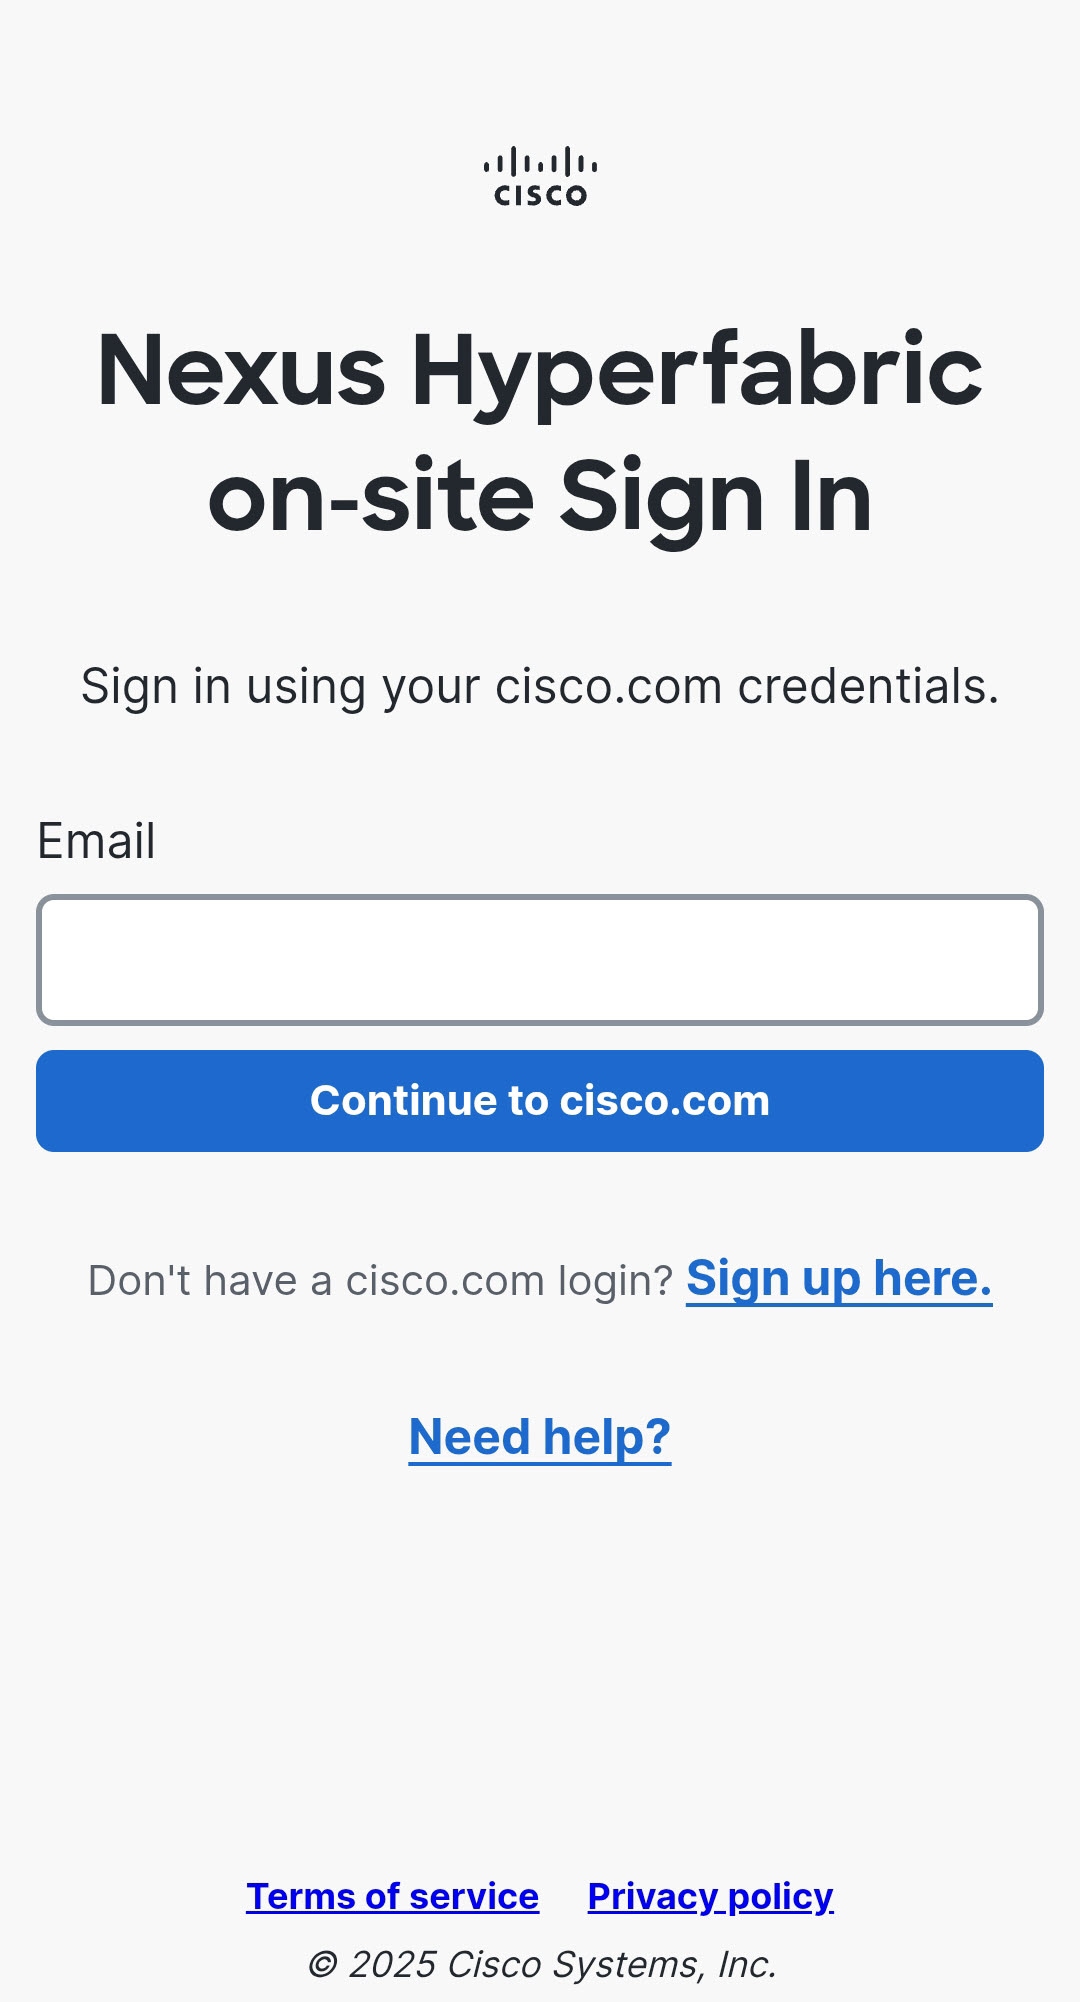
|
Step 3 | View the tasks that appear on the screen. |
Assigning deployment tasks
Assign deployment tasks to yourself
In the Cisco Nexus Hyperfabric GUI and on-site mobile-friendly site, you can toggle on Working, which assigns deployment tasks to you. Cisco Nexus Hyperfabric randomly divides tasks among all users who toggle on Working, and some users might get assigned a few more tasks than other users.
Follow these steps to assign deployment tasks to yourself.
Step 1 | If you are using the Cisco Nexus Hyperfabric GUI, perform these substeps.
|
Step 2 | If you are using the on-site mobile-friendly site, perform these substeps.
|
Limitations of assigning deployment tasks to yourself
These limitations apply to assigning deployment tasks to yourself:
- You can only generically toggle on that you are working on tasks; you cannot specify on which tasks you are working.
- You cannot specify which tasks Cisco Nexus Hyperfabric assigns to you.
- You cannot mark that you completed a task.
Filter the deployment task list
You can filter the deployment task list to show a subset of the tasks. For example, you can filter only for your tasks, or for tasks that are for specific groups.
Follow these steps to filter the deployment task list.
Step 1 | If you are using the Cisco Nexus Hyperfabric GUI, perform these substeps.
|
Step 2 | If you are using the on-site mobile-friendly site, perform these substeps.
|
Step 3 | Select the filters button (
|
Performing deployment tasks
Use the step by step guide to set up the fabric topology
The step by step guide provides a continuous list of tasks to lead you through the entire process of setting up your fabric topology. The tasks include
- inspecting equipment
- claiming devices
- binding devices
- inserting pluggables, and
- cabling the fabric.
The status of each item in a task turns green after you complete it, but only after you bind the devices to the fabric.
Follow these steps to use the step by step guide to set up the fabric topology.
Step 1 | Select Step by step guide. |
Step 2 | Perform the tasks in the order that they are presented and scroll down to see more tasks. |
Inspect equipment
The Inspect equipment screen enables you to view the hardware components of the devices in your fabric. Cisco Nexus Hyperfabric cannot report the live status of the equipment until you bind the devices.
Follow these steps to inspect equipment.
Step 1 | Select Inspect equipment. The Inspect equipment page displays. On this page, you can see the status of the hardware components of the bound devices. If a device is not bound, this page provides a list of equipment for you to examine so that you can bind the device. |
Step 2 | If the status of any of the equipment on bound devices is not green, you must resolve the issue. |
Claim devices using a claim code
Claiming a device ties that device to an organization, which enables you to use that device in the organization's fabric.
Follow these steps to claim devices using a claim code.
Step 1 | Select Claim and bind. By default, the Claim screen displays. If you have not claimed any devices previously, you will not see any devices. |
Step 2 | Select Claim new device. The Claim new device screen displays. |
Step 3 | Get the claim code from the serial console of each device. For more information, see the Claiming devices in the Cisco Nexus Hyperfabric — Getting Started document. |
Step 4 | Enter the codes on the Claim new device screen, select Verify, and follow one of these substeps depending on if the claim process succeeded or failed.
|
Step 5 | If you want to claim additional devices, select Claim new device and repeat steps 3 and 4. |
Step 6 | If you are done claiming devices, select Return to guide. |
Claim discovered devices
Claiming a device ties that device to an organization, which enables you to use that device in the organization's fabric.
Follow these steps to claim discovered devices.
Step 1 | Select Claim and bind. By default, the Claim screen displays. If you have not claimed any devices previously, you will not see any devices. |
Step 2 | Select Claim discovered devices. The Claim discovered devices screen displays. |
Step 3 | Select the devices that you want to claim. You can use the Search serial number field to filter the list of devices based on the serial number. |
Step 4 | Select Select device(s) and follow one of these substeps depending on if the claim process succeeded or failed.
|
Step 5 | If you want to claim additional devices, select Claim discovered devices and repeat steps 3 and 4. |
Step 6 | If you are done claiming devices, select Return to guide. |
Bind devices
Before you can bind devices, you must claim at least one device. The device model of the claimed device must match the device model of the fabric position to which you want to bind the device.
 Note
NoteYou can bind devices only by using on-site mobile-friendly site. You cannot bind devices using the on-site tab of the Cisco Nexus Hyperfabric GUI.
Unlike with other parts of the Cisco Nexus Hyperfabric GUI, the on-site page does not require you to review and push configuration changes.
Follow these steps to bind devices.
Step 1 | Select Claim and bind. By default, the Claim screen displays. If you have not claimed any devices previously, you will not see any devices. |
Step 2 | Select Bind. |
Step 3 | Select Bind for the position in the fabric to which you want to bind a device. The Bind to <device-position> screen displays, where "<device-position>" is the position for which you selected Bind. This screen shows claimed devices that you can bind to the chosen position.
|
Step 4 | Select the device that you want to bind. |
Step 5 | Select the configuration to apply to the device.
|
Step 6 | Select Bind device and follow one of these substeps depending on if the bind process succeeded or failed.
|
Step 7 | Repeat this procedure if you want to bind additional devices. |
Unbind devices
At least one device must be bound for you to unbind a device.
NoteYou can unbind devices only by using on-site mobile-friendly site. You cannot unbind devices using the on-site tab of the Cisco Nexus Hyperfabric GUI.
Unlike with other parts of the Cisco Nexus Hyperfabric GUI, the on-site page does not require you to review and push configuration changes.
Follow these steps to unbind devices.
Step 1 | Select Claim and bind. By default, the Claim screen displays. If you have not claimed any devices previously, you will not see any devices. |
Step 2 | Select Bind. |
Step 3 | Select Unbind for a position in the fabric that has a bound device and you want to unbind that device. |
Step 4 | In the Confirm unbind dialog, select Unbind to confirm the unbinding. |
Step 5 | Repeat this procedure if you want to unbind additional devices. |
Insert pluggables
Pluggables refers to the optics for a device. You must insert the optics before you can cable the devices.
Before you can insert pluggables, you must claim and bind at least one device.
Follow these steps to insert pluggables.
Step 1 | Select Insert pluggables. |
Step 2 | Follow the tasks on the page to insert the pluggables into the port interfaces of the devices. The status of a task changes to a green checkmark after you insert the specified pluggable into the specified port interface. If you insert the wrong pluggable, the status changes to red. |
Cable the fabric
Cabling is the process of connecting the devices to one another to create the fabric.
Follow these steps to cable the fabric.
Step 1 | Select Cable fabric. |
Step 2 | Expand the entry for one of the devices and follow the instructions on the screen to connect the cables for that device. When you complete a task, the icon next to the relevant item changes to a green checkmark.
|
Address critical issues
Breaks & fixes provides you with a list of things that you must fix so that your fabric can function properly.
Follow these steps to address critical issues.
Step 1 | Use one of these methods to view Breaks & fixes.
Breaks & fixes displays with a list of all critical issues. |
Step 2 | Perform the indicated tasks to address the issues. When you address an issue, that issue disappears from the page. |
 ).
).
Scan the QR code on a switch
The Cisco 6000 series switches have stickers that have a unique QR code. The QR code provides a launch URL that contains the serial number of the switch. You can scan the code from a mobile device to open the Cisco Nexus Hyperfabric page that shows information about the switch.
For more information about the QR code, see the Cisco Nexus Hyperfabric Series – QR Code document.
Follow these steps to scan the QR code on a switch.
Step 1 | Use the camera app on your mobile device to scan one of the QR code stickers on the switch and go to the URL from the code. |
Step 2 | If you are prompted to log in to Cisco Nexus Hyperfabric, enter your credentials. |
Step 3 | View the information about the switch on the page that displays. |