Host and Network Requirements
Host requirements
 Note |
It is recommended to have a high-speed, high bandwidth internet connection for installation of Docker and the IW Monitor image file. |
If an internet connection is not available, the Docker application and IW Monitor image file can be installed manually. See Installing and Running Docker Container.
Make sure the following host requirements are met to run the Docker container:
|
Operating System |
Windows 7 or later |
Mac OS X 10.9.x or later |
Linux (32-bit or 64-bit):
|
|
Docker Application |
Yes |
Yes |
Yes |
|
Base System |
Virtual machine or bare metal |
Virtual machine or bare metal |
Virtual machine or bare metal |
|
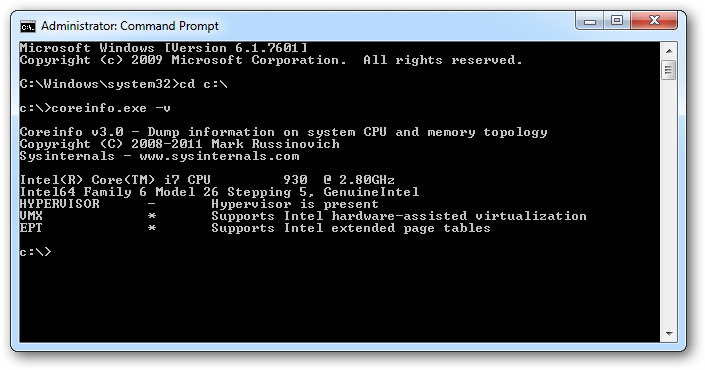
Processor |
Intel Core i7 or Xeon (any frequency and mandatory minimum of four cores) |
Intel Core i7 or Xeon (any frequency and mandatory minimum of four cores) |
Intel Core i7 or Xeon (any frequency and mandatory minimum of four cores) |
|
RAM |
16 GB minimum |
16 GB minimum |
16 GB minimum |
|
Hard Disk |
100 GB minimum* 1 TB or greater recommended |
100 GB minimum* 1 TB or greater recommended |
100 GB minimum* 1 TB or greater recommended |
|
High speed connection to local networks and devices |
Preferred |
Preferred |
Preferred |
|
Screen Resolution |
1024 x 768 pixel minimum |
1024 x 768 pixel minimum |
1024 x 768 pixel minimum |
Note |
Using a hard disk of at least 100 GB capacity is recommended. If a hard disk of less than 100 GB capacity must be used, adjust the maximum capacity available for statistics storage as mentioned in Defining Hard Disk Storage Capacity and Overwrite Cycle Period for the IW Monitor Statistics Database. |
Browser requirements
Use the latest version of a supported web browsers to access the IW Monitor:
|
Browser |
Supported Version |
|---|---|
|
Mozilla Firefox |
Latest |
|
Microsoft Internet Explorer |
Latest |
|
Microsoft Edge |
Latest |
|
Google Chrome |
Latest |
|
Apple Safari |
Latest |
Note |
If needed, upgrade your browser to the latest version. |

 Feedback