Installing Cisco Intersight Managed Mode Transition Tool
Before you begin:
From the UCS Tools page, download the IMM Transition Tool .ova file to your computer in a place that is easy to find when you start to deploy the OVF template.
An Open Virtual Appliance (OVA) is a prebuilt software solution that comprises one or more virtual machines (VMs) that are packaged, maintained, updated, and managed as a single unit. The Cisco Intersight Managed Mode Transition Tool OVA has a preinstalled operating system and includes application functionality that is necessary for the IMM Transition Tool functionality. The IMM Transition Tool as an OVA can be deployed on a VMware vSphere infrastructure.
From IMM Transition Tool, 3.1.1 onwards, you can take a backup of the tool data and restore it on the same or another instance of the IMM Transition Tool. For more details, see Backup/Restore.
-
Log into the HTML5 vSphere Web Client and go to the VMs tab.
-
Right-click the host or cluster on which you want to deploy the IMM Transition Tool, and choose Deploy OVF Template.

-
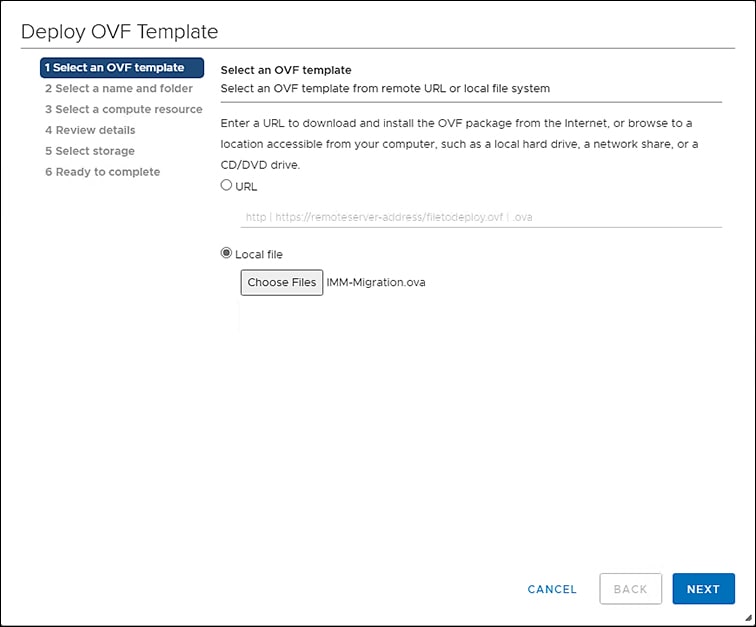
On the Select an OVF template page:
-
Click the Local file radio button, click Choose Files, and then browse to the downloaded OVA file.
-
Click Next.
-
-
On the Select a name and folder page:
-
Select the location where you want to deploy the virtual appliance.
-
Click Next.
-
-
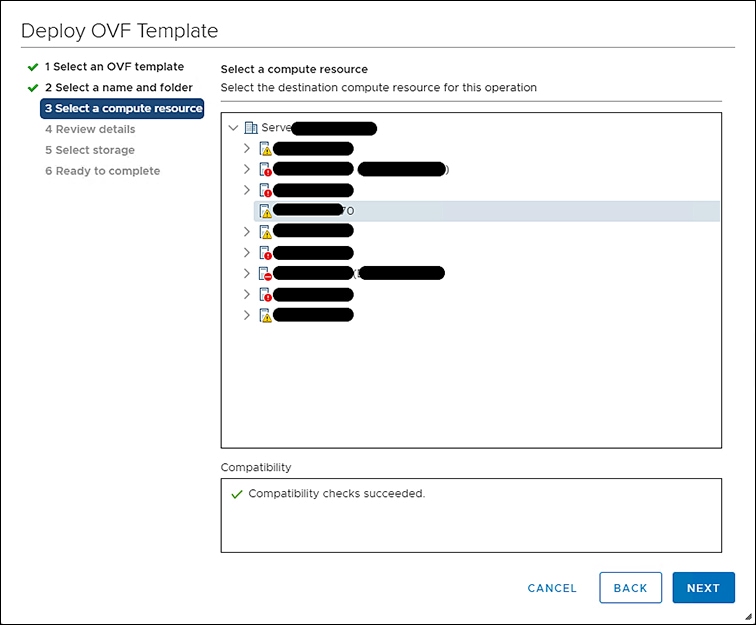
On the Select a compute resource page:
-
Select the resource you want to use to run the virtual appliance.
-
Click Next.
-
-
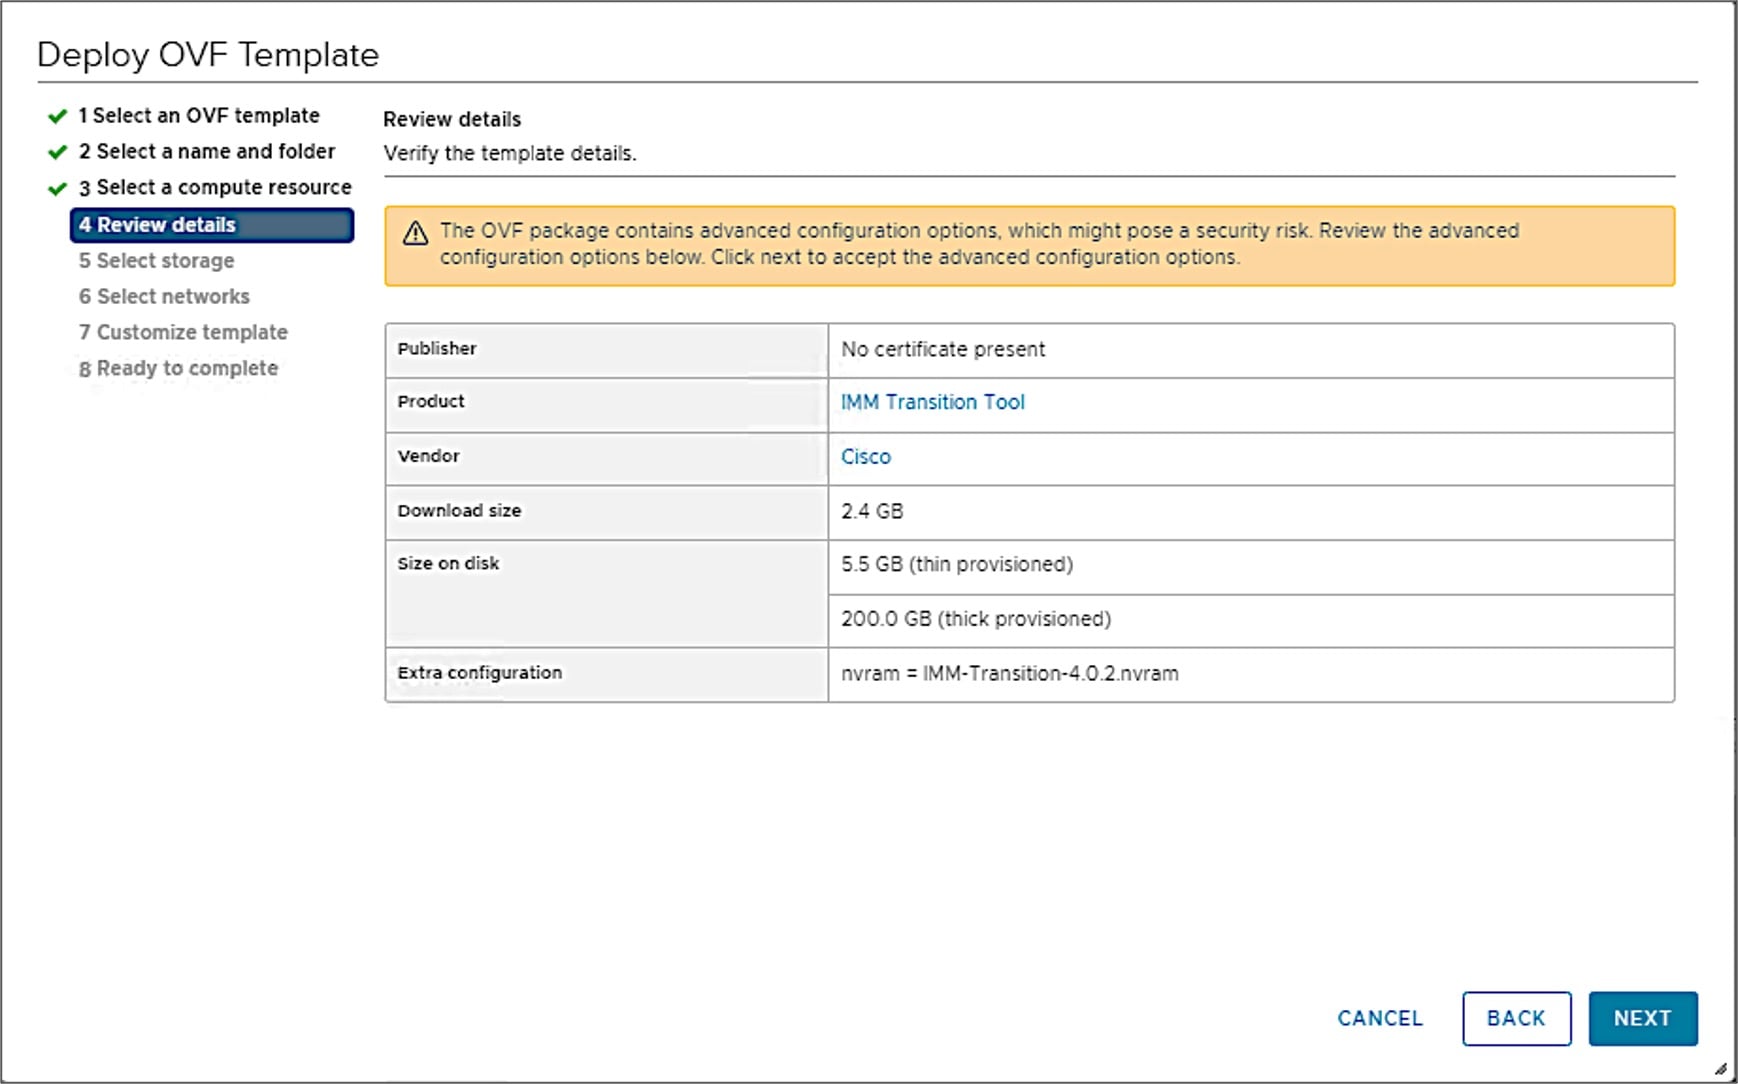
On the Review details page:
-
Review the package details, that contain advanced configuration options.
-
Click Next to accept these options.
-
-
On the Select storage page:

-
Select the desired storage location from the list of datastores.
-
Click Next.
-
-
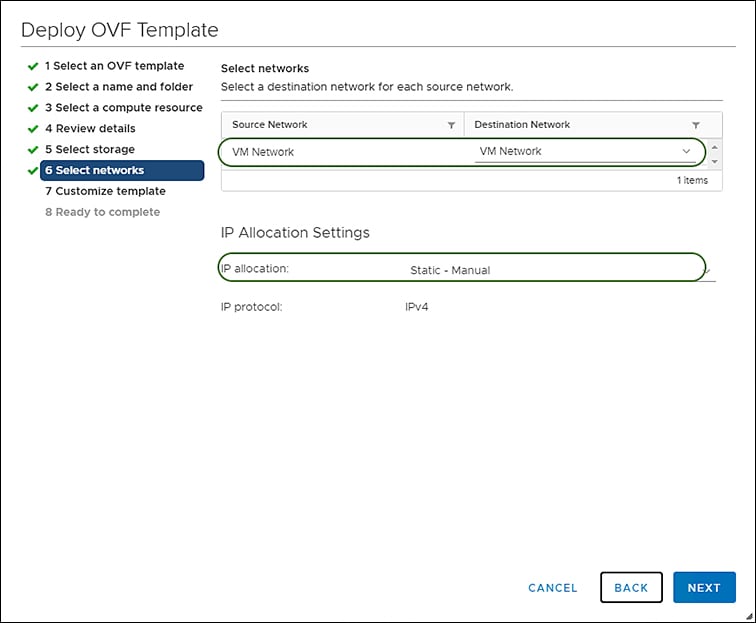
On the Select networks page:
-
Select a destination network from the dropdown list for each source network.
-
Click Next.
-
-
On the Customize template page:
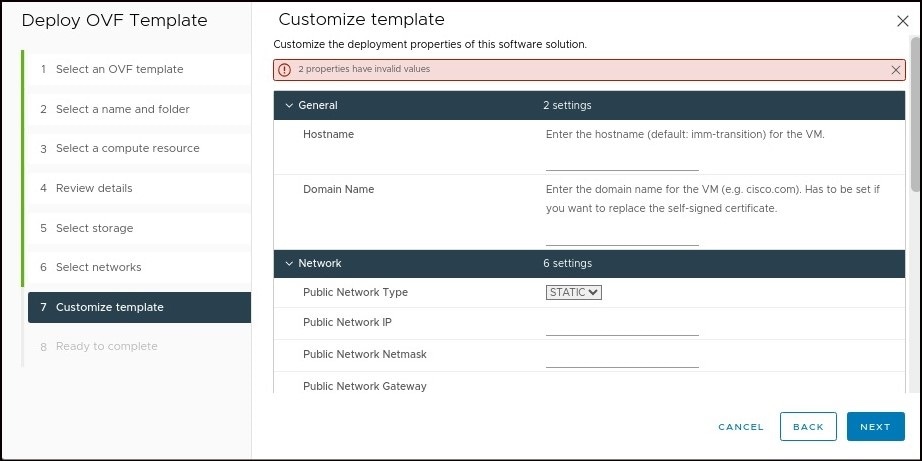
-
Customize the deployment properties by entering the Network settings values and setting up the System Password.
An auto-generated default password is used as a replacement for any existing password in UCS Manager/UCS Central policies such as Virtual Media, iSCSI Boot that are converted. Similarly, another auto-generated password is used for Mutual CHAP Authentication in iSCSI Boot Policy. You should change the password for the converted policies after those are pushed to Intersight.

Note
-
You should change the password for the converted policies after those are pushed to Intersight.
-
It is mandatory to enter the NTP field. The default value is ntp.ubuntu.com
-
Software Repository Disk Size should have a minimum value of 10 and a maximum value of 5000.
-
-
Click Next.
-
-
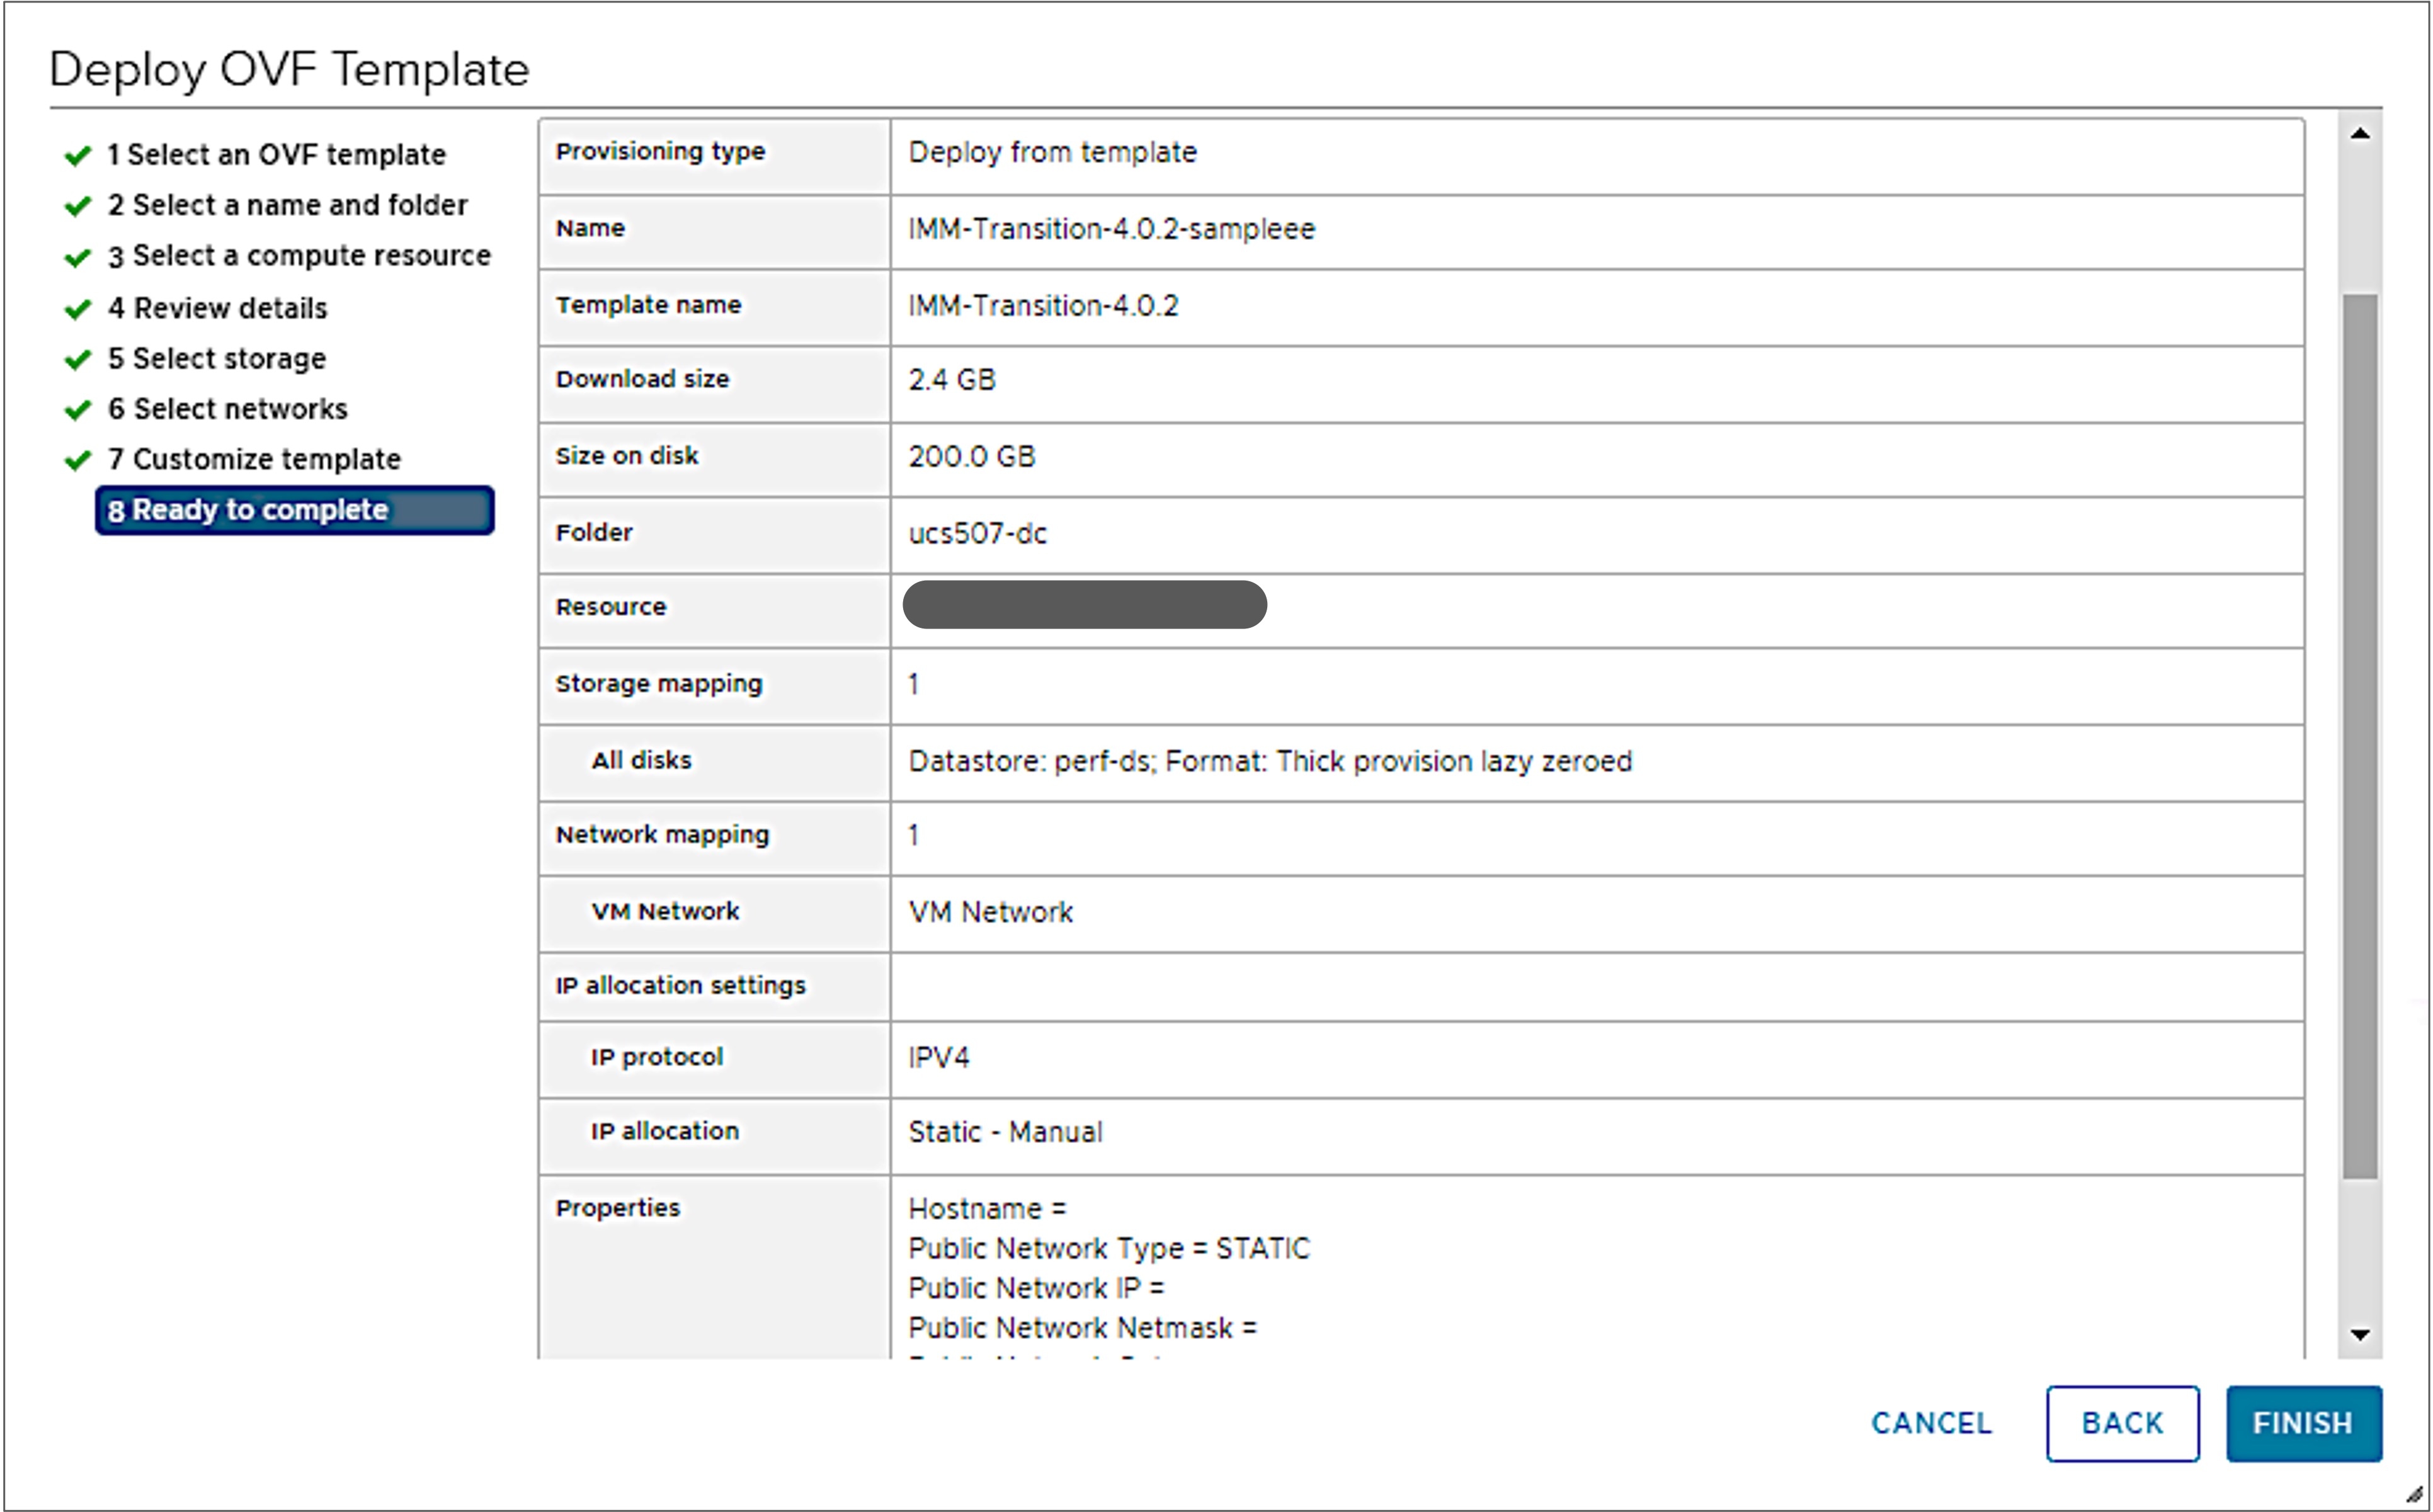
On the Ready to complete page:
-
Review the configuration data.
-
Click FINISH.
The system will import and deploy the file.
-
-
Click the Refresh button to update the system.
The VM will be visible in the center windowpane.
-
Select the VM and click Power On.
-
Once the VM is powered on, click the Open Console icon to open the VM console in a new window.
You have successfully deployed the OVA template and powered on the VM.
 Feedback