Configure Certificates for ACI APIC GUI HTTPS
Available Languages
Bias-Free Language
The documentation set for this product strives to use bias-free language. For the purposes of this documentation set, bias-free is defined as language that does not imply discrimination based on age, disability, gender, racial identity, ethnic identity, sexual orientation, socioeconomic status, and intersectionality. Exceptions may be present in the documentation due to language that is hardcoded in the user interfaces of the product software, language used based on RFP documentation, or language that is used by a referenced third-party product. Learn more about how Cisco is using Inclusive Language.
- US/Canada 800-553-2447
- Worldwide Support Phone Numbers
- All Tools
 Feedback
 Feedback
The intent of this document is to provide instructions on how to install a CA signed certificate on your APIC cluster.
Workflow overview

Prerequisites
Requirements
Cisco recommends that you have knowledge of these topics:
● Digital signatures and digital certificates
● Certificate issuance process by Certificate Authority (CA) organization
Components used
The information in this document is based on these software and hardware versions:
● Application Policy Infrastructure Controller (APIC)
● Browser
● ACI running 6.0 or 6.1
The information in this document was created from the devices in a specific lab environment. All of the devices used in this document started with a cleared (default) configuration. If your network is live, ensure that you understand the potential impact of any command.
Configure
After the device is initialized, it uses the self-signed certificate as the SSL certificate for HTTPS. The self-signed certificate is valid for 1000 days.
By default, the device automatically renews and generates a new self-signed certificate one month before the expiration of the self-signed certificate.
Configurations
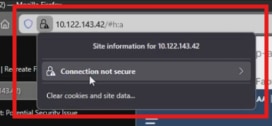
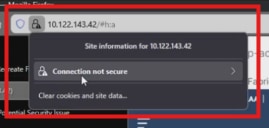
The device uses a self-signed certificate. When accessing the APIC interface, the browser prompts that the certificate is not trustworthy. To solve this problem, this document describes the process to use a trusted CA authority to sign the certificate.
Before you begin
Before starting this process, list down the fully qualified domain names (FQDN) of all your APIC controllers, for example:
DNS: rtp-aci06-apic1.cisco.com,
DNS: rtp-aci06-apic2.cisco.com,
DNS: rtp-aci06-apic3.cisco.com
Create a Certificate Authority

A Certificate Authority (CA) is a trusted entity that issues and manages digital certificates. These certificates are cryptographic assets that verify the digital identity of websites, individuals, organizations, or devices.
Procedure 1. To create a certificate authority:
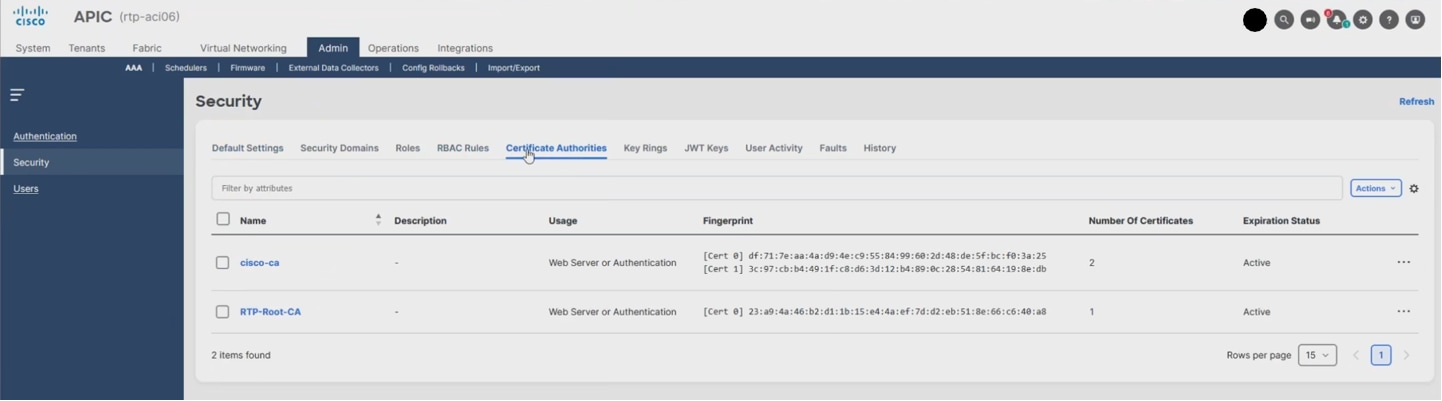
Step 1. On the menu bar, navigate to Admin > AAA > Security > Certificate Authorities.
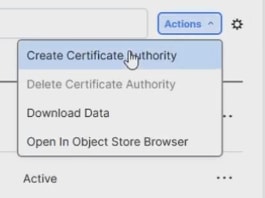
Step 2. Click Actions > Create Certificate Authority.
Step 3. On the Create Certificate Authority page:
a. Provide a Name.
b. Paste your root CA certificate in the Settings > Certificate Chain field followed by your issuing CA certificate (sometimes referred to as intermediate CA). These root CA and issuer CA certificates can be retrieved from your CA provider.
Note: The issuing CA certificate is the one that publishes the certificate that you receive at the end of this process.
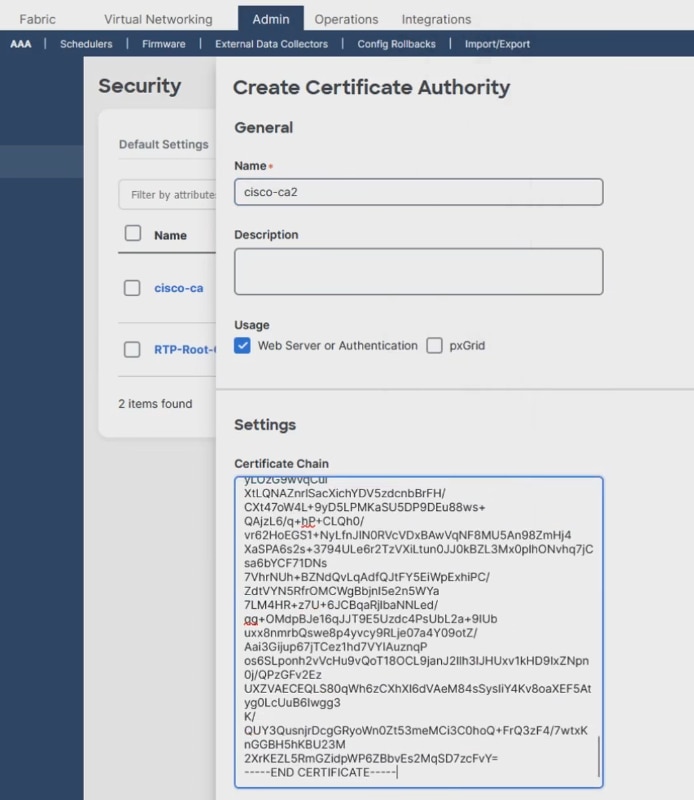
c. Click Save.
Step 4. Review the page refresh and the multiple certificates (Cert)s detected in the chain.
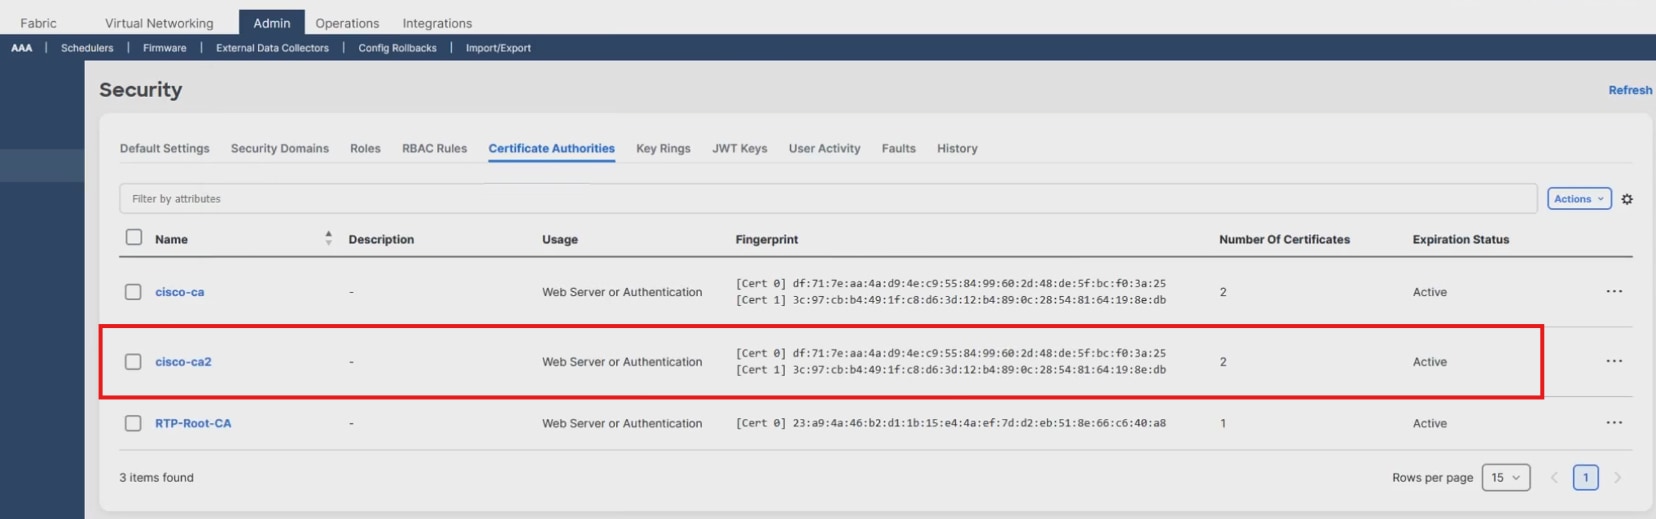
Note: These certificates can be changed later, if needed.
Create a key ring

This is where you start the process of building the certificate request for a specific APIC.
Procedure 2. To create a key ring:
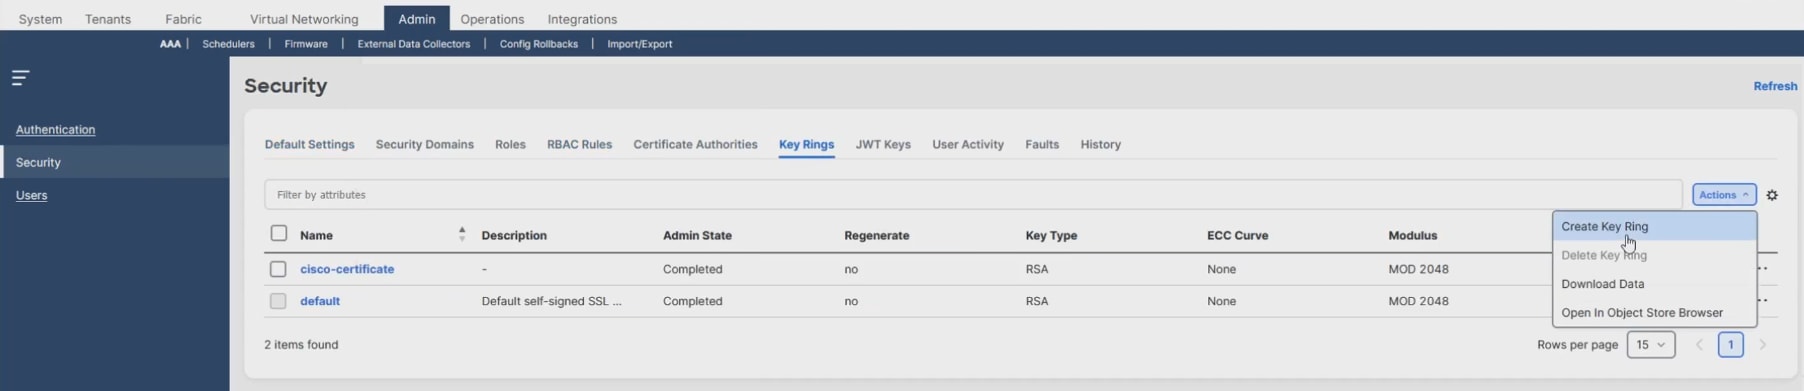
Step 1. On the menu bar, navigate to Admin > AAA > Security > Key Rings >Actions > Create Key Ring.
Step 2. On the Create Key Ring page, provide the required information:
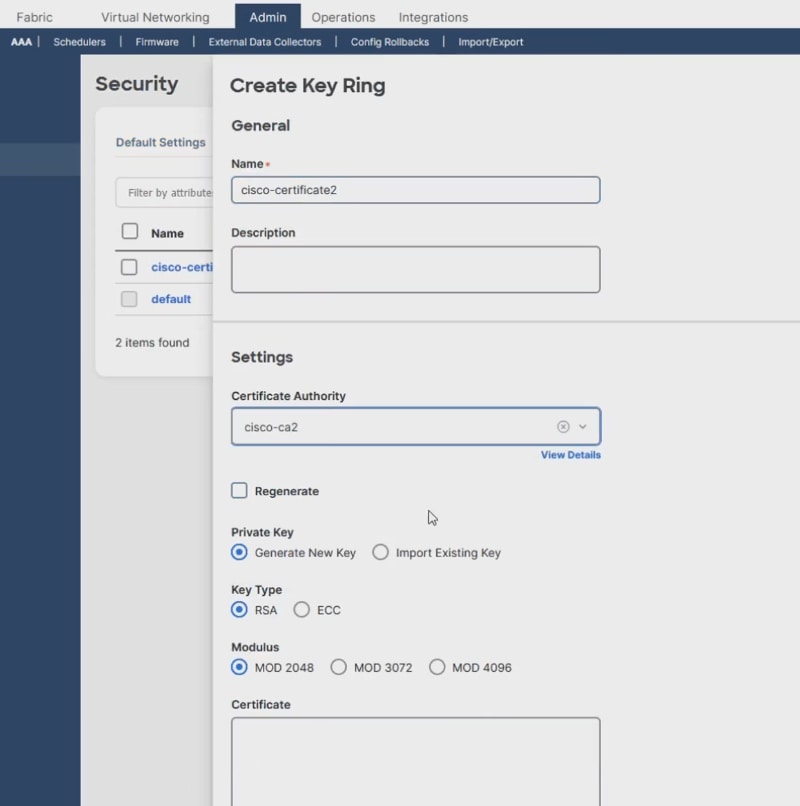
a. Type a Name (required).
b. From the Settings > Certificate Authority drop-down menu, select the certificate authority that you created earlier, for example cisco-ca2.
c. For the remaining settings, you can use the default settings or select the stricter security settings as needed by your organization.
◦ Private Key
◦ Key Type
◦ Modulus
Step 3. Leave the Certificate field blank because it is not available yet (this is intended for the signed certificate). You’re just starting the certificate request.
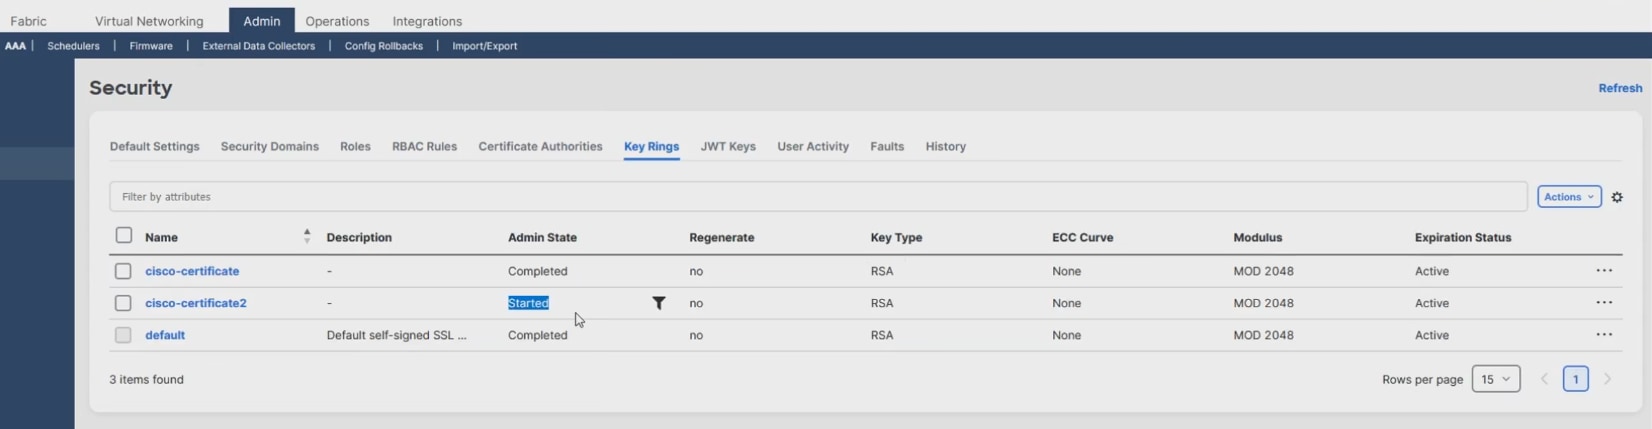
Step 4. Click Save.
Step 5. On the Security page, notice the Admin State is now Started.
Create a certificate request

A Certificate Signing Request (CSR) is a message sent from an applicant to a CA to apply for a signed Certificate.
Procedure 3. To create a certificate request:
Step 1. From the Admin > AAA > Security >Key Rings page, in the Name column, click <your certificate name>.
Step 2. From the Key Ring <your certificate name> page, click Create Certificate Request.
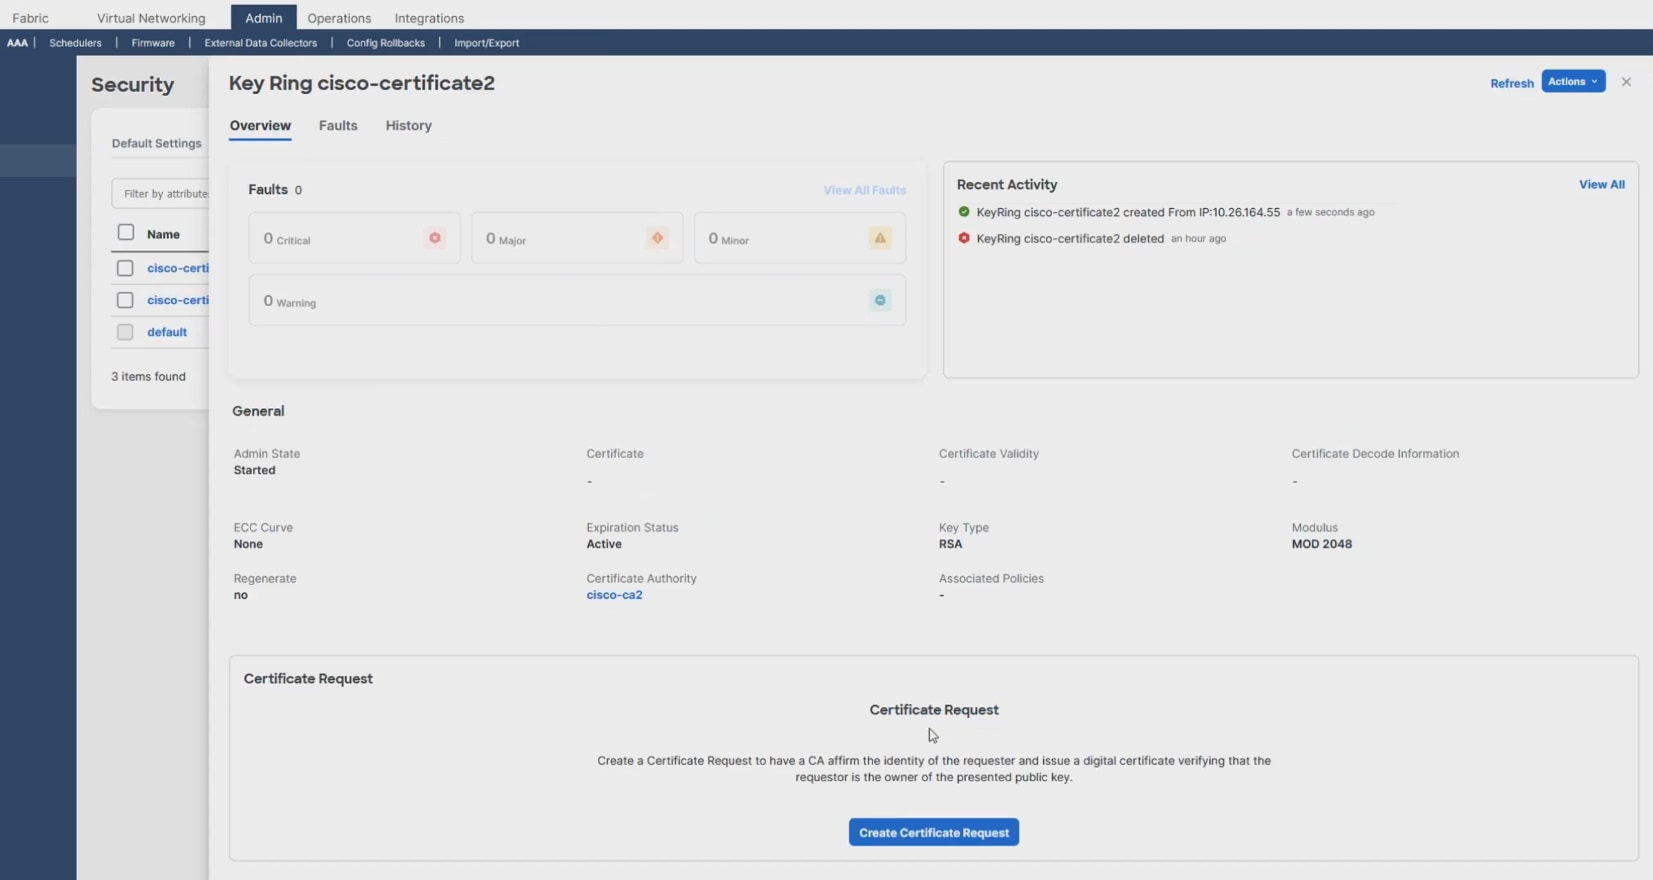
Step 3. On the Request Certificate page, provide the required information:
a. In the Subject Name field, type the fully qualified domain name (FQDN) name of your first APIC, for example rtp-aci06-apic1.cisco.com.
b. In the Alternative Subject Name field, type the remaining FQDNs from the APIC cluster. Separate the names with a comma and make sure to prepend the FQDN with "DNS:", for example:
DNS:rtp-aci06-apic2.cisco.com,DNS:rtp-aci06-apic3.cisco.com
c. For the remaining fields, provide the information that is appropriate for your organization.
Note: The password setting is optional in case your organization requires you to password-protect the private key that's stored in your system.
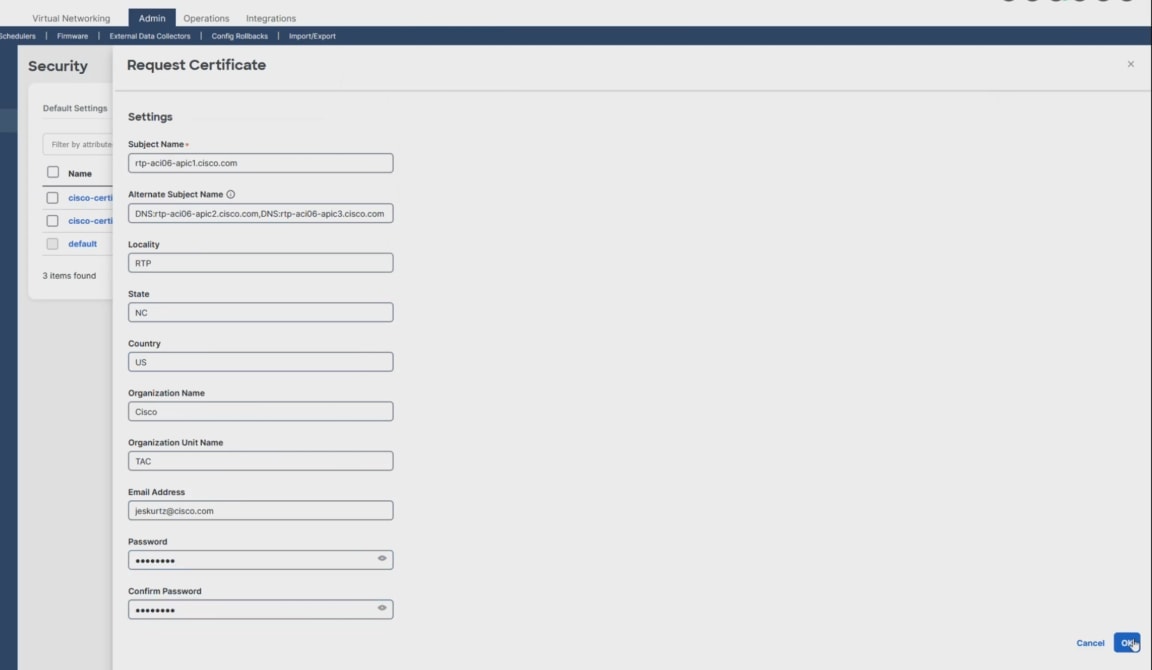
d. Click OK.
Your Certificate Signing Request (CSR) appears on the Key Ring <your certificate name> page.
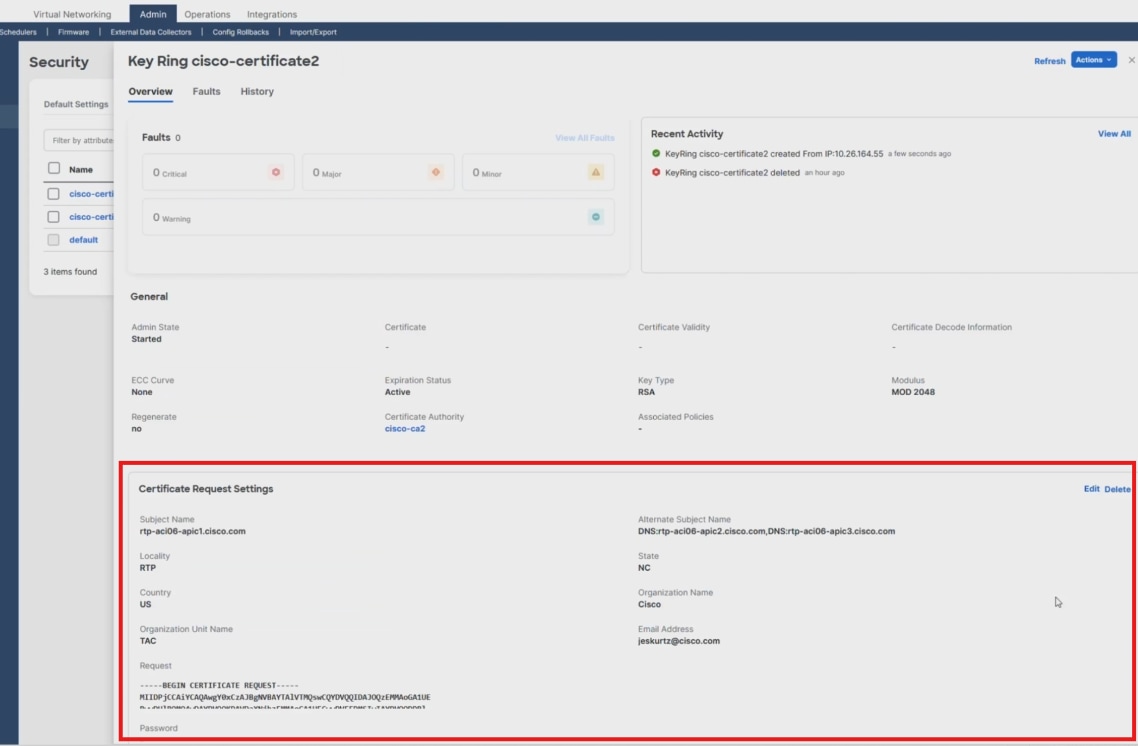
Step 4. From the Key Ring <your certificate name> page, hover your cursor over the populated Request field containing your CSR.

Step 5. Copy the CSR and send it to your CA.
Step 6. Your CA provider provides you with the generated signed Certificate.
Step 7. Open the Certificate text file.
Step 8. Copy the Certificate text.

Install the new APIC certificate for use

Procedure 4. To install the new APIC certificate for use:
Step 1. From the APIC Key Ring <your certificate name> page, click Actions > Edit.
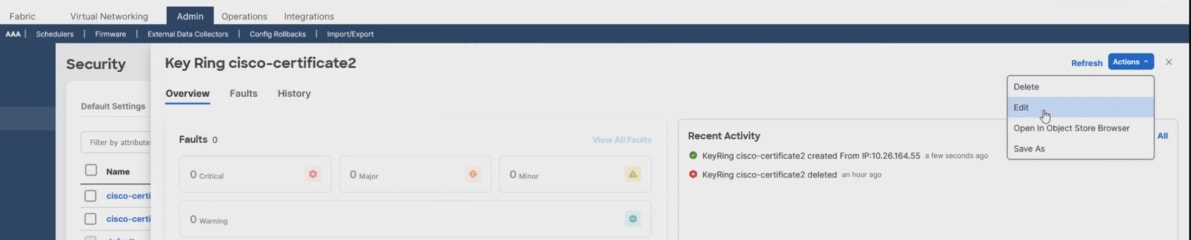
Step 2. On the Edit Key Ring <your certificate name> page, paste your text in the Certificate field.
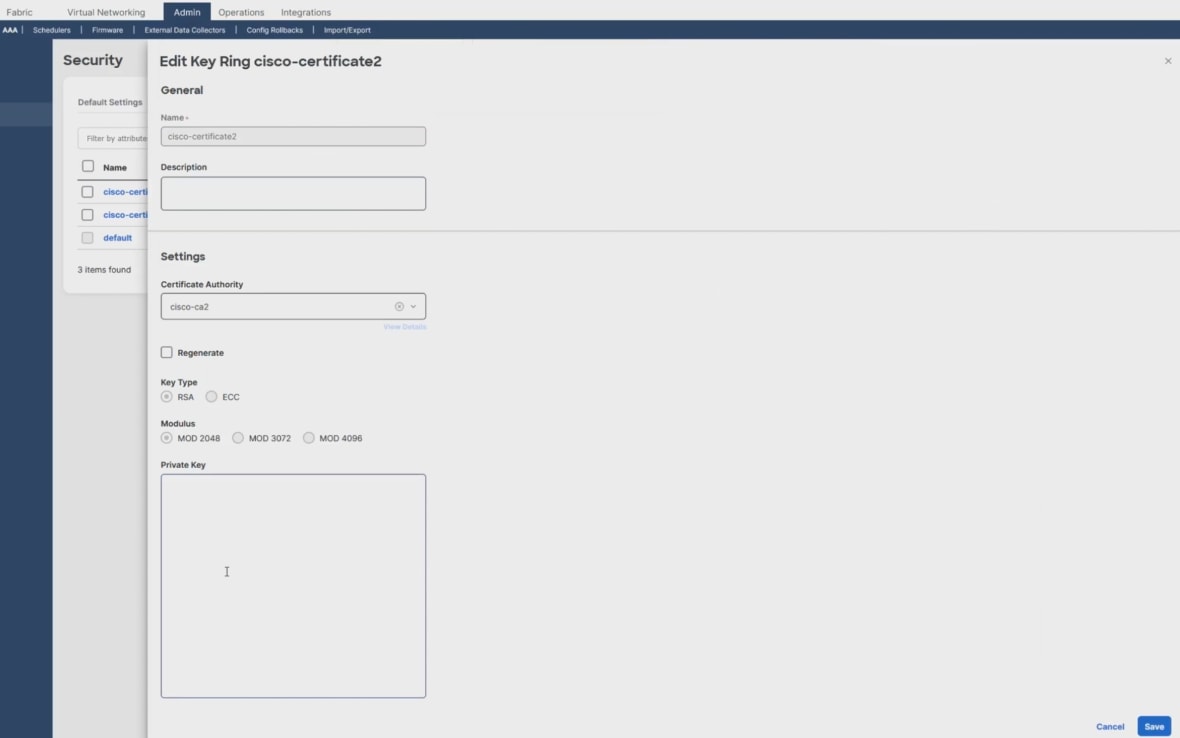

Step 3. Click Save.
Step 4. Review the status and details of your certificate. Verify that the Admin state is Completed.
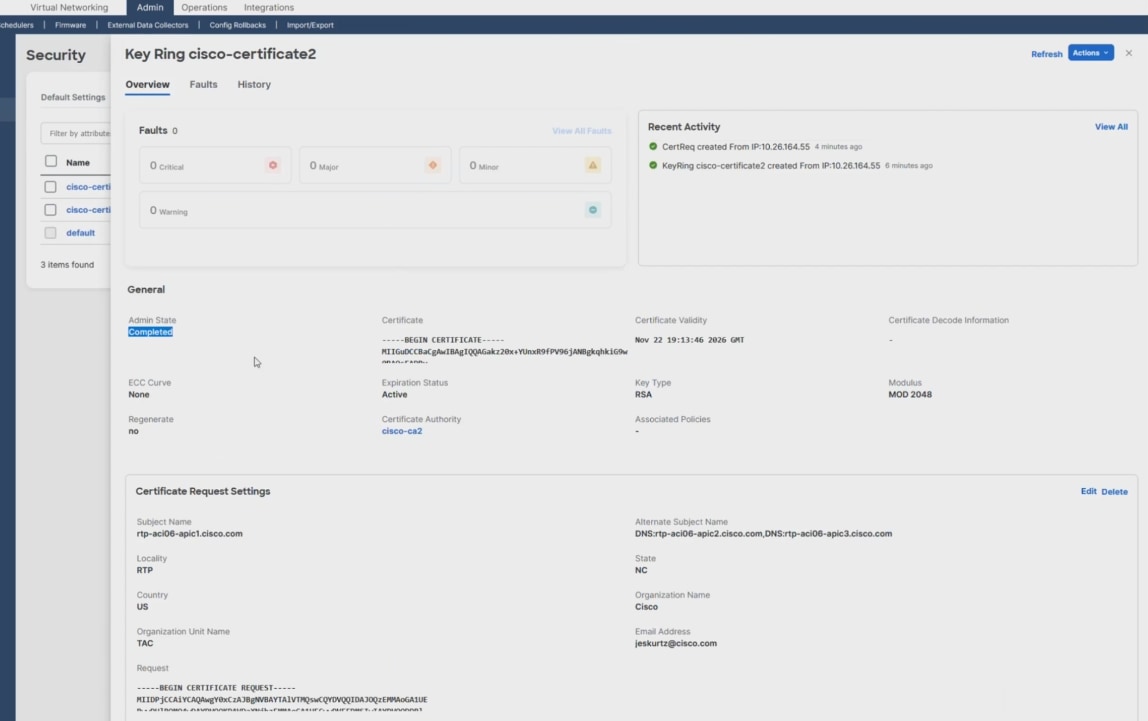
The APIC is now active and has a valid certificate available, but it’s not applied for use yet.
Apply the new APIC certificate

Procedure 5. To apply the new APIC certificate:
Step 1. On the menu bar, navigate to Fabric > Fabric Policies > Policies > Pod > Management Access > Default.
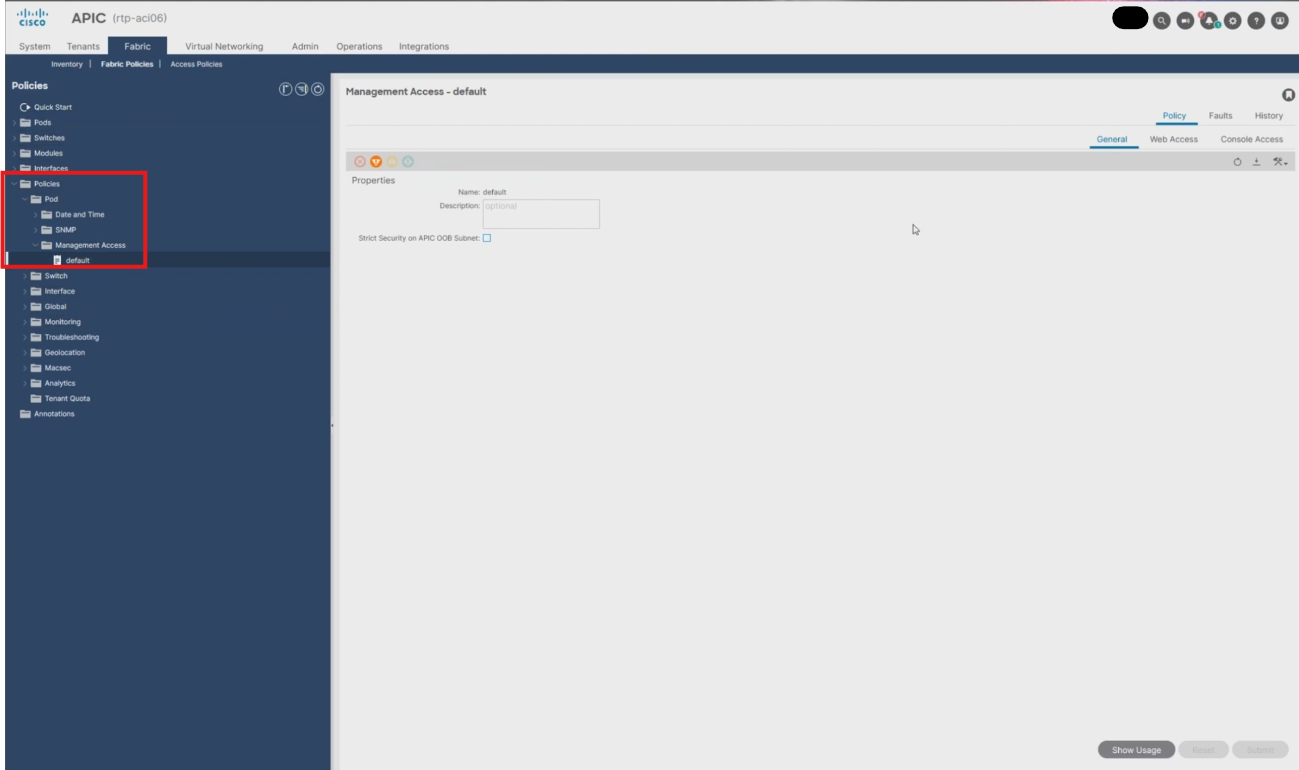
Step 2. Click Web Access.
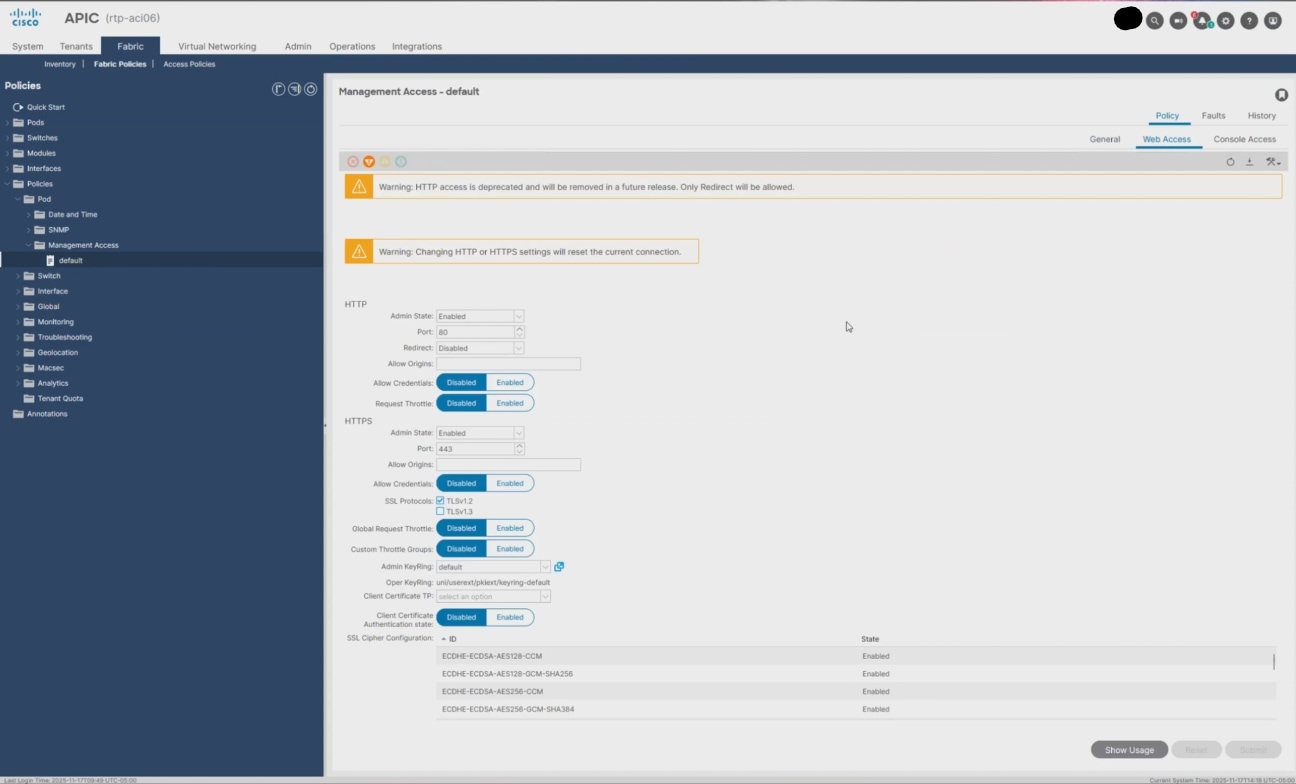
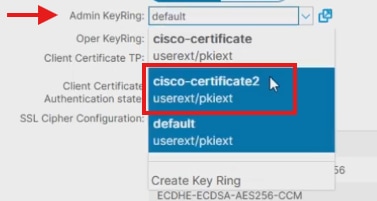
Step 3. From the Admin KeyRing drop-down, select your certificate name, for example cisco-certificate2.
Step 4. Click Submit.
Step 5. In the Policy Usage Warning dialog, click Submit Changes.
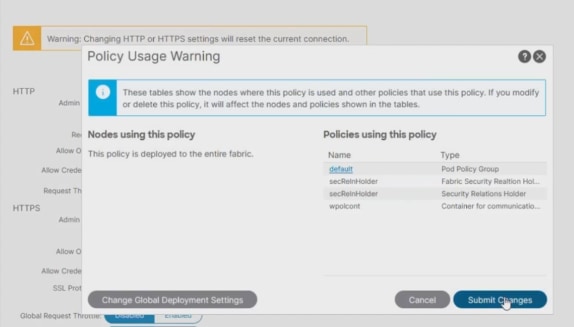
Note: The APIC web services restart. The APIC UI and API become temporarily unavailable.
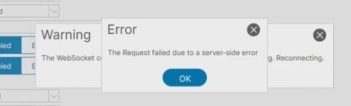
Step 6. After clicking Submit, an error occurs for certificate reasons. Click OK to refresh with the new certificate.
Step 7. Log in to the APIC again and notice the secure connection and signed Certificate.

Related information