Configuring MAC-Based Authentication on a Switch through the Command Line Interface
Available Languages
Objective
802.1X is an administration tool to allow list devices, ensuring no unauthorized access to your network. This document shows you how to configure MAC based authentication on a switch using the Command Line Interface (CLI).
See glossary for additional information.
How Does Radius Work?
There are three main components to 802.1X authentication, a supplicant (client), an authenticator (network device such as a switch), and an authentication server (RADIUS). The Remote Authentication Dial-In User Service (RADIUS) is an access server that uses authentication, authorization, and accounting (AAA) protocol that help manage has a static IP address of 192.168.1.100 and the authenticator has a static IP address of 192.168.1.101.
Applicable Devices
· Sx350X Series
· SG350XG Series
· Sx550X Series
· SG550XG Series
Software Version
· 2.4.0.94
Configure RADIUS Server on a Switch
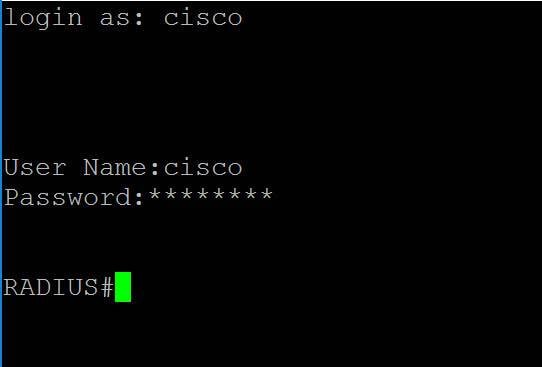
Step 1. SSH to your switch that is going to be the RADIUS server. The default username and password is cisco/cisco. If you have configured a new username or password, enter the credentials instead.
Note: To learn how to access an SMB switch through SSH or Telnet, click here.
Step 2. From the Privileged EXEC mode of the switch, enter the Global Configuration mode by entering the following:
RADIUS#configure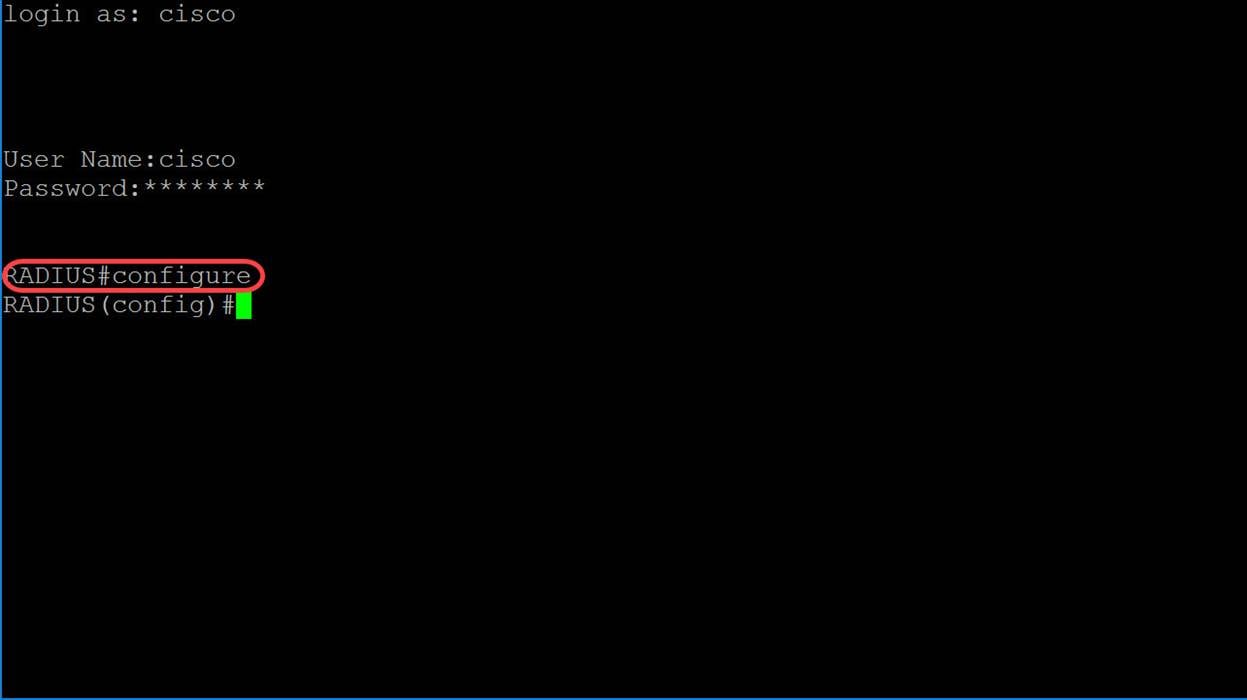
Step 3. Use the radius server enable command to enable RADIUS server.
RADIUS(config)#radius server enable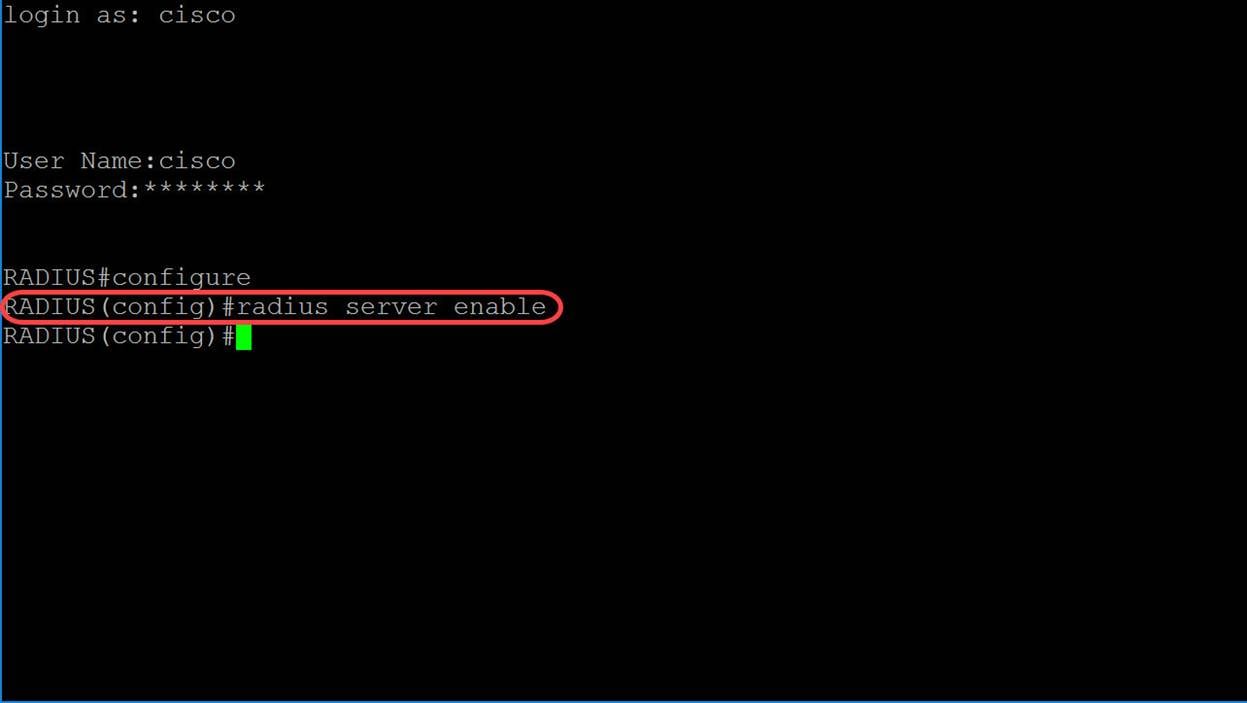
Step 4. To create a secret key, use the radius server nas secret key command in Global Configuration mode. The parameters are defined as:
· key — Specifies the authentication and encryption key for communications between the device and users of the given group. This ranges from 0-128 characters.
· default — Specifies the default secret key that will be applied to communicate with NAS that do not have a private key.
· ip-address — Specifies the RADIUS client host IP address. The IP address can be an IPv4, IPv6 or IPv6z address.
radius server nas secret key key {default|ip-address}In this example, we will be using example as our key and 192.168.1.101 as the IP address of our authenticator.
RADIUS(config)#radius server nas secret key example 192.168.1.101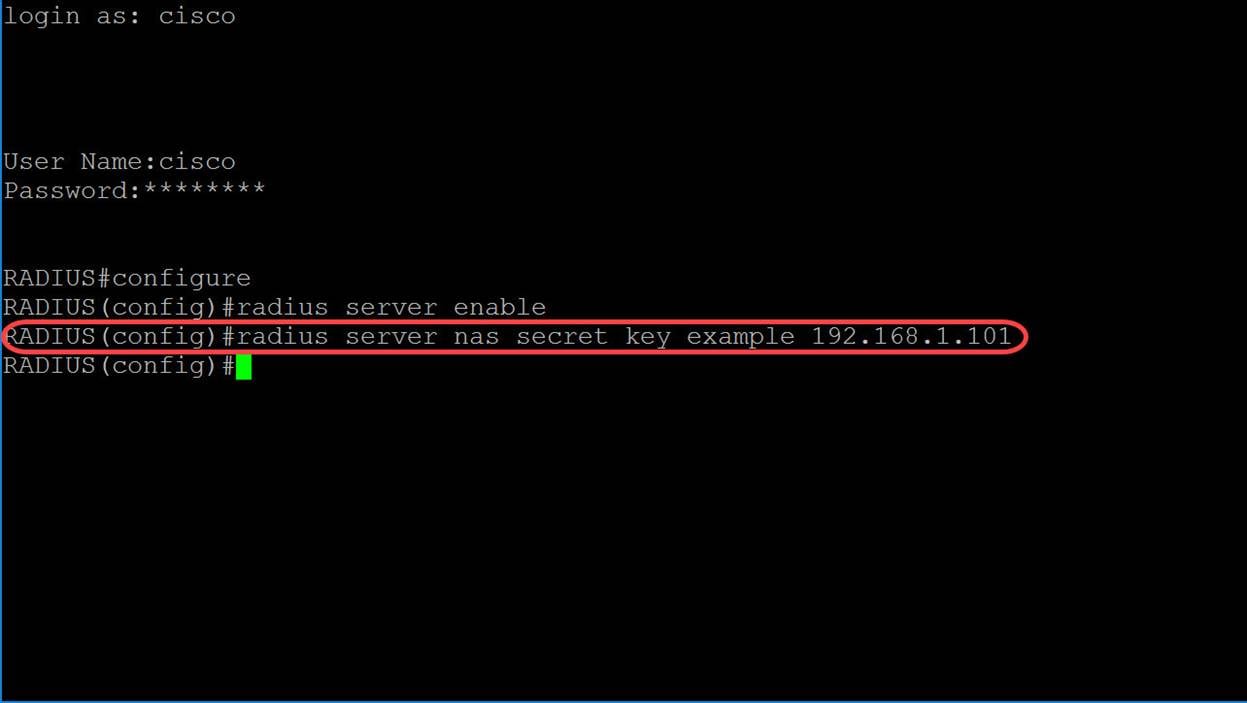
Step 5. To enter into RADIUS Server Group Configuration mode and create a group if it doesn’t exist, use the radius server group command in Global Configuration mode.
radius server group group-nameIn this article, we will be using MAC802 as our group name.
RADIUS(config-radius-server-group)#radius server group MAC802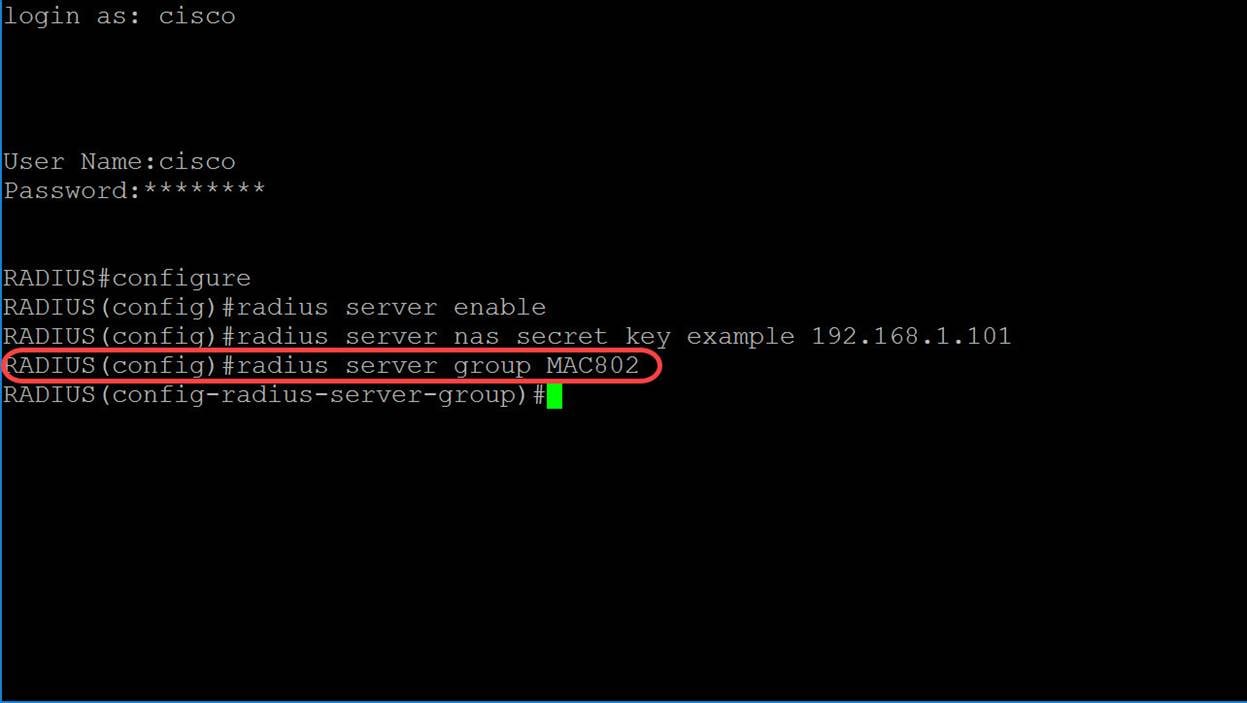
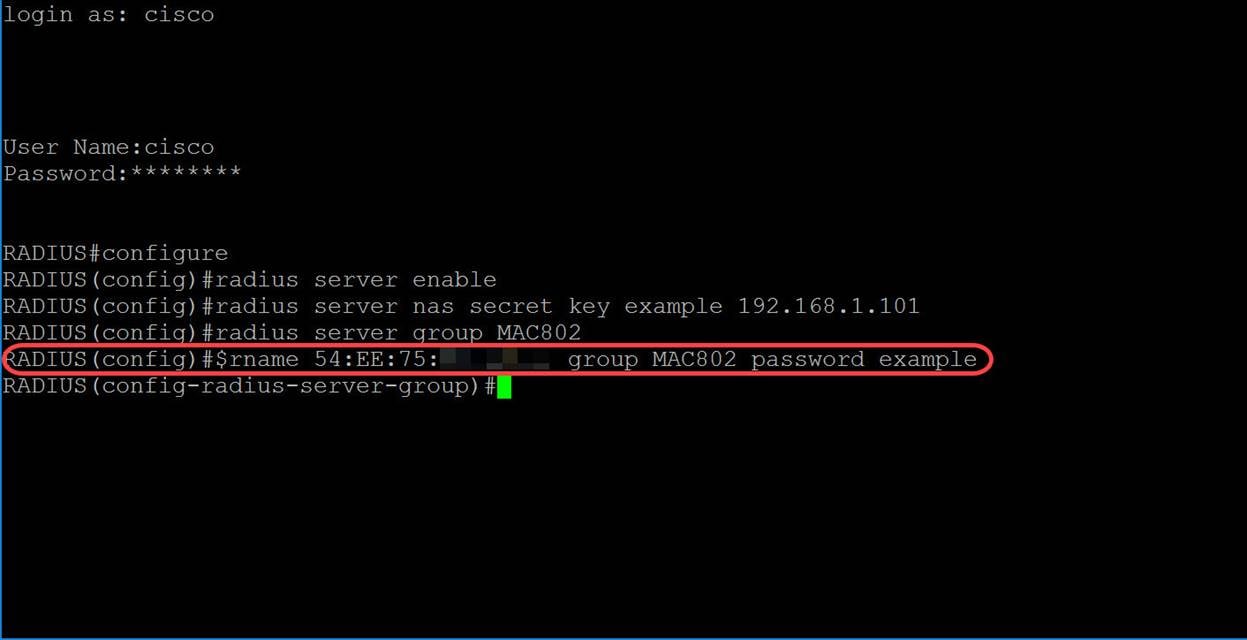
Step 6. To create a user, use the radius server user command in Global Configuration mode. The parameters are defined as:
· user-name — Specifies the user name. The length is 1-32 characters.
· group-name —Specifies the user group name. The length of the group name is from 1-32 characters.
· unencrypted-password — Specifies the user password. The length can be from 1-64 characters.
radius server user username user-name group group-name password unencrypted-passwordFor this example, we will be using the MAC address of our Ethernet port as our user-name, MAC802 as our group-name, and the unencrypted-password as example.
RADIUS(config-radius-server-group)#radius server user username 54:EE:75:XX:XX:XX group MAC802 password exampleNote: Some of the octets in the MAC address is blurred out. The password example is not a strong password. Please use a stronger password as this was only used as an example. Also, note that the command was too long in the picture that it auto wrapped the command.
Step 7. (Optional) To end the current configuration session and return to the Privileged EXEC mode, use the end command.
RADIUS(config-radius-server-group)#end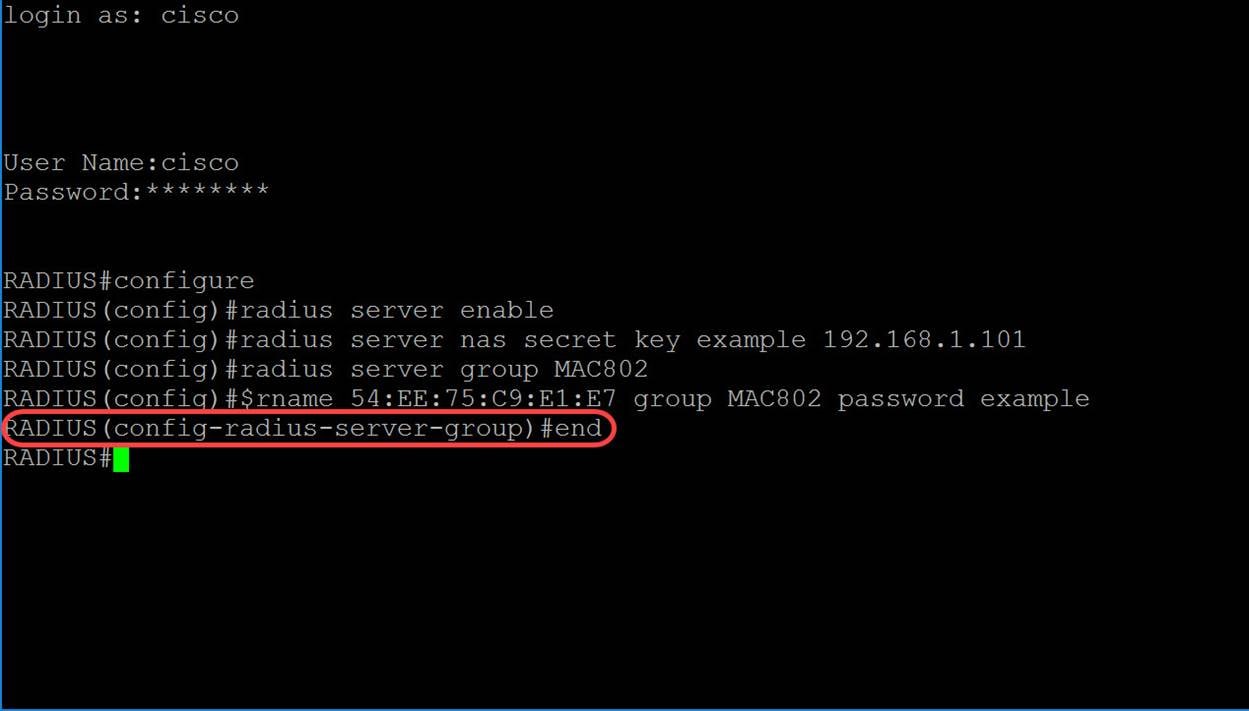
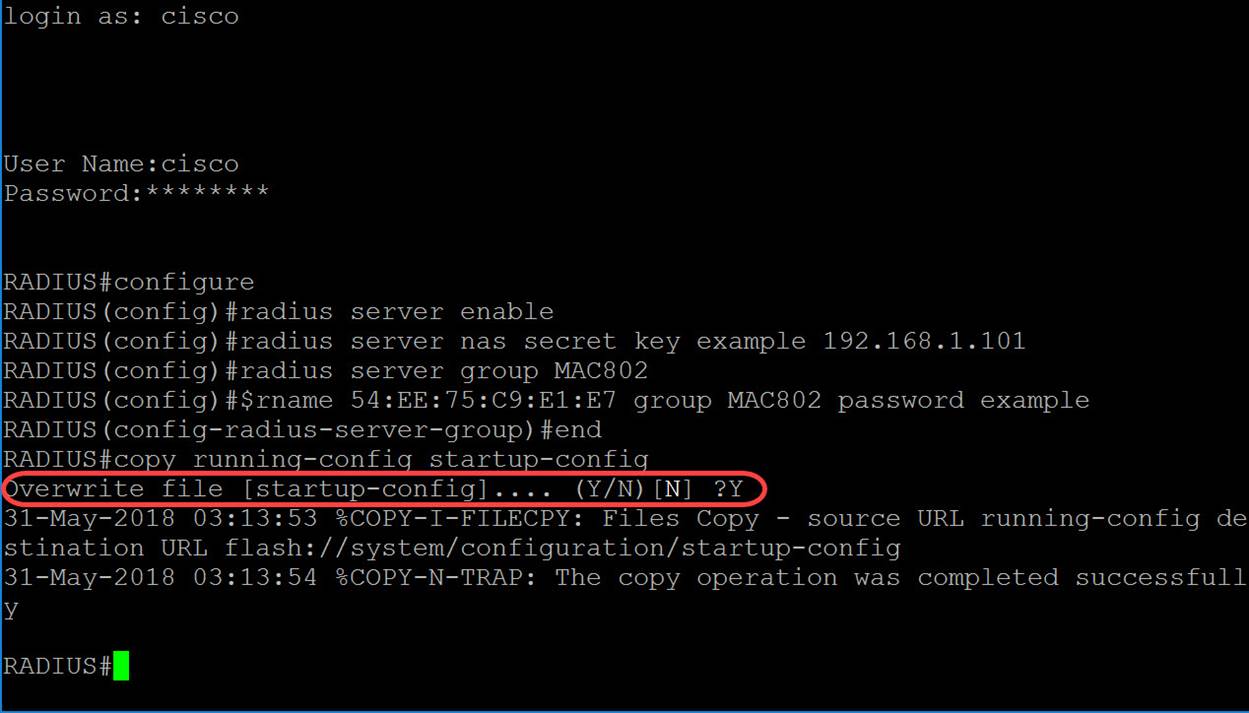
Step 8. (Optional) To copy any file from a source to a destination, use the copy command in Privileged EXEC mode. In this example, we will be saving our running configuration to the startup-config.
RADIUS#copy running-config startup-config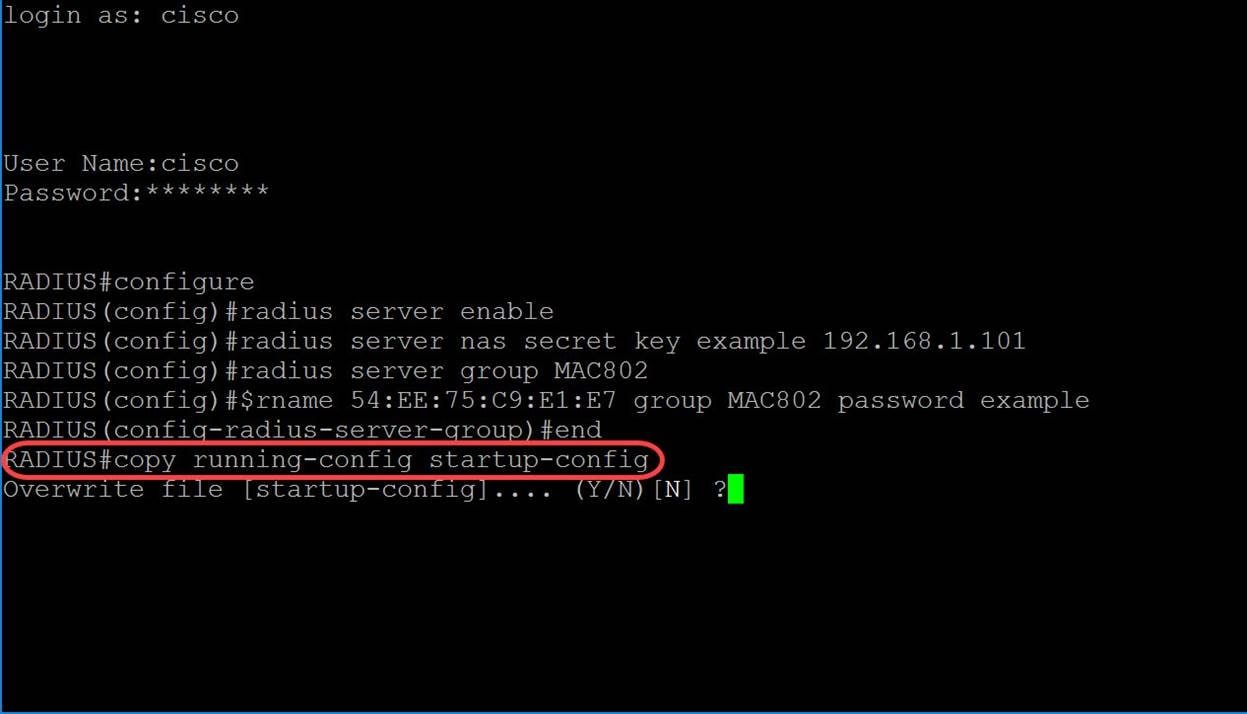
Step 9. (Optional) A message will appear asking if you would like to overwrite your startup-config file. Type Y for yes or N for no. We will be typing Y to overwrite our startup-config file.
Configuring Authenticator Switch
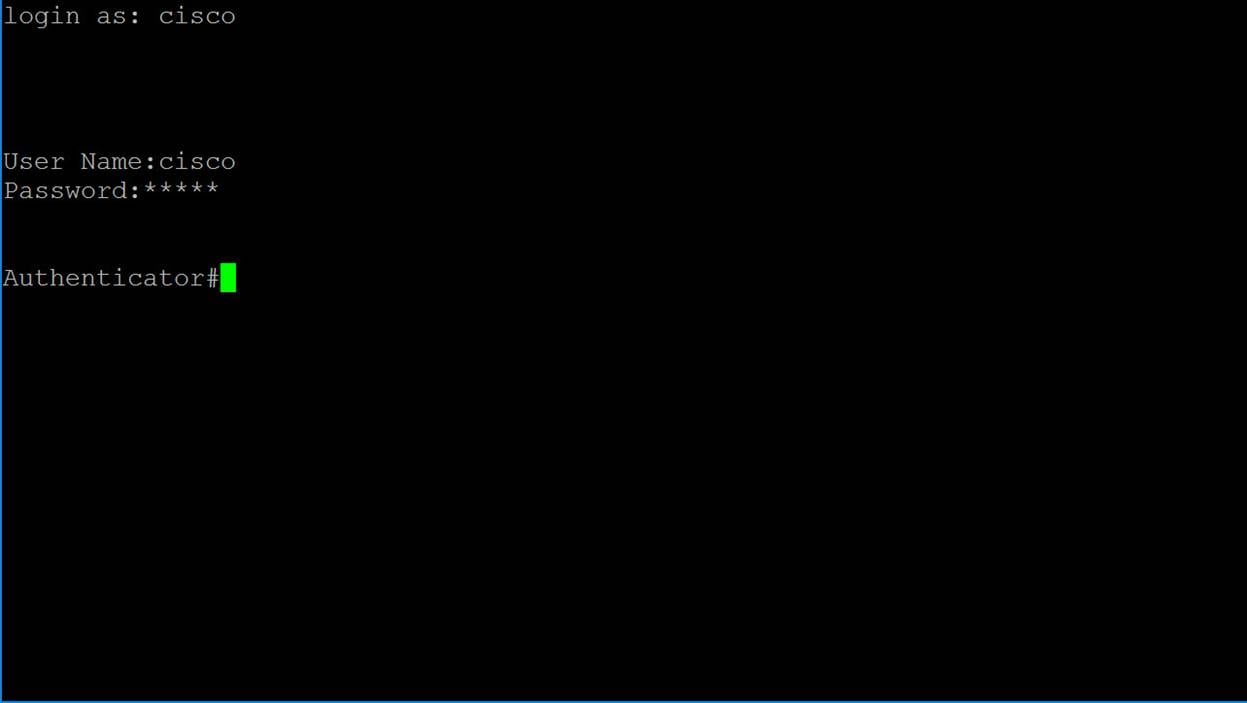
Step 1. SSH to the switch that is going to be the authenticator. The default username and password is cisco/cisco. If you have configured a new username or password, enter those credentials instead.
Note: To learn how to access an SMB switch through SSH or Telnet, click here.
Step 2. From the Privileged EXEC mode of the switch, enter the Global Configuration mode by entering the following:
Authenticator#configure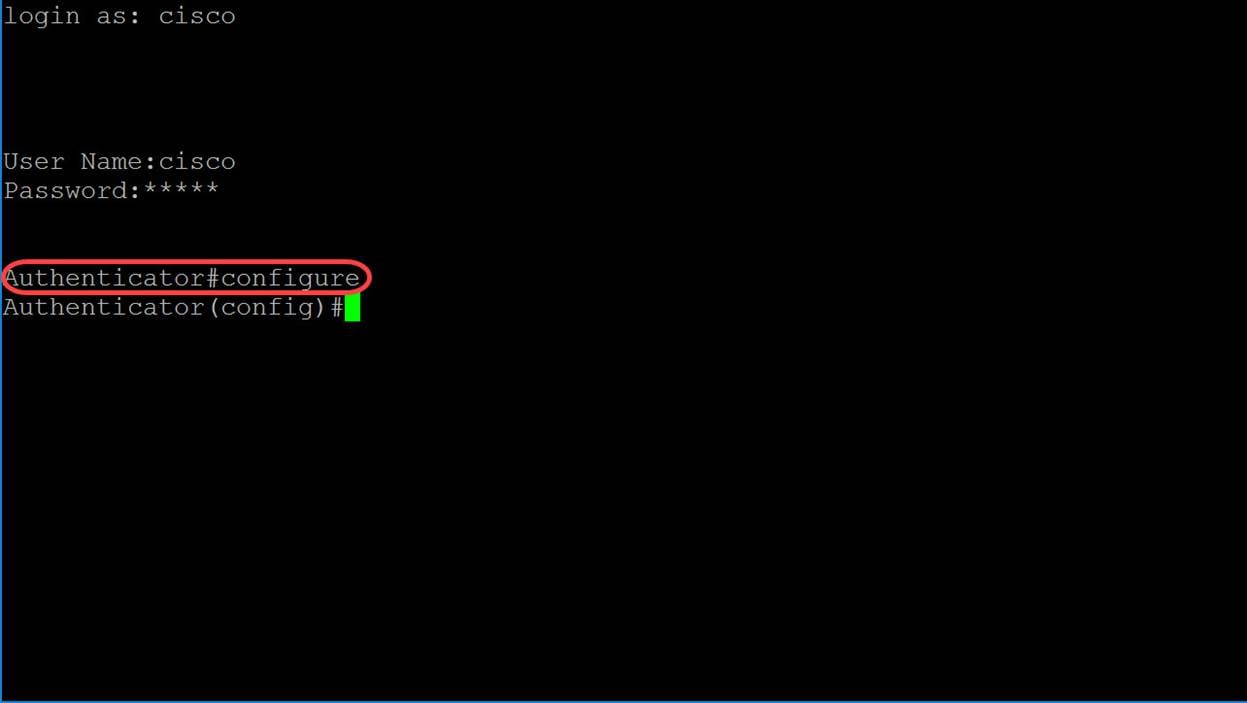
Step 3. To enable 802.1X globally, use the dot1x system-auth-control command in Global Configuration mode.
Authenticator(config)#dot1x system-auth-control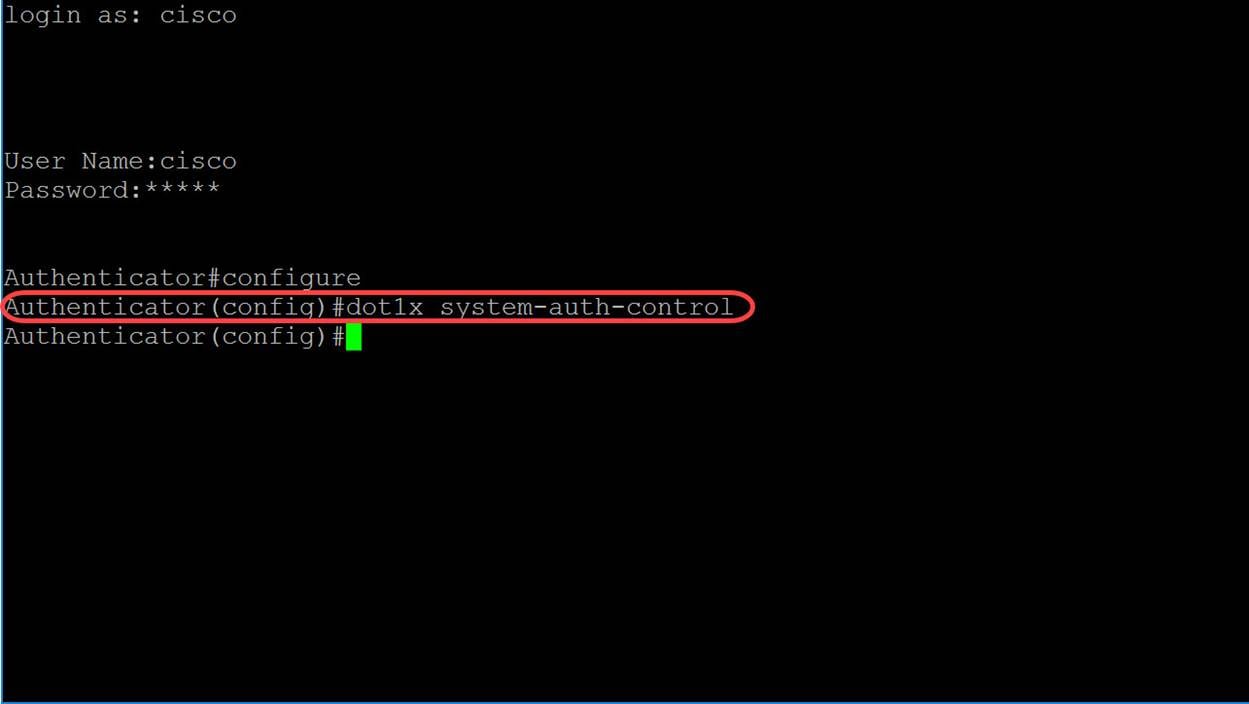
Step 4. Use the radius-server host Global Configuration mode command to configure a RADIUS server host. The parameters are defined as:
· ip-address — Specifies the RADIUS server host IP address. The IP address can be an IPv4, IPv6, or IPv6z address.
· hostname — Specifies the RADIUS server host name. Translation to IPv4 addresses only is supported. The length is from 1-158 characters and the maximum label length of each part of the hostname is 63 characters.
· auth-port auth-port-number — Specifies the port number for authentication requests. If the port number is set to 0, the host is not used for authentication. The range is from 0-65535.
· Acc-port acct-port-number — Port number for accounting requests. The host is not used for accounting if set to 0. If unspecified, the port number defaults to 1813.
· timeout timeout — Specifies the timeout value in seconds. This ranges from 1-30.
· retransmit retries — Specifies the number of retry retransmissions. The range is from 1-15.
· deadtime deadtime — Specifies the length of time in minutes during which a RADIUS server is skipped over by transaction requests. It ranges from 0-2000.
· key key-string — Specifies the authentication and encryption key for all RADIUS communications between the device and the RADIUS server. This key must match the encryption used on the RADIUS daemon. To specify an empty string, enter “”. The length can be from 0-128 characters. If this parameter is omitted, the globally-configured radius key will be used.
· key encrypted-key-string — Same as key-string, but the key is in encrypted format.
· priority priority — Specifies the order in which servers are used, where 0 has the highest priority. The priority range is from 0-65535.
· usage {login|dot1.x|all} — specifies the RADIUS server usage type. The possible values are:
o login — Specifies that the RADIUS server is used for user login parameters authentication.
o dot1.x — Specifies that the RADIUS server is used for 802.1x port authentication.
o all — Specifies that the RADIUS server is used for user login authentication and 802.1x port authentication.
radius-server host {ip-address|hostname} [auth-port auth-port-number][acct-port acct-port-number][timeout timeout][retransmit retries][deadtime deadtime][key key-string][priority priority][usage {login|dot1.x|all}]In this example, only the host and key parameters are used. We will be using the IP address 192.168.1.100 as the RADIUS server IP address and the word example as the key-string.
Authenticator(config)#radius-server host 192.168.1.100 key example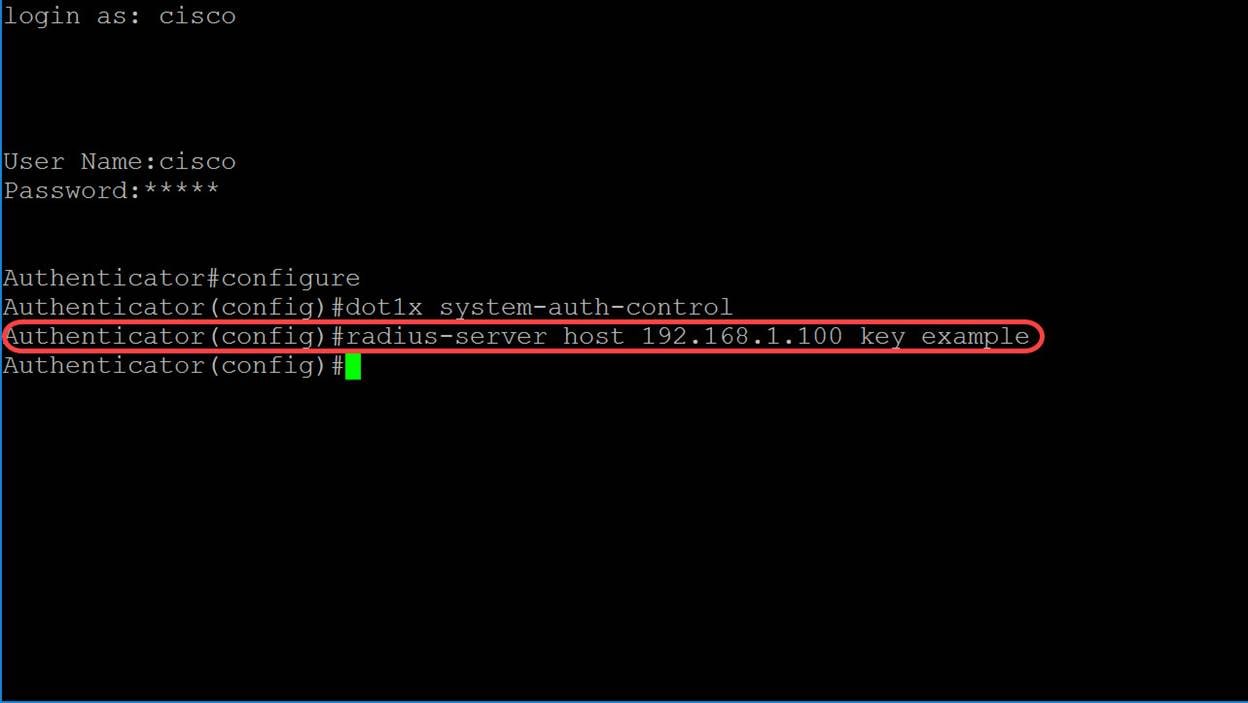
Step 5. In MAC-based authentication, the username of the supplicant is based on the supplicant device MAC address. The following defines the format of this MAC-based username, which is sent from the switch to the RADIUS server, as part of the authentication process. The following fields are defined as:
· mac-auth type — choose an MAC authentication type
o eap — Use RADIUS with EAP encapsulation for the traffic between the switch (RADIUS client) and the RADIUS server, which authenticates a MAC-based supplicant.
o radius — Use RADIUS without EAP encapsulation for the traffic between the switch (RADIUS client) and the RADIUS server, which authenticates a MAC-based supplicant.
· groupsize — Number of ASCII characters between delimiters of the MAC address sent as a user name. The option are 1, 2, 4, or 12 ASCII characters between delimiters.
· separator — Character used as a delimiter between the defined groups of characters in the MAC address. The options are hyphen, colon, or dot as the delimiter.
· case — Send username in lower or upper case. The options are lowercase or uppercase.
dot1x mac-auth mac-auth type username groupsize groupsize separator separator case.In this example, we will be using eap as our mac-authentication type, a groupsize of 2, the colon as our separator, and sending our username in uppercase.
Authenticator(config)#dot1x mac-auth eap username groupsize 2 separator : uppercase
Step 6. Use the command below to define the password that the switch will use for MAC-based authentication instead of the host MAC address. We will be using the word example as our password.
Authenticator(config)#dot1x mac-auth password example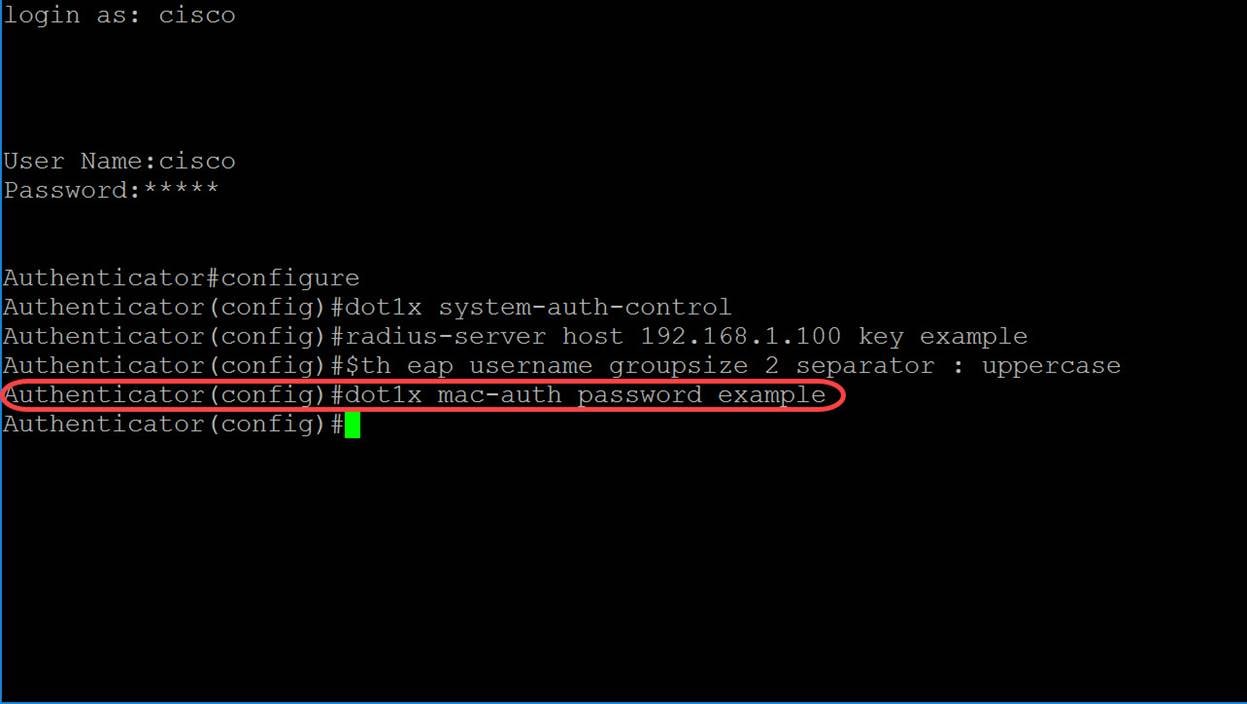
Step 7. To enter Interface Configuration mode in order to configure an interface, use the interface Global Configuration mode command. We will be configuring GigabitEthernet1/0/1 because our end host is connected to it.
Note: Do not configure the port that is connected to your RADIUS server.
Authenticator(config)#interface GigabitEthernet1/0/1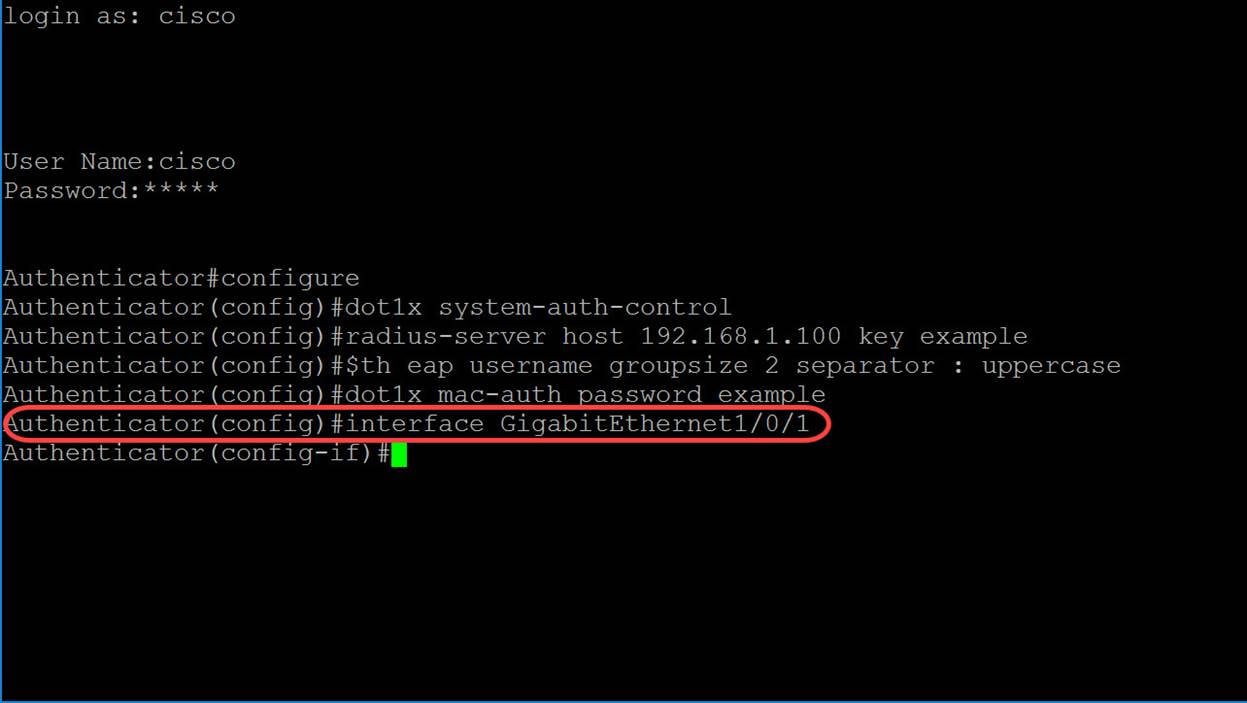
Note: If you want to configure multiple ports at the same time, use the interface range command.
See the example below to configure ports 1-4 using the range command:
Authenticator(config)#interface range GigabitEthernet1/0/1-4Step 8. To allow a single host (client) or multiple hosts on an IEEE802.1X-authorized port, use the dot1x host-mode command in Interface Configuration mode. The parameters are defined as:
· multi-host — Enable multiple hosts mode
o A port is authorized if there is at least one authorized client.
o When a port is unauthorized and a guest VLAN is enabled, untagged traffic is remapped to the guest VLAN. Tagged traffic is dropped unless it belongs to the guest VLAN or to an unauthenticated VLAN. If guest VLAN is not enabled on a port, only tagged traffic belonging to unauthenticated VLANs is bridged.
o When a port is authorized, untagged and tagged traffic from all hosts connected to the port is bridged, based on the static VLAN membership port configuration.
o You can specify that untagged traffic from the authorized port will be remapped to a VLAN that is assigned by a RADIUS server during the authentication process. Tagged traffic is dropped unless it belongs to the RADIUS-assigned VLAN or to the unauthenticated VLANs. Radius VLAN assignment on a port is set in the Port Authentication page.
· single-host — Enable single host mode
o A port is authorized if there is an authorized client. Only one host can be authorized on a port.
o When a port is unauthorized and the guest VLAN is enabled, untagged traffic is remapped to the guest VLAN. Tagged traffic is dropped unless it belongs to the guest VLAN or to an unauthenticated VLAN. If a guest VLAN is not enabled on the port, only tagged traffic belonging to the unauthenticated VLANs is bridged.
o When a port is authorized, untagged and tagged traffic from the authorized host is bridged based on the static VLAN membership port configuration. Traffic from other hosts is dropped.
o A user can specify that untagged traffic from the authorized host will be remapped to a VLAN that is assigned by a RADIUS server during the authentication process. Tagged traffic is dropped unless it belongs to the RADIUS-assigned VLAN or the unauthenticated VLANs. Radius VLAN assignment on a port is set in the Port Authentication Page.
· multi-sessions — Enable multiple-sessions mode
o Unlike the single-host and multi-host modes, a port in the multi-session mode does not have an authentication status. This status is assigned to each client connected to the port.
o Tagged traffic belonging to an unauthenticated VLAN is always bridged regardless of whether the host is authorized or not.
o Tagged and untagged traffic from unauthorized hosts not belonging to an unauthenticated VLAN is remapped to the guest VLAN if it is defined and enabled on the VLAN, or is dropped if the guest VLAN is not enabled on the port.
o You can specify that untagged traffic from the authorized port will be remapped to a VLAN that is assigned by a RADIUS server during the authentication process. Tagged traffic is dropped unless it belongs to the RADIUS-assigned VLAN or to the unauthenticated VLANs. Radius VLAN assignment on a port is set in the Port Authentication page.
dot1x host-mode host-modeIn this example, we will be configuring the host-mode to be multi-sessions.
Authentication(config-if)#dot1x host-mode multi-sessions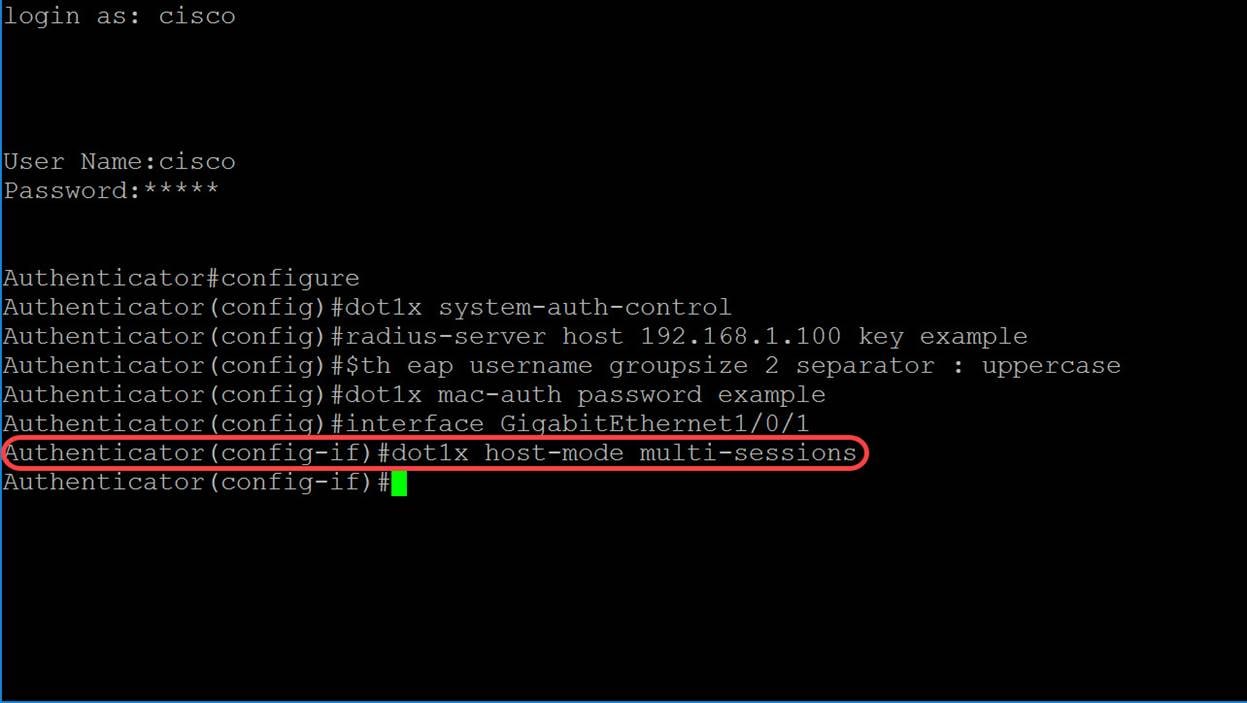
Step 9. To configure the authentication method on a port, use the command below to enable MAC-based authentication.
Authentication(config-if)#dot1x authentication mac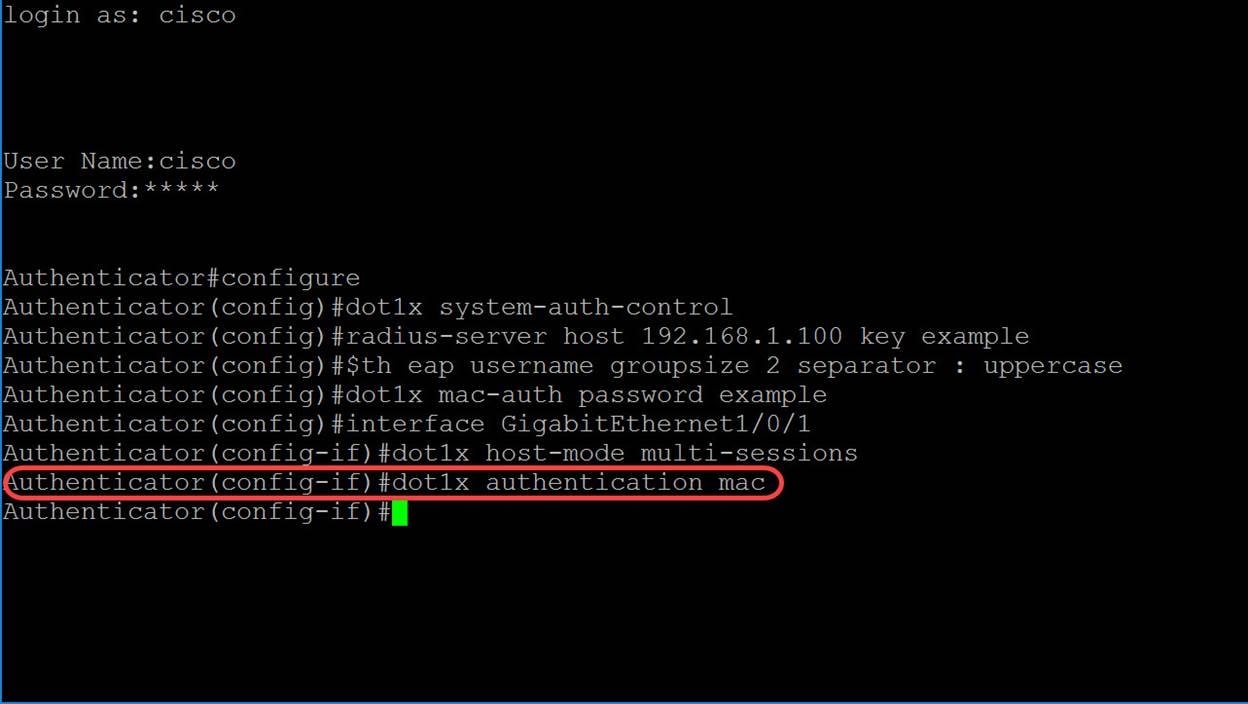
Step 10. To enable port-based authentication and authorization on the device, use the port-control command to configure the port-control value. We will be selecting the administrative port authorization state as auto. This will allow us to enable port-based authentication and authorization on the device. The interface moves between an authorized or unauthorized state based on the authentication exchange between the device and the client.
Authentication(config-if)#dot1x port-control auto
Step 11. (Optional) To end the current configuration session and return to the Privileged EXEC mode, use the end command.
Authentication(config-if)#end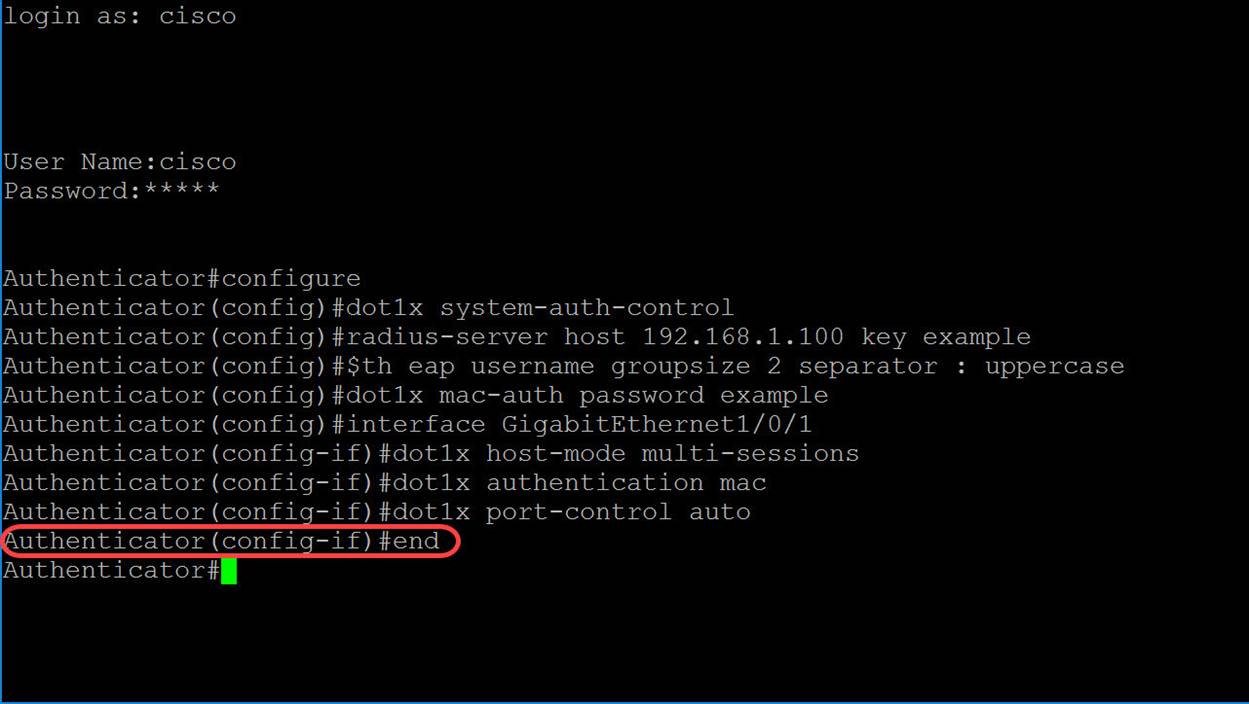
Step 12. (Optional) To copy any file from a source to a destination, use the copy command in Privileged EXEC mode. In this example, we will be saving our running configuration to the startup-config.
Authentication#copy running-config startup-config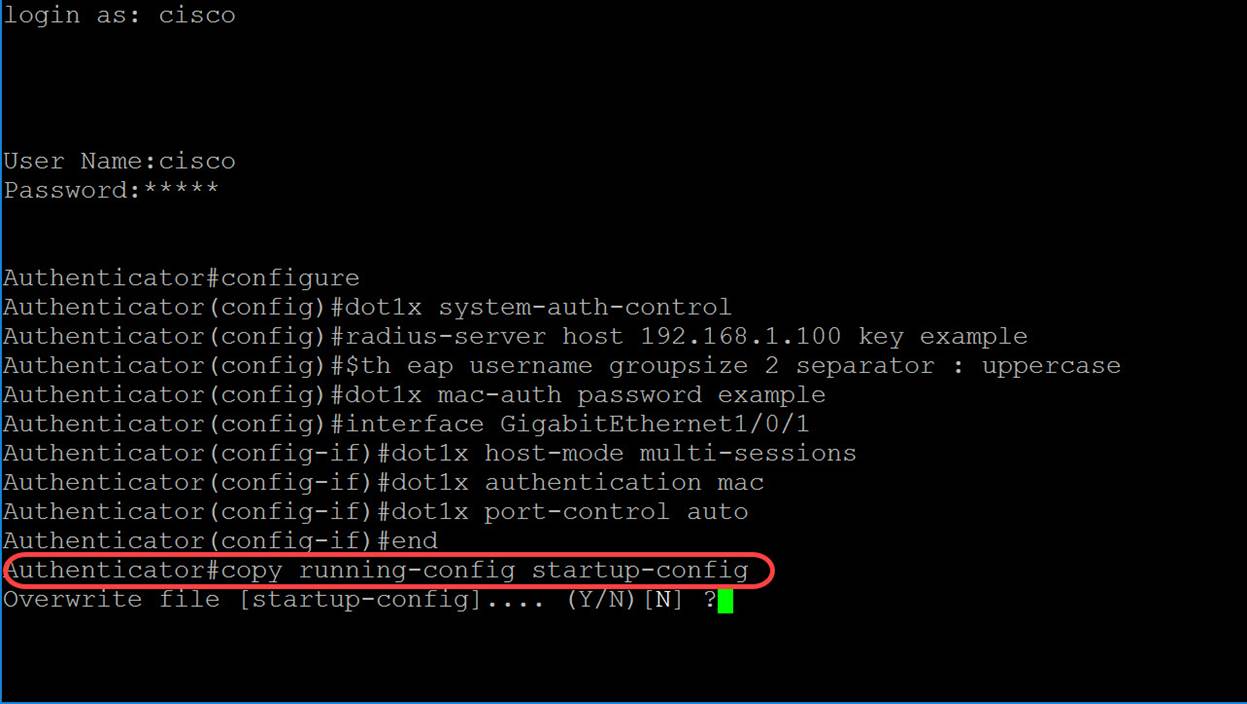
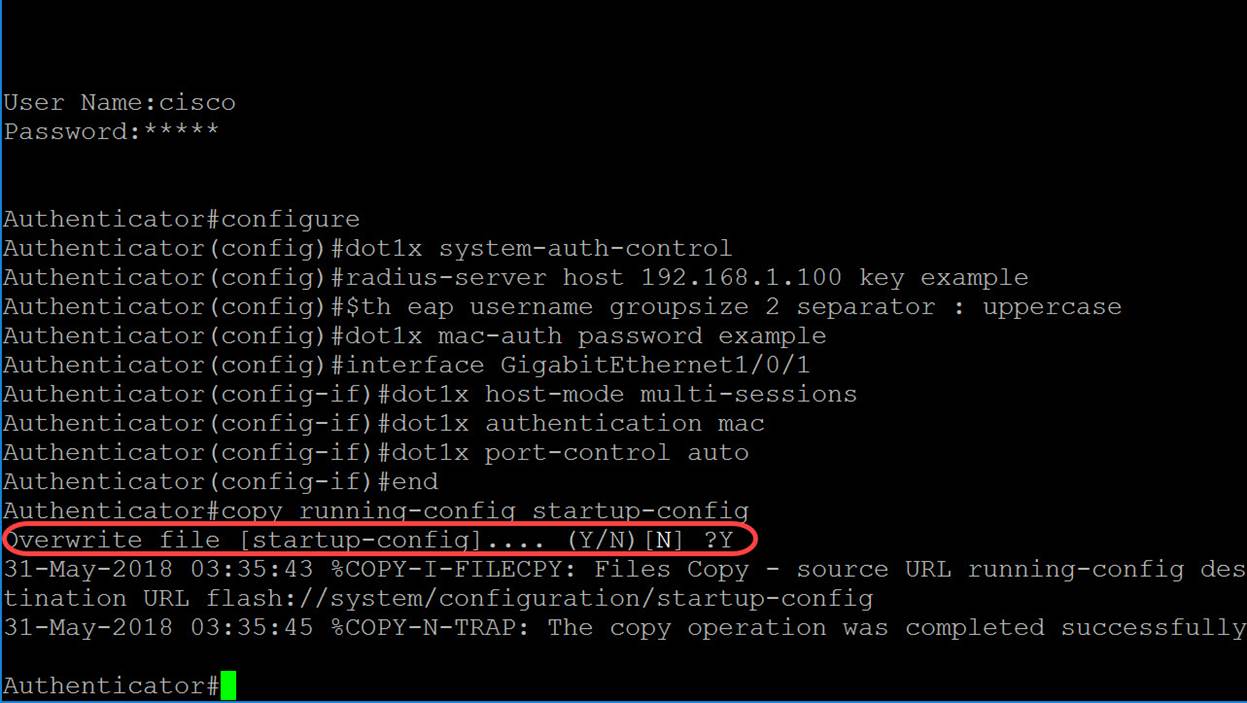
Step 13. (Optional) A message will appear and ask if you would like to overwrite your startup-config file. Type Y for yes or N for no. We will be typing Y to overwrite our startup-config file.
Conclusion
You should now have configured MAC-based authentication on your switch using the CLI. Follow the steps below to verify that the MAC-based authentication is working.
Step 1. To display active 802.1X authorized users for the device, use the show dot1x users command in Privileged EXEC mode.
Authenticator#show dot1x users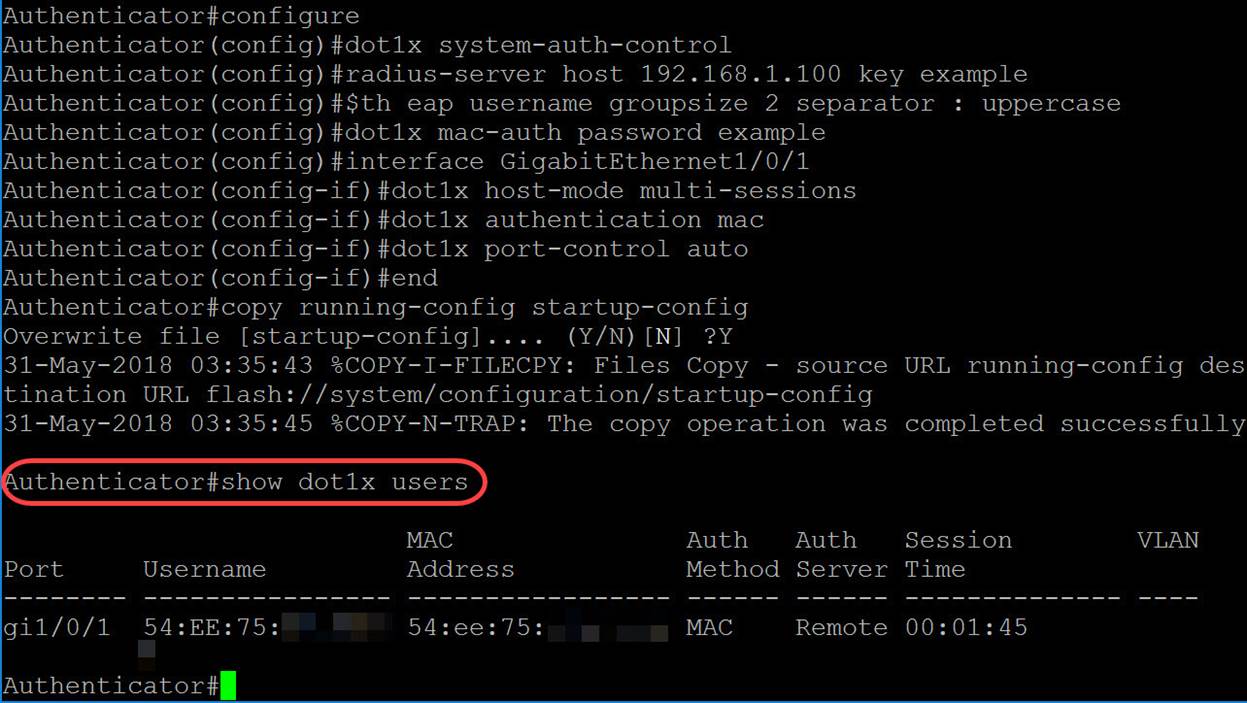
Step 2. To display the 802.1X interfaces or specified interface status, use the show dot1x command in Privileged EXEC mode.
Authenticator#show dot1x interface gigabitethernet1/0/1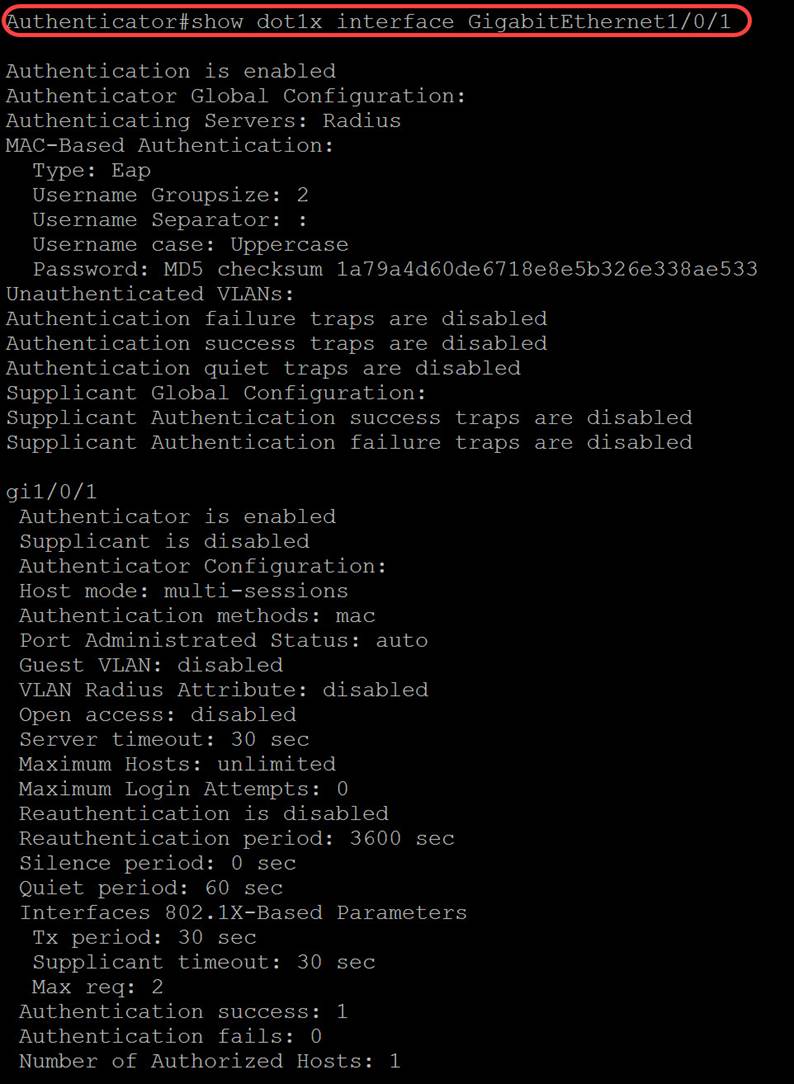
 Feedback
Contact Cisco
- Open a Support Case

- (Requires a Cisco Service Contract)