Upgrade sequence of the nodes
You can upgrade Cisco ISE using the GUI (recommended), the backup and restore feature, or the CLI.
If you use the GUI (recommended) method to upgrade, you can select the order in which nodes are upgraded. Upgrade the nodes in this order to minimize downtime, maximize resiliency, and make rolling back easier.
Complete these tasks before starting the upgrade:
-
Back up all configuration and monitoring data.
-
Export the internal CA key and certificate chain.
-
Back up server certificates for all Cisco ISE nodes.
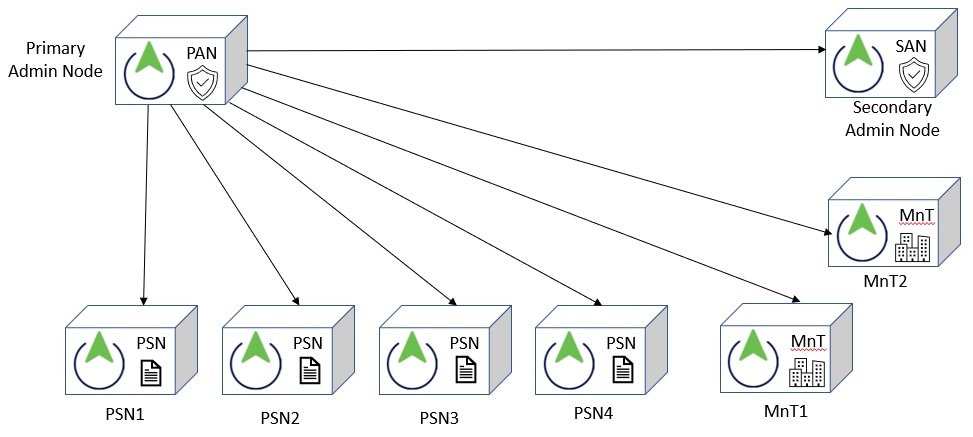
The upgrade process for nodes occurs in this order:
-
SAN
At this point, the PAN remains at the previous version and can be used for rollback if the upgrade fails.
-
Primary Monitoring Node or Secondary Monitoring Node
If you have a distributed deployment, upgrade the nodes available in the site with the SAN.
-
PSNs
If you are upgrading from an earlier Cisco ISE release to a recent release using the GUI, you can select a group of PSNs to be upgraded simultaneously. This will reduce the overall upgrade downtime.
After upgrading a set of PSNs, verify the success of the upgrade (see Verify the upgrade process) and run network tests to ensure the new deployment works as expected. If the upgrade is successful, you can upgrade the next set of PSNs.
-
Secondary Monitoring Node or Primary Monitoring Node
-
PAN
After upgrading the PAN, rerun upgrade verification and network tests.

Note
If the upgrade fails when registering the PAN, the system initiates a rollback and changes the node to standalone mode. Use the CLI to upgrade the node as a standalone. Then register it to the new deployment as a SAN.
After the upgrade, the SAN becomes the PAN, and the original PAN becomes the SAN. In the Edit Node window, click Promote to Primary to make the SAN the PAN, if needed.
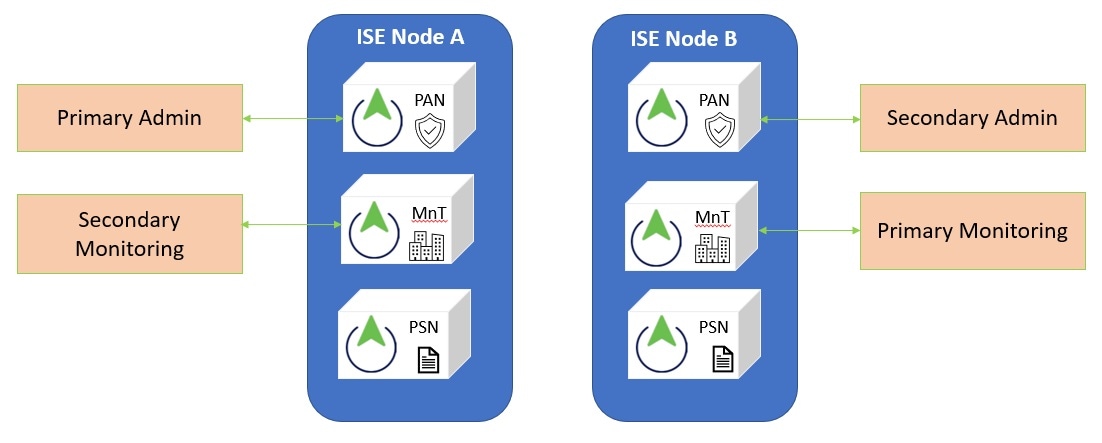
If the administration nodes also have the monitoring persona, use the node sequence shown in this table.
|
Node personas in the current deployment |
Upgrade sequence |
|---|---|
|
SAN/Primary Monitoring Node, PSN, PAN/Secondary Monitoring Node |
|
|
SAN/Secondary Monitoring Node, PSN, PAN/Primary Monitoring Node |
|
|
SAN, Primary Monitoring Node, PSN, PAN/Secondary Monitoring Node |
|
|
SAN, Secondary Monitoring Node, PSN, PAN/Primary Monitoring Node |
|
|
SAN/Primary Monitoring Node, PSN, Secondary Monitoring Node, PAN |
|
|
SAN/Secondary Monitoring Node, PSNs, Primary Monitoring Node, PAN |
|
You will get an error message "No SAN in the Deployment" under these circumstances:
-
There is no SAN in the deployment.
-
The SAN is down.
-
The SAN is upgraded and moved to the upgraded deployment. This occurs when you use the Refresh Deployment Details option after upgrading the SAN.
To resolve this issue, complete one of these tasks:
-
If the deployment does not have a SAN, configure a SAN and retry upgrade.
-
If the SAN is down, bring up the node and retry the upgrade.
-
If the SAN is upgraded and moved to the upgraded deployment, use the CLI to manually upgrade the other nodes in the deployment.
 Feedback