Deploy the Cisco Cyber Vision Center

Create and configure an instance

Deploy a Cisco Cyber Vision instance in AWS to monitor and manage your network.

Set up a new Cyber Vision instance. Use the recommended instance type, security settings, and storage configuration parameters.

Before you begin

  • Ensure you have access to your AWS account and valid credentials.

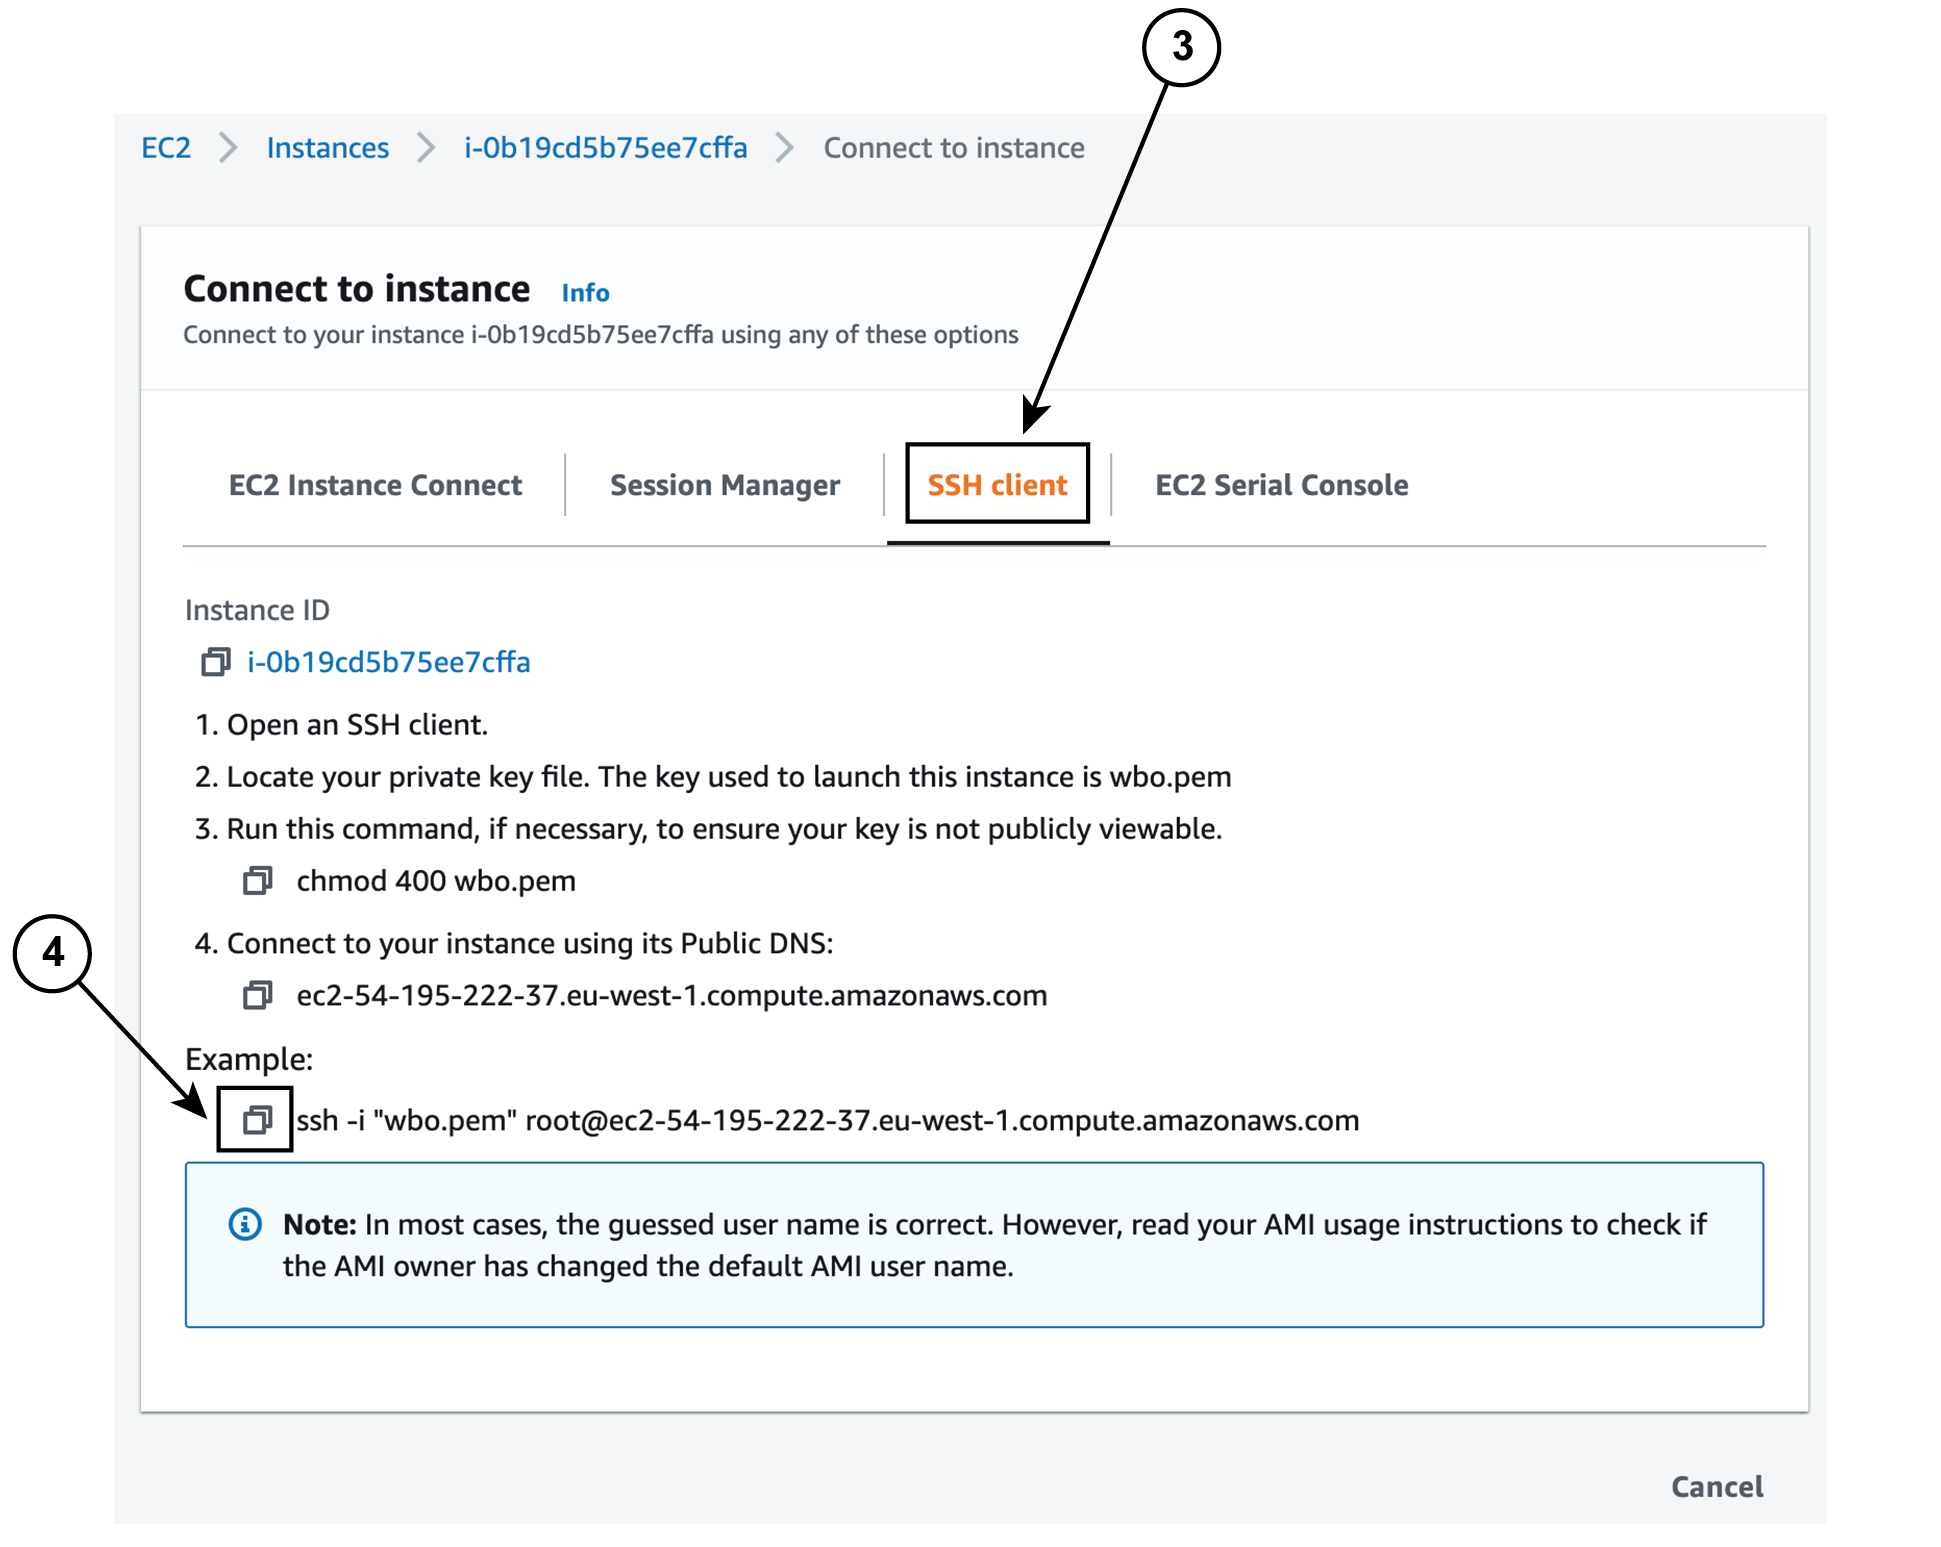
  • Prepare an SSH key pair to enable remote access.

Procedure


Step 1

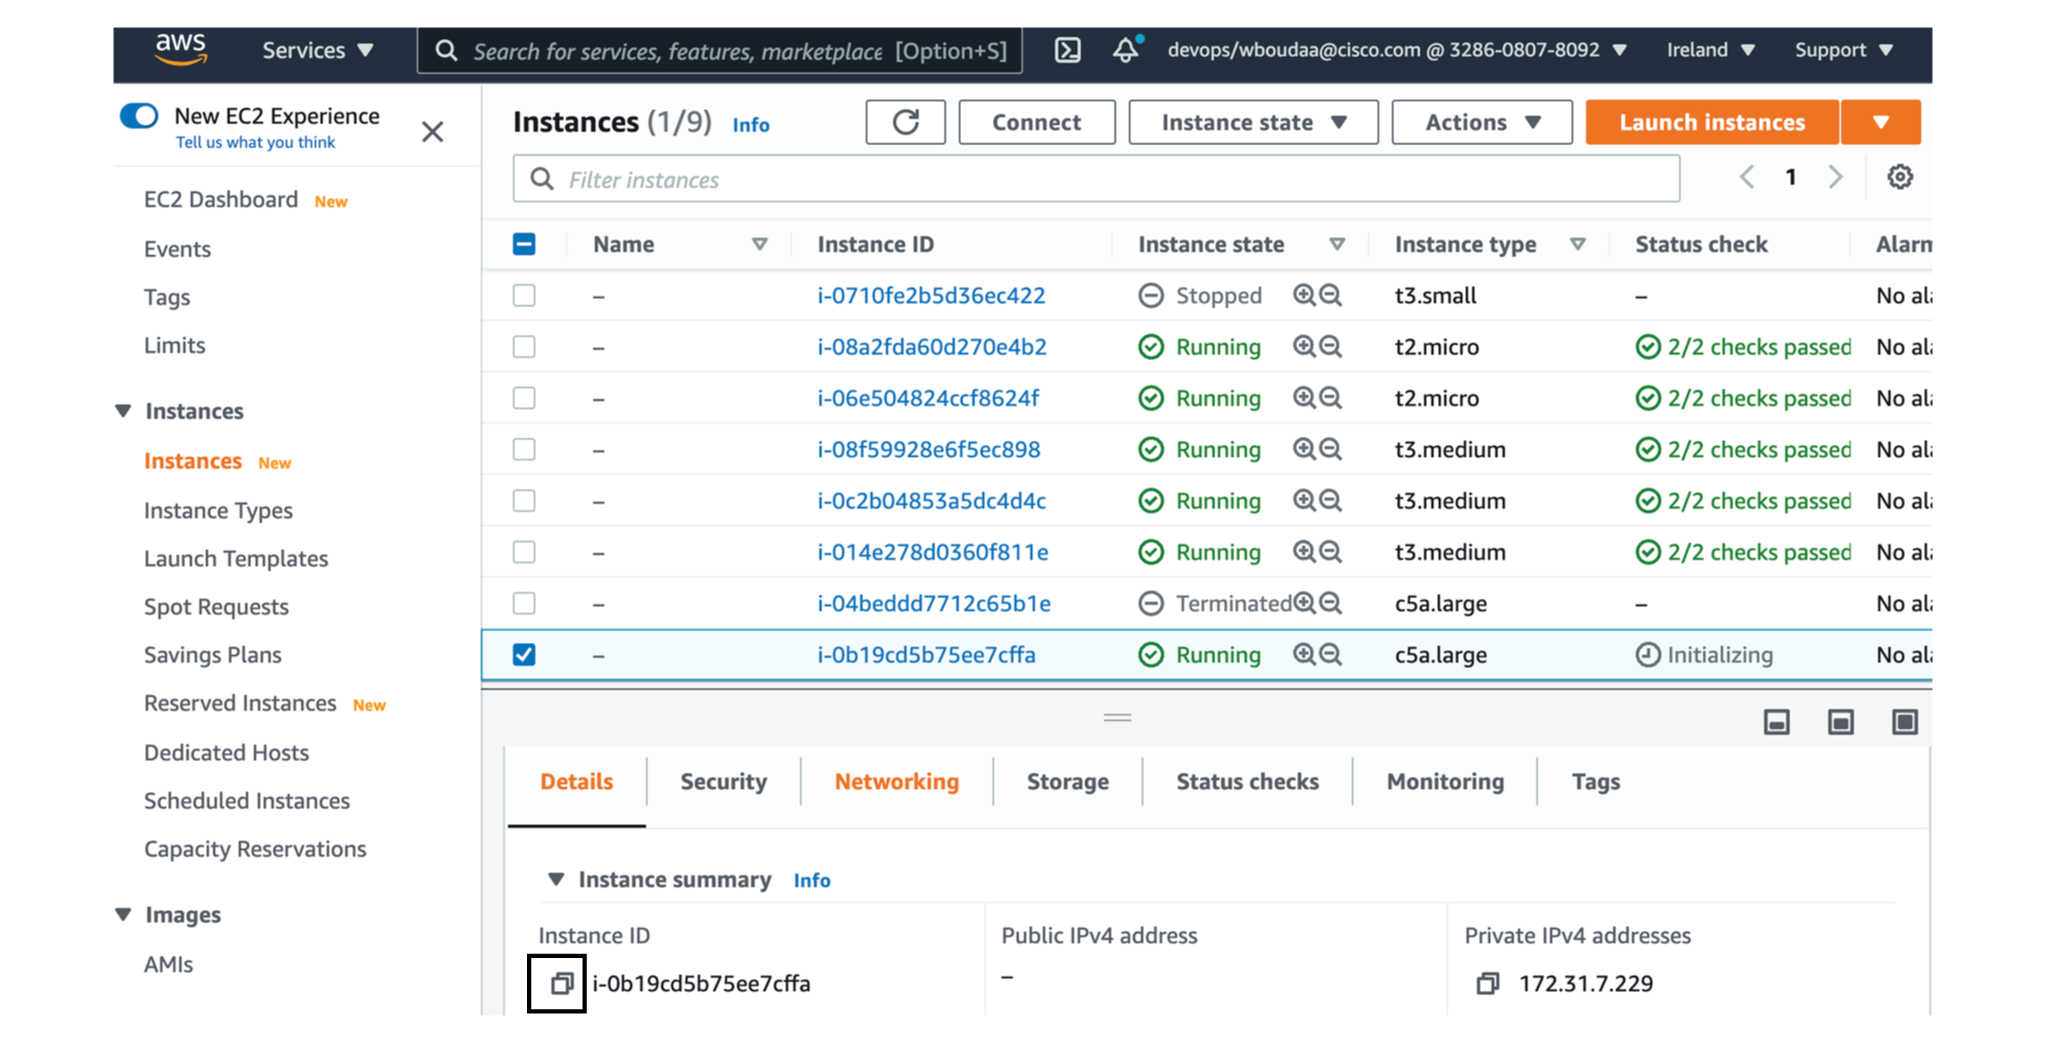
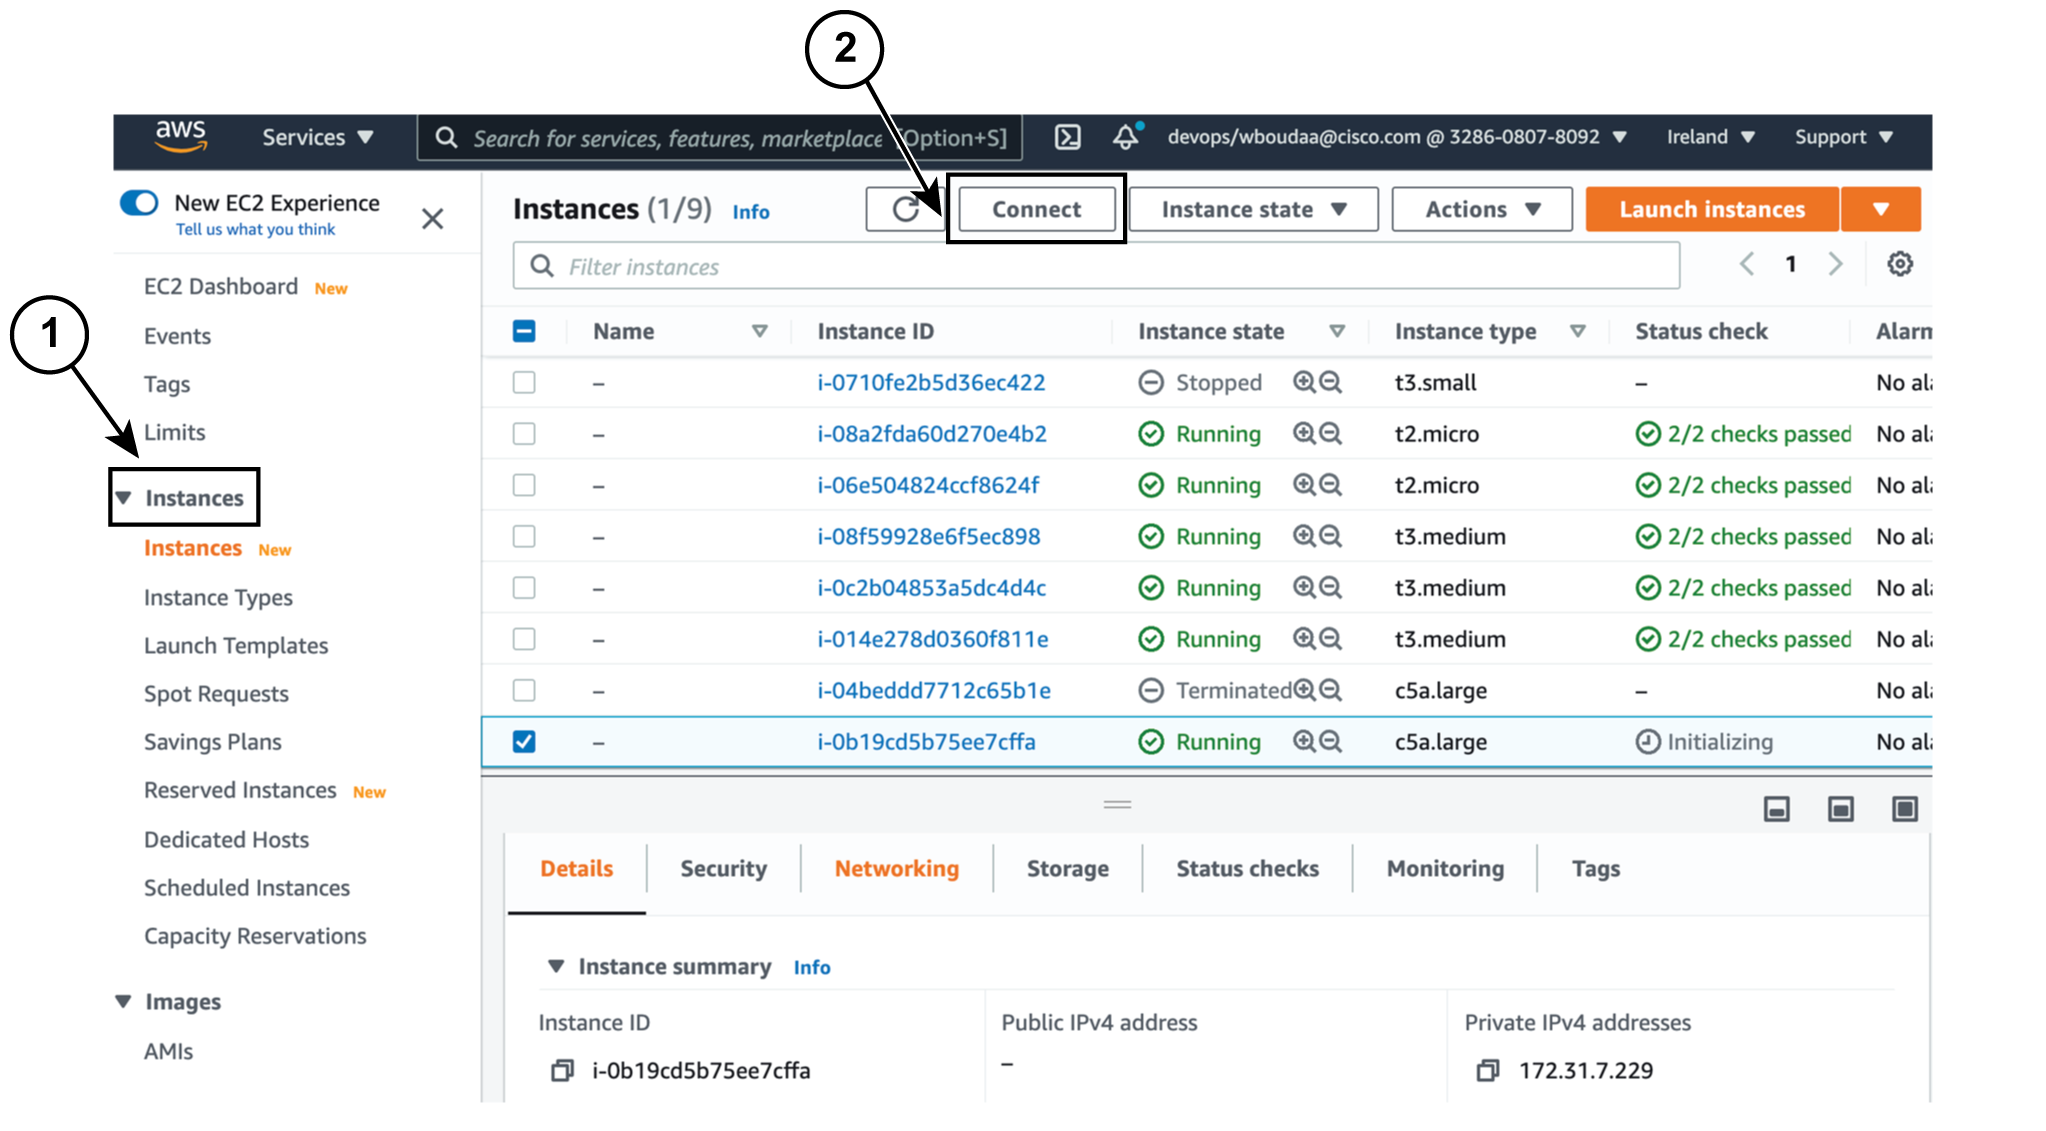
Sign in to Amazon Web Services. Navigate to All services > EC2, and click Launch Instance.

Step 2

Enter a name for the instance.

Step 3

In AWS Marketplace, search for Cisco Cyber Vision BYOL and select the relevant image.

Step 4

Select a supported instance type.

Supported families include C5, M5, R5, T3, and Z1d.

Step 5

Select an existing SSH key pair or create a new one if required.

Step 6

Configure Network settings:

  • Disable the auto-assigned public IP address if not required.

  • Adjust security group rules to allow the necessary ports and protocols for your deployment. For key protocol and port configurations, see Required Ports and Protocols.

  • To configure your center with IPv6, select a VPC and subnet configured for IPv6 as per AWS documentation. Adjust firewall rules accordingly.

Step 7

Configure storage:

  • Adjust the disk size as required for your deployment.

  • Use SSD storage.

Step 8

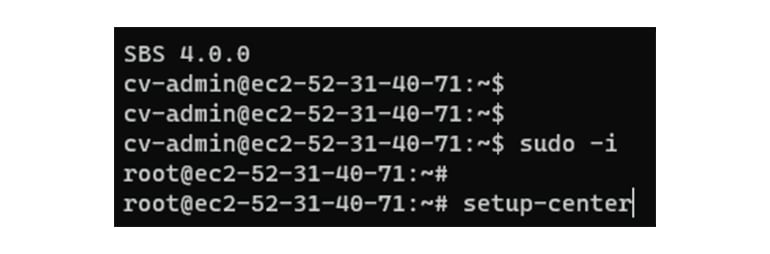
In Advanced Details > User data, enter parameters according to your deployment type.

See Annex – Setup Center json file for JSON parameters.

Step 9

Review your settings, then launch the instance.


After you launch the Cisco Cyber Vision instance, you can configure and manage it.

What to do next

Configure Center-specific parameters, monitor the instance status, and confirm that the network is connected.

Required ports and protocols

Use these tables and examples to configure your firewall and security groups. This helps ensure seamless communication between your system components.

Add these ports:

  • AMQP (TCP port 5671) is required for communication between sensors and centers.

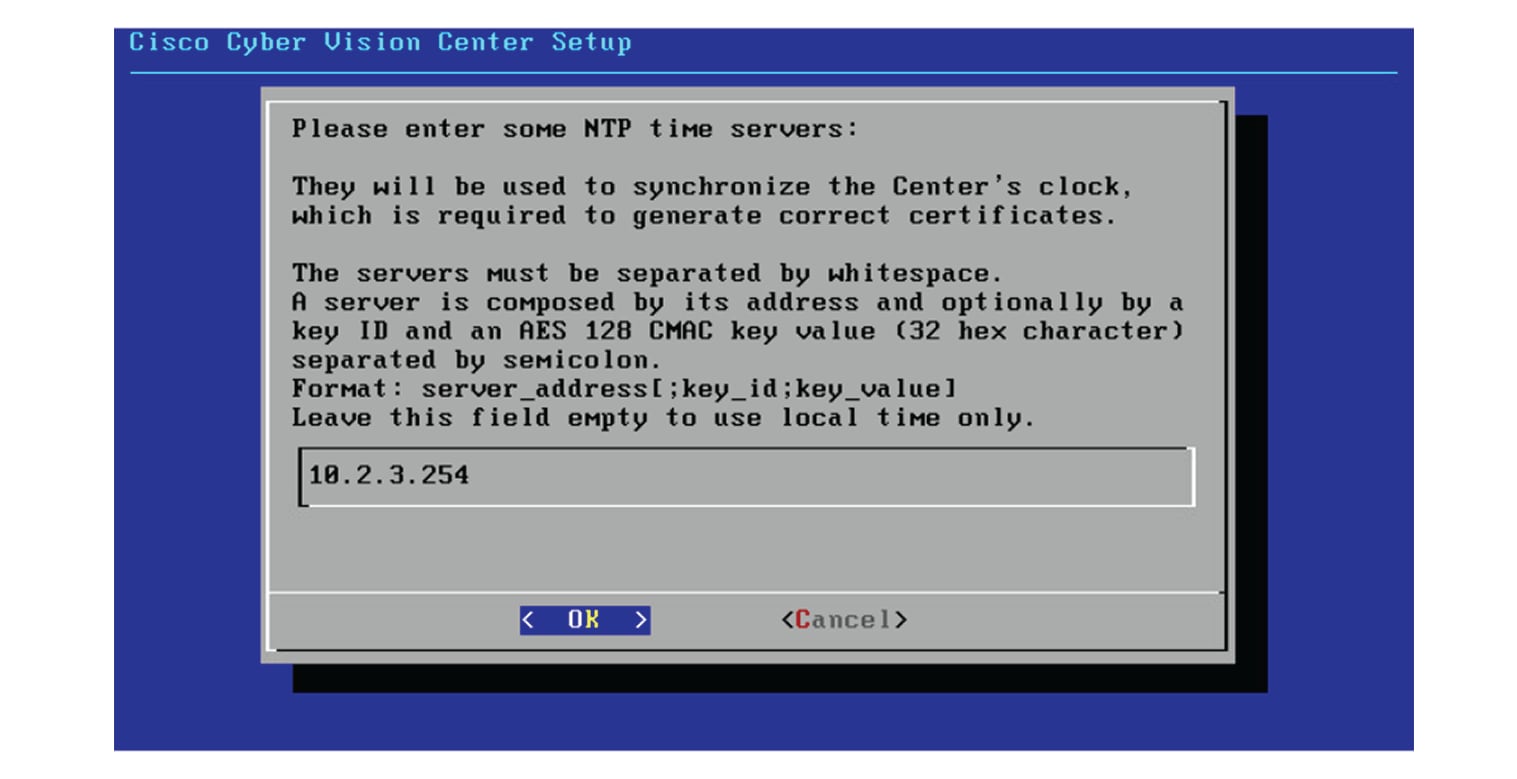
  • Open NTP (UDP port 123) for time synchronization across all devices.

Table 1. For communication between Global Center and Center:

Protocol

Port

AMQP

TCP port 5671

NTP

UDP port 123

Syslog

UDP port 514 or TCP port 514

SSH

TCP port 22

Table 2. For the communications between CS workstation, NTP server, and center:

Protocol

Port

HTTPS

TCP port 443

SSH

TCP port 22

NTP

UDP port 123

Table 3. For the communications between sensor and center:

Protocol

Port

AMQP

TCP port 5671

Syslog

UDP port 10514

Example security group rule configuration:

Type

Protocol

Port range

Source type

Description

SSH

TCP

22

192.0.2.0/24

SSH

HTTPS

TCP

443

192.0.2.0/24

HTTPS

Custom TCP

TCP

5671

192.0.2.0/24

AMQP

Custom UDP

UDP

123

192.0.2.0/24

NTP

Custom TCP

TCP

514

192.0.2.0/24

Syslog for Global Center

Custom UDP

UDP

514

192.0.2.0/24

Syslog for Global Center

Custom UDP

UDP

10514

192.0.2.0/24

Syslog for sensor

Allocate an Elastic IP to the instance

  1. Click Instances in AWS left menu.

  2. Choose your instance on the instances list and copy your instance ID.

  3. Click Elastic IPs in AWS left menu.

  4. Click the created Elastic IP.

  5. Click Associate Elastic IP address.

  6. Select Instance.

  7. Paste the instance ID previously copied.

  8. Click in the field and select the private IP address of the created Center.

  9. Click Associate.

    The following status should appear.

Cisco Cyber Vision Center setup

Establish a serial connection or open an SSH connection from AWS and then proceed to the basic Center configuration.

Establish a serial connection

Procedure


Step 1

In the Instances menu, select the instance you just created and click Connect.

Step 2

Click EC2 serial console.

Step 3

Click Connect.

Step 4

A new window with a shell prompt opens in the browser.

Step 5

Press Enter.

The Cisco Cyber Vision Center Setup appears.

Step 6

Press Enter.


Open an SSH connection from AWS

  1. Go to instances to check the information of the created machine.

    The key previously created or chosen will be automatically added to /data/etc/ssh/userkey/root.


    Note


    It is possible to add multiple keys on that file if an access is needed from another device that is not using the same certificates than the installed one.

    This key is downloaded locally or already exists.

    Please follow the steps below to connect using SSH and finalize the installation.

  2. In the AWS EC2 management console, click Instances (1).

  3. Choose the needed instance and click the Connect button (2).

  4. Access the SSH Client menu (3) and follow the steps described in it.

  5. Copy and paste the example (4) into the ssh client and replace ‘root’ with ‘cv-admin’, like below:

    ssh -i wbo.pem cv-admin@ec2-54-195-222-376.eu-west-1.compute.amazonaws.com

  6. Once connected to the Center, type the following command:

    sudo -i
  7. Type the following command:

    setup-center

  8. Press Enter.

    The Cisco Cyber Vision Center Setup appears.

  9. Press Enter.

Basic Center configuration

Accept the End User License Agreement

Select the language to match your keyboard


Note


By default, the system is configured to work with a US QWERTY keyboard.

Select the Center type

During this procedure you will choose which type of Center to install. There are two types of Centers:

  • A Center receives metadata from sensors and store them into an internal database (Postrgresql). It can be standalone or synchronized with a Global Center. A Center with sync is similar to a standalone Center from a functionality point of view, except for the link to a Global Center. You must install Centers with sync after the Global Center. This will enable the system to enroll and start pushing events to the Global Center.

  • A Global Center introduces a centralized architecture which collects all industrial insights and events from synchronized Centers and aggregates it on a single global point of view. It will also allow you to manage the knowledge database (KDB) and upgrade the whole platform.

Select the type of Center you want to install.

Center

If installing a Center, select the first option.

Then, you will have the opportunity to set the Center id. It can be used in case of Center restoration to reuse the same id previously set in the Global Center. Thus, some data can be retrieved.

If you're installing the Center for the first time, this id will be automatically generated. Select No. You will be directed to the next step.

If you're reinstalling the Center and want to restore it, select Yes.

Use the following command from the Global Center's CLI to get a list of all Center's id:

sbs-db exec "select name, id from center"

Type the id into the basic Center configuration UUID field.

Click OK. You will be directed to the next step.

Global Center

If installing a Global Center, select the second option.

As this step does not apply to a Global Center, select No.

You will be directed to the next step.

Configure the Center's DNS

Type a DNS server address and optional fallbacks.

Synchronize the Center and the sensors to NTP servers

Enter IP addresses of local or remote NTP servers (gateway configuration needed) to synchronize the Center and the sensors with a clock reference. Each address must be separated by a space.

Optionally, add a key ID and an AES A28 CMAC key value separated by a semicolon with the corresponding NTP server.

The synchronization takes a few seconds.

Check that the time is correct, or set the time manually.


Note


The time is set in UTC standard.

Give the Center a name


Note


This name will be used in the Center certificate.

Enter the Center name provided by your administrator or type 'Default' which is a secure value.


Note


This name must match the DNS name you will use to access the Center through SSH or a browser.

Authorize networks

This step allows you to restrict IP addresses that can connect to the Administration interface. If no IP is entered, all networks are authorized by default.

Set DHCP

Procedure

Step 1

If the following message appears, select OK.

Step 2

Select DHCP.


Complete basic Cyber Vision Center configuration

Finalize the initial setup of Cyber Vision Center and secure needed addresses for future login and certificate management.

Before you begin

Ensure previous center configuration steps are complete.

Procedure

Step 1

Record the displayed addresses for downloading the CA certificate and accessing Cyber Vision Center.

If you have selected IPv4/IPv6 in the earlier step, addresses for both IP versions appear.

Step 2

Select OK to complete the configuration.

Step 3

Close the configuration window.

Step 4

Open your browser and go to the saved address to access Cyber Vision Center.


You have completed the basic configuration and recorded the essential access and CA certificate addresses.

What to do next

  • To connect via CLI (serial console or SSH), use ‘cv-admin’ as the username and the instance ID as the password. This user has limited rights. To elevate permissions, prefix commands with "sudo" or open a root shell with "sudo -i".

  • Each Cyber Vision Center includes its own PKI and CA for TLS connections. Install the CA certificate on each client browser. See the instructions in the relevant chapter for steps to install the CA certificate.