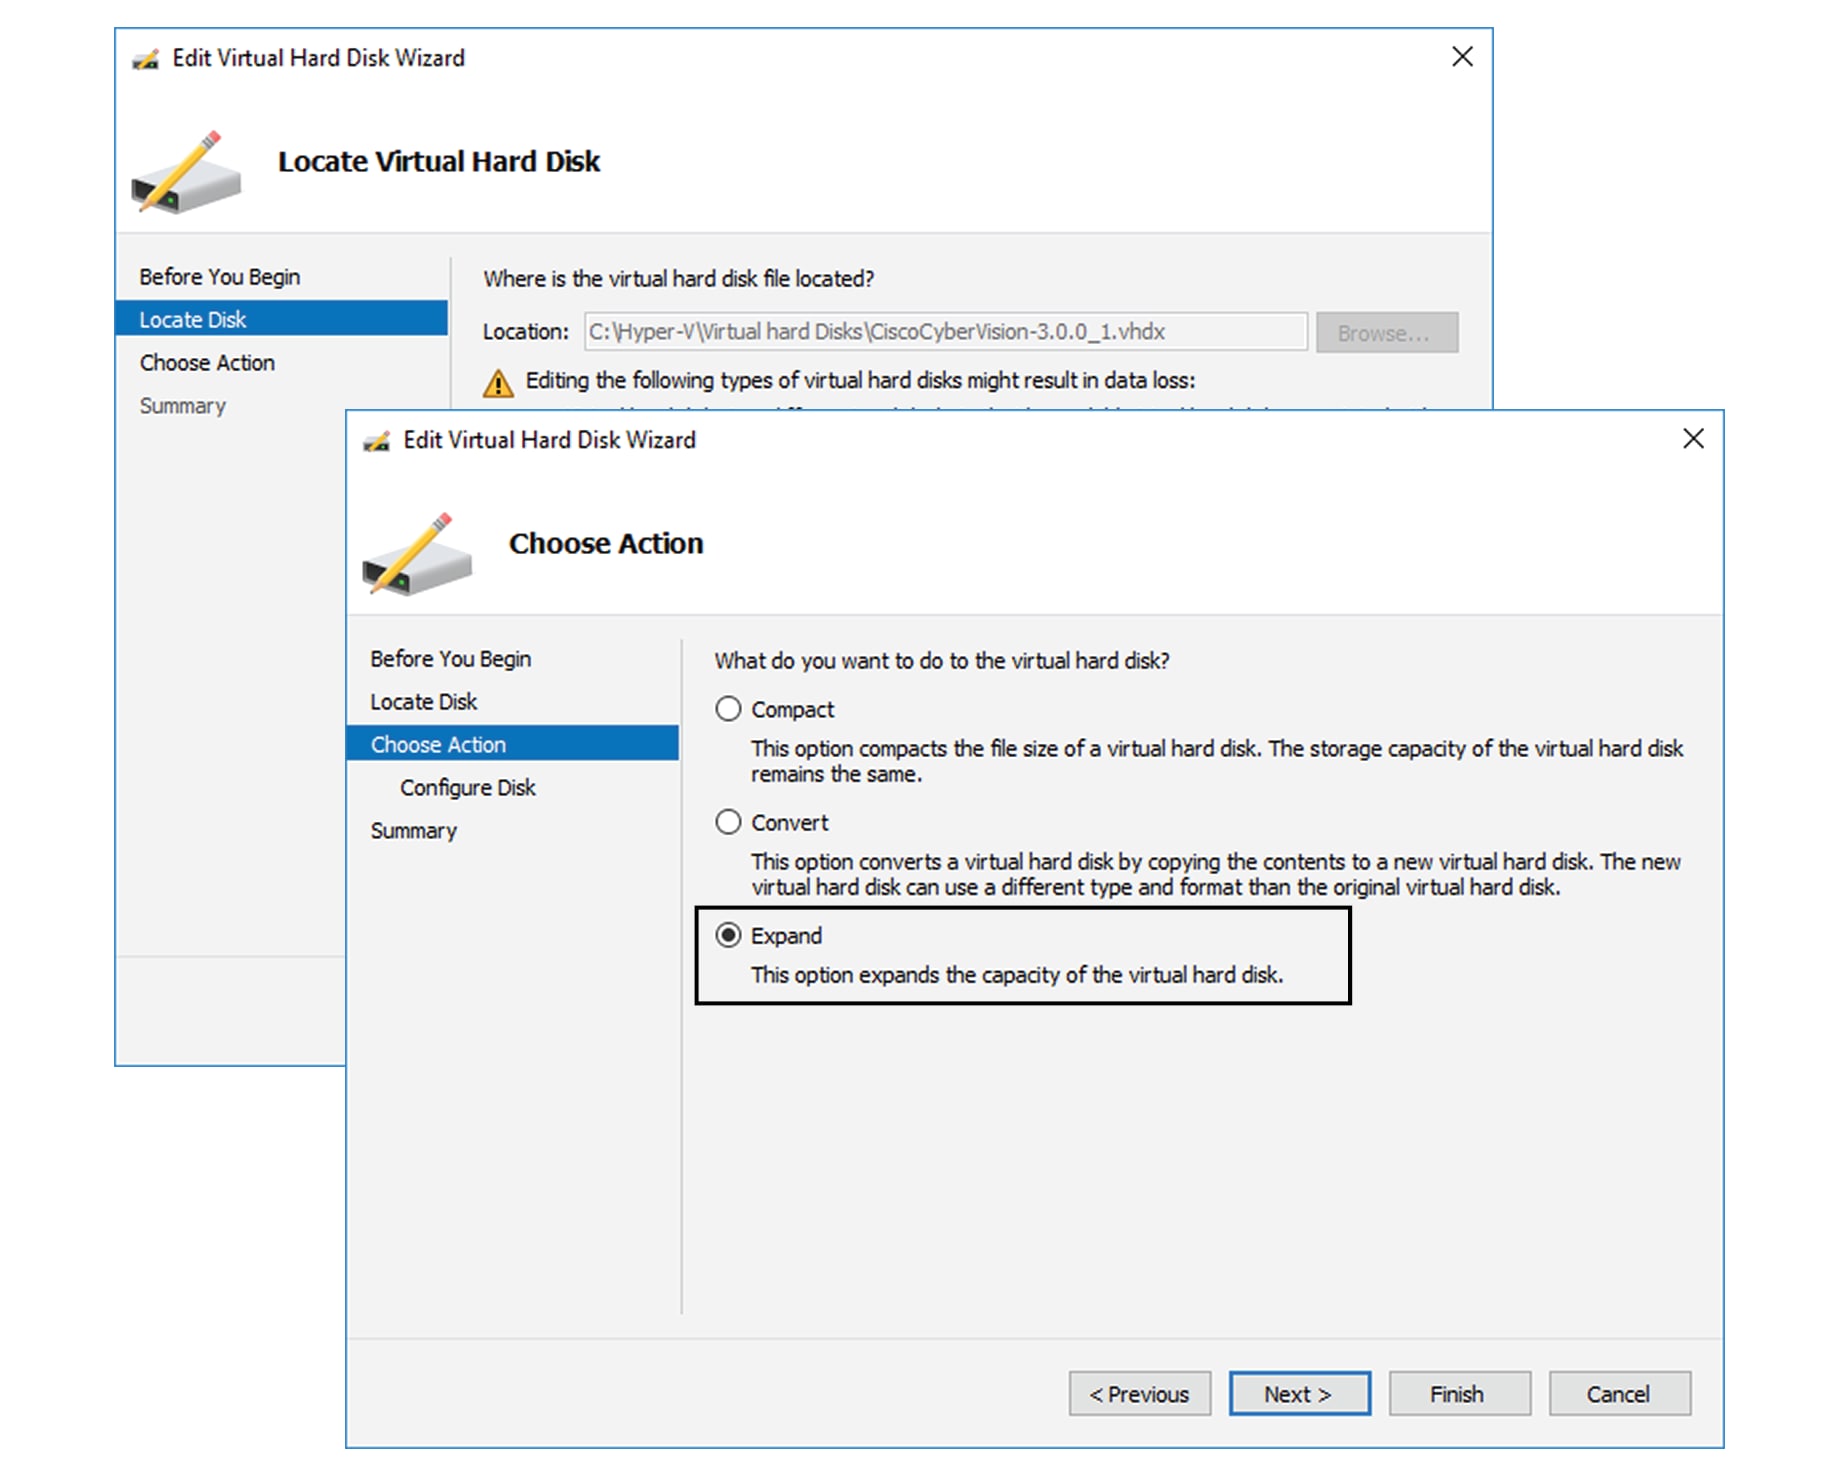
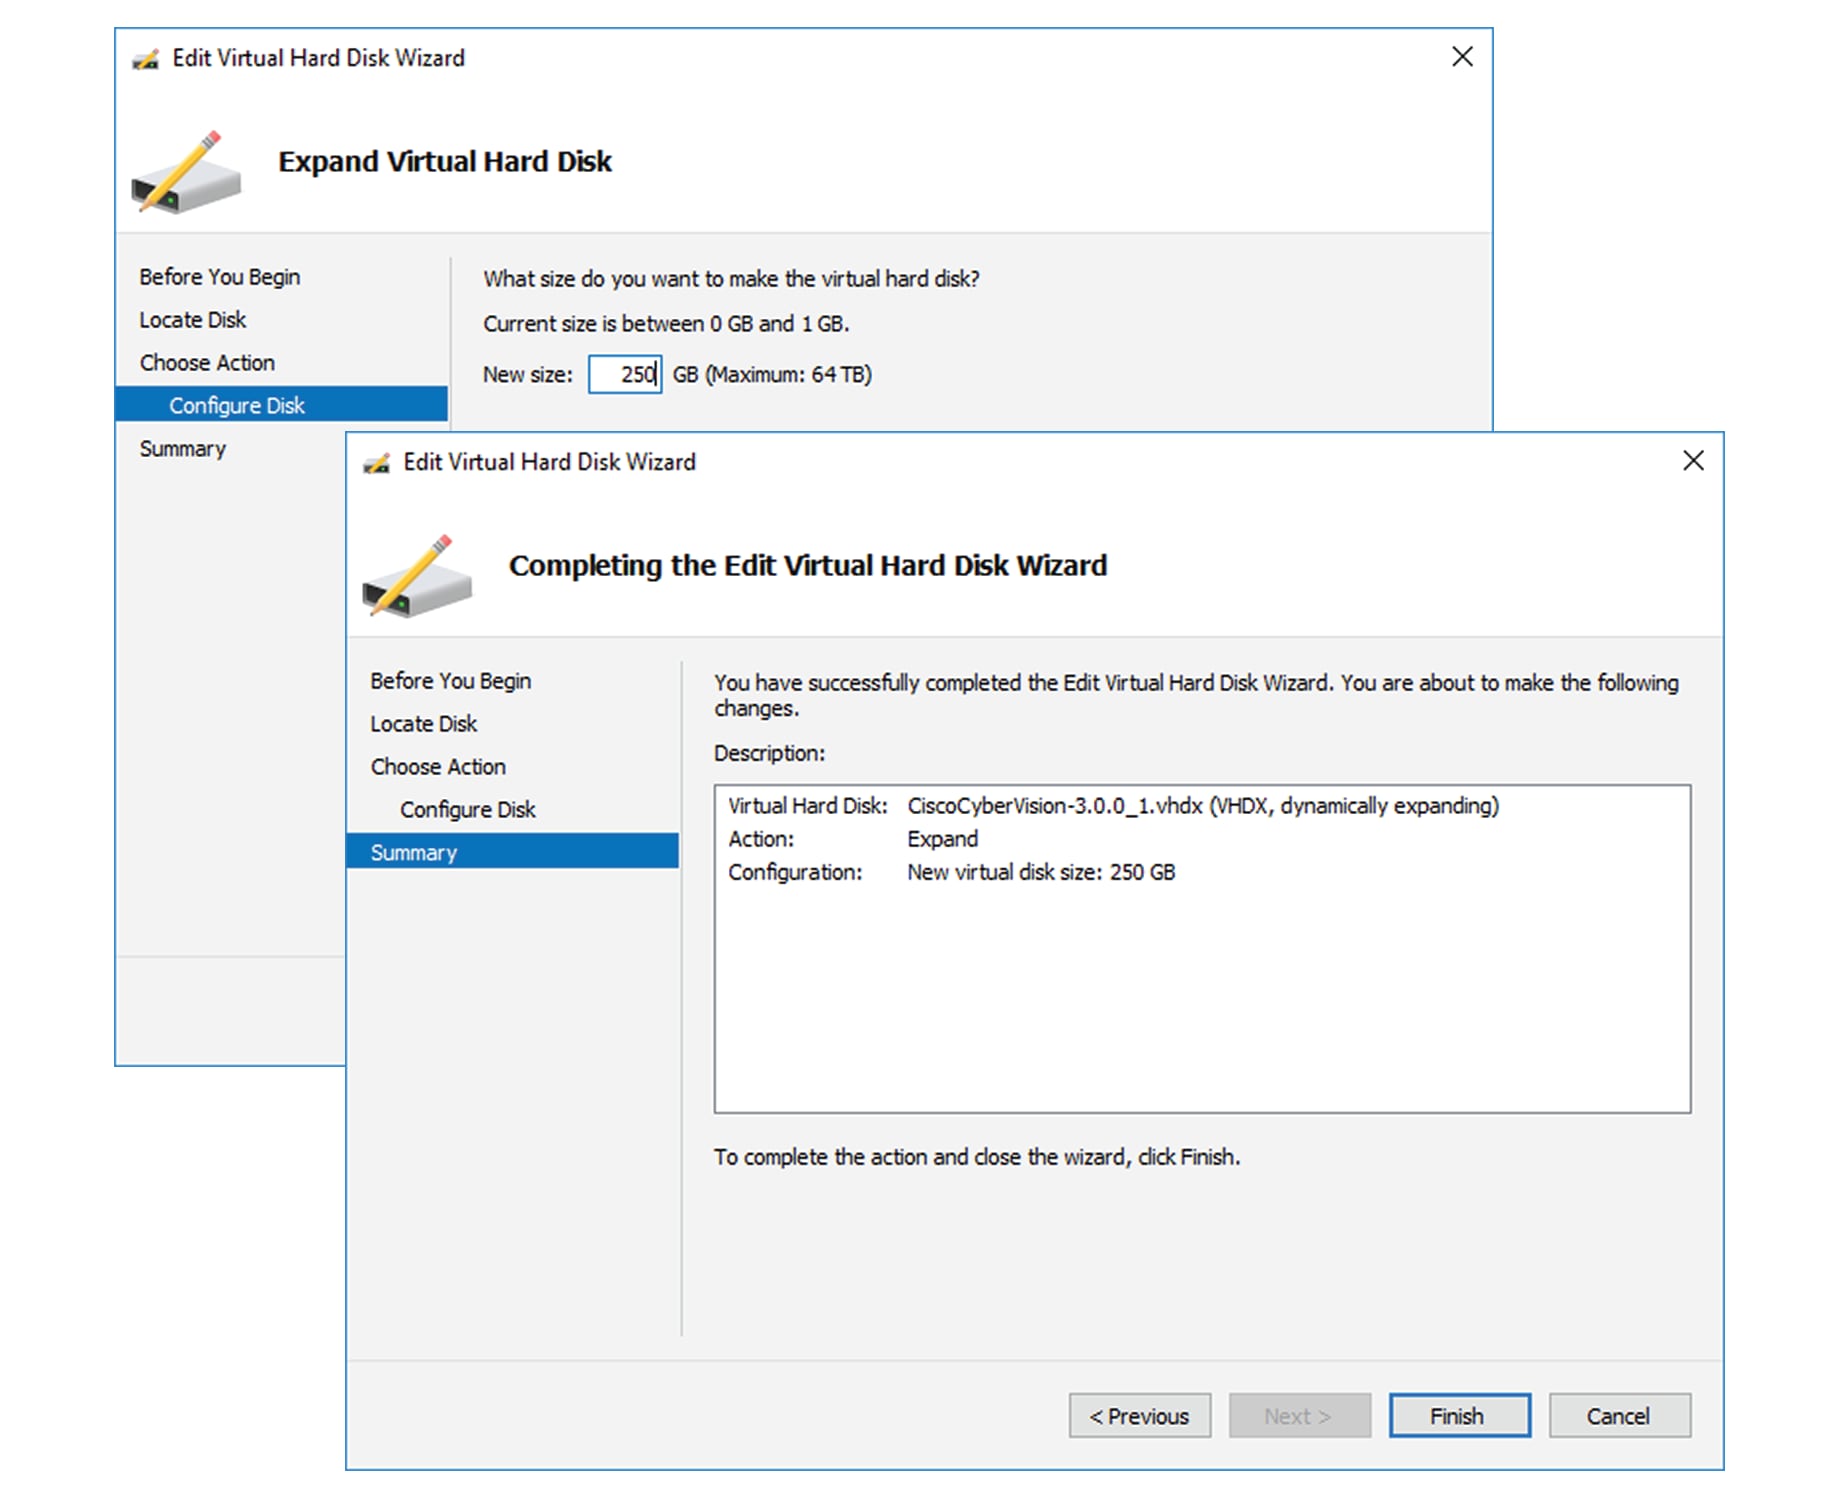
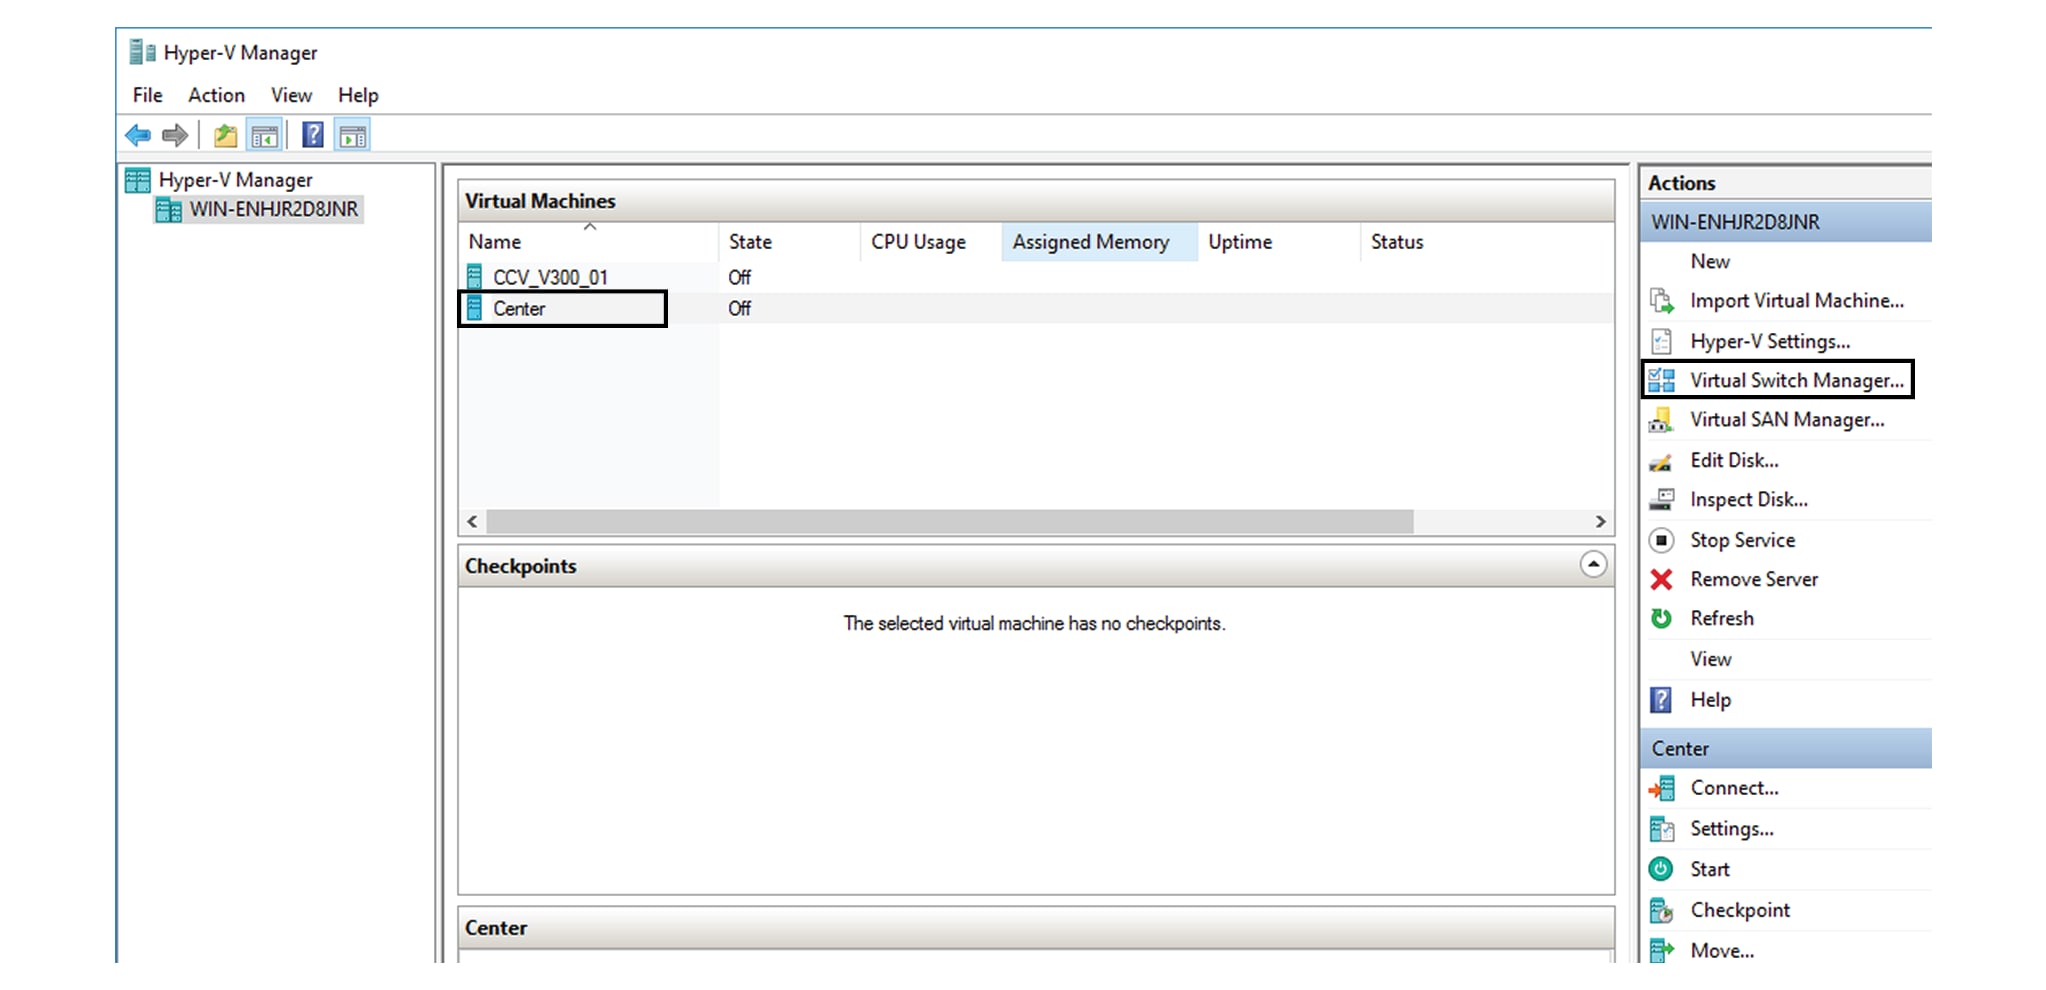
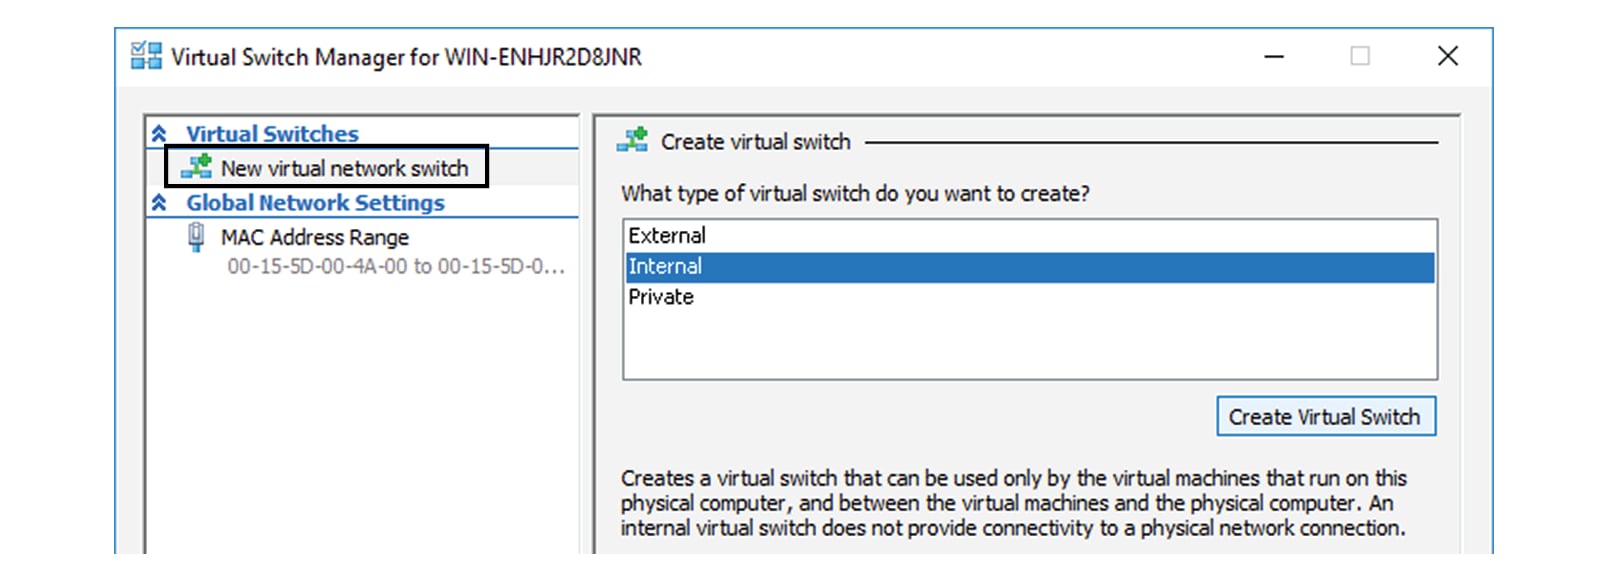
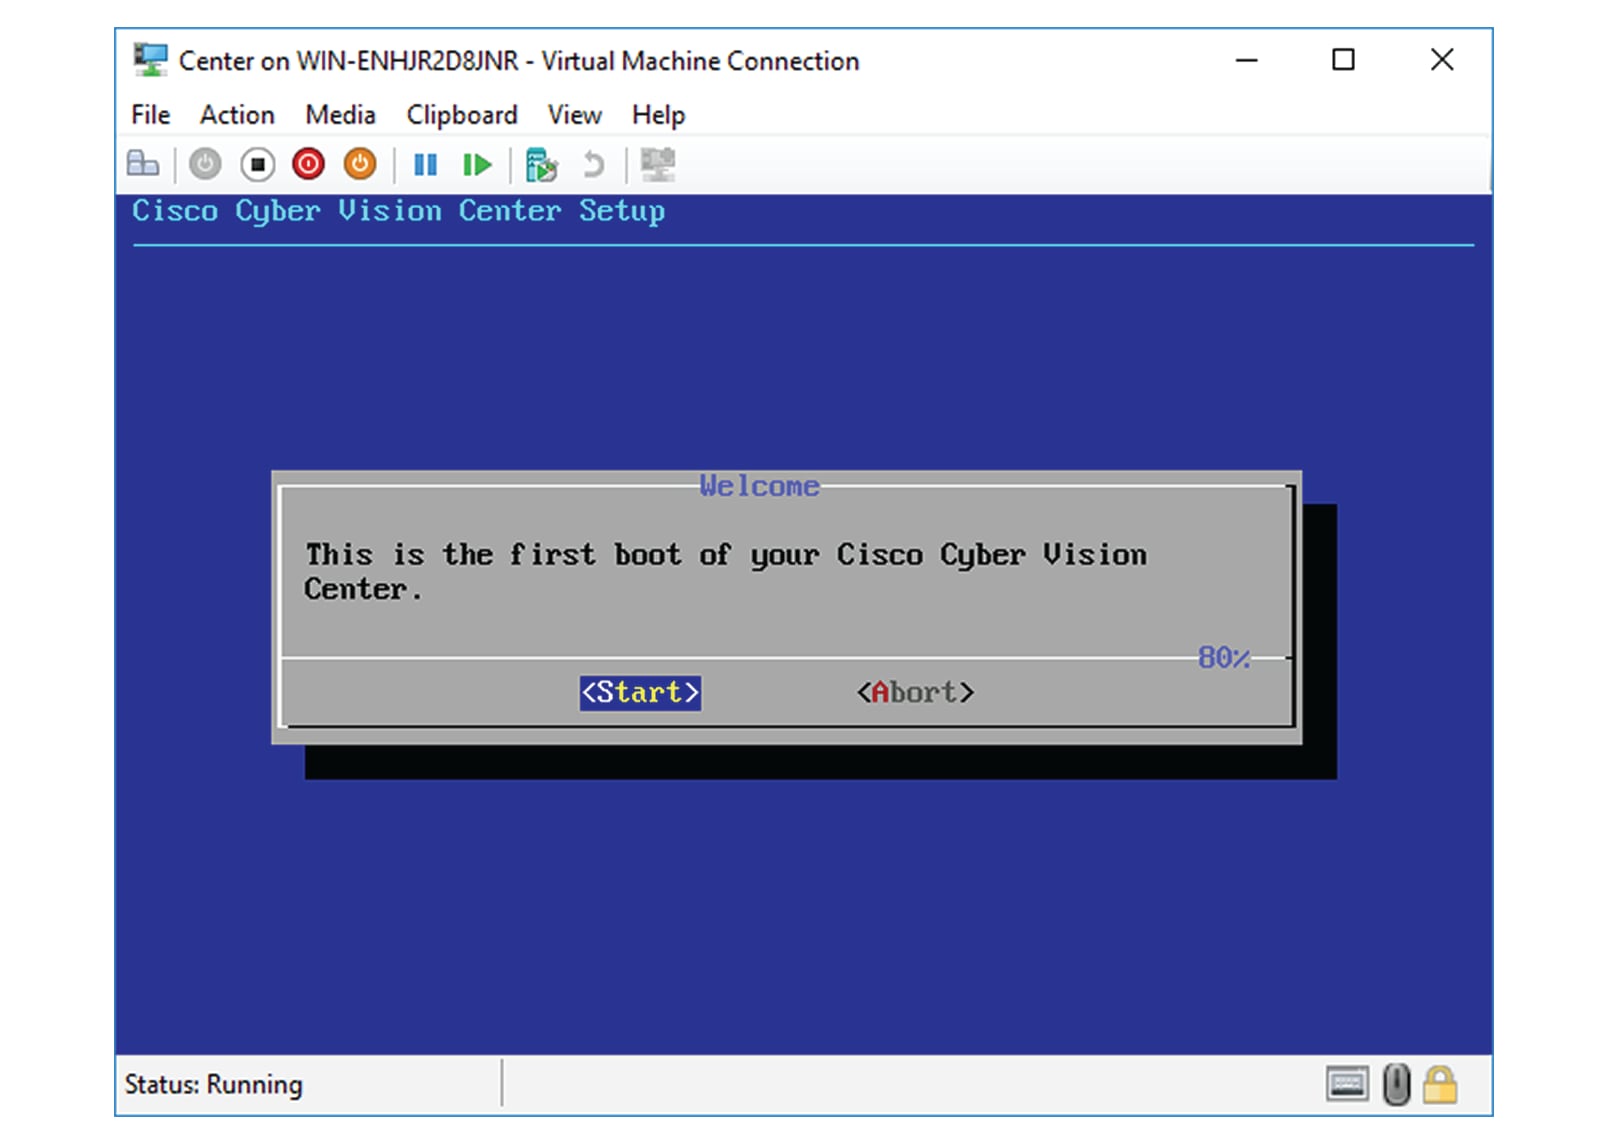
Retrieve the installation file
Before starting the VM installation, you must retrieve the virtual machine installation ova file.
To retrieve the virtual machine installation file:
Procedure
|
Step 1 |
Access Software Download platform. |
|
Step 2 |
Download the latest OVA file for your hypervisor. OVA files with the DPI option are also available. To verify that the file you just downloaded is healthy, it is recommended to use the SHA512 checksum provided by . To do so (Windows users): |
|
Step 3 |
Access download page. |
|
Step 4 |
Download the file. |
|
Step 5 |
Open a shell prompt such as Windows Powershell and use the following command to retrieve the file checksum:  |
|
Step 6 |
In the download page, mouse over the file and copy the SHA512 checksum.  |
|
Step 7 |
Compare both checksums.
|


 Feedback