Configure Content Filtering on RV160 and RV260
Available Languages
Objective
The objective of this article is to show you how to configure and manage content filtering settings on RV160 and RV260 routers.
Introduction
The content filtering feature enables you to restrict access to certain unwanted websites. It can block access to websites based on the domain names and keywords. It is also possible to schedule when the content filtering is active. Content filtering can enhance an already secure network and promote productivity in the workplace by blocking or allowing websites at certain times.
Applicable Devices
- RV160
- RV260
Software Version
- 1.0.00.15
Configure Content Filtering
To configure and enable content filtering on the RV160/RV260, follow these steps.
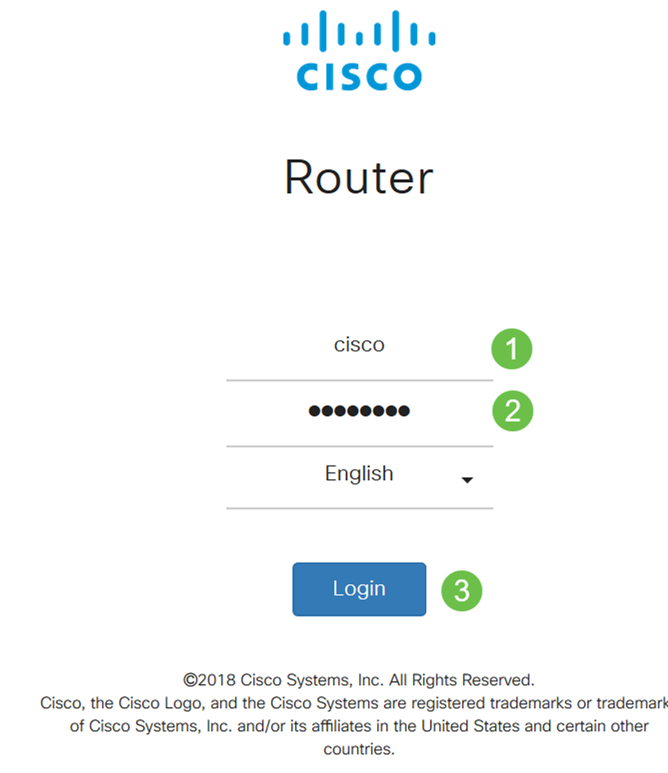
Step 1. Log in to the web configuration page of your router.
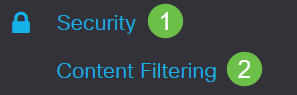
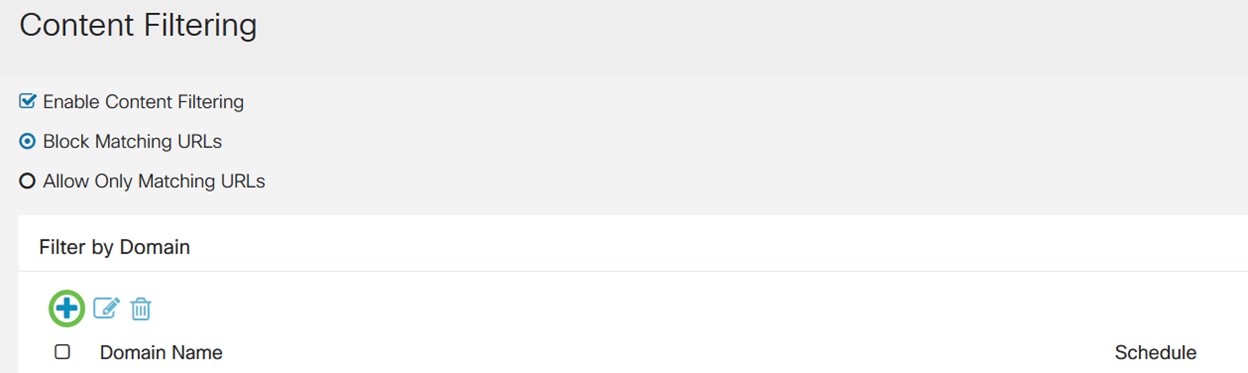
Step 2. Navigate to Security > Content Filtering.
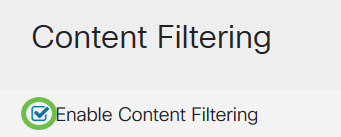
Step 3. Check Enable Content Filtering to enable.
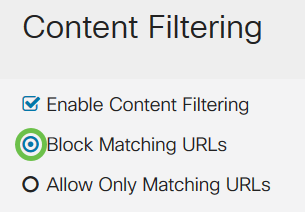
Step 4. Select one of the following options:
- Block Matching URLs - Check Block Matching URLs to block specific domains and keywords
- Allow Only Matching URLs - Check Allow Only Matching URLs to allow only the specified domains and keywords
In this example, Block Matching URLs is selected.
Step 5. Under Filter by Domain, click Add.
Step 6. Enter the domain to filter or allow in the Domain Name column.
In this example, www.internetbadguys.com is entered as the domain name.
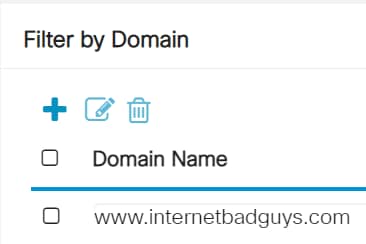
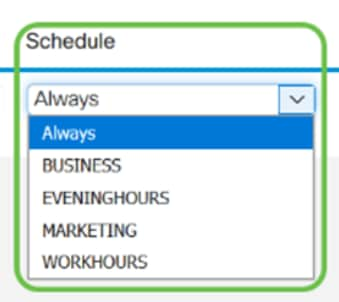
Step 7. To specify when the content filtering rules are active, select the schedule from the Schedule drop down list.
In this example, the schedule chosen is Always.

Step 8. Under Filter by Keyword, click Add.
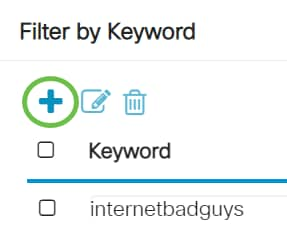
Step 9. Enter the keywords to be blocked or allowed in the Keyword name column.
In this example, Facebook is entered as the keyword.
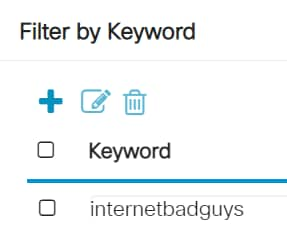
Step 10. To specify when the content
filtering rules are active, select the schedule from the Schedule drop down
list.
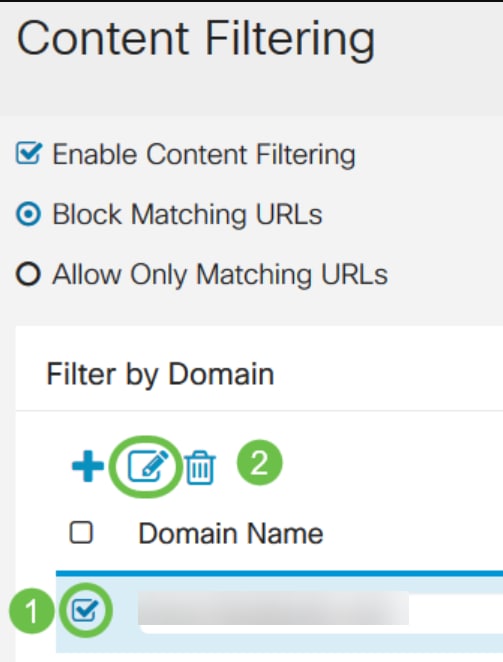
Step 11. You can modify an existing Domain Name or Keyword name by selecting the name and clicking Edit.
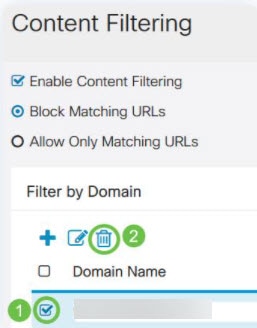
Step 12. You can delete an existing Domain Name or Keyword name by selecting the name and clicking Delete.
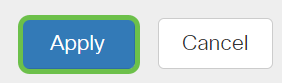
Step 13. Click Apply.
You should now have successfully enabled and configured content filtering on your RV160/ RV260 router.
 Feedback