Introduction
This document describes SAML Authentication with Azure Identity Provider for multiple tunnel groups on Cisco ASA.
Prerequisites
Requirements
Cisco recommends knowledge of these topics:
- Adaptive Security Appliance (ASA)
- Security Assertion Markup Language (SAML)
- Secure Socket Layer (SSL) Certificates
- Microsoft Azure
Components Used
The information in this document is based on these software and hardware versions:
- ASA 9.22(1)1
- Microsoft Azure Entra ID with SAML 2.0
- Cisco Secure Client 5.1.7.80
The information in this document was created from the devices in a specific lab environment. All of the devices used in this document started with a cleared (default) configuration. If your network is live, ensure that you understand the potential impact of any command.
Background Information
Microsoft Azure can support multiple applications for the same entity ID. Each application (mapped to a different tunnel group) requires a unique certificate. On ASA, multiple tunnel-groups can be configured to use different Override Identity Provider (IdP) protected applications because of the IdP Certificate Feature. This feature allows administrators to override the primary IdP certificate in the Single Sign-On (SSO) Server object with a specific IdP certificate for each tunnel group. This feature was introduced on ASA from 9.17.1 version onward.
SAML SP-Initiated SSO
When the end user initiates login by accessing the ASA, sign-on behavior proceeds as:
1. When the VPN user accesses or chooses a SAML enabled tunnel group, the end user is redirected to the SAML IdP for authentication. The user is prompted unless the user access the group-url directly, in which case the redirect is silent.
2. The ASA generates a SAML Authentication Request, which the browser redirects to the SAML IdP.
3. The IdP challenges the end user for credential and the end user logs in. The entered credentials must satisfy the IdP authentication configuration.
4. The IdP Response is sent back to the browser and posted to the ASA sign-in URL. The ASA verifies the response to complete the login.
Configurations
Add Cisco Secure Firewall - Secure Client from the Gallery
In this example, Microsoft Entra SSO integration with Cisco Secure Firewall - Secure Client on Azure is added for two tunnel groups configured on ASA:
In order to configure the integration of Cisco Secure Firewall - Secure Client into Microsoft Entra ID, you need to add Cisco Secure Firewall - Secure Client from the gallery to your list of managed SaaS apps.

Note: These steps are for adding Cisco Secure Firewall - Secure Client to the gallery for the first tunnel group, SAML1.
Step 1. Log in to Azure Portal and choose Microsoft Entra ID.
 Microsoft Entra ID
Step 2. As shown in this image, choose Enterprise Applications.
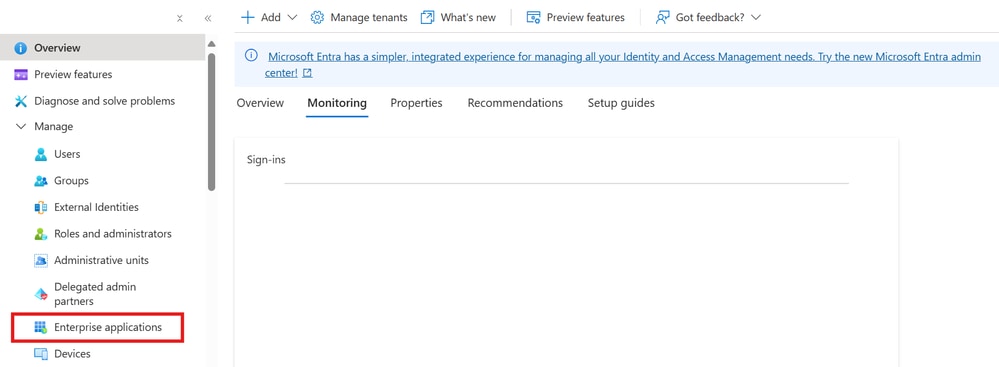 Enterprise Application
Step 3. Now, choose New Application, as shown in this image.
 New Application
Step 4. In the Add from the gallery section, type Cisco Secure Firewall - Secure Client in the search box, choose Cisco Secure Firewall - Secure Client from the results panel, and then add the app.
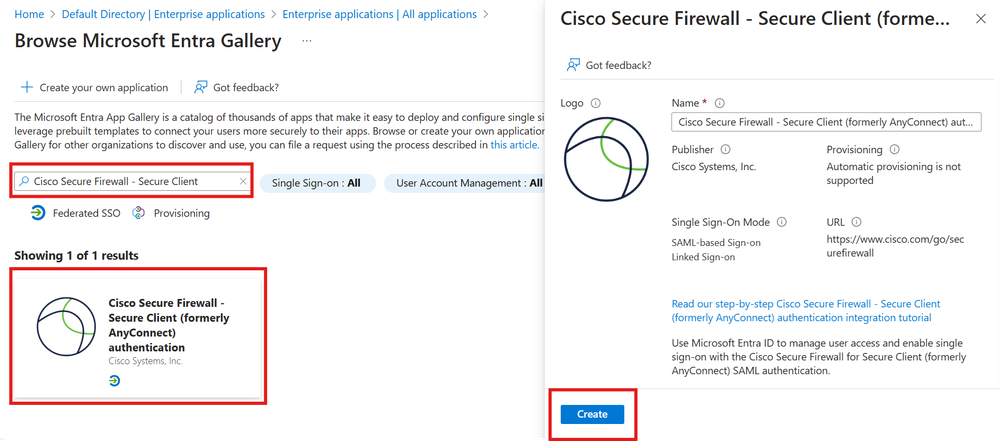 Cisco Secure Firewall - Secure Client
Step 5. Choose Single Sign-on menu item, as shown in this image.
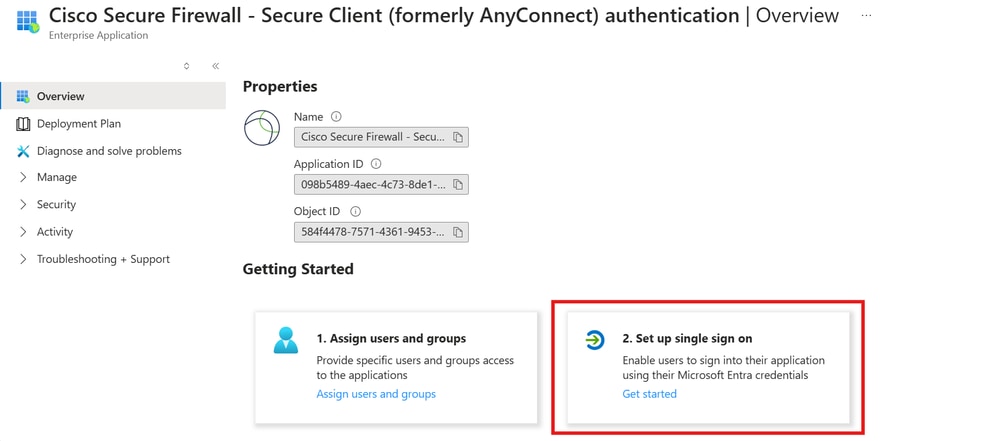 Set Up Single Sign On
Step 6. On theSelect a single sign-on methodpage, chooseSAML.
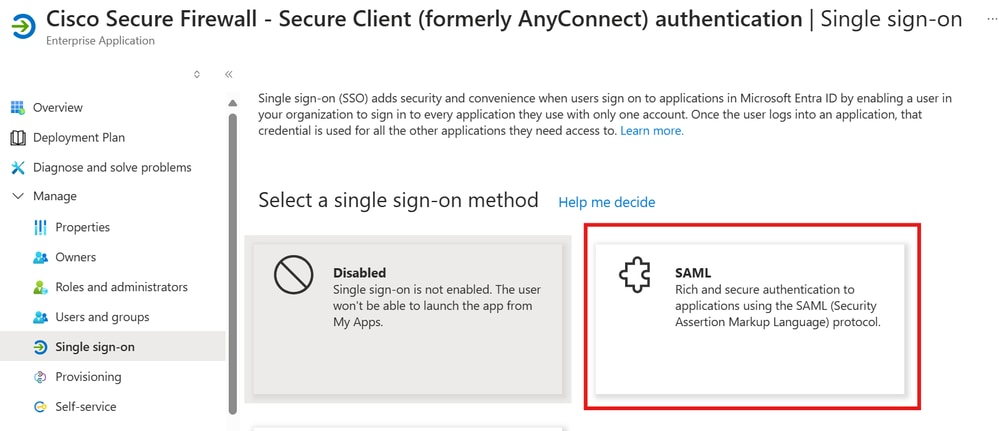 SAML
SAML
Step 7. On the Set up single sign-on with SAML page, click the edit/pen icon for Basic SAML Configuration in order to edit the settings.
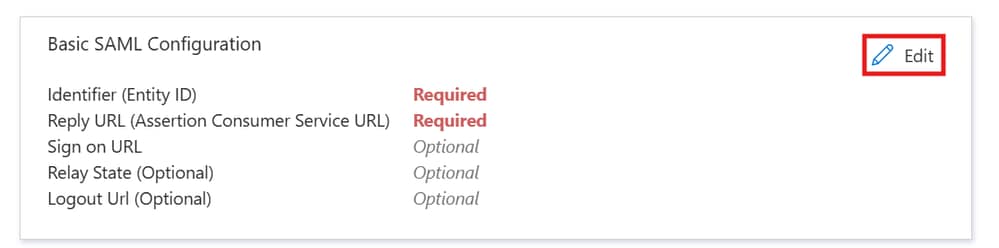 Basic Saml Configuration
Step 8. On the Set up single sign-on with SAML page, enter the values for these fields:
a. In theIdentifiertext box, type a URL using this pattern:
https://<VPN URL>/saml/sp/metadata/<Tunnel_Group_Name>
b. In theReply URL text box, type a URL using this pattern:
https://<VPN URL>/+CSCOE+/saml/sp/acs?tgname=<Tunnel_Group_Name> [Tunnel_Group_Name = SAML1]
Note: Tunnel_Group_Name is case-sensitive and the value must not contain dots '.' and slashes '/'.
Step 9. On the Set up single sign-on with SAML page, in the SAML Signing Certificate section, find Certificate (Base64) and choose Download in order to download the certificate file and save it on your computer.
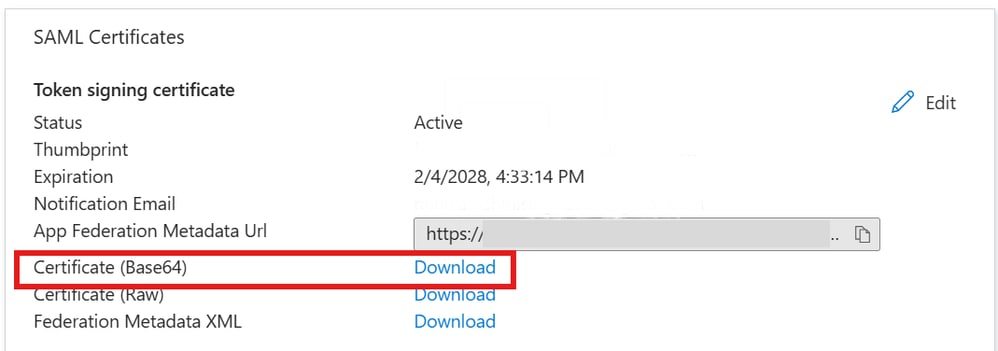 Certificate(Base64) Download
Note: This downloaded certificate is imported into the ASA trustpoint AzureAD-AC-SAML1. Refer to the ASA Configuration section for more details.
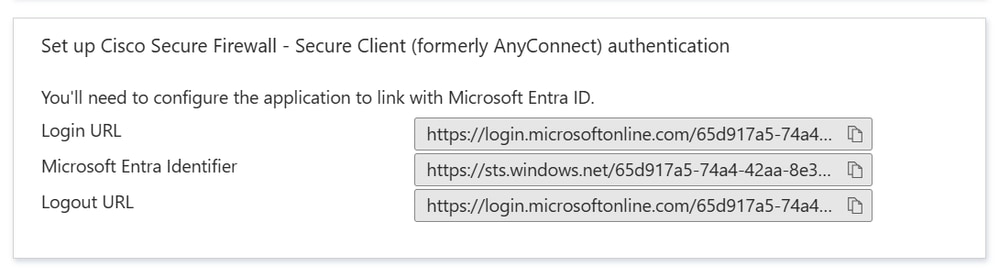
Step 10. On the Set up Cisco Secure Firewall - Secure Client section, copy the appropriate URL(s) based on your requirement. These URL(s) is used to configure SSO Server object on ASA.
- Microsoft Entra Identifier - This is the SAML idp in the VPN configuration.
- Login URL - This is the URL sign-in.
- Logout URL - This is the URL sign-out.
 SSO URL
Note: Repeat the earlier configuration steps in order to add Cisco Secure Firewall - Secure Client app from the gallery for second tunnel group. The second tunnel group name in this case is SAML2.
Note: While adding the Cisco Secure Firewall - Secure Client app for the second tunnel group (SAML 2), the azure certificate downloaded in Step 8. is imported into the ASA trustpoint AzureAD-AC-SAML2.
Assign Azure AD Users to the App
In this section, Test1 and Test2 is enabled to use Azure SSO, as you grant access to the Cisco Secure Client app.
For First IdP Application:
Step 1. In the first IdP application overview page, choose Users and groups, and then Add user.
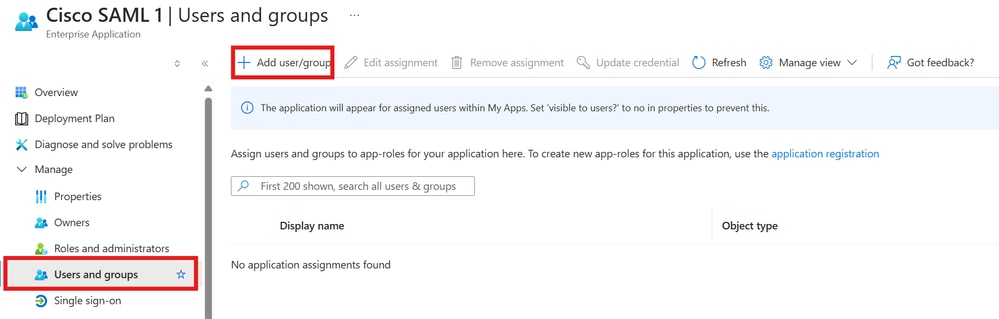 User and Groups
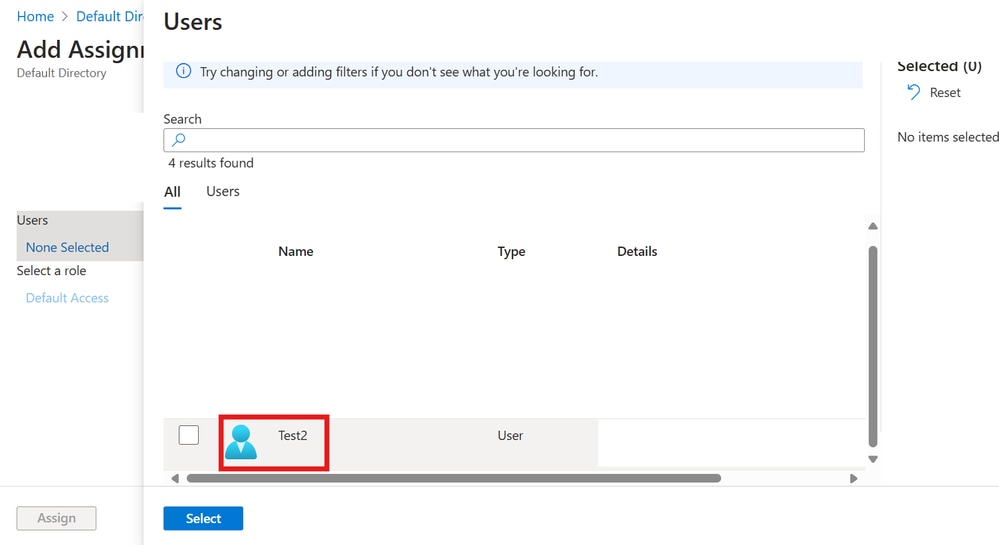
Step 2. Choose Users or groups in the Add Assignment dialog.
 Add Assignment 1
Step 3. In the Add Assignment dialog, click the Assign button.
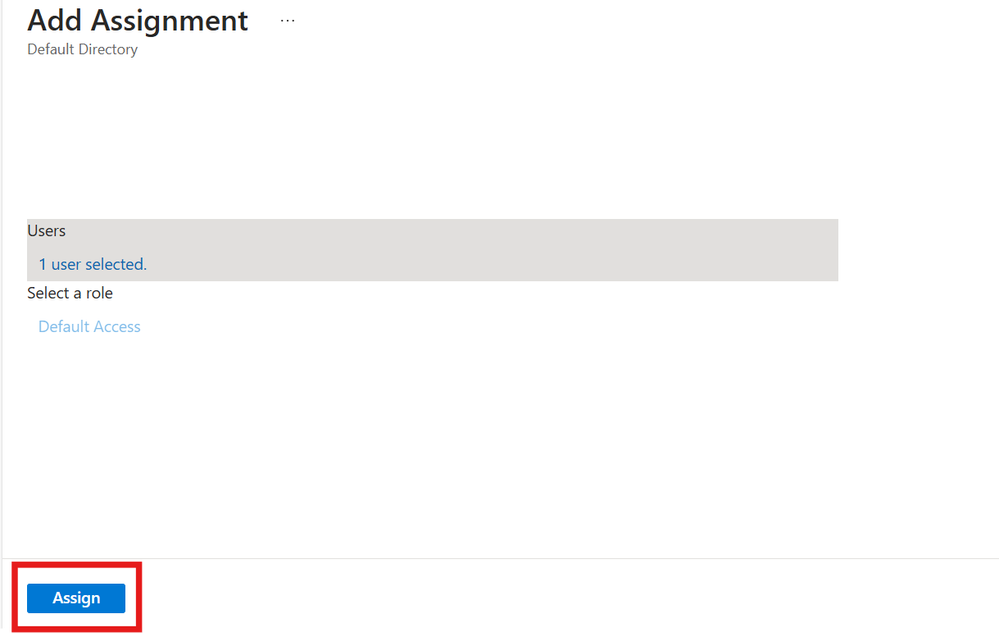 Test1 User Assign
For Second IdP Application:
Repeat the earlier steps for Second Idp Application as show in these images.
 Add Assignment 2
 Test2 User Assign
Test1 User Assignment:
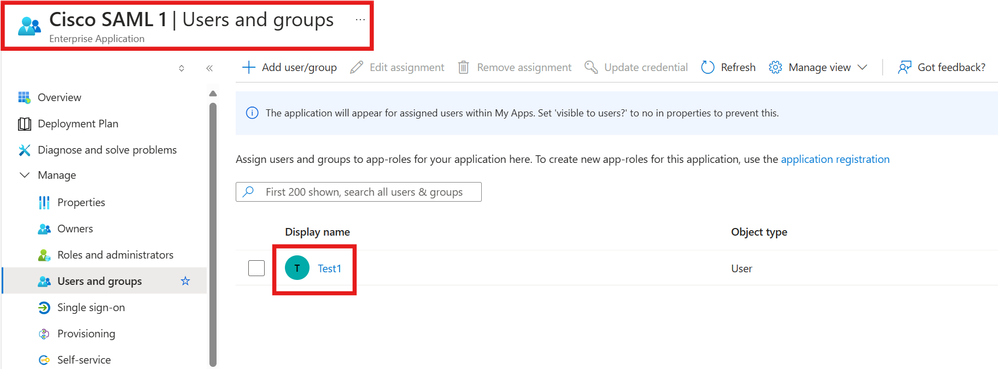 Test 1 User Assignment
Test2 User Assignment:
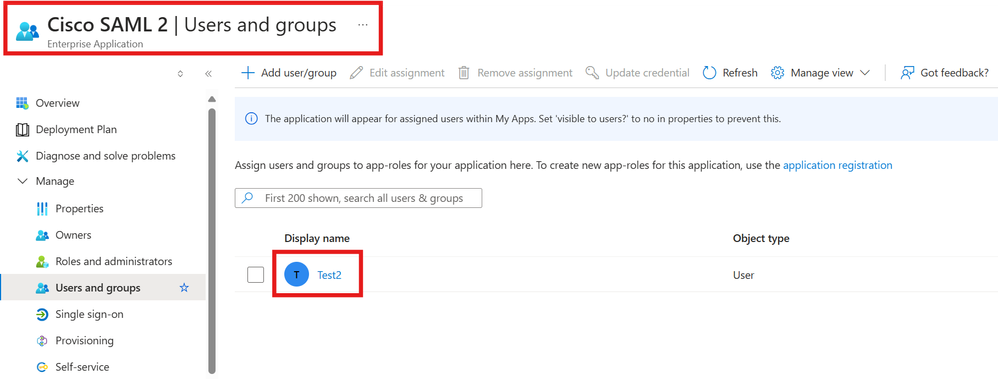 Test 2 User Assignment
ASA Configuration via CLI
Step 1. Create Trustpoints and Import SAML Certificates.
Configure two Trustpoints and import the respective SAML certificates for each tunnel group.
config t

 crypto ca trustpoint AzureAD-AC-SAML1
   revocation-check none
   no id-usage
   enrollment terminal
   no ca-check
 crypto ca authenticate AzureAD-AC-SAML1
 -----BEGIN CERTIFICATE-----
 …
 PEM Certificate Text you downloaded from AzureAD goes here
 …
 -----END CERTIFICATE-----
 quit

!
!

crypto ca trustpoint AzureAD-AC-SAML2
   revocation-check none
   no id-usage
   enrollment terminal
   no ca-check
 crypto ca authenticate AzureAD-AC-SAML2
 -----BEGIN CERTIFICATE-----
 …
 PEM Certificate Text you downloaded from AzureAD goes here
 …
 -----END CERTIFICATE-----
 quit
Step 2. Configure the SAML IdP.
Use these commands to provision the SAML IdP settings.
webvpn

 saml idp https://xxx.windows.net/xxxxxxxxxxxxx/ - [Azure AD Identifier]
 url sign-in https://login.microsoftonline.com/xxxxxxxxxxxxxxxxxxxxxx/saml2 - [Login URL]
 url sign-out https://login.microsoftonline.com/xxxxxxxxxxxxxxxxxxxxxx/saml2  – [Logout URL]
 trustpoint idp AzureAD-AC-SAML1 - [IdP Trustpoint]
 trustpoint sp ASA-EXTERNAL-CERT - [SP Trustpoint]
 no force re-authentication
 no signature
 base-url https://asa.example.com
Step3. Apply SAML Authentication to the first VPN Tunnel Group.
Configure the SAML1 tunnel group with AzureAD-AC-SAML1 IdP trustpoint.
tunnel-group SAML1 webvpn-attributes
authentication saml
group-alias SAML1 enable
saml identity-provider https://xxx.windows.net/xxxxxxxxxxxxx/
saml idp-trustpoint AzureAD-AC-SAML1 <---- Overrides the primary IDP certificate in the Single Sign-On (SSO) Server object
Step 4. Apply SAML Authentication to the second VPN Tunnel Group.
Configure the SAML2 tunnel group with AzureAD-AC-SAML2 IdP trustpoint.
tunnel-group SAML2 webvpn-attributes
authentication saml
group-alias SAML2 enable
saml identity-provider https://xxx.windows.net/xxxxxxxxxxxxx/
saml idp-trustpoint AzureAD-AC-SAML2 <---- Overrides the primary IDP certificate in the Single Sign-On (SSO) Server object
Step 5: Save the Configuration.
write memory
Note: If you make changes to the IdP configuration, you need to remove the SAML identity-provider configuration from your Tunnel Group, and re-apply it for the changes to become effective.
Verify
Test AnyConnect with SAML Authentication.
Step 1. Connect to your VPN URL and input your log in Azure AD details.
Step 2. (Optional) Approve sign-in request.
Step 3. AnyConnect is Connected.
Troubleshoot
Most SAML troubleshoots involve a misconfiguration that can be found when the SAML configuration is checked, or debugs are run. debug webvpn saml 255 can be used to troubleshoot most issues, however, in scenarios where this debug does not provide useful information, additional debugs can be run:
debug webvpn saml 255
debug webvpn 255
debug webvpn session 255
debug webvpn request 255
Related Information
 Feedback