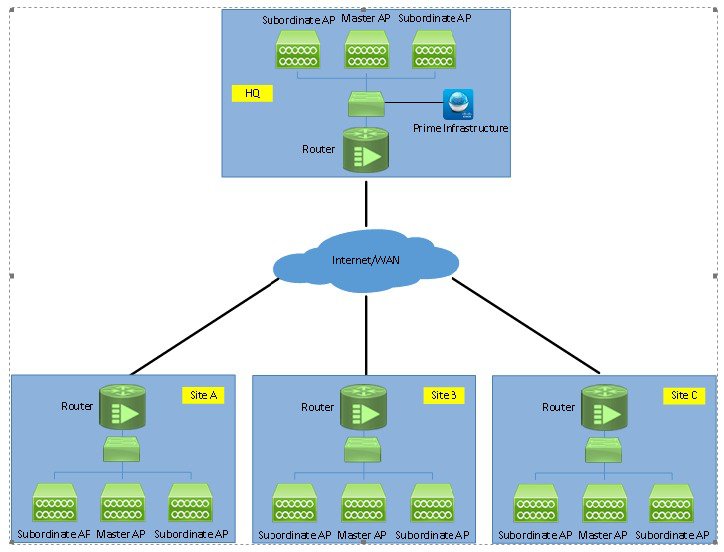
Adding Mobility Express to Prime
Perform the following steps to add the controllers:
Procedure
|
Step 1 |
Login to Cisco Prime  |
||
|
Step 2 |
Navigate to Configuration / Network / Network Devices, click on Add Device. 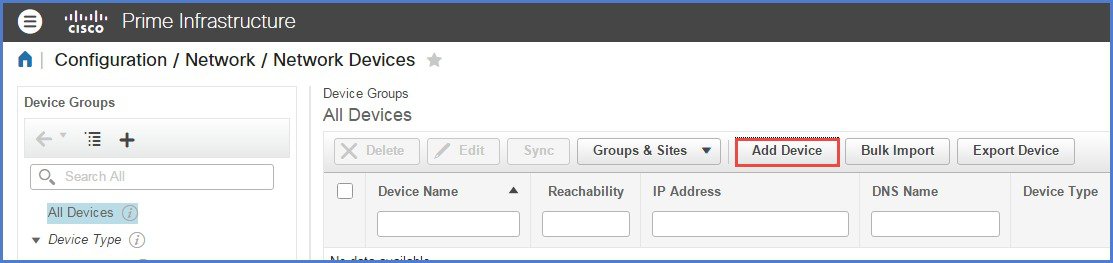 |
||
|
Step 3 |
Enter the IP address of the Mobility Express controller. 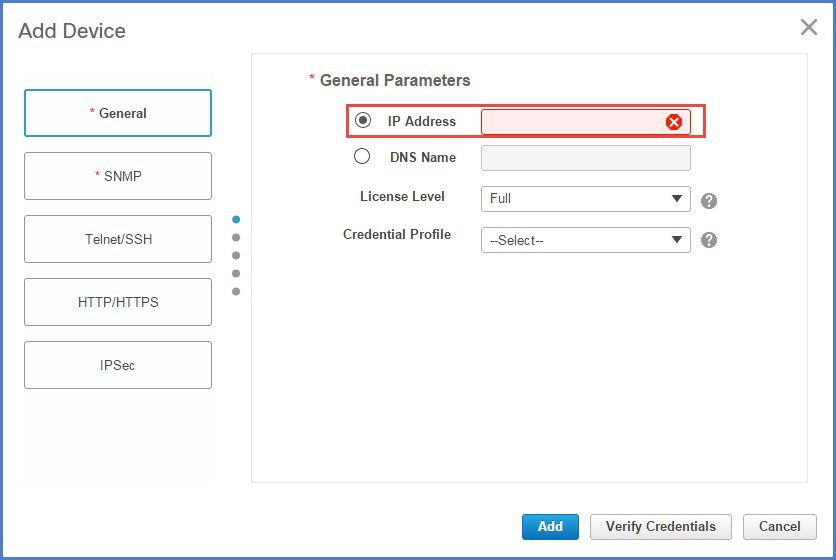 |
||
|
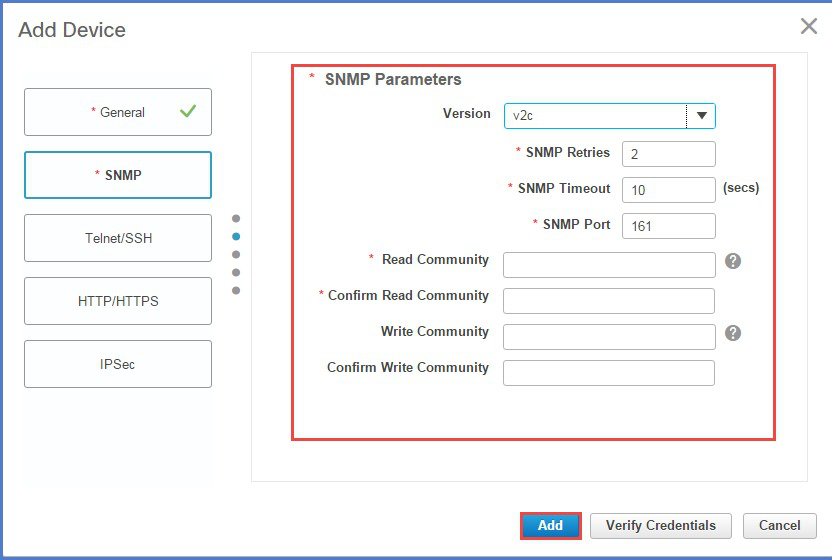
Step 4 |
Enter the SNMP Parameters and click Add.
|
||
|
Step 5 |
After the device is added, it shows up in the All Devices list. 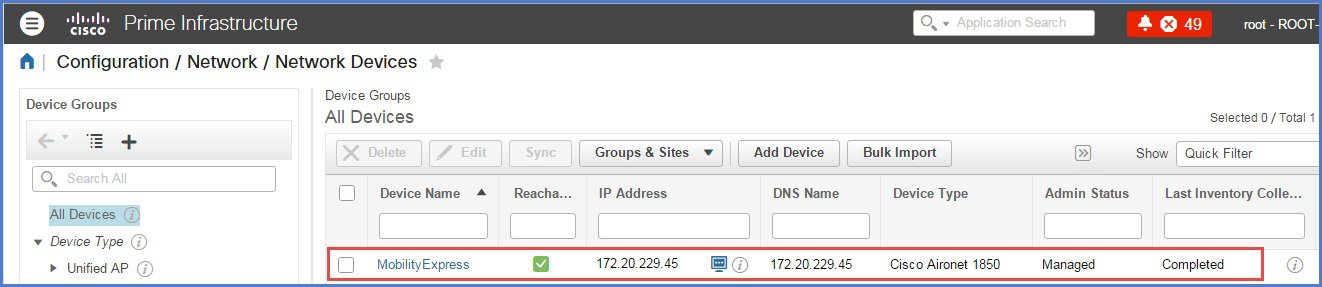 |
||
|
Step 6 |
To view the list of WLANs, navigate to Network Devices > Device Groups > Device Type > Wireless Controller and select the Mobility Express controller you added in Step 4.  |
||
|
Step 7 |
To view the list of AP, navigate to Monitor > Wireless Technologies > Access Point Radios 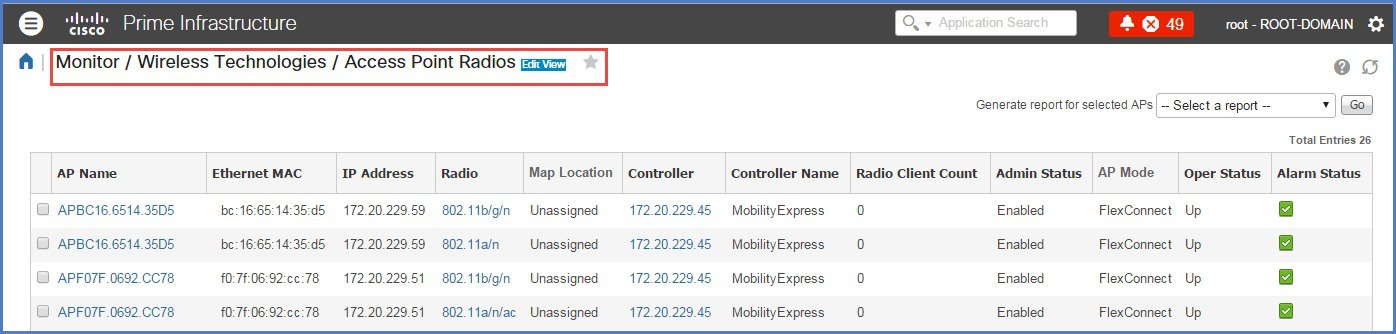 |
||
|
Step 8 |
To configure WLANS from Prime on Mobility Express, navigate to Configuration > Feature & Technologies under Template. 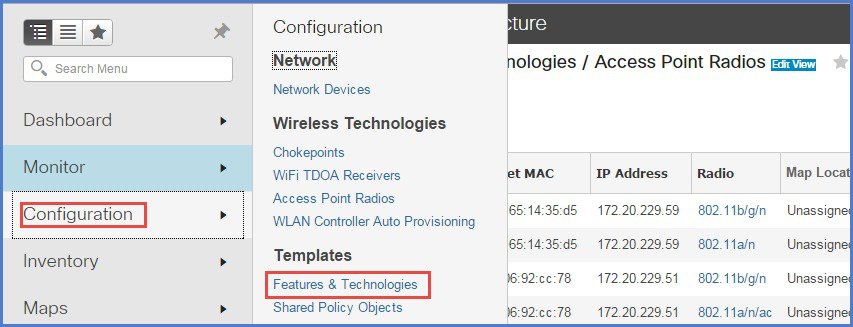 |
||
|
Step 9 |
Navigate to Controller > WLAN > WLAN Configuration. Enter the Template name and the Template Detail. 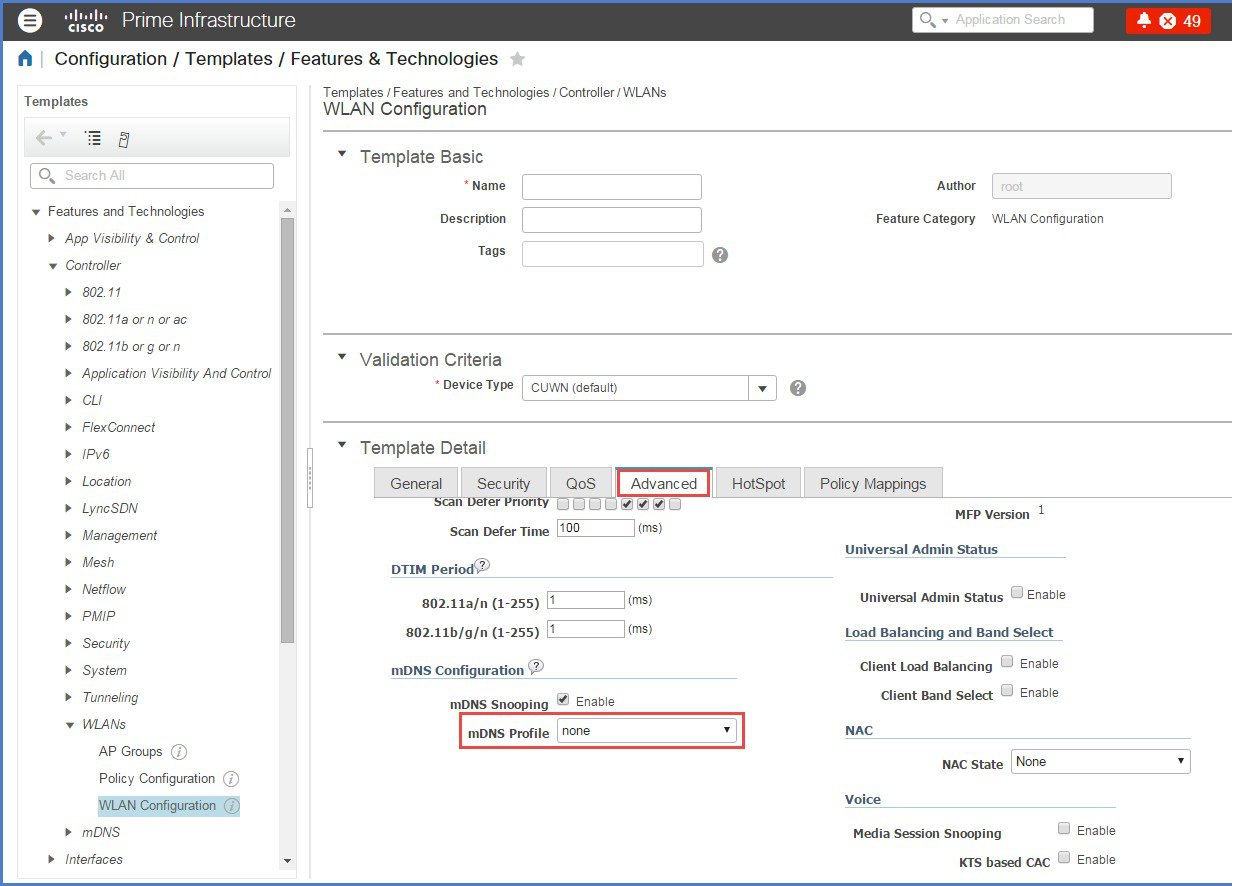 |
||
|
Step 10 |
On the Advanced Tab, make sure mDNS profile is set to none as it is not supported on Mobility Express. 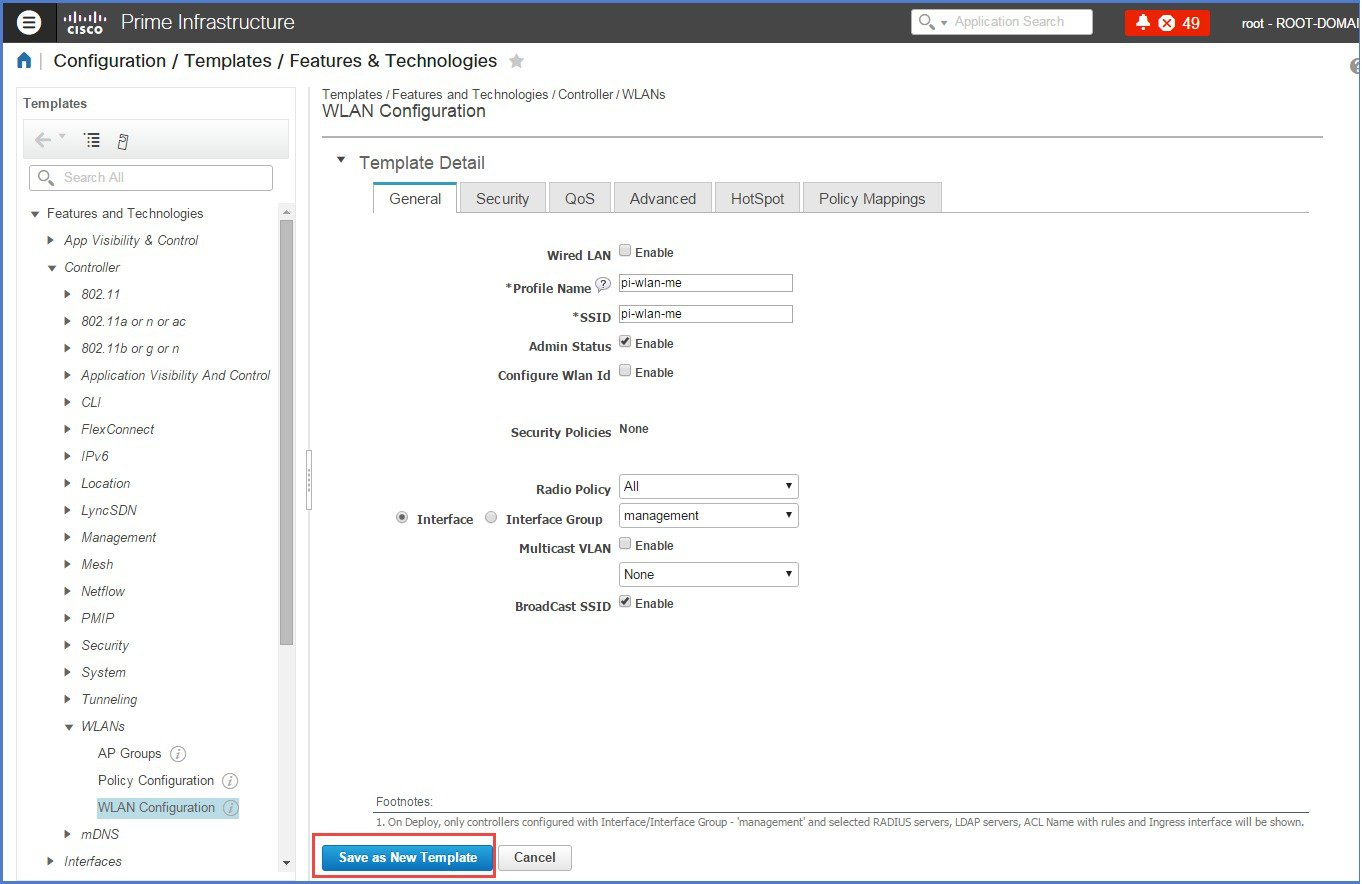 |
||
|
Step 11 |
To save the Template, click on ‘Save as New Template’ and select the folder where the teamplates need to be saved. 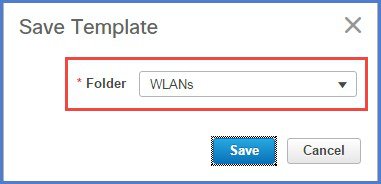 |
||
|
Step 12 |
To deploy the template to Mobility Express, click Deploy.  |
||
|
Step 13 |
Select the Cisco Mobility Express controller and click OK. 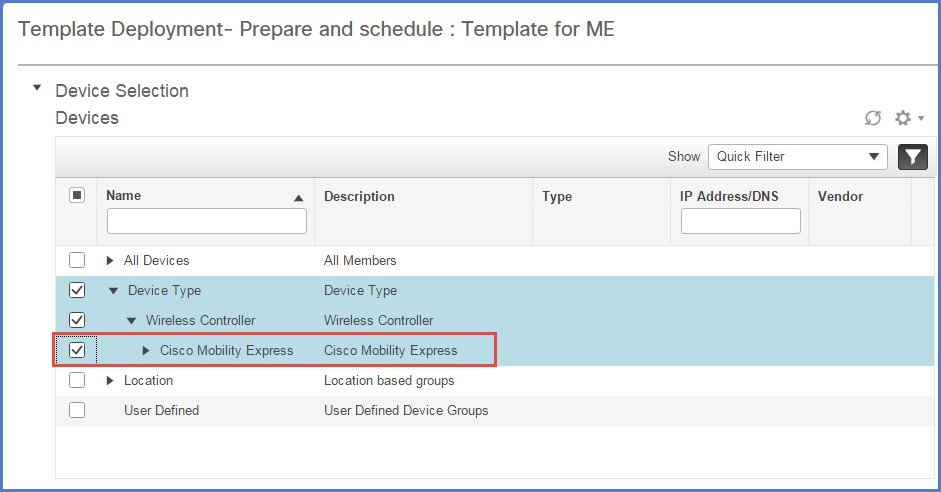 |
||
|
Step 14 |
Navigate to Job Dashboard to view the Job Status 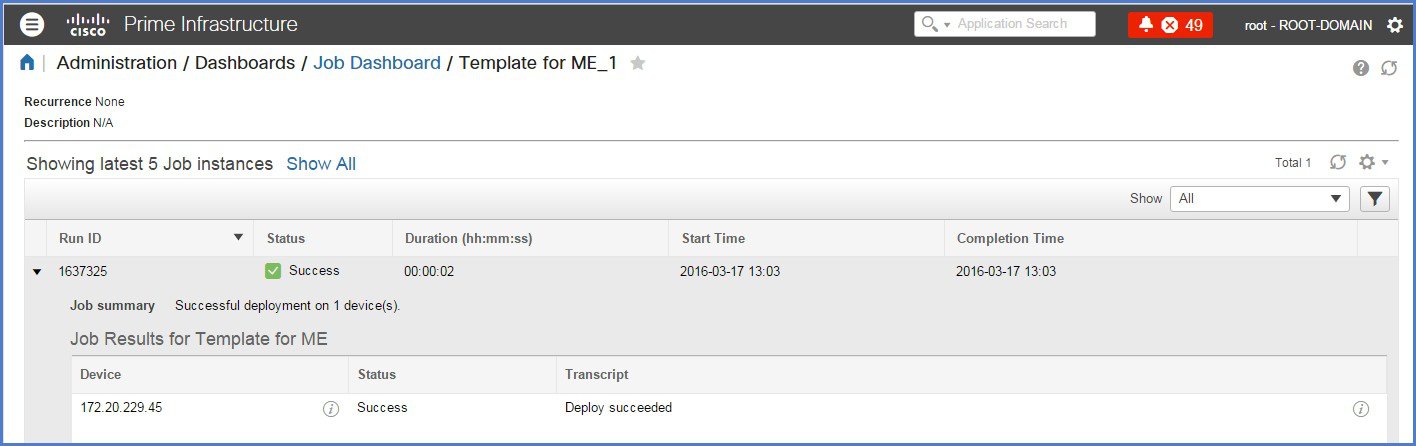 |
 Feedback