Local web authentication
Local web authentication is a network security mechanism that
-
authenticates users through a web browser login page
-
enables access control on host systems that do not run IEEE 802.1X supplicants, and
-
communicates with authentication, authorization, and accounting (AAA) servers to enforce security policies.
Feature history
|
Feature Name |
Release |
Description |
|---|---|---|
|
Built-in Captive Portal Improvement |
Cisco IOS XE 17.1.1 |
This release introduces support for special characters in the login portal banner title and banner text. The number of characters supported on the banner text has doubled to 400. The exec-character-bits command has been introduced. |
Presentation options for local web authentication web pages
Local web authentication intercepts HTTP sessions on Layer 2 interfaces, and in some cases, Layer 3 interfaces (with restrictions for some switch models). When users try to access the network, local web authentication displays a login page and verifies user credentials with AAA servers, granting or denying access accordingly.
Local web authentication is categorized by the location where its web pages are hosted.
-
Internal: Uses HTML pages (login, success, fail, and expire) stored on the controller .
-
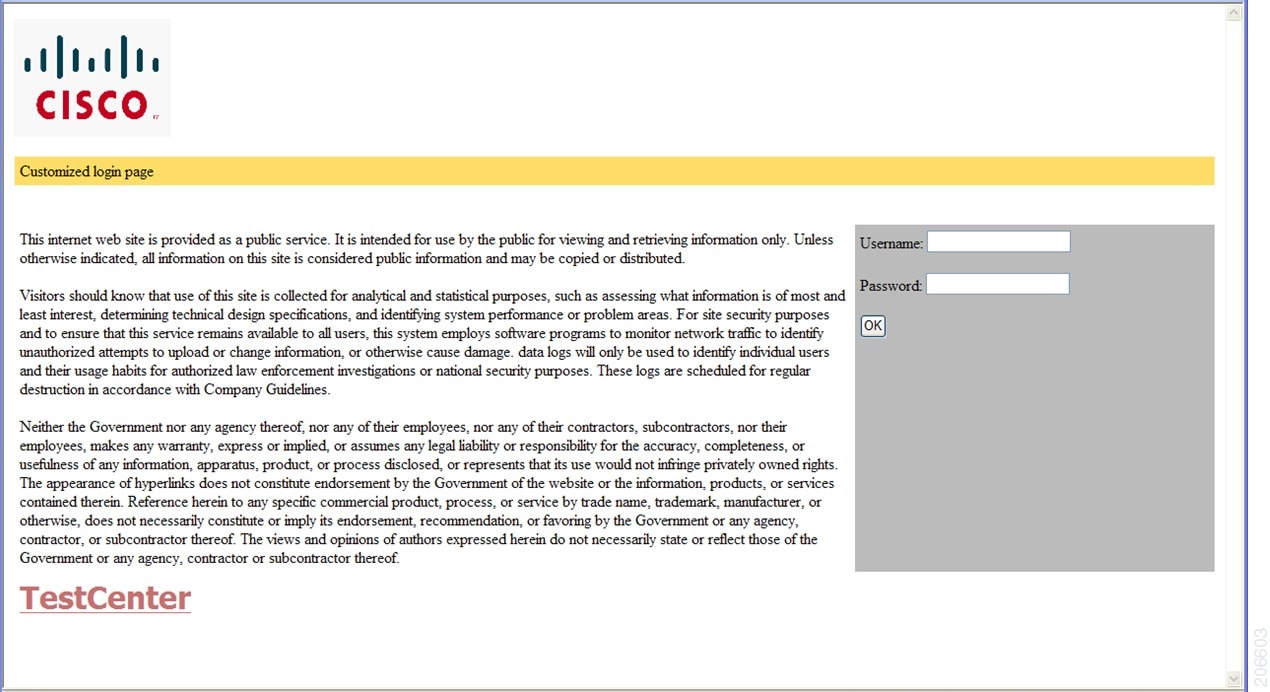
Customized: Uses customized HTML pages (login, success, fail, and expire) downloaded onto the controller for a customized user experience.
-
External: Uses HTML pages hosted on an external web server.
<body onload="loadAction();">Web authentication modes
The types of web authentication differ according to the available web authentication pages.
-
Webauth—The controller displays a page with the user name and password. Users enter valid credentials to gain network access.
-
Consent or web-passthrough—The controller presents a policy page with the Accept and Deny buttons. Users simply click Accept to access the network – no credentials are required.
-
Webconsent—This mode combines the features of Webauth and Consent. The controller displays a policy page with Accept or Deny buttons along with user name or password. Users must enter the correct credentials and click Accept to access the network.
Additional reference information
-
You can view the webauth parameter-map information using the show running-config command.
-
If you see tracebacks during client authentication, performance and behavior are not affected. Tracebacks may occur if Flexible Forwarding Mode (FFM) replies to Endpoint Profiler Module (EPM) for ACL application after the session is dequeued, usually because a timer expired or the session became unauthorized.
-
Apply web authentication methods (such as consent, web consent, and webauth) using either a global or named parameter-map under WLAN (for method-type, custom, and redirect). If you do not configure a parameter-map under WLAN, the global parameter-map applies by default.
-
You can configure web-based authentication on Layer 2 and layer 3 interfaces.
-
When a client reaches the maximum limit of 200 HTTP connections, the system resets TCP connections and excludes your client from the network.
How local web authentication works
Summary
authentication enables secure network access for clients by prompting users to authenticate through a web login page. The process coordinates actions between the user, authentication server, and the network switch. The key components are:
-
User: Initiates the HTTP session and enters authentication credentials.
-
Network switch: Intercepts traffic, presents login pages, applies policies, and communicates with the authentication server.
-
Authentication server: Verifies credentials and provides policy enforcement details.
Workflow
These are the stages of the process.
- Session initiation: The user starts an HTTP session by attempting to access the network.
- Traffic interception and login page presentation: The network switch intercepts the HTTP request and triggers the authorization process. It presents a login page for the user to enter their username and password.
- Credential submission and authentication: After the user submits credentials, the switch forwards them to the authentication server
-
Authentication outcome:
- If authentication succeeds, the switch downloads and activates the access policy assigned to the user from the server, then displays a login success page.
- If authentication fails, the switch displays a login failure page. After a maximum number of failures, the login expired window appears, and the host is put on a watch list. Once the timeout expires, the user may try again
- Server non-response handling: If the authentication server does not respond, and an AAA fail policy is in place, the switch applies the failure policy to the host and displays a login success page.
- Reauthentication triggers: The switch reauthenticates a client if the host does not respond to an ARP probe (Layer 2) or does not send traffic within an idle timeout (Layer 3) suppress-feature-id="uabu_2960l_sw".
- Session timeout enforcement: The switch applies either the session timeout configured locally or provided by the server. The default local web authentication session timeout on controller is 1800 seconds from Cisco IOS XE 16.1.1 and later. The default session timeout value was infinite seconds, prior to Cisco IOS XE Denali 16.1.1.
-
Session termination:
- If the terminate action is set to RADIUS, the switch sends a nonresponsive host request to the server; the server’s response dictates the next action.
- If the terminate action is set to default, the switch dismantles the session and removes the access policy.
Result
If authentication succeeds and the correct policies are applied, the user gains network access. If authentication fails, failure policies or timeout mechanisms may deny access.
Restrictions
-
You cannot configure bypass authentication with the wireless web authentication feature.
-
To update the redirect login URL, enable and then disable the WLAN. The redirect login URL specified in the web authentication parameter map changes when an AP rejoins.
-
If authentication fails, users receive a failure page and can try to log in again. If the number of allowed attempts is exceeded, users may be excluded and receive a specific reason for the exclusion.
-
Use the local web authentication feature to authenticate end users on host systems that do not run the IEEE 802.1x supplicant.
Roles of devices in local web authentication
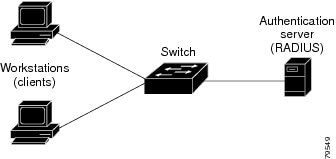
In a local web authentication scenario, network devices assume specific roles to manage authentication and access to the LAN.
-
Client: A device, such as a workstation, that requests network access and responds to authentication requests from the switch. The client must have an HTML browser with JavaScript enabled.
-
Authentication server: A server that validates the identity of the client. The authentication server notifies the switch if the client is allowed or denied access to the LAN and related services.
-
Switch: A network device that manages physical access to the network based on the authentication status of the client. The switch relays identity information and authorization responses between the client and the authentication server.
These device roles work together to ensure secure access control through local web authentication processes.

Banner messages for local web authentication
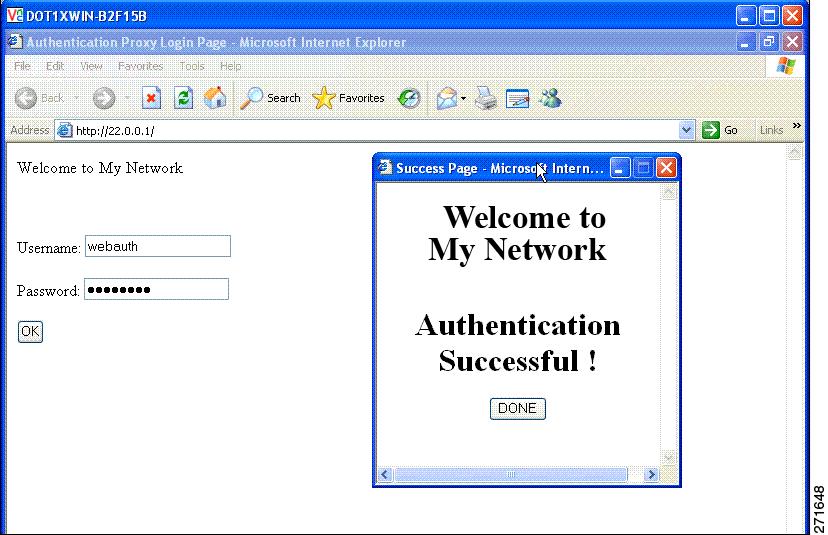
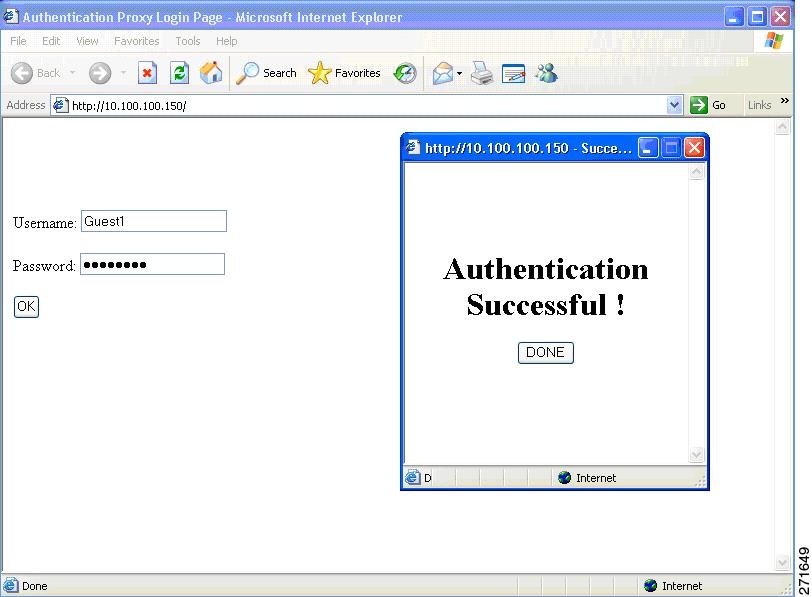
Local web authentication banners provide visual feedback to users during authentication on switches. The banners can display default or customized messages. They may also include branding or additional information on the login and result screens.
Default banner messages
When web authentication is enabled, one of these default messages appears on both the login screen and the authentication result pop-up page:
-
Authentication Successful
-
Authentication Failed
-
Authentication Expired
Commands to configure local web authentication banner
You can configure the local web authentication banner using the new style (Session-aware) CLI mode.
Use the command in the global configuration mode:
Device(config)# parameter map type webauth global
Device(config-params-parameter-map)# banner ?
file <file-name>
text <Banner text>
title <Banner title>
You can add a custom message, such as a switch, router, or company name, to the banner using the command:
Device(config)# parameter map type webauth global
Device(config-params-parameter-map)# banner text <text>
You can add a logo or text file to the banner using the command:
Device(config)# parameter map type webauth global
Device(config-params-parameter-map)# banner text <filepath>
Banner examples


Banner usage and behavior
-
The default banners are Cisco Systems and Switch host-name Authentication. These banners appear on the login page. The Cisco Systems banner also appears on the authentication result pop-up page.
-
The default banners appear unless custom banners are configured.
-
If you do not enable a banner, only username and password dialog boxes appear on the web authentication login screen. You will not see a banner when you log into the switch.
Authentication states in customized local web authentication
During local web authentication, the switch’s internal HTTP server hosts four HTML pages that communicate authentication states to the client.
You can replace the default internal HTML pages or specify a URL that redirects users after authentication. This URL replaces the internal Success page.
The four authentication pages and states are:
-
Login: Credentials are requested from the client.
-
Success: The client has authenticated successfully.
-
Fail: Authentication attempt failed.
-
Expire: The session expires after excessive failures.
You must configure all four pages. You can specify text or add a logo to each of the four pages.
Banner examples

Best practices for customizing web authentication pages
-
Add appropriate text to the banner and login pages as needed.
-
Always include a valid HTML redirect command in the success page to redirect users to a specific URL after login
-
Ensure the URL string is well-formed (for example, "http://www.cisco.com") to avoid browser errors.
-
If you configure web pages for HTTP authentication, include the appropriate HTML commands. For example, HTML commands to set the page time out, to set a hidden password, or to confirm that the same page is not submitted twice.
-
You can copy the configured web pages to the switch boot flash or the flash.
-
The login page can reside on one flash device, while the success and failure pages can be stored on another flash device
-
You must configure all four pages.
-
All logo files—including image, flash, audio, video, and similar file types—stored in the system directory must use web_auth_<filename> as the file name. System directory examples are flash, disk0, or disk.
-
You can copy the configured web pages to the switch boot flash or the flash.
Restrictions for customizing web authentication pages
-
The banner page has no effect if it is configured together with a web authentication page.
-
When the configured login form is enabled, the CLI command for redirecting users to a specific URL is unavailable. Configure redirection in the web page.
-
If you enter the CLI command to redirect users to a specific URL after authentication and then configure web pages, the redirect command does not take effect.
-
The configured authentication proxy feature supports both HTTP and SSL.
Guidelines for configuring a redirection URL for Successful Login page
-
If you enable the custom authentication proxy web pages feature, you cannot use the redirection URL feature in the CLI. To redirect users after login, configure redirection in the custom login success page.
-
If you enable the redirection URL feature, the configured authorization proxy banner is not be used.
-
To remove the specification of a redirection URL, use the no form of the command.
-
If a redirection URL is required after successful authentication, it must begin with a valid protocol prefix (such as http://) followed by the URL. If http:// is omitted, the browser might show a page not found error or similar issue


 Feedback