- DMM User's Guide Preface
- DMM User's Guide Overview
- Understanding the Digital Media Manager
- Managing User Accounts
- Create Content Offering
- Creating Playlists
- Categorizing Content
- Customizing Video Portal
- Managing Deployments
- Config Settings
- Linking to the Video Portal
- Setting Up the DME 1000 and DME 2000 Encoders
- Setting Up Live Events Using a DME 1000 or DME 2000 Encoder
- Setting Up Live Events Using Third-Party Live Streams
- Archive and Delete
- Video Reports Metrics Overview
- DMM User's Guide Glossary
Cisco Digital Media Manager User Guide (version 3.5)
Bias-Free Language
The documentation set for this product strives to use bias-free language. For the purposes of this documentation set, bias-free is defined as language that does not imply discrimination based on age, disability, gender, racial identity, ethnic identity, sexual orientation, socioeconomic status, and intersectionality. Exceptions may be present in the documentation due to language that is hardcoded in the user interfaces of the product software, language used based on RFP documentation, or language that is used by a referenced third-party product. Learn more about how Cisco is using Inclusive Language.
- Updated:
- March 13, 2015
Chapter: Categorizing Content
Categorizing Content
Content offerings can be organized into custom categories that represent common content characteristics such as topic, subject matter or course offering, target audience, featured executive, business function, etc. In the Video Portal, Categories allow the end-users to easily browse for content by Category using the Video Portal's Program Guide.
Categories are associated to content offerings at the Program level. When a Program is associated to a Category, all of the Program's corresponding Videos (and consequently, Video Parts) can be found under that Category within the Video Portal.
The CATEGORIES page allows you to create and manage Categories and to associate content offerings to them. Access the CATEGORIES page using the categories secondary navigation link under the VIDEO PORTAL tab in the primary navigation bar or using the Categories link on the DMM home page.
Programs can also be associated to existing Categories in the PROGRAMS page (refer to Chapter 3, "Managing User Accounts".
Adding a New Category
To add a new category, follow these steps:
Step 1 ![]() Click on the categories secondary navigation link or the Categories link on the DMM Home Page to access the CATEGORIES page.
Click on the categories secondary navigation link or the Categories link on the DMM Home Page to access the CATEGORIES page.
Figure 6-1 Accessing the CATEGORIES Page from the DMM Home Page

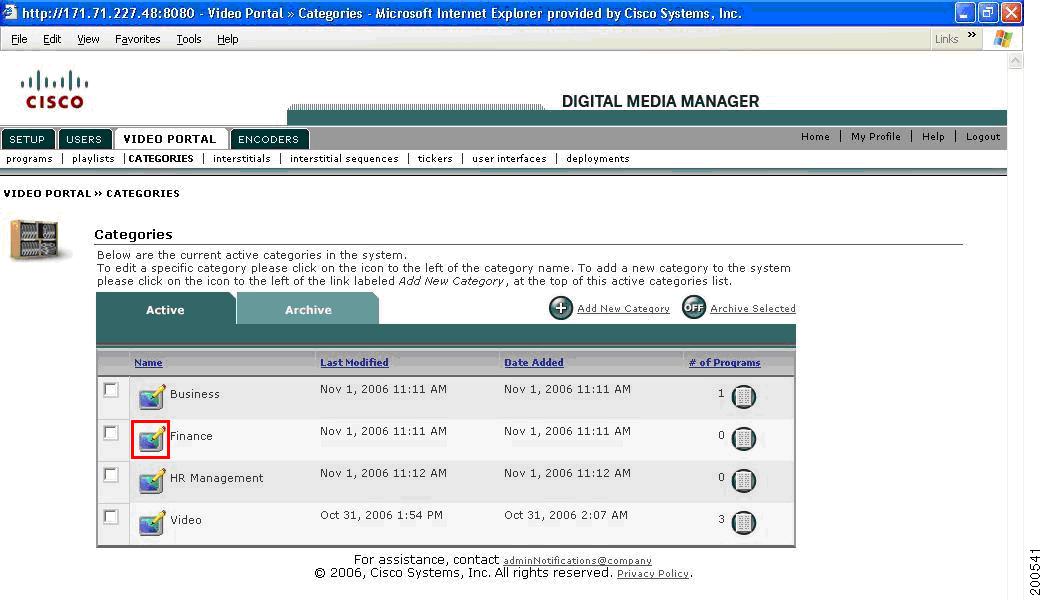
The Active Category list will open displaying all active categories in the DMM, alphabetically by Category Name.
Figure 6-2 Active Category List Window

Table 6-1 describes the contents of this window:
Table 6-1
Active Category List Field Description
Step 2 ![]() Select Add New Category from the upper right-hand corner of the Active Category List.
Select Add New Category from the upper right-hand corner of the Active Category List.
Figure 6-3 Add A New Category Window
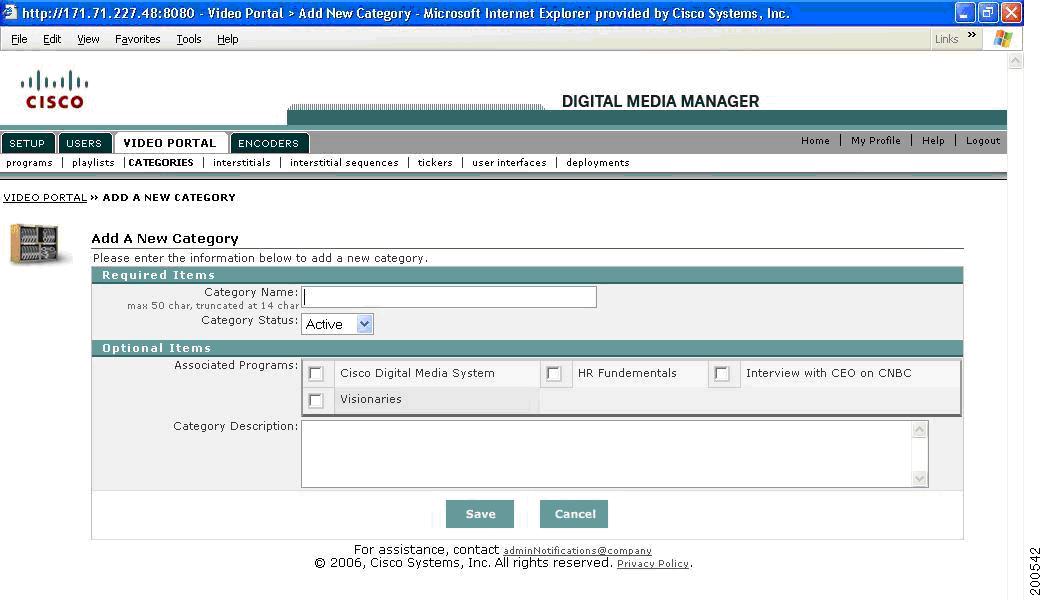
Step 3 ![]() Enter the Category Name. This Category title appears in the Video Portal when an end user uses the Program Guide tab to locate content by category
Enter the Category Name. This Category title appears in the Video Portal when an end user uses the Program Guide tab to locate content by category
Step 4 ![]() Set the Category Status. The default value is Active. Setting it to Inactive will store the new Category in the Archived Category List of the CATEGORIES page.
Set the Category Status. The default value is Active. Setting it to Inactive will store the new Category in the Archived Category List of the CATEGORIES page.
Step 5 ![]() Select the Associated Programs that this Category should be associated to. Click the check box next to each desired Program in the listing.
Select the Associated Programs that this Category should be associated to. Click the check box next to each desired Program in the listing.
By associating Programs to Categories, end users of the Video Portal will be able to easily locate Programs in the Program Guide tab. Each Category can be associated to one, many, or all Programs. A Category must be associated to at least one Program.

Note ![]() Programs that are not associated to any Categories do not appear in the Video Portal Program Guide. In this case, Video Portal end users will only be able to locate the Videos that belong to those Programs in the Featured Playlist, by performing a keyword search in the Search tab, or via direct URL access to the particular Videos.
Programs that are not associated to any Categories do not appear in the Video Portal Program Guide. In this case, Video Portal end users will only be able to locate the Videos that belong to those Programs in the Featured Playlist, by performing a keyword search in the Search tab, or via direct URL access to the particular Videos.
Step 6 ![]() Enter the Category Description. This field is for your reference only.
Enter the Category Description. This field is for your reference only.
Step 7 ![]() Click on Save to submit and save all the metadata.
Click on Save to submit and save all the metadata.
The new Category you just added appears in the Active Category list (if the Category Status was set to Active), or in the Archived Category list (if the status was set to Inactive) in alphabetical order by Category Name.
Modifying Category-Program Associations
A Program can be associated to or disassociated from a Category at any time. This can be achieved in both the CATEGORIES page and the PROGRAMS page.
Modifying Category-Program Associations from the CATEGORIES Page
To modify Category-Program Associations from the CATEGORIES page, follow these steps:
Step 1 ![]() From the Active Category List in the CATEGORIES page, click on the Properties button of the Category to modify.
From the Active Category List in the CATEGORIES page, click on the Properties button of the Category to modify.
Figure 6-4 Accessing the Category Properties Page
The Modify Category page displays the fields you can modify in a given Category.
Figure 6-5 Categories Properties Page
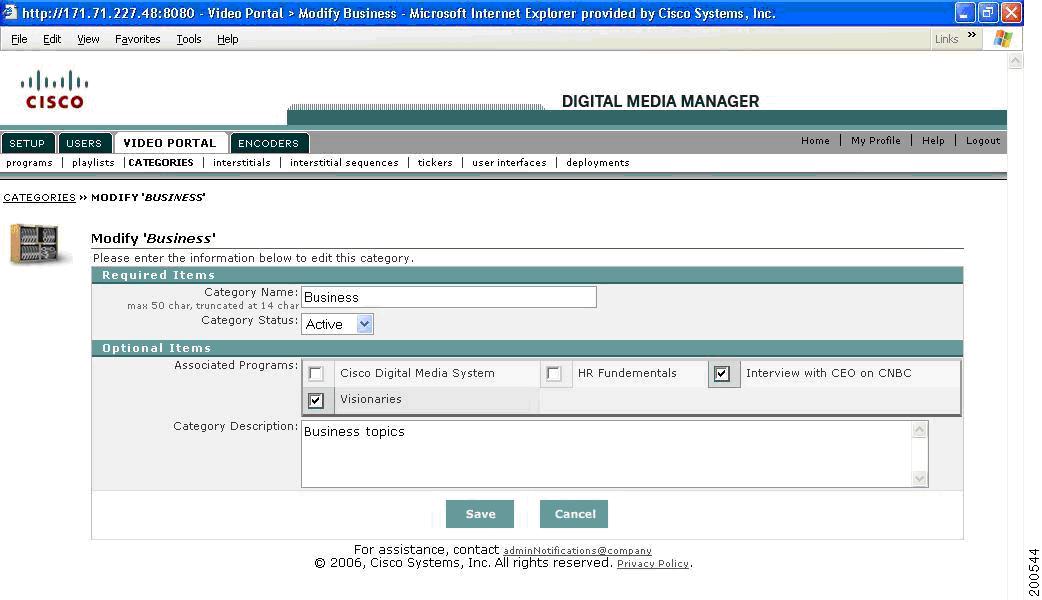
Step 2 ![]() To add Programs to be associated with this Category, select the check box(es) next to the Program Name(s).
To add Programs to be associated with this Category, select the check box(es) next to the Program Name(s).
OR
To remove Programs from this Category, deselect the check box(es) next to the Program name(s).
Step 3 ![]() Click on Save to submit and save all the metadata.
Click on Save to submit and save all the metadata.
Modifying Category-Program Associations from the PROGRAMS Page
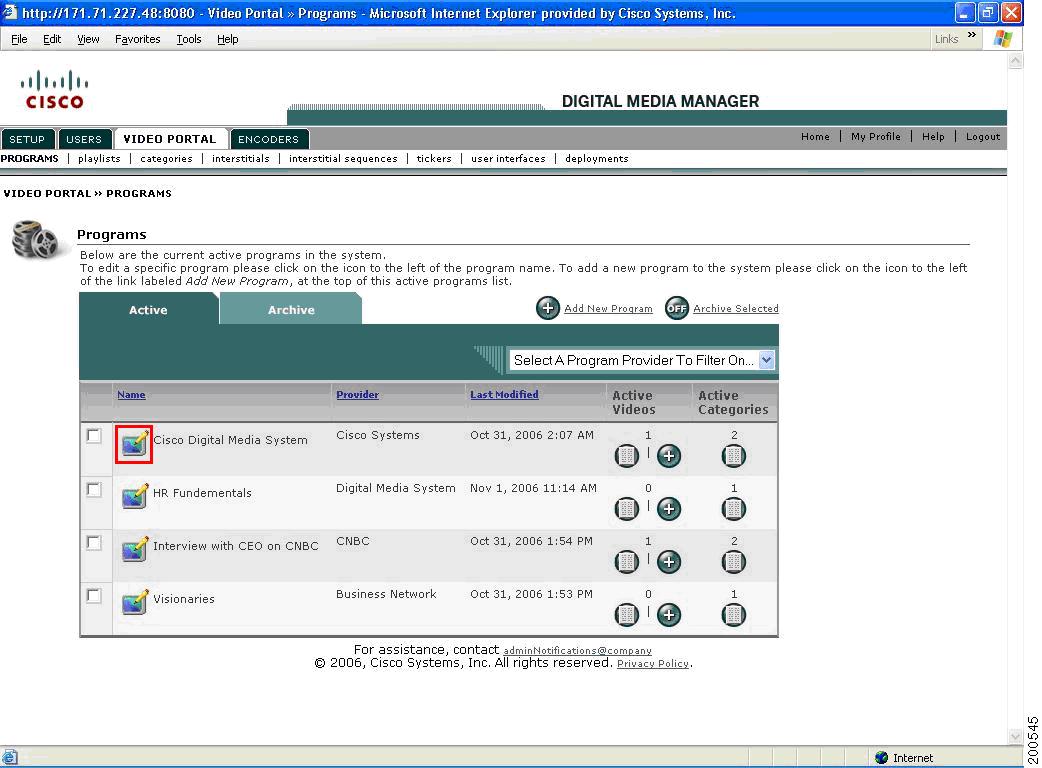
Step 1 ![]() From the Active Program List in the PROGRAMS page, click on the Properties Button of the Program to modify (see Figure 6-6).
From the Active Program List in the PROGRAMS page, click on the Properties Button of the Program to modify (see Figure 6-6).
Figure 6-6 Accessing the Program Properties Page
The Modify Program page displays the fields you can modify for a given Program (see Figure 6-7).
Figure 6-7 Program Properties Page
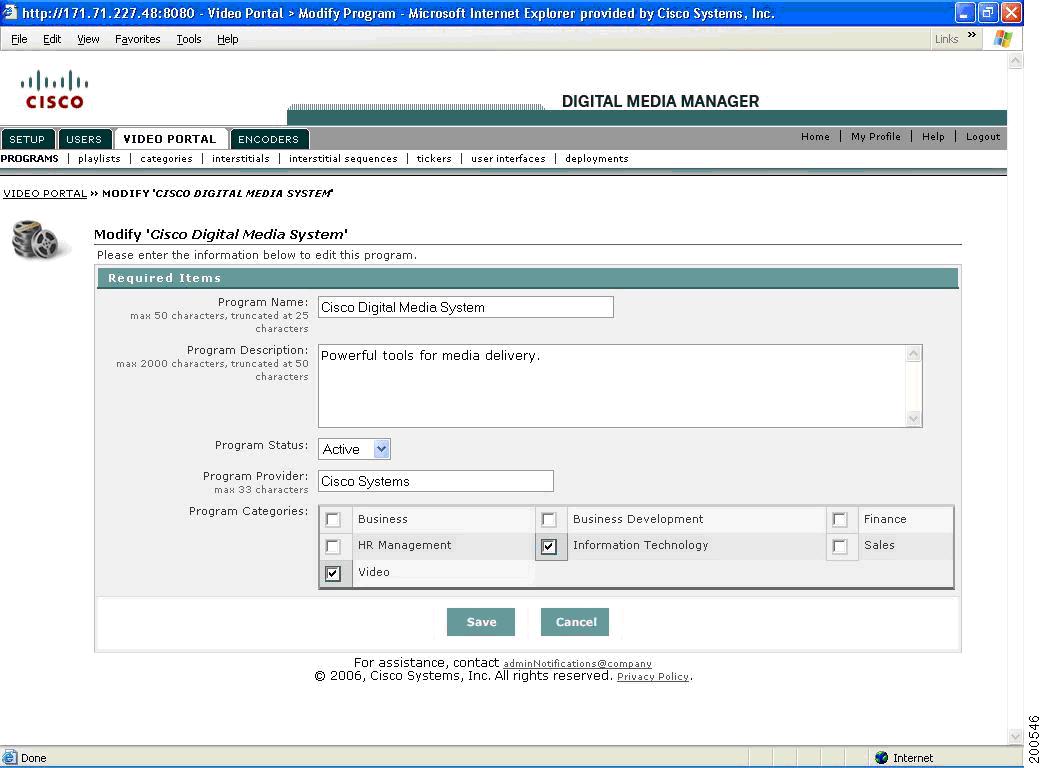
Step 2 ![]() Check the check box(es) next to the Category names you want to add.
Check the check box(es) next to the Category names you want to add.
OR
To remove Categories from this Program, uncheck the check box(es) next to the Category name(s).
Step 3 ![]() Click on Save to submit and save all the metadata.
Click on Save to submit and save all the metadata.
 Feedback