Bridged Interface to an External Router
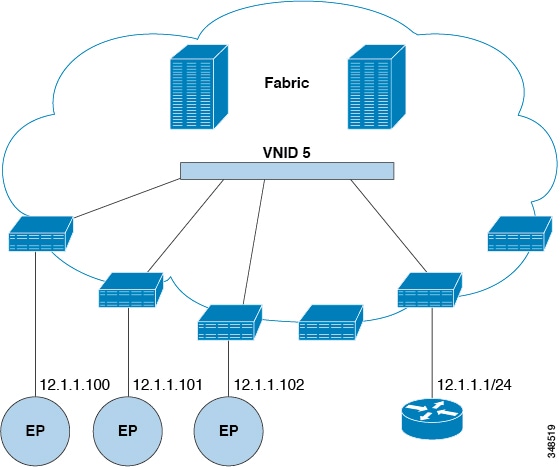
The ACI fabric is unaware of the presence of the external router and the APIC statically assigns the leaf switch interface to its EPG.
The documentation set for this product strives to use bias-free language. For the purposes of this documentation set, bias-free is defined as language that does not imply discrimination based on age, disability, gender, racial identity, ethnic identity, sexual orientation, socioeconomic status, and intersectionality. Exceptions may be present in the documentation due to language that is hardcoded in the user interfaces of the product software, language used based on RFP documentation, or language that is used by a referenced third-party product. Learn more about how Cisco is using Inclusive Language.
Tenant External Bridged Networks
The ACI fabric is unaware of the presence of the external router and the APIC statically assigns the leaf switch interface to its EPG.
You can create and specify a VRF and a bridge domain for the tenant. The defined bridge domain element subnets reference a corresponding Layer 3 context.
For details about enabling IPv6 Neighbor Discovery seeIPv6 and Neighbor Discovery in Cisco APIC Layer 3 Networking Guide.
|
Step 1 |
Create a tenant. Example: |
||||
|
Step 2 |
Create a VRF and bridge domain.
Example:
|
Ports
This topic provides a typical example of how to statically deploy an EPG on a specific port when using Cisco APIC.
The tenant where you deploy the EPG is created.
|
Deploy an EPG on a specific port. Example: |
This topic provides a typical example of how to create physical domains, Attach Entity Profiles (AEP), and VLANs that are mandatory to deploy an EPG on a specific port.
All endpoint groups (EPGs) require a domain. Interface policy groups must also be associated with Attach Entity Profile (AEP), and the AEP must be associated with a domain, if the AEP and EPG have to be in same domain. Based on the association of EPGs to domains and of interface policy groups to domains, the ports and VLANs that the EPG uses are validated. The following domain types associate with EPGs:
Application EPGs
Layer 3 external outside network instance EPGs
Layer 2 external outside network instance EPGs
Management EPGs for out-of-band and in-band access
The APIC checks if an EPG is associated with one or more of these types of domains. If the EPG is not associated, the system accepts the configuration but raises a fault. The deployed configuration may not function properly if the domain association is not valid. For example, if the VLAN encapsulation is not valid for use with the EPG, the deployed configuration may not function properly.
 Note |
EPG association with the AEP without static binding does not work in a scenario when you configure the EPG as Trunk under the AEP with one end point under the same EPG supporting Tagging and the other end point in the same EPG does not support VLAN tagging. While associating AEP under the EPG, you can configure it as Trunk, Access (Tagged) or Access (Untagged). |
The tenant where you deploy the EPG is already created.
An EPG is statically deployed on a specific port.
|
Step 1 |
Create the interface profile, switch profile and the Attach Entity Profile (AEP). Example: |
|
Step 2 |
Create a domain. Example: |
|
Step 3 |
Create a VLAN range. Example: |
|
Step 4 |
Associate the EPG with the domain. Example: |
The following example REST request creates a Port Channel policy:
<lacpLagPol childAction="" ctrl="fast-sel-hot-stdby,graceful-conv,susp-individual"
  descr="" dn="uni/infra/lacplagp-LACP-Active" lcOwn="local" maxLinks="16" minLinks="1"
  modTs="2015-02-24T11:58:36.547-08:00" mode="active" name="LACP-Active" ownerKey=""
  ownerTag="" status="" uid="8131">
    <lacpRtLacpPol childAction="" lcOwn="local" modTs="2015-02-24T14:59:11.154-08:00"
      rn="rtinfraLacpPol-[uni/infra/funcprof/accbundle-ACI-VPC-IPG]" status=""
      tCl="infraAccBndlGrp" tDn="uni/infra/funcprof/accbundle-ACI-VPC-IPG"/>
</lacpLagPol>
Note |
|
 Feedback